Why Is My AC Only Blowing Warm Air on Cooling?
Depending on the supply air temperature being produced from your AC and the current setting of your thermostat, you could be encountering what might be a quick fix or a major mechanical component overhaul.
What some folks might perceive to be “warm air”, may actually be recycled air from the conditioned space.
Your AC system isn’t designed to supply constant cool air, it will only deliver cool air when the thermostat initiates a cooling call. This cooling call sends a signal to within the control circuit that will activate the compressor via a start relay or contactor.
Now, if the room temperature in your conditioned space is well above the thermostat’s set point and you’re still not receiving cool air, you’ve got some HVAC fault-finding to do.
With that said, I’ll now run through a bunch of problematic scenarios with a few viable solutions to get your AC unit functioning correctly if you’ve encountered your AC only blowing warm air.
Thermostat Blowing Hot Air on Cool
So, let’s assume your thermostat has been accurately adjusted and you can visually see a cooling call status on the thermostat’s display screen. If that’s the case, you will ideally want to use either a temperature gun or digital thermometer to measure the air-off temperature from the supply air outlet.
This simple little test can tell you a lot about what is happening with your AC system and will ultimately save you a lot of time. After 20+ years in the HVAC industry, I don’t walk into any job without a temperature gun.
So, if you do have a temperature gun and or digital thermometer, simply measure and record the airflow from any one of the supply air outlets. If you record a reading above 55 degrees when conducting this test, you’ve got a problem within the outdoor unit.
Some of the time, the indoor fan motor may only be operating without the compressor which will result in the AC system delivering merely recycled air. Generally speaking, if this is the case and the compressor is in fault, there will be an indication of the current fault on the thermostat’s display screen.
If you see any kind of error code on the display screen, you can troubleshoot the fault yourself by downloading the user manual and error code list directly from the manufactures website. Once you have this, you can fault-find and repair the issue yourself if it seems easy, or call in the professionals and confidently advise them of the issue at hand.
Alight, if there are no error codes active and you’re still having issues with your air conditioning system blowing warm air, you’ll need to further investigate these potential faults:
LP Switch Tripped
A low pressure (LP) switch is a pressure sensing switch that is fitted to the low-side of the refrigeration system. It acts as a safety device to prevent the system from operating when a pressure drop is detected below a preset value.
Pressure and temperature in the world of refrigeration and air conditioning are directly related, and when the backpressure in a refrigeration system drops below its desired value, so will the temperature. If this the case and your air conditioner is operating on cooling mode, the evaporator will develop a considerable amount of ice on the coil in a relativity short period of time.
To avert this potential catastrophe with your air conditioning system icing up causing the evaporator coil to freeze over, the LP switch will open-circuit locking out the compressor.
While rectifying this issue with the LP switch tripping is a super easy reset, the actual root cause for the LP switch tripping is another thing entirely.
Here is a list of reasons why an LP switch may trip and how you can resolve the fundamental fault behind the switch tripping:
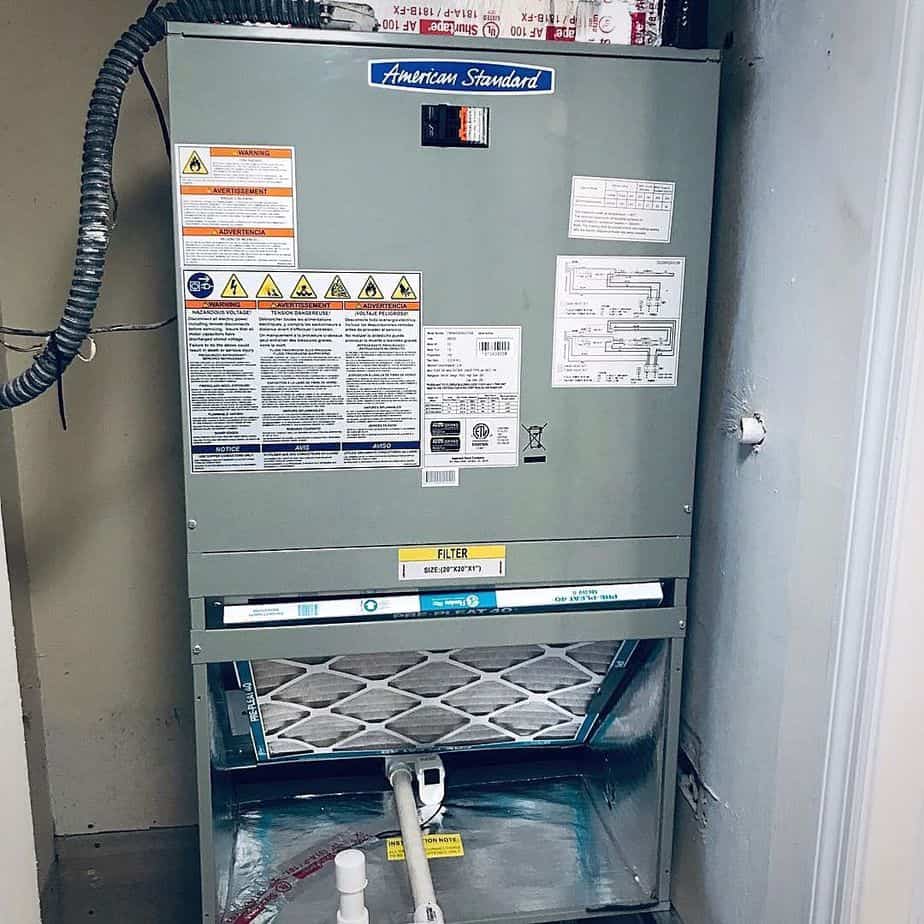
Dirty Return Air Filter
Your return air filter in your air conditioner isn’t only utilized to safely remove dirty air particles to protect the occupants within the conditioned space.
A return air filter is installed just before the evaporator coil and actually plays a crucial role in preventing dust and dirt from coating the evaporator coil. If these filters collect too much dust or dirt over a period of time, the volume of airflow over the evaporator coil will drastically decrease, and both the pressure and temperature of the coil will be negatively affected.
Typically, if the return air filter does become blocked due to a build-up of dirt (and dead skin cells), either the LP switch will trip or the system will continue to operate and the evaporator coil will completely ice-up.
Both of these dilemmas can be avoided by removing and washing your return air filter every 3 to 6-months. Just locate the indoor unit and open up the filter access panel before the coil.
Remove the dirty air filter(s), wash it with cold water, and then install the filter back in place once it has dried.Another option depending on your AC system, is to go with disposable cardboard filters, and replace them every 6 – 12 months.
Refrigerant Leak in System
Firstly, you will most definitely need a set of manifold gauges or digital gauges to confirm whether there is a leak in any air conditioning system.
While you can conduct a visual spot check to potentially locate a leak focusing on identifying any oil around either components and or pipework its self. I tend to direct my attention towards the high-side of the system or where excessive vibration will likely occur, like the discharge pipework from the compressor.
A great DIY leak test you can perform yourself if you do locate any oil residue within the outdoor unit can be carried out by using some soapy water on any suspected areas. If there is still pressure in the system, applying soapy water to where the refrigerant is leaking from, will cause the soapy water to bubble up.
While this DIY leak testing method can help you establish if a refrigerant leak is present within your air conditioner when attempting to locate larger leaks, a full leak test and repair using a refrigerant leak detector will be required to effectively locate smaller leaks.
Now, finding a refrigerant leak in an air conditioner is one thing, repairing it appropriately so the AC system functions flawlessly is a completely different beast.
My advice for those looking for a way to rectify such a fault, would be to contact a professional HVAC contractor and request a quote to carry out a full leak test and repair.
Honestly, there is a level of expertise and a substantial amount of labor required to successfully execute a leak test and repair to absolute perfection.
Blockage or Restriction in Refrigeration System
This issue is way less common and somewhat perplexing at times to diagnose accurately. A blockage in a refrigeration system will adversarial affect your air conditioner by restricting the amount of refrigerant that can enter the evaporator via the refrigerant control device.
When a refrigerant control device such as a TX valve or capillary tube adversely restricts the refrigerant flow to the evaporator, the system will essentially pump its self down.
Normally, either the HP or LP safety switch will open-circuit as the discharge pressure will skyrocket and suction pressure plummet within the system. In both circumstances, the compressor to lock-out when such a safety switch trips to protect the compressor internally.
If you do suspect this to be the apparent conundrum with your air conditioner blowing warm air, you’ll need to contact your nearest HVAC service contractor.
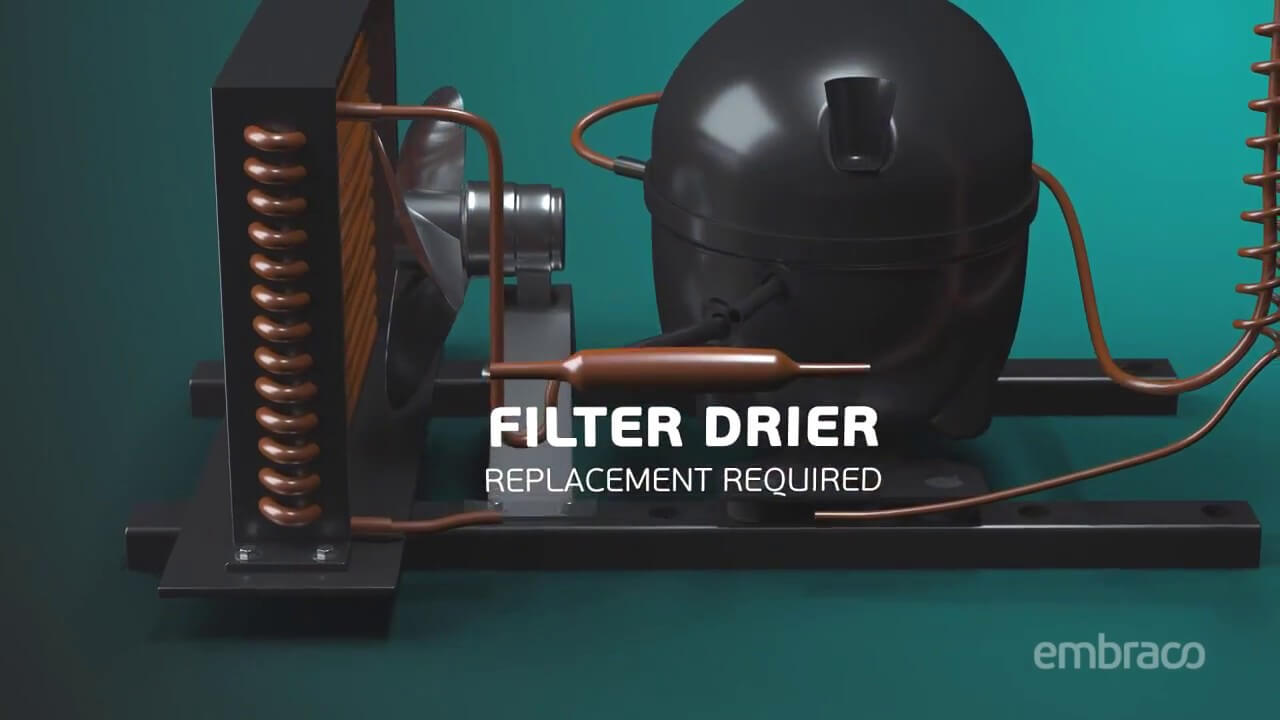
A refrigerant blockage caused by a faulty TX valve or even a clogged liquid line dryer will require extensive troubleshooting. Be prepared for a sizeable bill from any contractor who discovers such a fault, as it’s never an easy fix.
Repairing a refrigerant blockage will also require a bunch of HVAC specialist equipment like; HVAC gauges, a refrigerant recovery machine, leak testing equipment such as a leak detector, and a vacuum pump. As I’ve mentioned, there is quite a bit involved with this repair process.
HP Switch Tripped
A high pressure (HP) switch works by sensing the discharge pressure within the system, ensuring it doesn’t allow the compressor to operate beyond a predetermined high-limit value.
This safety switch like any other in an air conditioner is solely utilized to protect the mechanical functionality of the compressor. The compressor in any condenser unit is the major component that pumps refrigerant throughout the system enabling cool air to be delivered via a fully flooded evaporator.
In essence, if the compressor isn’t functioning due to any kind of malfunction, safety switches like the HP switch will be the likely culprit.
Here’s what to look for if your HP switch has tripped resulting in your air conditioner blowing warm air:
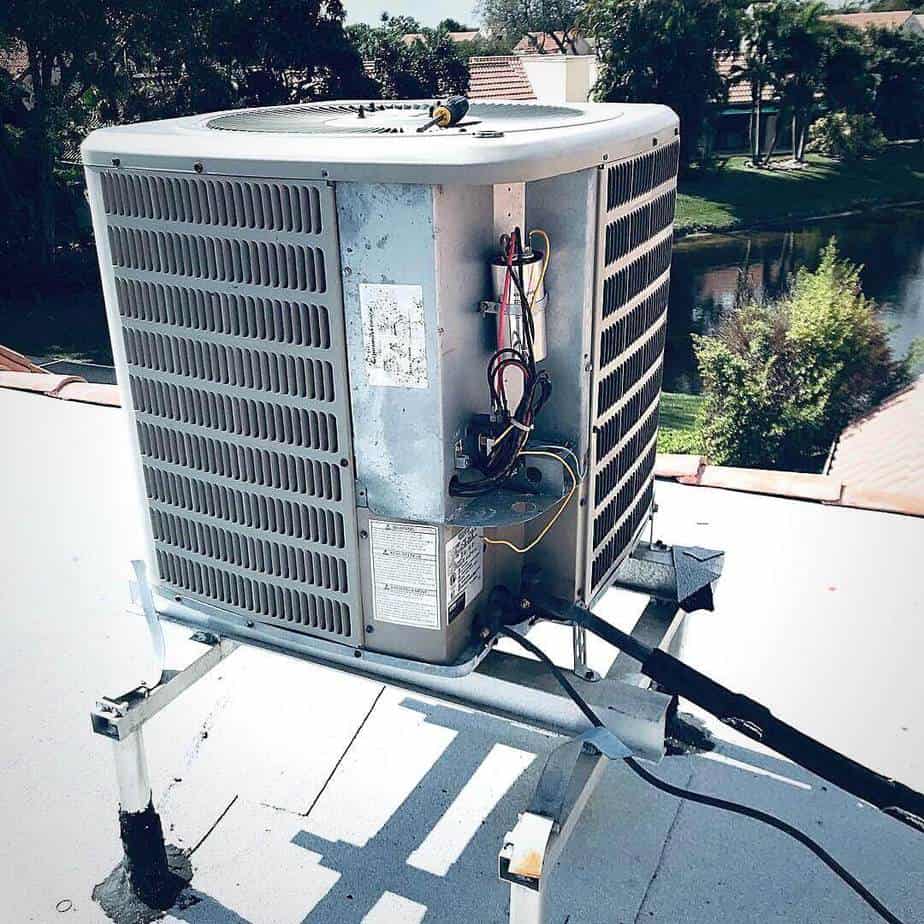
Airflow Restricted Over Condenser Coil
With any condenser unit, the condenser’s function is to remove heat from the refrigeration process to change the state of the refrigerant from a high-pressure vapor to a condensed liquid.
The condenser achieves this by removing heat from the refrigerant traveling through a tube-in-coil system, as the airflow generated via a fan motor, passes through the condenser coil fins.
If this airflow is hampered in any way, the discharge pressure will increase and trigger the HP switch to open-circuit ceasing the compressor from running.
The two most common HP related faults due to inefficient condenser operating are dirty condenser coils and faulty condenser fan motors. One of these predicaments you can prevent by conducting a coil clean, the other is out of your control but more than often a cheap and easy fix.
While you’ll probably have to hire the services of an HVAC technician to diagnose and replace a faulty condenser fan motor. The good news is that it won’t cost too much as it’s typically a few hours of labor and $150-$200 for the replacement motor.
When it comes to condenser coil cleaning, you’ll need to service your AC system annually to prevent any would-be high-pressure faults. This is a rudimentary task that will greatly extend the lifespan of your air conditioner, and keep that cool air flowing throughout your house on hot day year-round.
If you’re looking for an in-depth guide on how to productively clean your condenser coil, check out our step-by-step service procedure in our most recent post that dives a little deeper.
Compressor Overload Tripped
If you put excessive load on a compressor by increasing the demand well-beyond reasonably means, the compressor will virtually overheat and an external or internal safety apparatus called an “overload” will open-circuit.
This overload device is merely a motor protection safety switch that you’ll find in everything from fan motors to compressors. The majority of overloads use a bimetal strip to sense the load temperature and will make or break the electrical circuit depending on the preset value that will have been factory set by the manufacture.
You can push any compressor to its limits and trip and overload by adjusting the thermostat too low. That’s why it good practice to set a low point limit on your home thermostat, so no one can accidentally attempt to turn your conditioned space into the Antarctica.
While a super cool house on a boiling hot day is comforting, a burnt compressor is surely not. And yes, setting your thermostat too low can most certainly burn-out your compressor.
Even if the overload will trip and bring the compressor to an abrupt halt, the damage can already be done rendering your expensive compressor utterly futile. So note to self, try to refrain from adjusting your thermostat’s set point beyond sensible temperature levels.
Faulty Reversing Valve
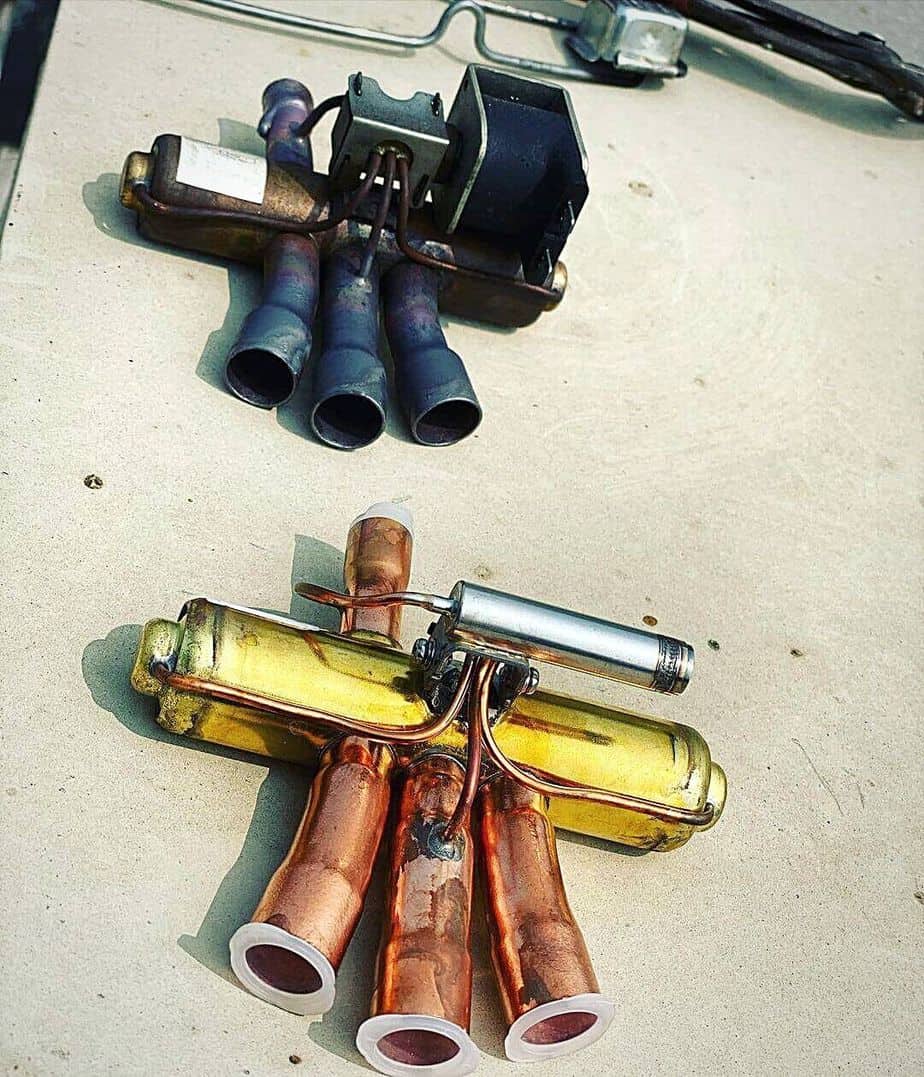
A reversing valve is a complex component located in the outdoor unit of an air conditioning system. It basically works by reversing the operation of an AC system by changing the indoor to act as the condenser, and the outdoor coil to act as the evaporator.
Now, if you find your AC blowing hot air when it’s supposed to be cooling, this can also be caused by a faulty reversing valve. Reversing valves have a solenoid coil attached to them, which when powered, opens or closes the valve position sending refrigerant in a different direction.
If the valve gets stuck or the solenoid is faulty, you could well be receiving high-pressure vapor to your indoor coil, which will subsequently produce an abundance of hot air from the supply air outlet(s).
I’ve had this fault occur more times than I like to count, and if it involves replacing the entire valve and solenoid, it really is a sheer nightmare. The good thing is that it is very easy to troubleshoot and quote if that’s what you’re looking for. But, once again, this is one of those expensive repair jobs that will drain your piggy bank and make you question everything including the meaning of life.
In other words, for this kind of fault, get two different quotes if you can, and consider replacing the AC system altogether if it’s racked up more than 15 years of mileage. Meh, reversing valves.
Home AC Blowing Warm Air Intermittently
No home air conditioning system is designed to constantly blow cold air without intermittently recycling return air from within the conditioned space.
The duration for which cold air will be produced from the supply air outlets depends on the programmable set point of the temperature controller.
If you adjust a temperature controller to a specific set point, the controller will send a “cooling call” signal to the compressor to request it to run. Once the room sensor registers that the desired set point has been reached, the temperature controller’s internal switch will open-circuit disabling the compressor.
This switching mechanism will only close-circuit and send another cooling call to the compressor to operate if the room sensor senses that the temperature within the conditioned space has increased above a specified range.
In other words, no air conditioning unit is capable of blowing cold air constantly without risking major failure to the compressor. This goes for your car AC, home air conditioner, or even that portable air conditioner that seems to eagerly blast cold air from its outlet.
AC Blowing Hot Air After Replacing the Thermostat
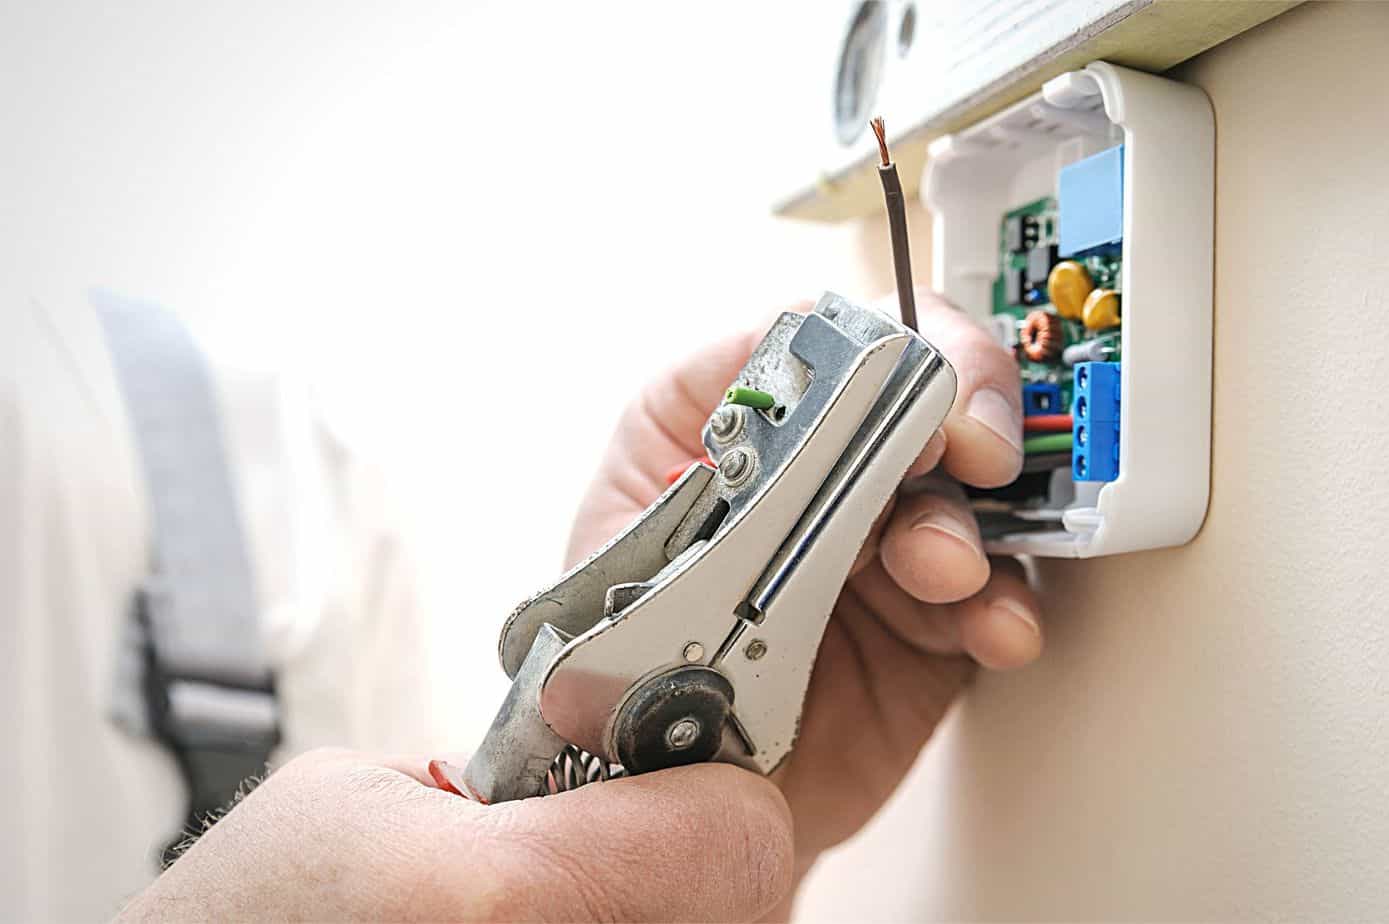
If you’ve wired up a replacement thermostat and you’re finding that only warm or even hot air is being delivered from the supply air outlets, you may inadvertently crossed over some of the control wiring.
Typically, thermostats will be wired up with an active and neutral set of wires (line voltage) that will power the device. If you’ve got power to the controller and the fan is running, ignore the line voltage, and focus on the control wiring.
You’ll have 3-4 other terminals on the thermostat that will be for the fan, reversing valve (if it’s a heat-pump), heating call, and cooling call.
If you’re experiencing nothing but hot air blowing out from the supply air outlets on a warm day, merely switch the thermostat over from “cooling mode” to “heating mode” and see if cold air is being delivered from the air outlets.
When administering this test if you do find the opposite to happen and you’re now receiving cold air on heating mode, simply switch the wires on the thermostats cooling call terminal with the heating call.
You’ll also want to make sure that you’re not providing power via the thermostat to the reversing valve when calling for cooling. If this is occurring, you will be reversing the operation of the entire system and the temperature controller will assume you’re receiving cooling when the system is actually heating.
As long as you’re not erroneously mixing and matching the wiring to the point where you’ve completely lost track, you shouldn’t be too alarmed. Just make sure to take a photo of the wiring when disconnecting anything, and make sure to continually test every terminal with your multimeter before touching any wiring.
Why is My Car AC Blowing Hot Air?
If you’re AC is not cooling in your car, it’s generally something you only notice on a 90+ degree afternoon while screaming obscenities into the windscreen.
From past experience, when you do find your car AC not blowing cold air, one of the more likely causes is a dreaded refrigerant leak. This is due to the amount of vibration a refrigeration system encounters within the engine bay.
On an older model vehicle, this can be more of an issue, but refrigerant leaks on your car AC can also be caused by the many number of speed bumps and or potholes you happen to plow over on a daily basis.
Leak testing and repairing a car air conditioner is no different from any other system. Matter of fact, it’s actually a bit easier than leak testing a split system or larger package unit.
If the leak is small enough, I’d recommend topping up the system with refrigerant (R134a) until you reach a suction back pressure of around 32 PSI or 220 KPA.
Once the system is fully charged and the AC system is blowing plenty of cold air from the vents, you can use a self-repair kit like Super Seal to stop the existing leak within the system.
For leaks in smaller air conditioners like your car AC, this could be a viable option before having to conduct a full leak test and repair.
Here’s a step-by-step guide to carry out these repair works:
- Using a set of manifold gauges connect the low-side hose (blue) to the suction port on the low-pressure side of the system.
- Next, connect the charging hose (yellow) to the outlet on the R134a refrigerant cylinder with the manifold ports closed and the cylinder shut.
- Start the engine with the AC on and turn the system on full cooling at the lowest set point on the temperature dial so the compressor ramps up to maximum capacity.
- Now open the ports between the low-side gauge port and cylinder and charge the system with R134a refrigerant until the suction gauge is reading 32 PSI or 220 KPA.
- Next, kill the engine and let the pressures equalize within the system, and connect the Super Seal hose nozzle from the can to the suction port of the vehicle.
- With the hose connected to the can and suction port, twist the valve fitting on the can counter-clockwise to pierce the can.
- With the car running and the AC system on full cooling mode, the compressor will suck the contents of the can into the system.
- Allow the car and the AC system to operate for up to 10-15mins on maximum cooling with the doors closed to allow the Super Seal to blend with the refrigerant.
And that’s about it. After about 15 mins or so, you can turn the vehicle AC system off if need be and your work here is done.
Now, this isn’t the best alternative to successfully repairing leaks in a refrigerant system, but if you’re on a budget and need your AC up and running, it’s a workable substitute to an expensive full leak test and repair.
In Conclusion
There is nothing worse than having to endure blistering heat on a summers day without the solace of your air conditioner dispensing much-needed relief.
What makes matters even worse is when you do have the luxury of owning an air conditioner in such stifling heat, and the damn thing just won’t run.
Although, hopefully, this guide will assist you with fault-finding any troublesome issues with your AC unit or at least give you an indication of what will be deemed imperative to repair it.
And luckily, if you can’t fix it yourself, the professionals are only a phone call away.

