How to Fix a Fridge Not Cooling Correctly
There’s a handful of reasons why you might find your fridge not cooling, some of which will be an easy fix and others that could well be a death sentence for it.
Effectively fault finding a refrigerator that isn’t maintaining its desired temperature requires a few basic hand tools and a rather rudimentary process of elimination that will help you determine the root cause.
Luckily, I’ve got 10 plus years of experience in the refrigeration & air conditioning industry to assist you with diagnosing why your refrigerator is not cooling.
Alright, so let’s get to it and break down the necessary steps required so you can (hopefully) bring your beloved fridge back to life.
What Would Cause a Refrigerator to Stop Getting Cold?
Generally, these are the most common faults that will likely result in your refrigerator not cooling. We’ll start with the usual suspects and work our way down the list to the more serious stuff involving the potential malfunction of major components.
Pro Tips On How To Fix a Warm Fridge
Not every fault mentioned will be worth your time attempting to repair as the cost of a new refrigerator vs a complete overhaul just won’t be worth it.
But, starting will the simple stuff like checking the condition of the condenser coil will be a good place to start.
If you’ve never inspected the condenser coil on your fridge, it will almost certainly be a likely culprit as these coils collect a decent amount of dust over extended periods of time.
Before you do anything else, turn off your refrigerator at the wall outlet and unplug it. If a blocked condenser coil is the cause of all your refrigerator woos and worries, the high-pressure safety switch would have tripped and the electrical circuitry will still have power.
Cleaning Your Fridge Condenser Coil
Once your fridge is unplugged, remove it from the cabinet or enclosed area to access the rear of the refrigerator. At the rear base of the fridge, you’ll see a micro plant with an electrical box and some mechanical components.
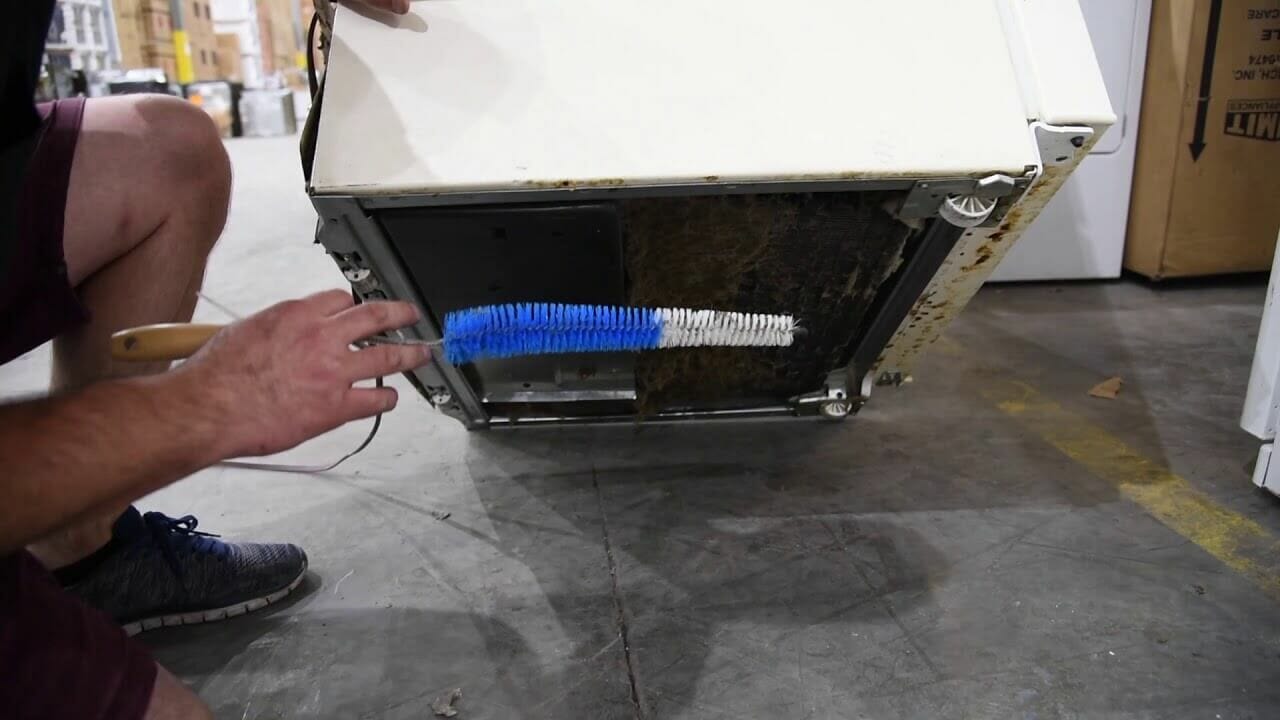
There will be only one coil with a section of aluminum fins connected to a fan motor which this the condenser. Now that you’ve gone to the effort of pulling the fridge from its enclosure regardless of its condition, you might as well thoroughly clean it.
Here’s how you effectively clean a condenser coil:
- Using a Phillips head screwdriver: Remove the protective grill covering the condensing unit to access the coil.
- Remove the obstruction: Access the face of the condenser coil and use a vacuum cleaner to remove any dust from the coil.
- Pre-clean the coil: Next, use a counter brush to further remove any dust and dirt from the coil before spraying it.
- Use a chemical cleaner: Now spray the coil with non-rinse foam chemical coil cleaner letting it sit for at least 30 mins.
- Final step before start-up: Wipe down the baseplate of the consensing unit with a rag to mop up any residual coil cleaner.
And that’s about it when it comes to cleaning condenser coils. This simple yet essential task should take you no more than 20 minutes.
Regardless of whether or not this is the underlying issue with your refrigerator not cooling, such maintenance will maximize the efficiency of your refrigerator and prevent any future failures.
Here’s a brief video explaining the step-by-step process:
Testing your Fridges Thermostat
The next obvious fault that could be preventing your fridge from operating correctly is an open circuit thermostat. You should be able to easily locate the thermostat in your fridge by simply identifying a small plastic compartment with a temperature dial on the front.
A thermostat is simply an electrical switch that is controlled via a thermostatic bulb that senses the cabinet temperature. Once the temperature increases above the desired set point of the controller, the switch activates and completes the electrical circuit.
Sometimes the contacts on the switch can, unfortunately, malfunction due to heat damage which will prevent the switch from closing. To test if this is the issue with your refrigerator not cooling follow this step-by-step fault-finding method:
In summary, if the thermostat switch opens and closes the circuit correctly utilizing this testing procedure, it’s not your problem and you can cross it off the list.
Another way to test a thermostat’s functionality is to do so live by testing if the thermostat has voltage on either side of the switch when it’s at its lowest setting. While this method may give you answers faster than what we just covered, you definitely should not be playing with live wiring if you’re not competent and qualified.
Lastly, unless you’re actually replacing the thermostat, you won’t need to remove it from its housing. I mention this because the thermostat is equipped with a thermostatic bulb that you’ll need to be gentle with.
FYI, if you break the bulb while manhandling the thermostat, it will be utterly useless.
How Do I Reset My Refrigerator Compressor?
If you’ve gotten this far and none of the above has resolved your situation, you may want to check out the heart and lungs of the operation by inspecting the compressor.
If you did find the condenser coil to be dirty, it might have either tripped the fridge on high-pressure or even tripped the compressor on thermal overload. Compressors are fitted with a thermal protection mechanism that will prevent the compressor from operating if it overheats.
This thermal overload device is either fitted internally in the compressor or wired externally and placed in the compressor’s terminal box. Regardless, if this switch does trip, it will not close-circuit again until the compressor cools down below the thermal overloads trip switch setting (which is factory set).
In other words, if the compressor feels hot or even very warm, you’re simply going to have to wait a few hours for the compressor to cool down. I normally give a compressor around 4 hrs before attempting to restart it if the thermal overload caused the compressor to trip out.
To restart a domestic refrigerator’s compressor, merely turn the power off at the wall outlet for 30 seconds and then back on again.
Obviously, if you’ve had the fridge off for an extended period of time after cleaning the condenser coil and allowing the compressor to cool down, you’ll be good to go after plugging it back in.
How Much Does it Cost to Fix a Refrigerator That Is Not Cooling?
This is kind of a loaded question because any technician you call for further assistance will conduct their own fault-finding.
Considering you’re paying by the hour for such services, you’re typically looking at $150-$200 before any parts or components are replaced. But, let’s say it is something more serious than a replacement thermostat or condenser coil clean, you honestly might be looking at a $1200+ invoice.
Major labor-intensive tasks like refrigerant leak testing & repair works or a compressor replacement are often not worth the time and or money. If your fridge does have a refrigerant leak, a faulty compressor, or refrigerant blockage (TX valve or capillary), I’d recommend replacing the refrigerator.
Why’s that? Because it just isn’t cost-effective replacing crucial components on an aging refrigerator when compared to the price of what a new fridge costs these days.
Now if you want to DIY it and play HVAC super technician in your spare time, have at it, tiger. But if you’re going to pay someone like me to enter your dwelling to conduct major repair works, you better have some pretty deep pockets.
That said here’s a rough estimate of what you might expect to pay for some minor repair works for a refrigerator that is not cooling from a qualified refrigeration technician:
As you can see it’s not going to be cheap to get a qualified technician to fault-find and repair your fridge is not cooling.
Although, if it’s an expensive French door fridge that’s reasonably new, it’s going to be well worth your time to at least get a pro’s opinion before tossing it for a replacement model.
How Do You Know if Your Refrigerator Compressor is Bad?
The only way to effectively check if a compressor is dead or not is by conducting a resistance test. This test is done by measuring in “ohm’s” the resistance of the internal windings.
To do this you’ll need to access the compressor’s electrical terminal box (located on the body of the compressor), remove the terminal box cover, take a photo of the terminals with the wiring connected, and remove each wire from each individual terminal.
Next, you’ll have to measure with your multimeter set to ohms the resistance between each winding. Measure and record the sum of each reading with one probe connected between the run and start winding, and another connected between the common and start winding.
You should have three different readings in ohms as there are three different electrical windings; common, start, and run. The resistance between the run and start winding should be equal to the start and common, and so on.
If these readings do not add up between the windings, the compressor is dead. Generally, if the windings are cooked, you’ll have readings that are way off and it will be pretty evident upon testing.
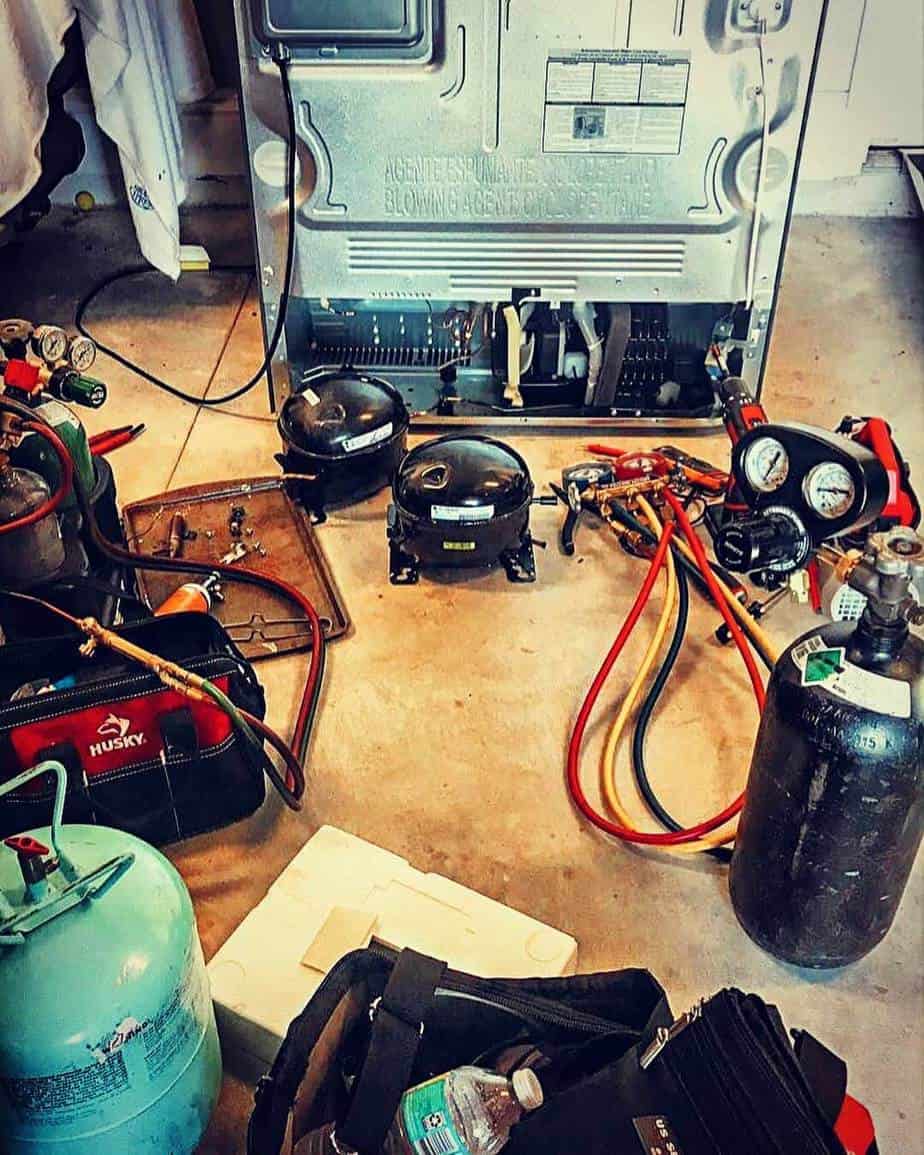
Electrical Windings are Fine – What now?
Another quick test to conduct is to analyze whether or not a compressor is faulty is to evaluate if the compressor is “down-to-earth”.
This is done by simply turning your multimeter to its continuity setting, and then placing one probe on any of the compressor’s terminals and the other probe on the body of the compressor.
If your meter produces a prolonged beeping sound with one of the terminals tested against the compressor’s body, the compressor is down-to-earth and dead.
If the compressor tests okay electrically and shows no sign of damage to the electrical windings or is not down-to-earth, you’ll next want to check the switching gear. To do this you’ll need to locate the start relay and ensure that it is functioning correctly.
This is done by checking the line voltage through the relay (to the compressor) and also the coil voltage of the relay. You should have 24V to the coil of the relay, and 110V in and out of the relay.
Keep in mind, that this is just a switch at receives alternate voltage via a cooling call (thermostat) that the control board will process.
There are no Electrical Faults – What Else Could it Be?
Now, if you’ve thoroughly conducted every electrical test as recommended and you’re still suspect on the compressor’s health status, all that’s left is to check if the compressor is mechanically seized. This is simply done by turning on the refrigerator and observing the compressor under full load by adjusting the thermostat to its lowest set point.
If the compressor either starts and clearly hums without pumping and or trips the circuit-breaker, it is mechanically seized.
If any of what we covered occurs on an investigation, the compressor is most definitely faulty and beyond repair. As a matter of fact, there are no repairs that can be carried out for a faulty compressor. Those days are gone.
Whether a compressor’s internal windings are burnt out, it’s down-to-earth, mechanically seized, or largely inefficient due to major valve displacement, it’s now nothing more than a hunk of scrap metal.
Fridge Compressor Running But not Cooling?
Alright, so the compressor you’ve rigorously assessed passed all of the basic health checks and is ready to pump some refrigerant throughout the system. But is there enough refrigerant in the system?
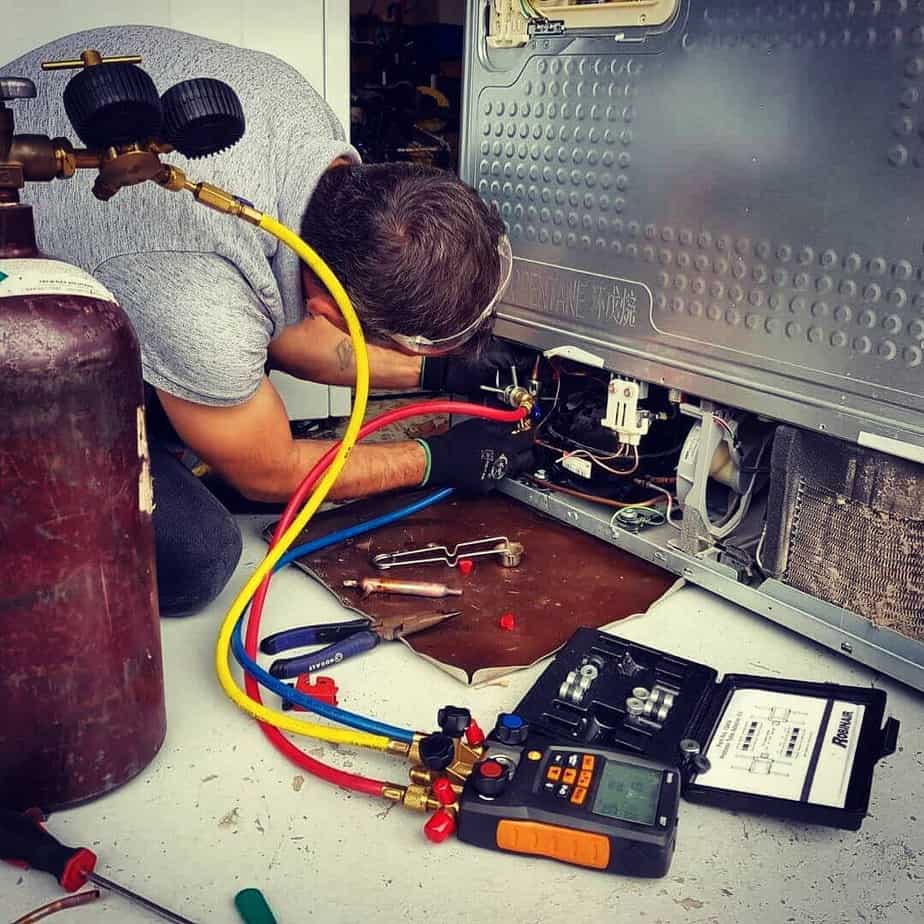
One probable cause for your refrigerator not getting cold enough even though the compressor is operating is a shortage of refrigerant. To check if your refrigerator has an adequate amount of refrigerant to operate efficiently, you’re going to have to get your hands on a set of manifold gauges or even digital gauges.
By connecting the gauge hose to the suction service valve (low side of the system), you’ll be able to check the refrigerant charge.
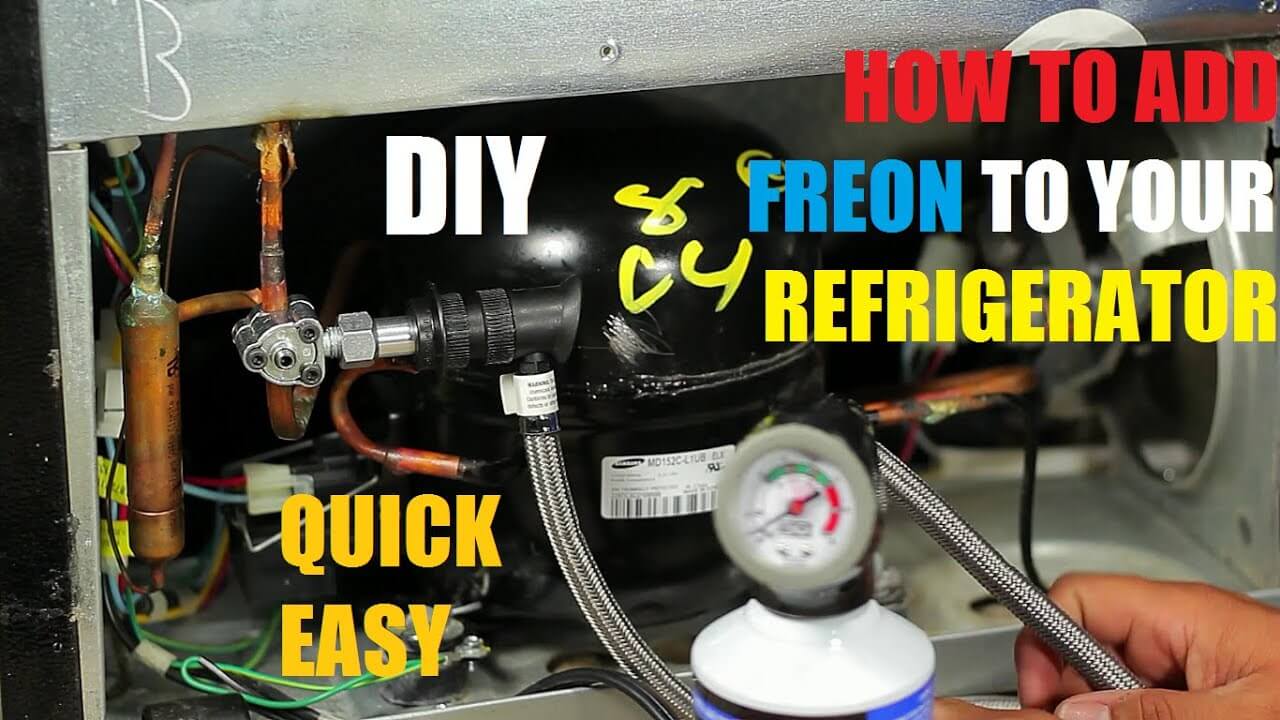
How to Add Gas to a Refrigerator?
Now if your compressor isn’t equipped with a suction service valve, you could always install a “bullet valve” to check the charge.
Although, if you do install a bullet valve, you’ll have to later reclaim all the refrigerant into a recovery cylinder and replace the bullet valve with a shredder valve as bullet valves are prone to leaking. This is a major pain in the you know what, so avoid doing it if you can.
How to Check Your Evaporator Fan Motor?
Apart from a suspected refrigerant leak, you could also be dealing with a faulty evaporator fan motor. This will be apparent by a build-up of ice on the evaporator coil due to the lack of airflow over the coil.
If the refrigerator is running and every other component (condenser fan motor and compressor) is operating bar the evaporator fan, you will need to both electrically and mechanically test the motor.
Typically though, the refrigerator control board will lockout the refrigerator if a build-up of ice occurs on the evaporator coil as most manufacturers tend to fit a low-pressure safety switch to prevent this from happening.
Although, I do say “most” manufacturers as this isn’t always the case with every brand of refrigerator.
“Generally speaking, you’ll find the cause of the motor failure with evaporator fan motors to be due to mechanical failure, as evaporator fan motors rack up some serious runtime hours. You can keep an eye (or ear) out for this by observing the noise being produced by the fan motor.”
David Newton – AG Coombs Service
Note, if you had previously noticed the evaporator fan motor making a scraping sound while running, this would indicate significant wear with the motor bearings. If that’s the case, the motor would need to be replaced.
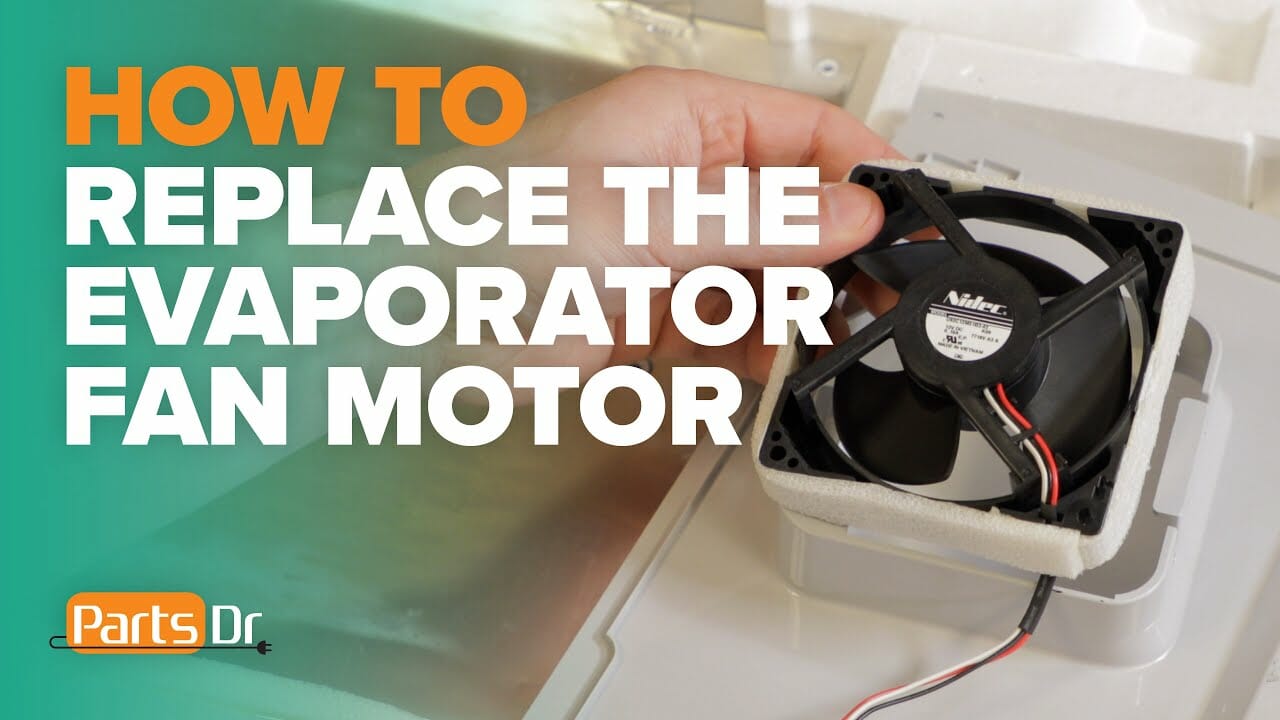
Replacing an evaporator fan motor is pretty easy and should take you no more than 45 mins.
Here’s a brief video explaining exactly what’s required:
In Conclusion
A fully functional cold refrigerator means a happy household. Conducting routine maintenance on your home refrigerator could prevent potential faults later down the road.
While I’ve endeavored to cover as much as possible here to assist with productively fault-finding your problematic refrigerator, there’s a lot more that could be wrong with it that would require an expert to help further diagnose and repair.
That said, before you call anyone to service and or repair your fridge, you should surely investigate any simple would-be faults using this guide while taking every necessary precaution to ensure your safety.
And remember, never work live electrical equipment, and keep your hands well clear of any rotating fans.

