How Do I Lay a Shed Base on My Lawn?
Ready to build your shed? Remember, a solid foundation isn’t just about looks – it’s about preventing future headaches. Skip this step, and you risk a sinking, unstable structure. Let’s get it right from the ground up!
In a Nutshell:
Begin by measuring and outlining your lawn’s intended base area. Then, excavate the space using an excavator to the required depth. Prepare a gravel sub-base for drainage and level it. Construct a wooden frame using pressure treated 4×4 posts to shape the area. Add your DPM (damp proof membrane) to protect against moisture. Pour concrete within this frame, ensuring it’s evenly spread and level. This step-by-step process establishes a solid and durable base, essential for your shed’s stability.
Take it from someone who’s been there: a solid base makes all the difference. Let me walk you through the process, step by step, so your shed stays safe and stands the test of time. Keep reading for all the nitty-gritty details.
How Do I Lay A Shed Base On My Lawn?
You have two options when you have a shed that needs a base: hire a contractor to lay a base or lay the base yourself.
If you choose to lay the shed base on your own, this how-to guide will help you get the best possible outcome.
The Supplies You Will Need
Before you begin, you should compile a list of supplies you will need to get you going.
Laying a shed base is not difficult, but it does require quite a bit of labor. You can’t just place a garden shed on your grass without first applying a protective layer and a solid base.
To lay your shed base, you will need these supplies:
Laying The Shed Base
You can start when you have all the supplies you need to lay your base. Keep in mind that you need the right weather conditions because you can’t lay the base in rainy weather.
It would create a mess and a safety hazard. So wait until you have a sunny day with no rain expected.
Here is how you can lay a base for your garden shed in your yard using this step-by-step guide.
Remember, this is a guide, and should you be uncertain of anything, you can ask a qualified contractor who specializes in building garden sheds for expert advice.

Step 1: Measure The Area And Mark It Out
Firstly, you should choose the spot where you want to put your shed. Then you need to mark out the area. Using the wooden pegs and string, mark out an area at least 12-inches wider than the shed on all sides. There are two reasons for this:
Drive a wooden peg into the ground where each corner will be. Use the level to ensure the corners and string are level and the line is not skewed. You need to adjust the line if it is skewed.
Step 2: Digging Out The Base Area
Next, you need to dig out the base’s area. Dig 4-5-inches down (100mm) and remove all the grass and soil in that area.
You must compact the ground after removing all the substrate material because you will lay the sub-base and DPM over the area.
Step 3: Laying The Sub-Base
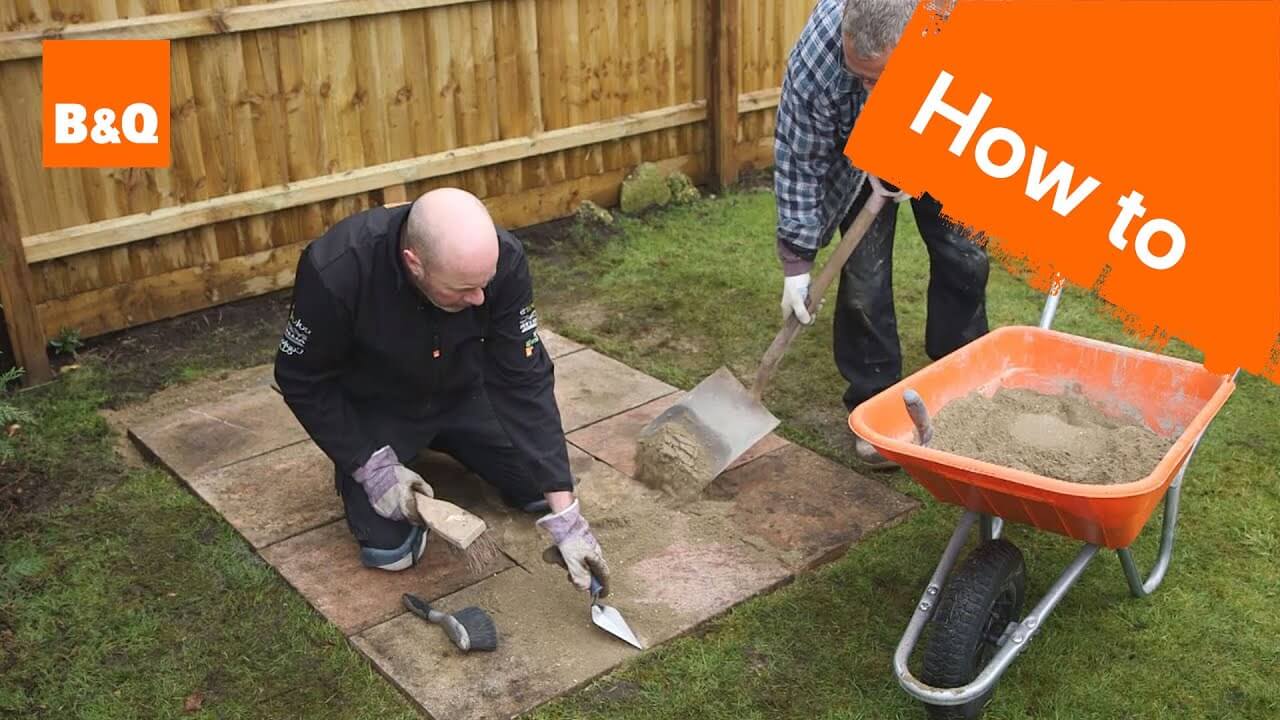
You have to add a sub-base because you can’t lay a concrete paver on grass or soft ground. The sub-base looks like a bunch of rocks, sometimes mixed with rough sand and gravel. Most experts recommend using the ‘MOT Type 1 Hardcore’ as sub-base material.
You can find this sub-base material at most hardware or home improvement stores in jumbo bags. After laying the sub-base, you have to spread it out, so it’s level. Compact the sub-base as much as you can.
Then add a layer of sand to cover the sub-base. The sand layer doesn’t have to be thick, only thick enough to keep the sub-base from poking holes in the plastic DPM sheeting.
Step 4: Framing The Base
Now you need to frame the base. Use square wooden planks that have been cut to size to frame the base.
Next, hammer down posts around the planks at one-meter intervals to keep them from bowing under the weight of the concrete. Nail the sides together and ensure all sides and corners are level.
Step 5: Laying Down Your DPM
You have to lay down the DPM (damp-proof membrane) when the framing is done. Cover the entire base area with the plastic sheeting, so it looks like a tray. If the edges overlap on the framework, tape them off. The DMP has two purposes;
Step 6: Pour The Concrete
Now you have to pour the concrete. You can hire a concrete mixer and pre-mixed concrete that only needs water to activate and is ready to pour.
If you don’t know the amount of concrete you should order, you can multiply the length of the base by the width and by the depth of the base to get the correct amount of concrete you will need. You can also double-check with the concrete supplier about the right amount.
This is the step where the PPE (personal protective equipment) comes into play the most. Concrete is a caustic substance, so you need long plastic-sleeved gloves, rubber boots, and goggles to keep the cement from clinging to your skin.
Step 7: Level The Concrete
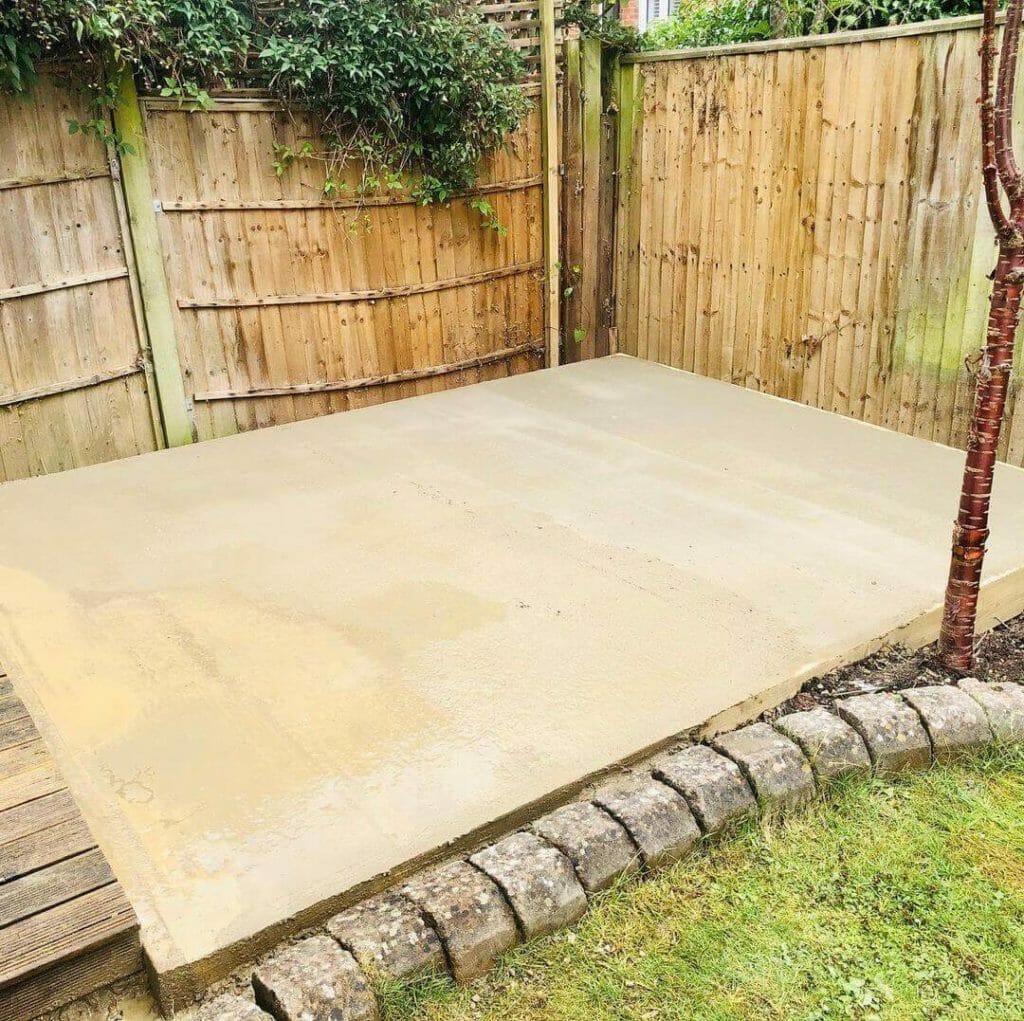
When you are done pouring the concrete, you need to level it to give your shed a smooth base. You can use a rake to ensure no air pockets are left in the concrete and smooth it using a plain wooden plank.
Pouring, spreading, and smoothing cement is a two-person job, so you will need help, or the cement might dry before you are done. After you have smoothed the concrete, lay a raised plastic tarp or polyethylene sheet over the concrete to help it set slowly without cracking.
Step 8: Allow The Concrete To Cure
You have to leave the concrete base to dry for 48 hours. Then you can remove the wooden framework, but remember the base needs to stand and settle for 28 days before it can take the weight of your shed.
In Conclusion
Constructing a base for your prefab or custom-built shed might seem daunting, but it’s quite manageable with a bit of help and the right guidance. Following the simple steps outlined above, you’ll soon have a strong and enduring foundation for your shed.
Key Takeaways:
Rest assured, by sticking to this guide, you’ll adhere to the necessary building codes in your state or territory. Don’t forget to don your PPE and reach out to an expert if you encounter any uncertainties. If you have any questions not covered here, please reach out to us.


