How to Cut a Taper on a Table Saw
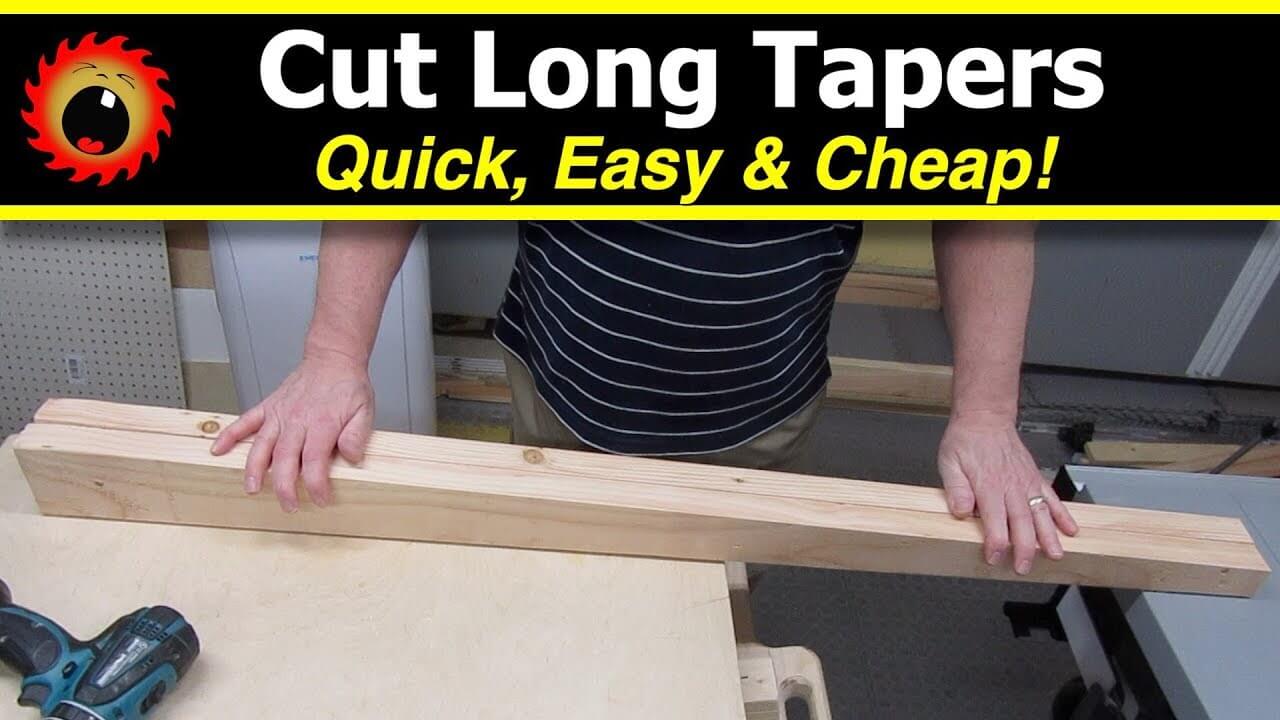
A taper cut in woodworking is when one end of the workpiece is simply lesser than the other in relation to the angle of the cut. For it to be a true taper, there needs to be a smooth transition between the ends to be considered a taper.
Cutting a taper with a table saw isn’t as straightforward as pushing the wood through a table saw at an angle.
Although, first and foremost this would be considered fairly dangerous as the wood can catch and kickback.
Secondly, you’d find it very difficult to cut a straight edge. The saw blade is incredibly quick and powerful. It is difficult to control the wood that goes through that blade.
That said, we’re going to talk you through the process and take the guesswork out of using a table saw to make tapered cuts. Honestly, it’s a fairly simple process and you should get the hang of it quickly.
Why and How to Cut a Taper on a Table Saw Safely?
There are lots of situations where tapered boards or planks are called for. When it comes to a kitchen fit-out job, tapers allow fitters to create artistic custom worktops that are designed to snugly fit intricated kitchen fit-outs.
While in furniture making, tapered planks are often used for legs on tables, cabinets, chairs, and benches. Tapers are generally very useful for getting wood to fit odd shapes and within places with limited dimensions.
What You’ll Need to Cut a Taper on a Table Saw
To create a straight and accurate taper, you’ll need the following tools and materials when attempting to make taper cuts with a table saw.

The Correct Method to Cut a Taper on a Table Saw
Using this method, you will essentially create a sled for your wood. I’d also seriously recommend getting a tapering jig when attempting to make taper cuts with a table saw.
Note, while the sled for your table saw can be as basic or elaborate as you wish, you really don’t need to go all out here if you have a limited number of taper cuts to make. If you only have one taper or two cuts to make, I’d keep the sled as basic as possible.
That said, if you have multiple tapers to cut, then you might want to set your sled up to be a bit more of a permanent fixture to streamline the entire process.
Here’s the step-by-step process to cut a taper on a table saw:
Step 1
On the blank that you want to taper, measure and mark the taper line. The easiest way to do this is to mark the width of both ends and join the marks with a rule. Make sure that you mark the end of the taper at the desired length, even if the blank is longer than the final cut. If you mark the end of the blank instead of the desired length, your taper will be off.
Step 2
Once you’ve marked the piece of wood, make sure to take a mental note as to which side is the discard side. This is the part of the blank that you will not use for your project. It might be useful to mark it now and not be left scratching your head later when you’re left with two pieces of similar lengths.
Step 3
Choose a base for the sled. You need a flat bit of wood with one straight edge that is wide enough to cover the discard portion of your blank. Ideally, the base should be a few inches longer than your blank. This will help when it comes to positioning the guide. The straight edge is very important. This edge will run along the rip fence of your table saw. If the edge is wonky, the cut will be wonky.
Step 4
Attach the blank to the guide using screws. You want to place the discard on top of the sled with the keep side hanging over the edge. Your taper line needs to run parallel to the straight edge of your sled. The best way to do this is to align the other edge of your sled with the taper line you drew.
Step 5
The other way to align your blank is to make marks on the guide. You can do this by measuring the width of the endpoints of the discard and marking them on the guide. You need to make sure that your taper line is ever so slightly over the edge so that the blade doesn’t cut the sled. It’s best to attach the blank on the discard side so you can avoid damaging the piece you need.
Step 6
With your blank attached, you now need to decide whether you’ll use the sled multiple times or just once. If you’re only using it once, you can go ahead and use the previously suggested method to cut the blank.
Step 7
If you need to make a few of the same taper cuts, you’ll want to add blocks to your sled. These blocks will allow you to position your next blank quickly and easily without the need for measuring and aligning. To make blocks, you just need two small offcuts. They should have a straight edge each and ideally need to be thicker than the blanks you’re cutting.
Step 8
Position the blocks so that they rest firmly and flatly against the edge of the blank. You want to place them at either end of the blank. Once in place, screw them into the guide. Next time you need to align a blank, you just place the edge against the blocks and screw it down.
Step 9
Next, place the straight edge of the guide between the tapering jig and the rip fence of your table saw. This should place your taper line toward the blade, and when using the suggested table saw taper jig, you’ll be able to safeguard yourself from the table saw blade.
Step 10
Adjust the blade height if necessary. It should be about ⅛” above the blank. If you like having all your fingers, you don’t want to put the blade any higher. At ⅛” above the blank, even if your hand makes contact with the blade, you are unlikely to lose a digit.
Step 11
Make sure to adjust and set the fence so that the taper line will pass through the blade clearly without any resistance or obstructions hindering the cut. Using push blocks or a push stick, push the blank through the blade slowly but firmly. Cut all the way through the blank allowing the keep side to drop away from the sled. Remember to turn the saw off once you’ve made the cut.
Step 12
Lastly, just a quick recommendation to help prevent any confusion and frustration for you beginners out there. If you need to reuse the sled, make sure you unscrew the previously discarded side of the blank before attaching the next blank!
Note, if you must attach via the keep side, you could consider using some heavy-duty tape and or some woodworking clamps to keep the piece of wood in position.
Other Things to Consider
Sometimes the discard is bigger than the keep. It can become quite unwieldy and unbalanced to move the sled with the small discard side attached and the larger keep side overhanging.
In these cases, you should attach the keep to the sled. However, you need to drill screws in from the sled side rather than the blank side. This way, one side of the blank will not be damaged by the screws.
It’s important to remember that your cut will only be as straight as the edge that runs along the fence. If your guide edge isn’t straight, your cut won’t be. Square up the guide before you think about using it to cut a tapered edge.
If you don’t happen to have any plyboard or odd cuts around for a sled, go to your local hardware store. They will usually sell you offcuts for a couple of dollars.
If you want to know how to square a board, check out this article.
Pro-tip, to avoid wonky edges and lopped-off fingers, the best way to get a tapered edge is to use some guide wood for your tapered cuts.
In Conclusion
As you can see, cutting a taper on a table saw is a fairly easy task. If you are in the habit of cutting tapers, you could label them and then keep your sleds after use. This would give you a library of different tapers you can use in the future.
Mastering the art of cutting wood with your very best table saw at different angles, like with a tapered cut, can really take your woodworking projects to another level.
So if you want slender-looking legs for your newly crafted coffee table, and are determined to make use of a table saw for all your taper cuts, maybe read over this guide a few times before your start the saw up.
Best of luck with your woodworking ventures, and may the sawdust be with you.


