How to Cut Boards Exactly the Same Length
DIY activities are more popular than ever before. Home renovations have become something of a craze, and now more so than ever people want to make things their own in their homes, and one way to do this is by doing it yourself.
One of the most popular materials to work with at home is, of course, wood. Wood is extremely versatile and can be used in lots of different tasks.
It is also easier to complete DIY work with than some other materials as it can be easily trimmed and cut into the size and shape that you need for the specific task that you are completing.
How to Rip Boards the Same Length?
Cutting one piece of wood is easy, but cutting more than one piece, well that is when it becomes difficult. Especially when you require the two pieces of wood to measure the same length.
That is when the task becomes even more daunting. No matter how many times you measure that piece of wood, more often than not you will cut it to find that it is either too short or too long.
So is there really a foolproof way to cut boards exactly the same length? And what tool is best suited for cutting boards at the same length? A track saw, a miter saw, or the more popular saw most woodworkers own, a table saw?
Well, you’re in luck because there is! In this guide, we’ll be giving you not one, not two, but four different methods that you can use to ensure that the wood that you are cutting ends up exactly the same length as one another.
Method One: Mark and Measure
Whether you’re planning on cutting boards of wood the same length with a table saw vs circular saw or even a track saw, you’re most certainly going to get nowhere fast without measuring the boards first.
So, the first method that we’re going to take a look at is one that you are probably already familiar with, and that is the mark and measure method.
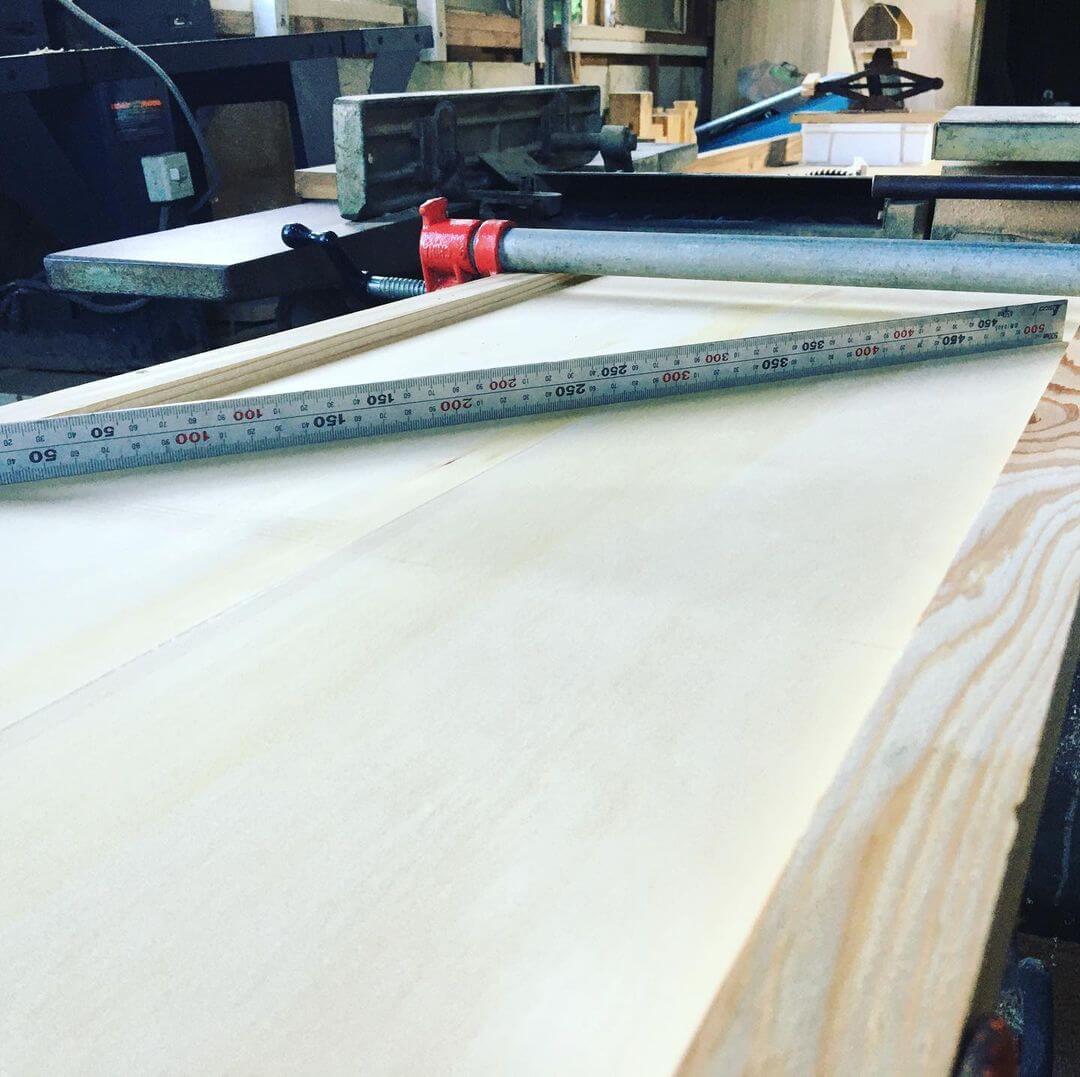
For this method, the first thing that you need to do is prepare one board of wood. Have the measurements that you want to cut it to at hand, and get your measuring tape ready.
Measure the length that you want to cut, mark it with a pencil, and then proceed to cut it to the length that you measured earlier.
On the piece of board that you have cut off, you should write in big and bold writing ‘SAMPLE’ or ‘PATTERN’ so that you do not get confused or lose this piece of wood further on down the line.
You can now put your measuring tape aside because you have a template ready to use instead. Make sure the ends of your sample and the piece of wood that you are measuring are flush to one another and mark the area with a sharp pencil.
This is where the importance of marking the sample becomes apparent as if you do not use the same sample piece each time that you cut, there is a good chance that the pieces that you cut will end up being different lengths.
So to use this method, you must ensure that you use the same sample piece every single time.
Method Two: Use a Sliding Compound Miter Saw
If the mark and measure method is not appropriate for you, another way that you can cut multiple pieces of wood to the same length is by using a miter saw.
A miter saw is more of a niche tool and is the perfect saw to cut angles with, like when you’re cutting and installing baseboard molding. It’s a tool you’re unlikely to have lying around, but it could be a good investment depending on the type of woodworking or home improvement projects you’ll be pursuing.
To begin using this method, you need to clamp a board of wood into the miter saw fence. Once you have clamped the board into place, cut off the end of it.
You will then need to take your measuring tape, and have the measurements that you want to cut at hand so that you know how far along with the board you need to cut.
Taking your measuring tape, you should put the tape on the end that you have cut and measure down the board.
Mark the place that you want to cut before adding a piece of scrap wood to this area. Once you have placed the scrap wood you should then clamp it into place.
Following that, you should then take the board that you want to cut and place it into the saw table.
You will need to slide the board down the table until it comes into contact with the block of wood that you clamped into place earlier.
With the wood board flush to the block, you can then cut the board. Repeat this with all of the other boards that you want to cut for them to be the exact same length.
Method Three: Use a Table Saw
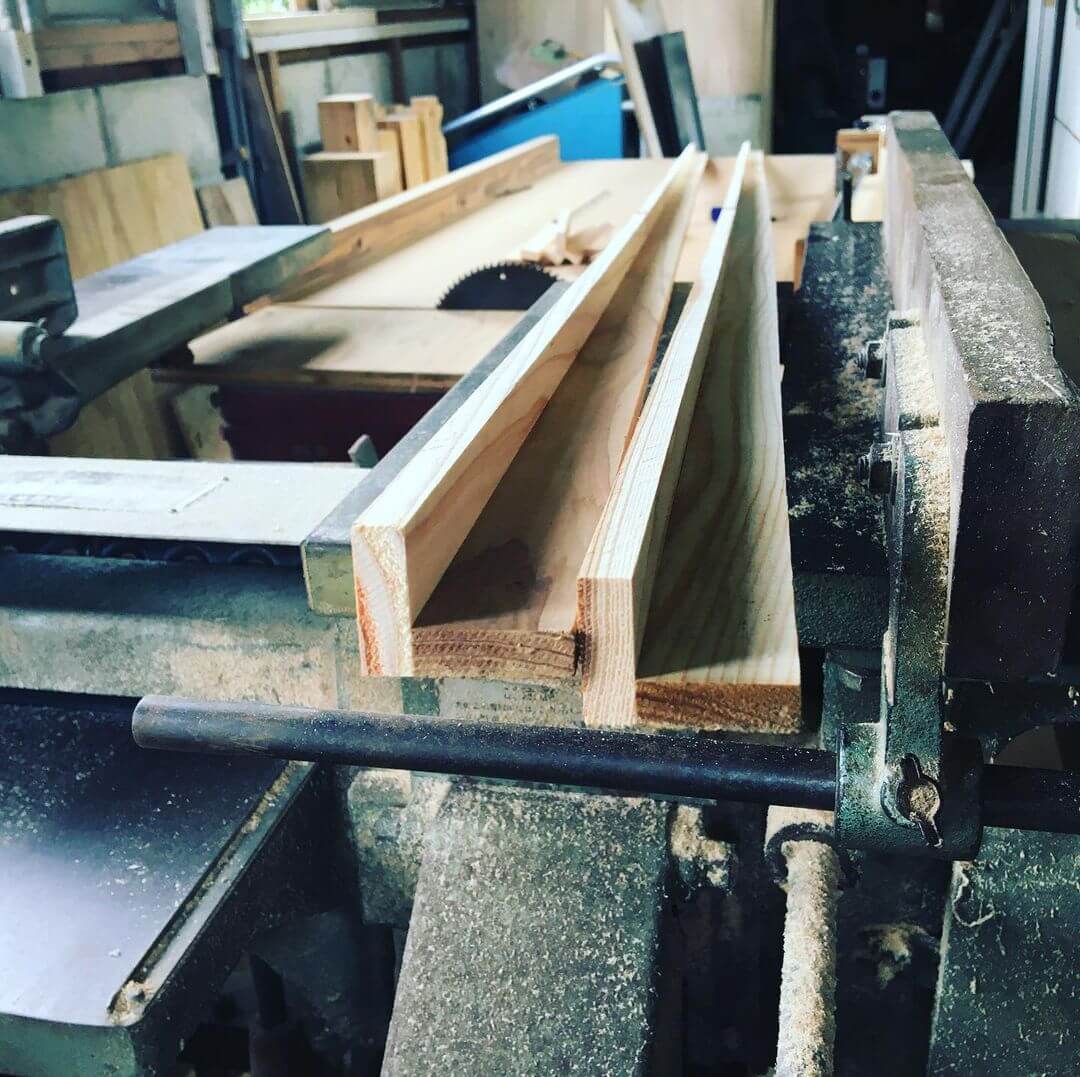
This next method is actually very similar to the second method that we looked at, but instead, it involves using a table saw to make the cuts.
Although, when it comes to cutting boards the same length and say I had to choose between a table saw vs miter saw, I’d most likely choose the latter.
That said, you may be more likely to have a table saw at home than a miter saw, and if you do, you should follow this method instead.
First, you will need to screw the auxiliary fence to the table saw before cutting partially through the auxiliary fence.
Taking your measuring tape, you should then drop the end down through the saw kerf to measure down the fence.
Once you have measured your desired length, you should then mark this on the boards that you will be cutting.
Following the same method that we looked at when using the miter saw, you should then cut and clamp on the stop block so that you can use this to measure the length that you want to cut the boards too.
You should then do the same as you would with the miter saw method. Simply place your wood boards so that they are flush against the stop block and then cut them.
Repeat this until you have trimmed all of the boards that you need to cut to the desired length.
Method Four: Use a Clamp
Our final method is a lot simpler than the second and third methods as it does not require any power tools to be able to cut these wooden boards successfully. I’d go with this option if you have no interest in buying a table saw and just want to cut a few boards of wood.
For this method, you simply need a measuring tape, a hand saw, and a clamp.
To use this method, the first thing that you need to do is gather your wooden boards together and lay them down on top of your wood bench.
Before you do anything else, you should square up the ends so that your wooden boards are in line with one another. As long as the ends of one side of the wood are square then this method will work.
You will then need to measure the length that you want to cut and mark this on one of the wooden boards. We recommend doing this on the board closest to the side of the bench that you are cutting.
Once you have measured, all you need to do is clamp the wood in place, and ensure that the board is square before you can begin cutting.
Once you have cut through all of the boards you should find yourself with multiple boards that are all the same size.
In Conclusion
So there you have it, four different ways to ensure that the wood boards that you are cutting end up exactly the same length with both electric and manual options to choose from.
Table saws are fantastic for cutting lengthy boards of wood. The one other power tool that probably does it just as well as a table saw is a track saw.
But, considering how a table saw should ideally be your first big power tool purchase for your workshop, you’ll now be able to confidently cut long boards of wood at the same length. And if you get stuck, you can always refer back to this guide.

