How to Sharpen a Table Saw Blade With a File
Much like any saw blade, table saw blades will require sharpening. And sharpening a blade on a table saw vs a miter saw is not different.
No matter the saw and or blade quality, the more load you put it under, the duller the blade will become.
A dull blade will be the death of any woodworking project. You’ll honestly be fighting an uphill battle until you either sharpen your dull table saw blade or bite the bullet and buy a new blade.
But, if you’re not interested in the latter and want to learn how to sharpen a table saw blade, we’ve got you covered. We’ll give you the straightforward simple version, so you can DIY a complete table saw blade upgrade without breaking the bank. Let’s get to it.
How to Tell Your Table Saw Blade Needs Sharpening?
The first dead giveaway of a blunt blade showcasing the immediate need for you to sharpen your table saw blade is by looking at the finished cut.
Also, if the blade is taking a very long time to cut through the material it means it probably needs to be sharpened.
If the wood you are cutting has burn marks or any other imperfections, then the blade might actually be burning the wood due to excessive blade friction. This friction creates excessive heat, resulting in nasty look burn marks on your now not-so-pretty-looking wood. Obviously, this is something you want to avoid at all costs.
You don’t want to risk your safety or compromise the finished product of the project you’re working on. using a dull blade is a serious no-go.
If you’re attempting a new and extensive/expensive DIY project, it is best to use a freshly sharpened blade as it will no doubt deliver the results you’re looking for.
Is It Worth Sharpening Table Saw Blades?
If you want the most out of your table saw, and intend on using your table saw safely and effectively, cleaning and sharpening your table saw blade is really a no-brainer. As a craftsman, not only do you seek flawless presentation from your blades but you also want them to last you a long time.
This is a cost-effective strategy that will keep you on top of your game, and more importantly, on budget.
If you do not sharpen them and cut material often enough the blade will wear out fast and you will be stuck repeatedly having to either invest in new blades or end up with less and less satisfying work.
You save a lot of money on blades by keeping them sharp and you also save a lot of product as you will be less likely to end up with errors.
You will also reduce the risks of the blade catching on any material when your blade is sharp and smooth.
How to Sharpen a Table Saw Blade… Safely!
Let us talk you through how to do this, safely and securely for the best results.
Safety First!
Firstly, a degree of caution comes first when doing anything with a saw. First of all, you must switch off and unplug your table saw.
You will also need some basic safety gear to avoid any injuries or harm to yourself. Ensure you have the following:
What You Will Need
Ensure you have your safety equipment, you will also need a diamond saw blade that you will mount on your table saw, you will use this to sharpen your saw blade.
You can easily get these for affordable prices online or in your local hardware store.
Removing the Blade
Trying to sharpen the blade while it is still in place would be a huge mistake that you do not want to make. So, the only viable option here is to remove your table saw blade from the saw.
If the blade was still in the saw there would be no way to restrict the movement or secure you and even though it is dull it could still easily injure you very badly.
Before you go any further, you’ll need to release the blade by looking for a blade release switch on your table saw. Although, not all table saws have a release switch, so you may need to look for an arbor nut and loosen that with a wrench to release.
Securing the Blade
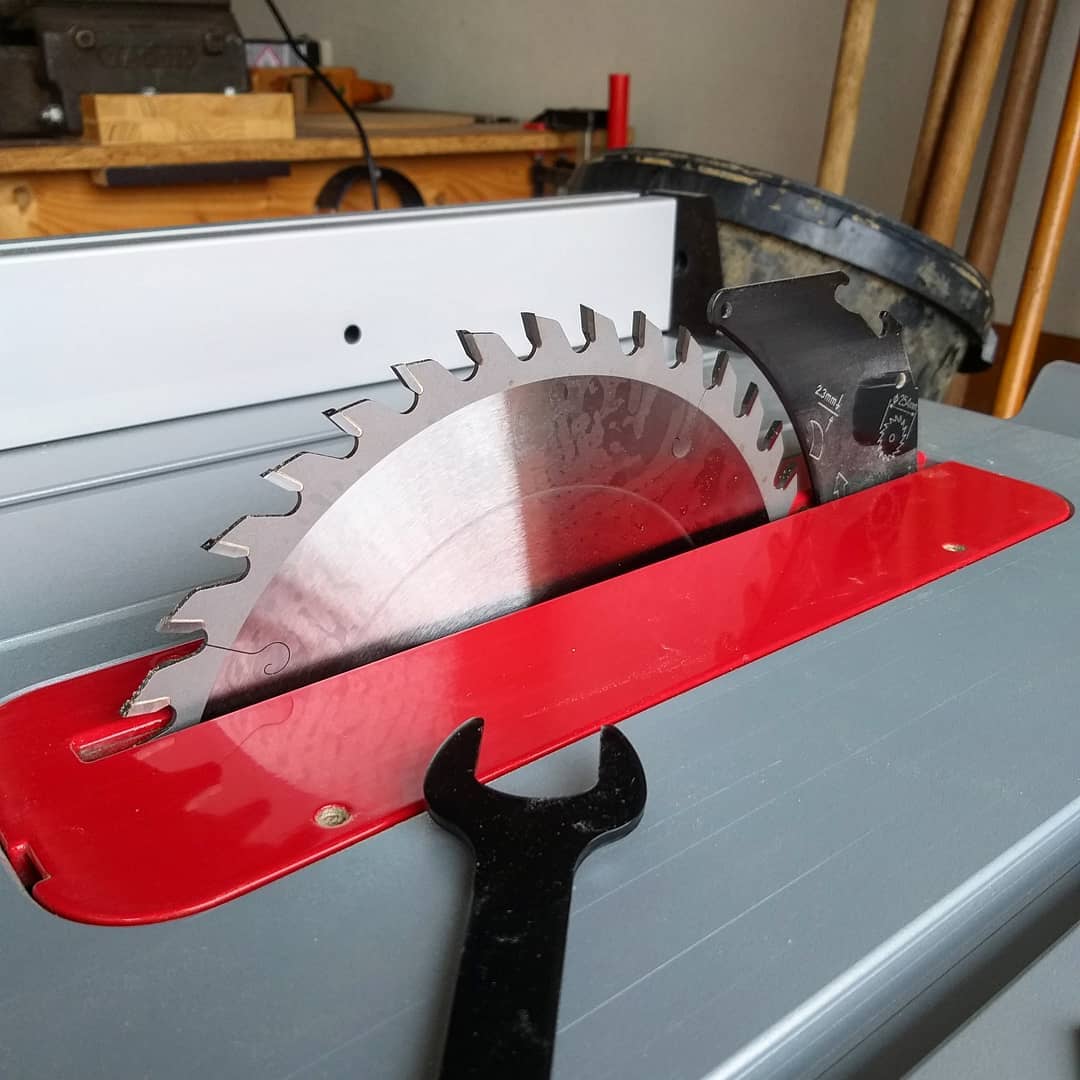
Once you have moved the blade you will want to place your diamond blade in its place. This is what you will use to sharpen it.
Again you can either use the switch or use the nut and a wrench to tighten it in place.
Make sure it is not too tight or too loose, a tight nut can bend your blade and a loose one will be unable to secure it in place.
Aligning the Blade’s Teeth
Now you will need to align the teeth, to ensure that you sharpen every tooth on the blade you can mark where you start, using a dry marker or some tape works well, whatever you find easiest.
If all your teeth point in the same direction then you can sharpen it in one pass over. However, if like some blades they point in different/ both directions then you will need to perform a second pass of the teeth.
Filing the Teeth
This is probably the most tedious part of the process but, at the same time one of the more important parts of this entire process.
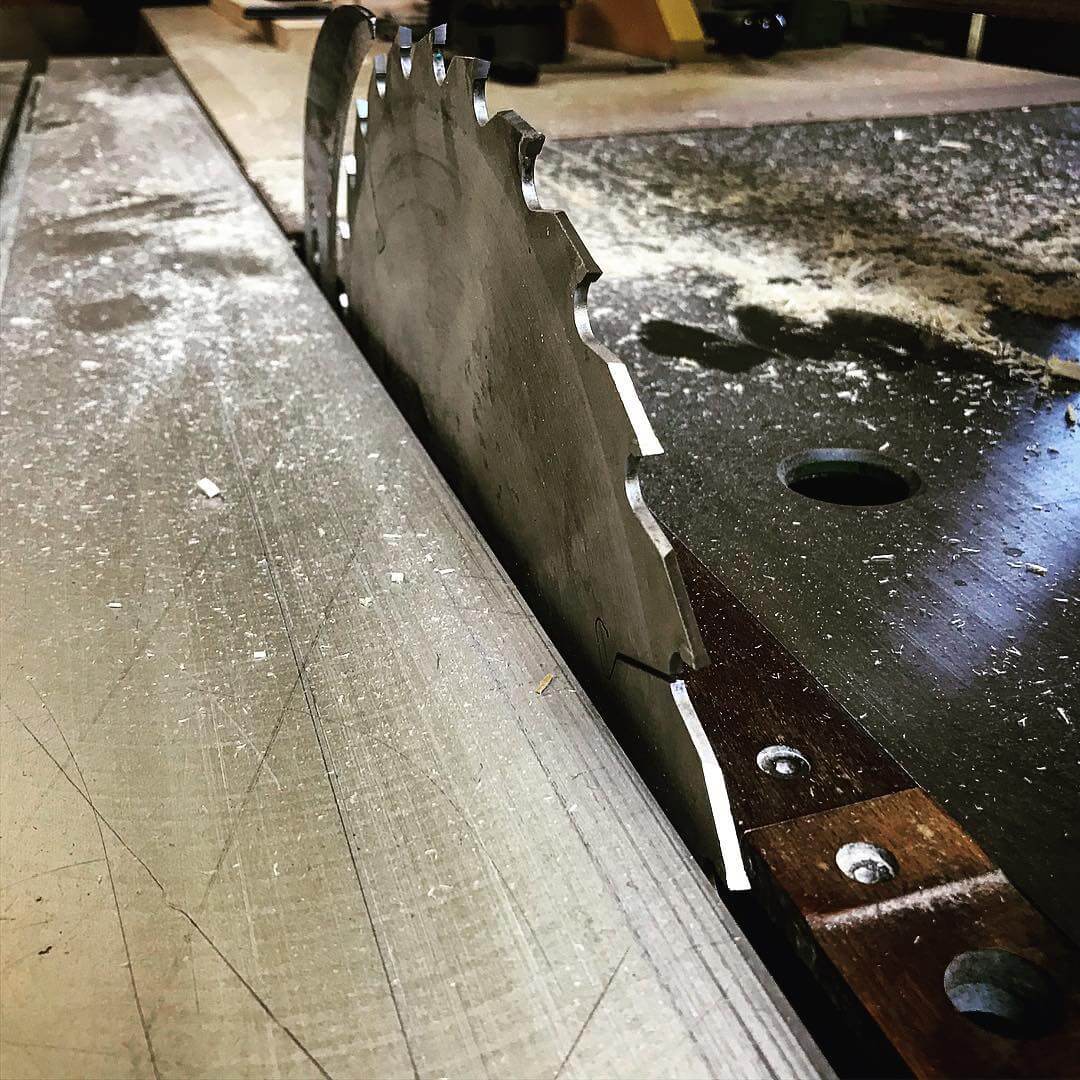
You need to now plug the saw in and switch it on. The diamond blade on your table saw will start to rotate. Bring your table saw’s marked teeth to the diamond blade’s edge and touch it against it.
As you do so ensure that the inner edge of the blade is touching it, this part has the carbide layering which is responsible for the bluntness of the blade.
Now you need to move on to the next tooth and repeat the process one by one until you have one them all.
Installing the Blade
Now you need to reinstall your blade. This is where we double-check that it has been appropriately sharpened.
Reinstall it, plug it in and turn it on. Get materials, some wood will do, and check how it cuts through it.
There should be no real effort or any resistance and the edges should be smooth and regular.
You may see an improvement in it compared to before the sharpening. If it all looks good then it has been adequately sharpened and now you know how to sharpen your blade.
Table Saw Blade Maintenance & Cleaning
There are so many saw blades available for table saws, and it does not matter what type you have, they will all need maintenance at some point. Table saw blades can, unfortunately, get dull rather fast if they don’t get the maintenance they need.
You can extend a saw blade’s life span drastically by sharpening it appropriately and delivering prime maintenance.
Keep a keen eye out for rust or tarnishing, check all over, in crevices and edges. Though these are small areas, sometimes the smallest bit of rust can cause the biggest problem.
What Will You Need to Clean the Blade?
- You will of course need water and detergent and also a bristled brush of some kind. Utilizing a brush will allow you to work into the blade and loosen any stubborn bits of dirt or dust.
- While detergent works great for some, there are also cleaners available that are specifically intended for cleaning saw blades so you can select the one which you feel is the most sufficient.
- You will likely develop a preference for a particular type of product as you may find one to be more effective than the other.
- A pan or container of some kind is also needed for housing the water that is going to be used to bathe the blade.
- As the dirt and dust rub off the blade a decently sized container will ensure that it is contained in one area.
- You will need to set up an aluminum pan or container of some kind and fill it with water. This is what will be used to bathe the blade before allowing it to soak.
How Do You Clean a Table Saw Blade?
Once you have set up the container, you will of course need to remove the blade from the table saw. Before you do so you must ensure that the machine is switched off so that it doesn’t present a risk to your safety during the process.
Here’s is the correct step-by-step process to clean a table saw blade:
Step 1
Assess the severity of the dirt before you place the blade into the water. If the build-up is minimal, go ahead and place the blade straight into the pan. However, if the volume of dirt and dust is more severe you may wish to use the brush to remove the majority of this excess dirt and dust beforehand. Doing so will make the cleaning process much easier.
Step 2
Now that the blade has been submerged in the water you can add the detergent or the blade cleaner, stir the product in to activate it and then allow the product to work soaking against the surface of the blade.
Step 3
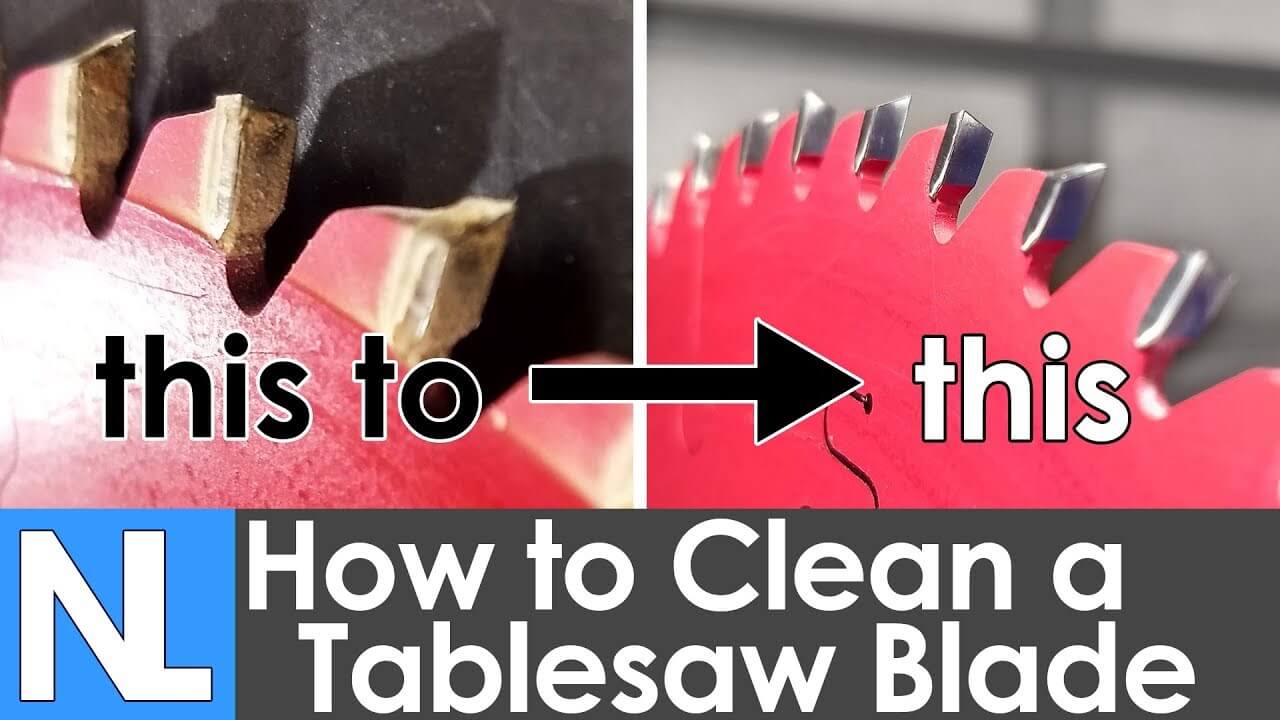
You should allow the cleaner whether this is detergent or an actual blade cleaner around 5 to 10 minutes to start working. Doing so will allow the products to tackle and break down the dirt. If you don’t leave the blade to soak for long enough, it is going to have less time to work and clean the blade effectively.
Step 4
Once you have allowed the blade to soak you can then begin using the brush to scrub against its surface to remove the dirt and dust. This will allow you to get rid of all the smaller and more stubborn particles that would resist movement if they were simply left to sit in the water.
Step 5
When picking up and moving the blade handle it is nearer the center where the surface isn’t so sharp. When the blade appears clean and all of the dust and dirt particles have been removed you can remove it from the water. Ensuring that your blade is thoroughly dried is super important.
Failure to dry your blade properly can lead to the development of rust which can cause a deterioration in the quality of the blade. The use of oil can also help to prevent the development of dust.
Once you have cleaned and dried the blade you can then apply the oil. This will help to protect the surface and components while also improving the performance by allowing for cleaner and smoother cuts.
Note, the amount of time that the blade needs to soak is going to depend on how dirty it is. Those with a more stubborn build-up of resin and dust are likely to require slightly longer.
In Conclusion
Table saw blades are usually made with carbide or high-grade stainless steel. Hence the exuberant cost of these blades.
The type of blade equipped with your table saw will define what it is made from and therefore how you sharpen it.
You should always refer to manufacturer instructions before you sharpen to ensure that you are doing it correctly for the material types.
These blades often need to be sharpened with an abrasive material which is very often something that has diamond bits. This is why a diamond blade is very often a good choice.

