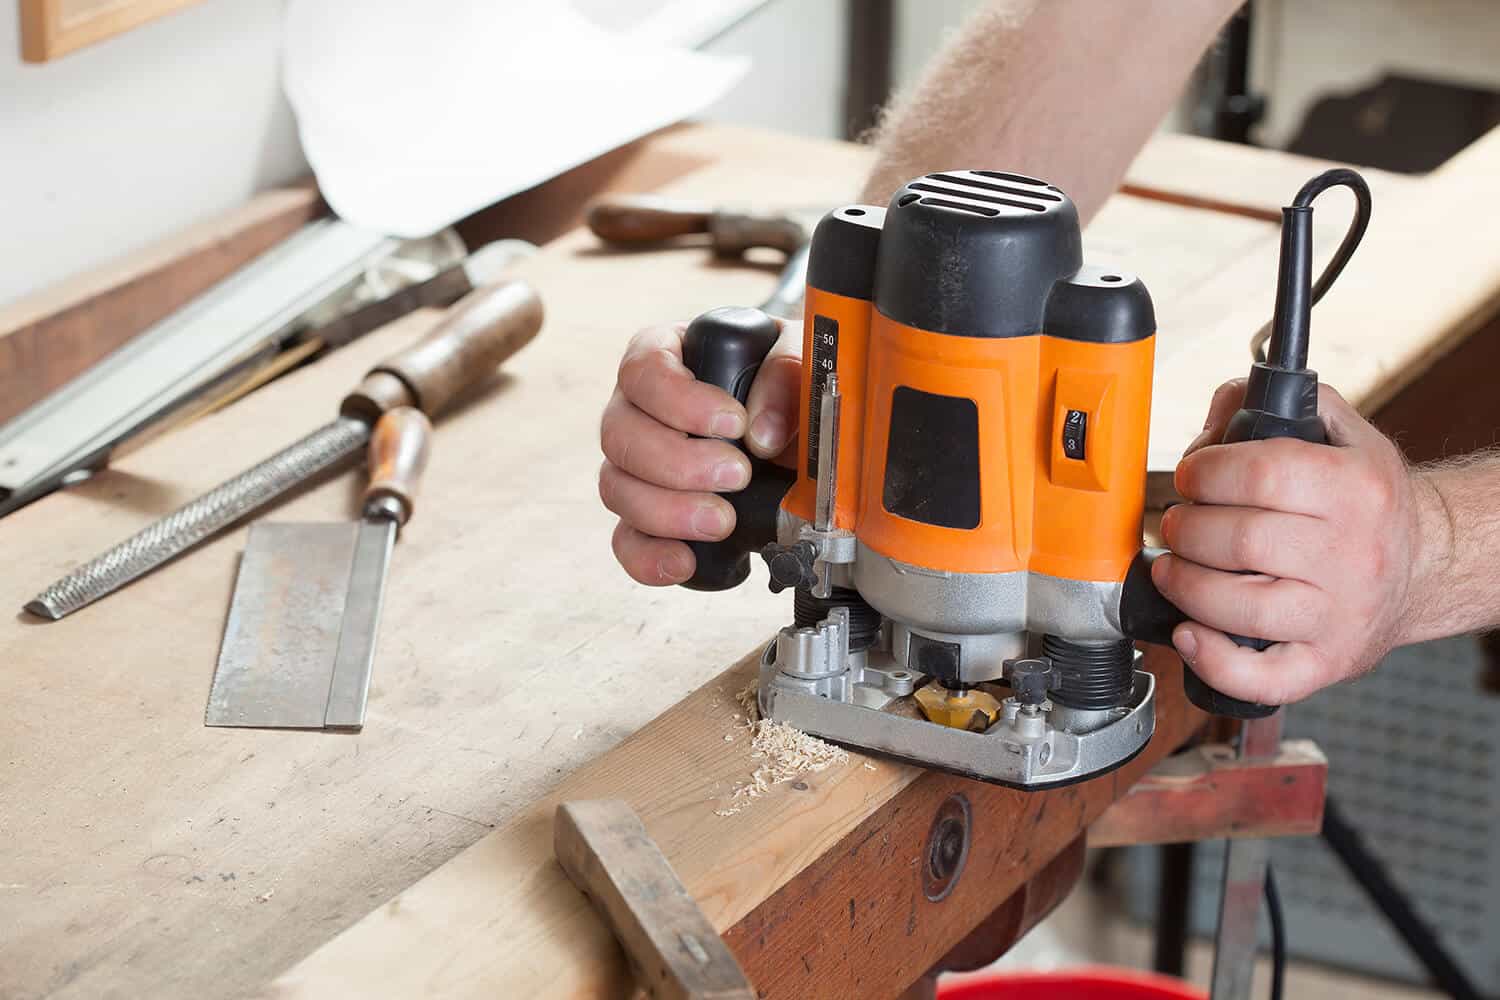
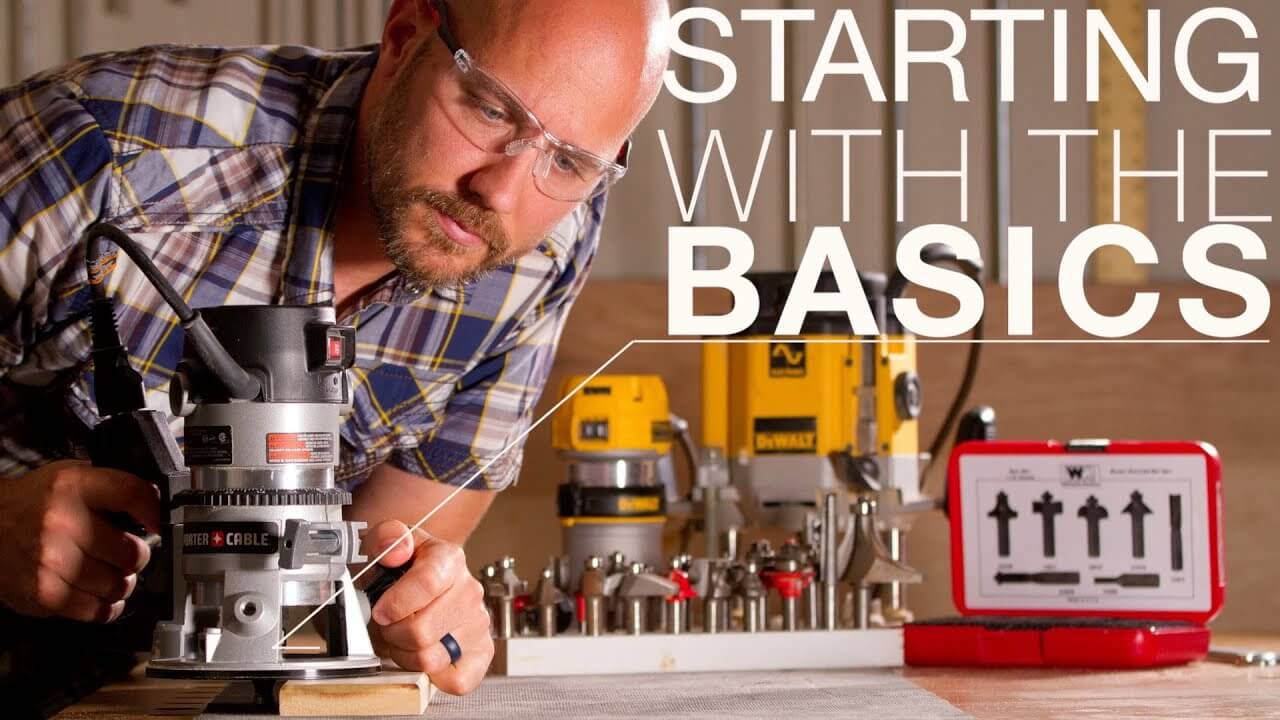
How to Use a Router for Woodworking DIY Projects
A wood router is one of the first (affordable) power tools that every woodworker buys, besides a table saw, a drill press, a compound miter saw, and a joiner.
Electric wood routers work by spinning sharp-edged bits of a specific material at very high speeds and are much more powerful and useful than old, hand routers.
Wood routers are basically intended to be used for specific woodworking projects which can be both decorative or functionality aimed.
Before You Begin
The first thing to do before you start using a wood router is to loosen the collet by turning the collet nut anticlockwise and insert the straight bit or other router bits that you’ll be using.
When you insert the bit, turn the collet nut clockwise, but don’t overtighten the collet.
Securing the Materials
Another essential thing to do is to secure the materials. It would likely end in disaster if you have to chase materials on your work table while working with a router.
The material you are routing should be secured on a bench. You should use a router mat with a non-skid surface.
Protection
Of course, it is also vital to protect yourself before starting to work, not only with the wood router but with any electric tool that can potentially be dangerous. You should also protect both the eyes and the ears.
Routers can be very loud sometimes, and if used in the long-term, can cause permanent hearing damage.
What is a Router?
When it comes to cutting a stock of wood, there are many ways to get the job done. Whether you’re cutting a piece of wood in half or just whittling for decoration, it’s important to know what tools to use.
A wood router is one important tool that every aspiring woodworker should have in their tool arsenal.
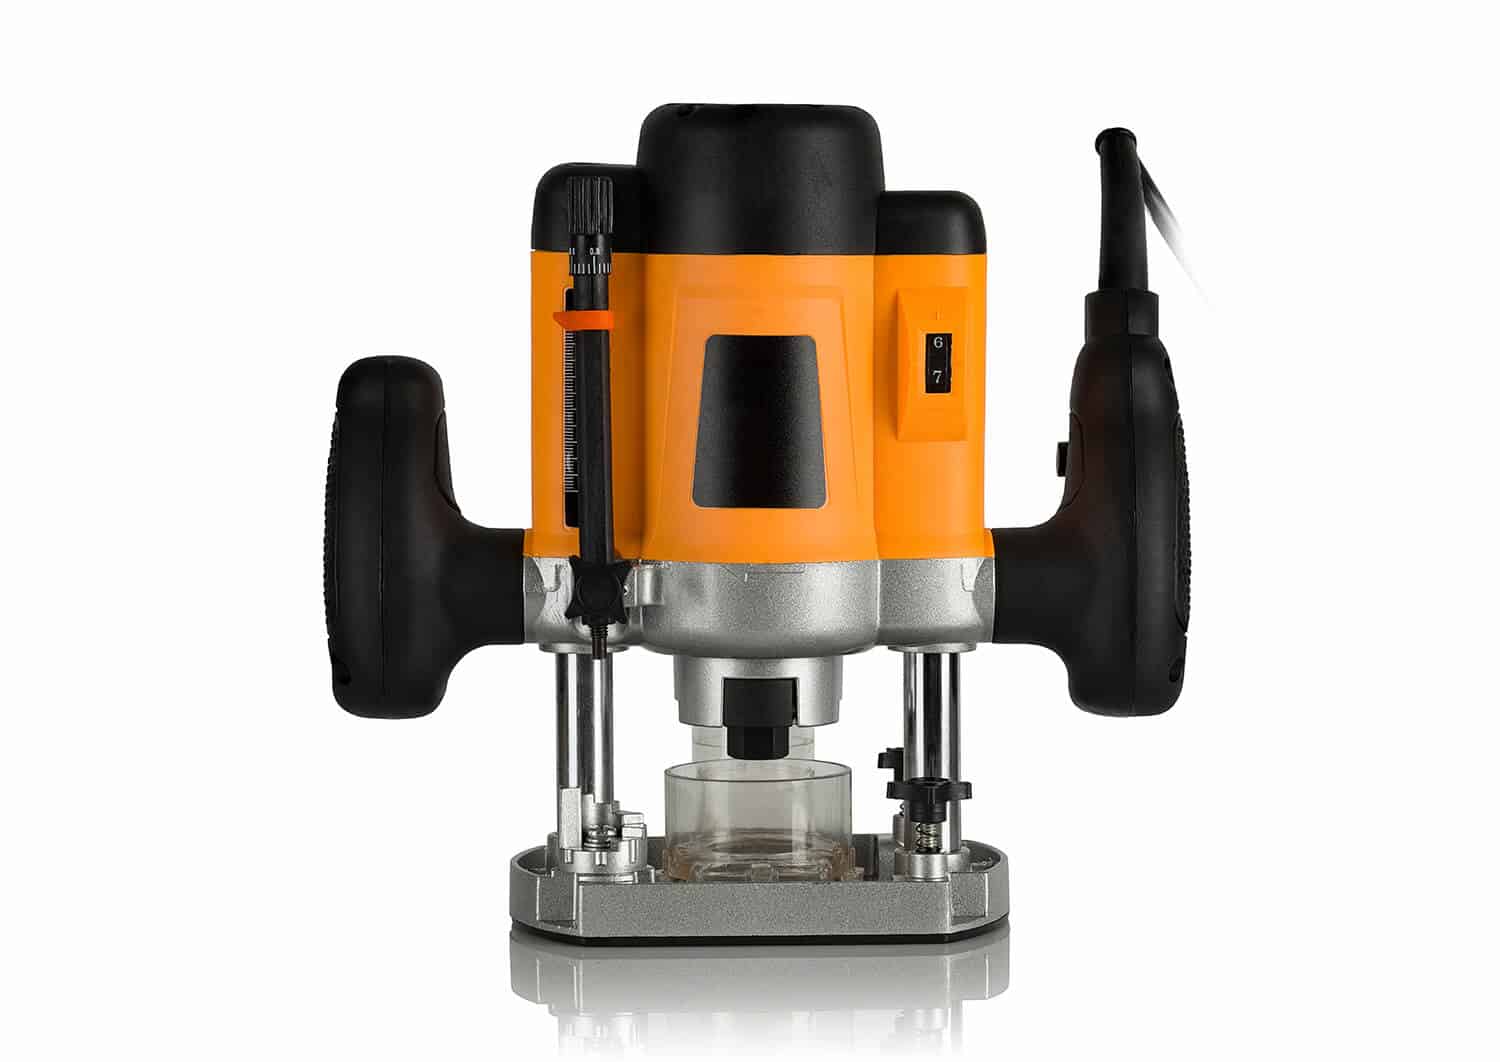
A router is a power tool or hand tool used to rout (or hollow out) an area from a hard material, most often wood or plastic. They can either be fastened to a work table or handheld. There are two types: fixed and plunge.
Essentially, you can adjust the height of a plunge router bit, while you set the depth beforehand with a fixed tool.
How Can You Use a Router to Cut Wood?
Routers are one of the essential tools a woodworker should buy. Woodworkers most often pick up a router to build cabinets and strong shelves. You just need basic skills to use this tool. A shoulder in a piece of wood called a “rabbet” helps pieces attach to others.
Often, you can buy a specific bit bearing that will reduce friction and help create the perfect rabbet.
If you are looking to become a serious woodworker, you should also look into purchasing a router table. These are used to rout and cut on serious woodworking projects.
They allow you to see a piece of wood through more angles than you would be able to on an average table, plus a solid base is crucial when you’re working with a router.
Router Tables
A router table can be a brilliant addition to your woodworking shop and are generally considered essential for the more serious woodworker.
They provide both versatility and accuracy, delivering quality craftsmanship that might take extensive trial and error with a hand-held router.
Router tables allow you to work the wood from several different angles providing a greater degree of pliability with the addition of a solid base.
Router Tables vs Hand Routers
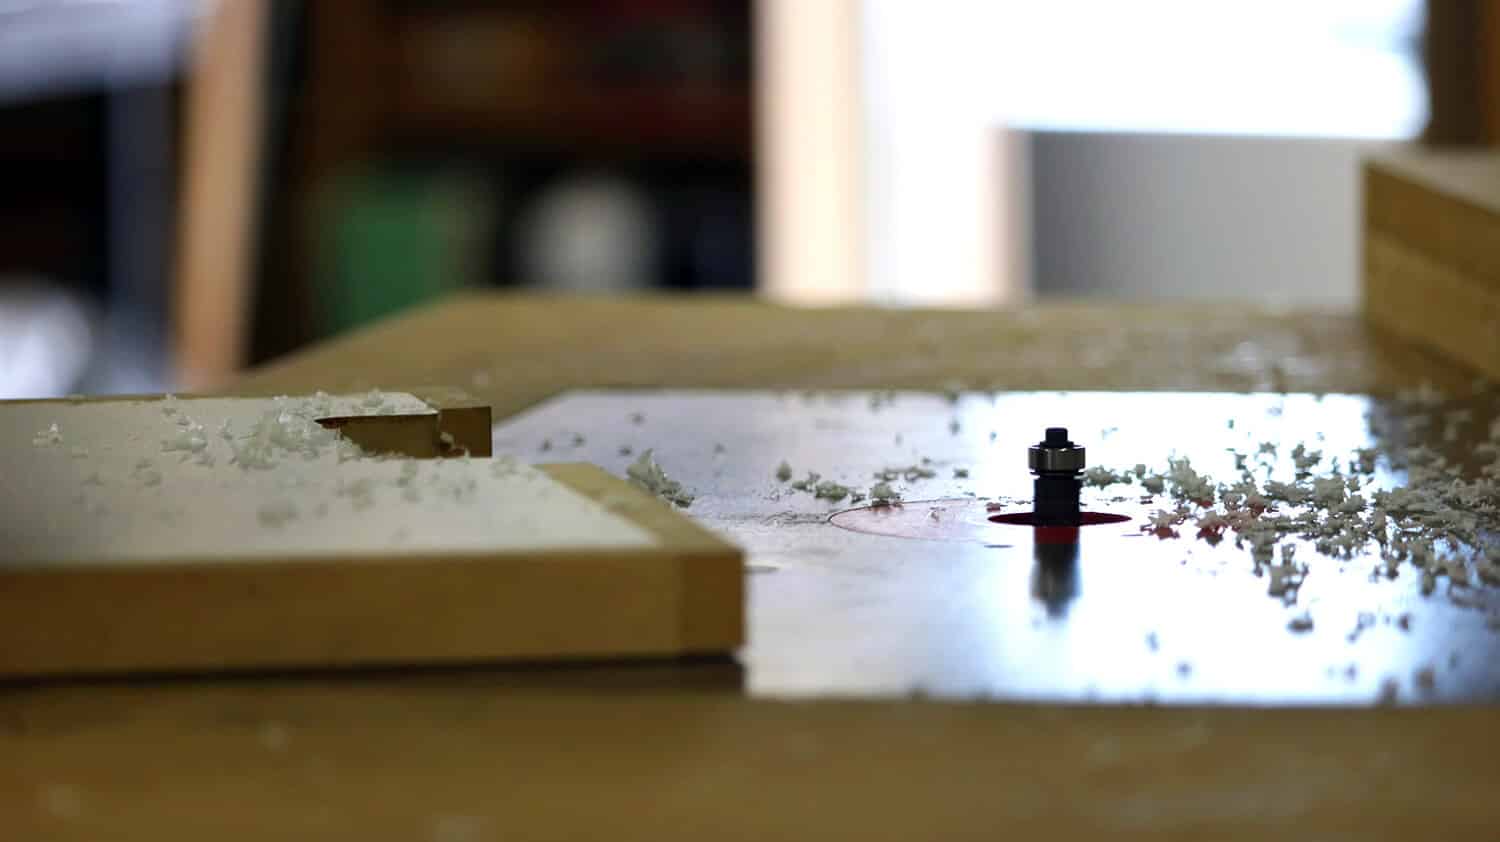
When it comes to router tables, note that they can be used with a medium and large-sized plunge. The router should be attached upside down on a special plate so that it will make more accurate cuts and drills.
Working off of a solidified base when utilizing a router table has its advantages. The biggest advantages are the precision and quickness that comes with working with a router table.
You’re able to move the material swiftly without having to fret about a low-quality cut because once you set the bits, it does most of the work for you. If you’re running your own shop, speed and precision are vital when it comes to time-sensitive jobs.
What Can You do With a Plunge Router?
A plunge router performs the same function as a fixed router, but it is more versatile. Instead of moving your workpiece around the router, you can adjust a plunge while you work.
A plunge can also perform specific tasks when working on a piece of wood from the top. This will allow you to create fluting, mortises and dados, insets, and so on.
Can You Use a Router Bit in a Drill?
Drill bits and router bits are similar in that you use both drill bits and router bits by rotating them in a collet or chuck.
Unfortunately, they do not share many similarities other than this:
Since the two tools do not serve a similar function, you are not able to use a router bit in a drill effectively. You are better off buying the tools separately, rather than using one tool for both uses.
About the Bits
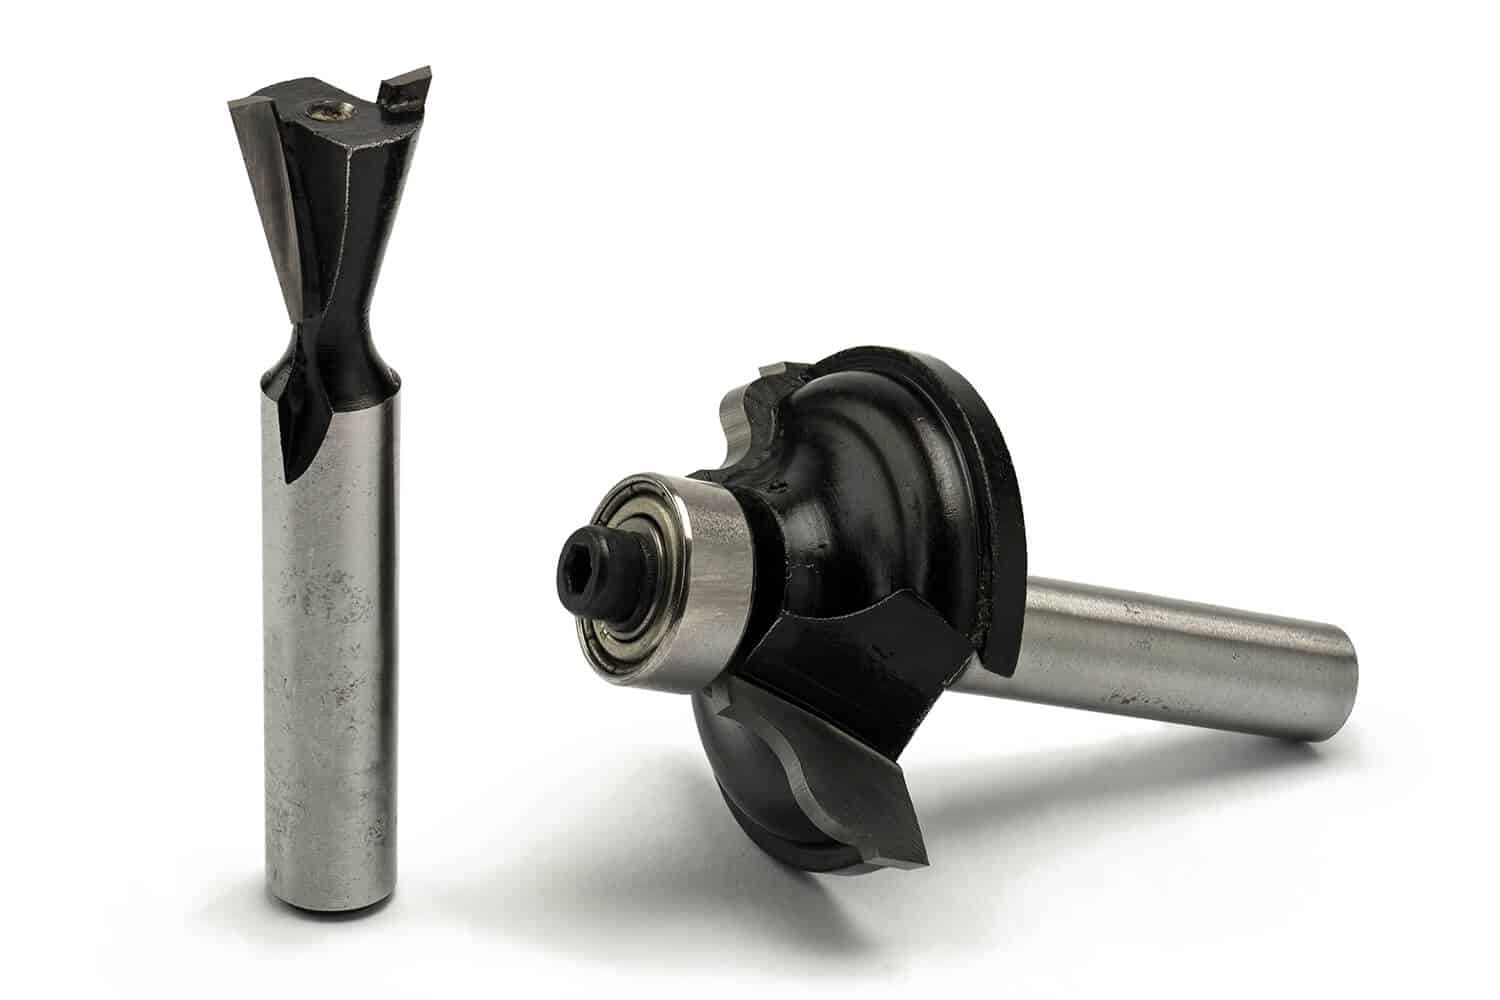
Before starting to work with a wood router to make DIY projects, you should know that not all the bits are the same and that there are different bits for different purposes. There are basic straight router bits that make straight cuts or just hollow the area.
There are various diameters and lengths of a straight-bit wood router. You can also find edge-forming bits which are most often used for decorative purposes, to cut some fancy edges.
Then, there are rabbet bits that have only one purpose, which is to cut a “shoulder” from the edge and are used for joining wood pieces and parts.
Flush-trim bits are used to trim edges of specific materials, and chamfer bits can cut a bevel of a particular edge, mostly used for decorative purposes.
You should also know that higher quality router bits outperform lower quality bits due to several factors, but one being the bit bearing fitted to the router bit.
While the material grade quality of the bit is very important, the bearing bit functionality is paramount in terms of performance. You want the bearing to spin without roughness or any kind of obstruction at all times.
Check Everything
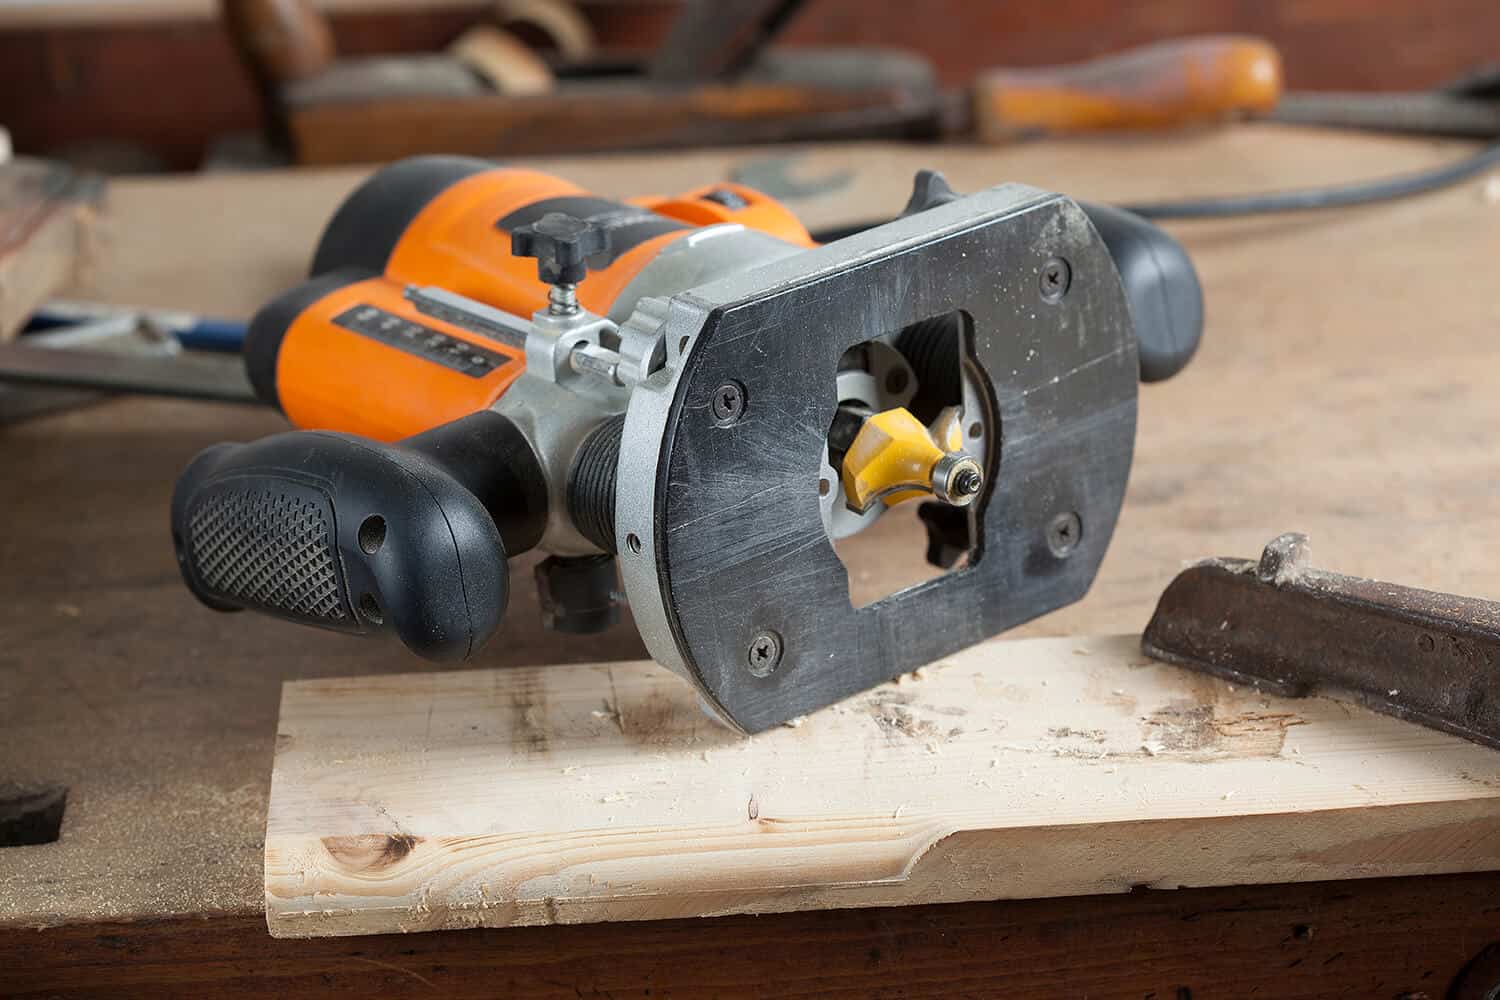
When everything is ready, and you think that you can begin the work, double-check that the bits are securely installed into the router’s outlet.
If not correctly mounted, bits are very likely to break and shatter during use.
Before using, the bits have to be clean and razor-sharp. Otherwise, the engine will get tired and hot pretty fast.
How To Start
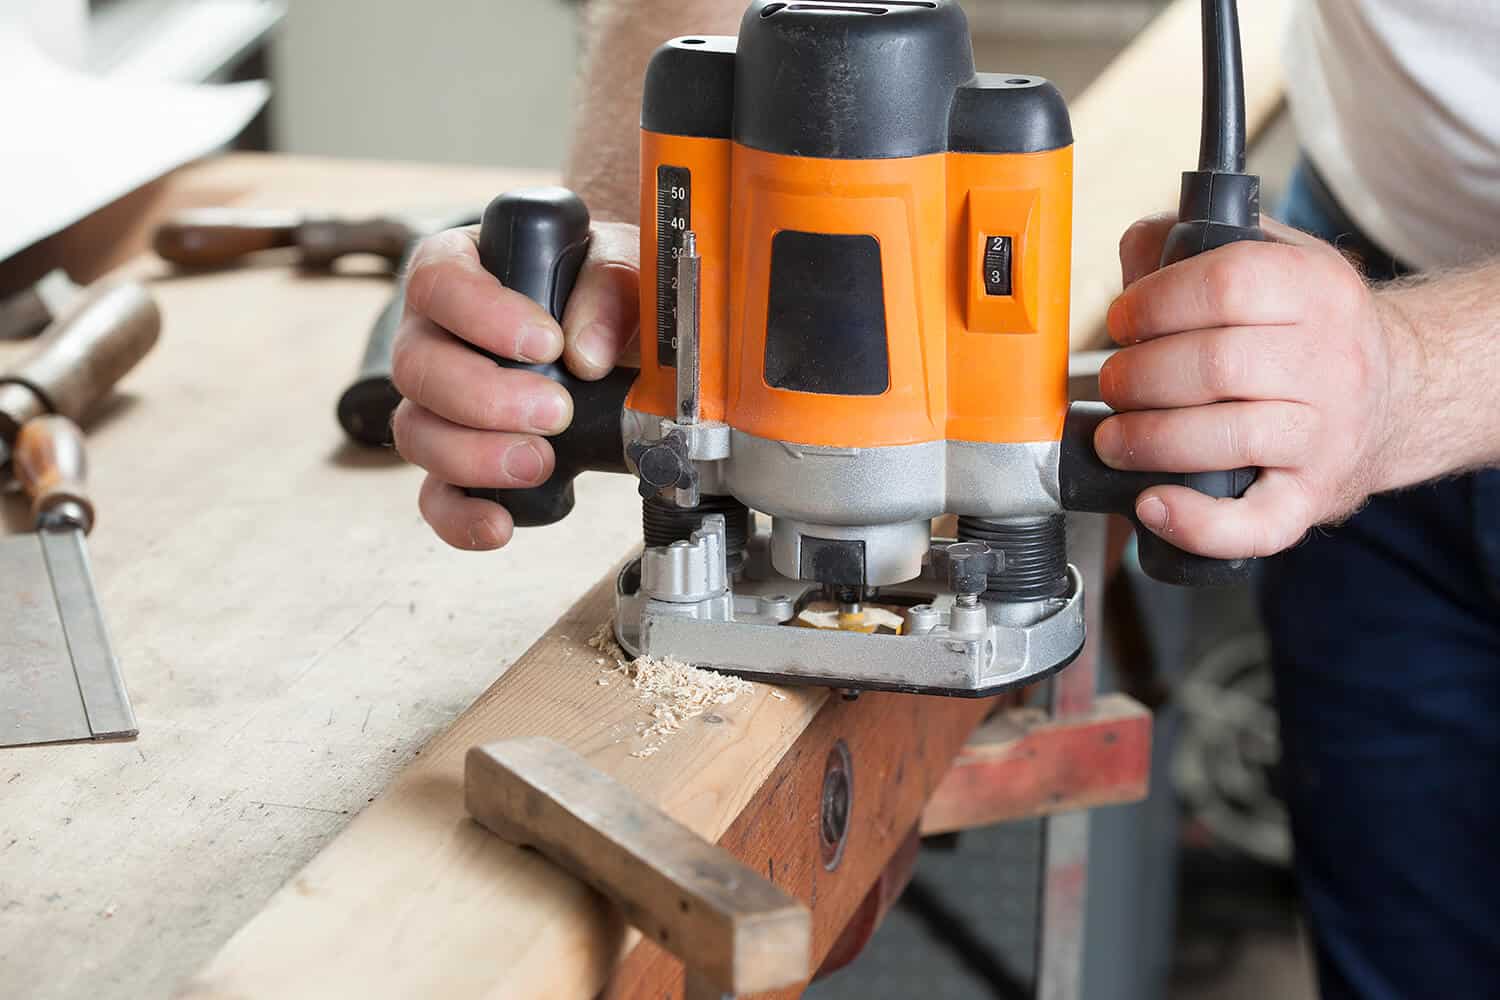
If you are using the wood router for the first time, you should do it slowly and take your time.
Note that the bit rotates clockwise, so it is imperative to hold the router firmly maintaining a solid base, and do the routing from left to right. If you cut across the wood grain, it should be pretty easy and straightforward to do.
When you make a cut, you should put a piece of scrap wood at the end of the wood, to prevent it from blowing out. If it is not absolutely necessary, never do the routing from right to left, if the bit is rotating clockwise. You could quickly lose control, which can be very dangerous.
When you start, you should begin with shallow cuts. Or more precisely, a series of shallow cuts. It will allow more control over the router and will also compensate for the inadvertent gouges that the router makes.
Quality of Bits
Additionally, one of the most vital things to keep in mind is to use only very sharp and quality bits. The fact is, cheaper bits are usually low-quality, and most of the time, they won’t create as clean cuts as high-quality bits would.
However, it doesn’t mean that cheap bits can’t do the job, but you must be an experienced woodworker to know which budget option router bits are still of good quality.
Although it is advised and much easier to do the routing by going along the grain instead of against it, sometimes you might need to route the end-grain wood. In that case, you should start by cutting the ends first.
Note that the speed at which you pass the router bit through the wood is essential. It should be smooth, but also not too slow since it will affect the actual cuts.
If you ask any experienced woodworker, you will notice that every one of them expects the possibility of a tear-out. It means that pieces of wood are ripped from the board instead of being cut smoothly. It can occur anywhere on the board, but mostly on the corners.
However, having clean and sharp edges will significantly reduce the chance of a tear-out.
Bit Speed
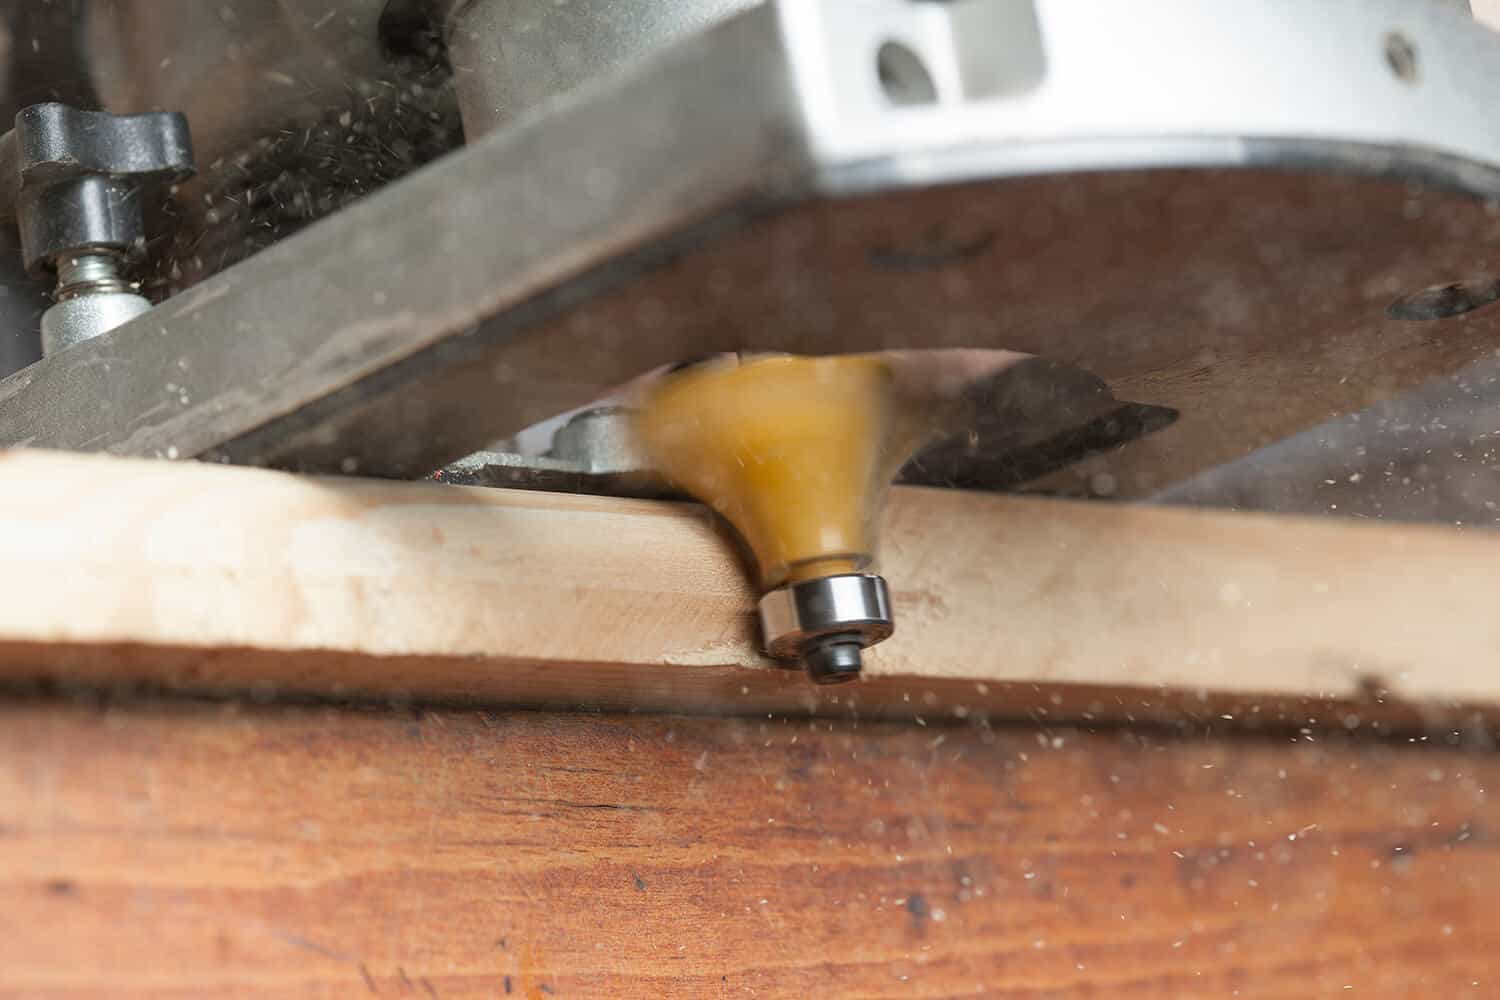
Also, the bit speed should always be adjusted according to the size of the bit. For example, for the bits of a large diameter, the speed should be slower, and vice versa.
Another way of reducing tear-out chances is to put a piece of stock at the end of the edge that you are routing.
Cutting Direction Tips
When using a router to cut any material, make sure to always go in the right direction when cutting. You should cut with the outlined direction on your wood for the safest use.
Also, when routing the outside edge of the board, make sure that you go counterclockwise.
On the other hand, when routing the inside edge of the frame, go clockwise. If you rout in the right direction, it will prevent the router from getting away from you, which can be dangerous both for you and for your work.
Another crucial thing is to make sure to start in the right spot. Especially if you plan to rout all of the four edges of a specific piece of the wooden board, you should make cuts in the proper sequence. Starting in the wrong spot will cause your work to be a failure from the very start.
That is why it’s important not to rush, but to take your time and double-measure everything for good practice.
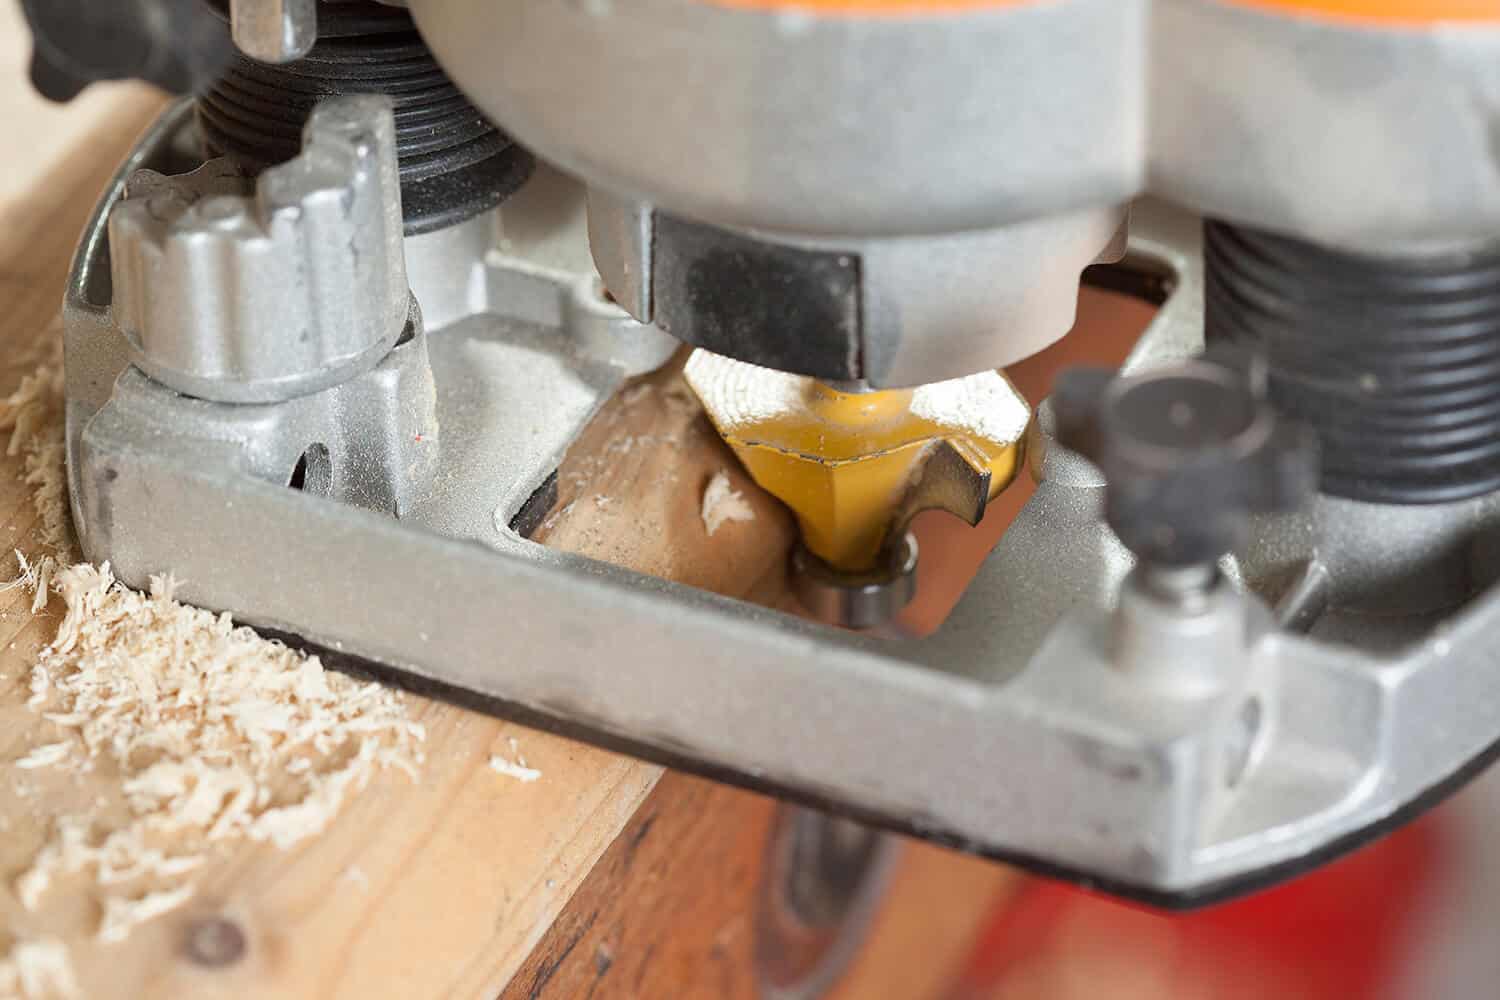
How to Make the Most of Your Router
Wood routers are a must-have for anyone looking to pursue woodworking. Whether you want a fulfilling hobby or a career in contracting, a router will help you create professional work from the comfort of your own workshop.
You can buy a fixed or plunge wood router, or you can invest in a combo pack. Though plunge options are more versatile, it will benefit you to purchase a fixed one for its precision, at least for starting out.
In Conclusion
Mastering the skill of manipulating a wood router might seem a bit complicated, but with even only a little bit of practice, you will notice that it is not that hard.
However, the first thing that you should pay attention to is safety, and always make sure that the lumber you’re using is dry before taking to it with a router.
No matter which power tool or machine you use, you should always protect both your eyes and ears, especially when operating a router.
Also, note that there are many different types of bits, and every bit has its purpose. Before starting the work, it is mandatory to consider the task at hand, and what bit you intend to use. Using the incorrect bit to cut or plane will do nothing, except do possible damage to the motor of the router or the wood material.
Now that you have read all the tips for how you should safely operate a router, all you have to do is to start routing. However, remember not to do anything in a hurry – when working with power tools and machines, you should always begin slowly, take your time, and concentrate.

