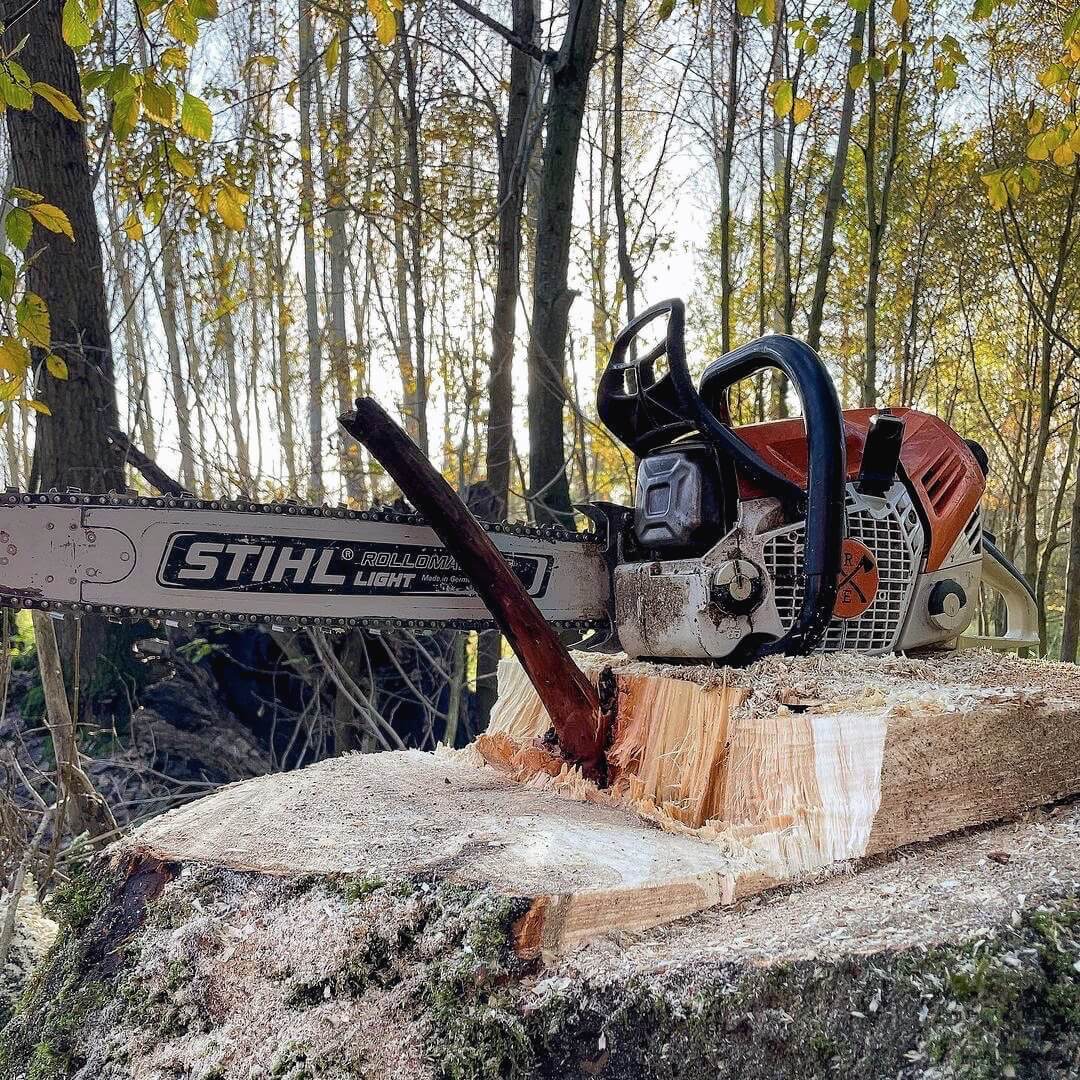
Chainsaw Milling Guide: Master Saw Mill Techniques
Do you long for the satisfaction of creating your own lumber but feel daunted by the process? Chainsaw milling could be your path to transforming raw logs into bespoke wooden treasures.
In a Nutshell:
Chainsaw milling involves cutting logs into lumber using a chainsaw mill. Key steps include selecting suitable logs, setting up the chainsaw mill, making precise cuts, and ensuring safety. Essential equipment includes a chainsaw with adequate power, a compatible chainsaw mill, and safety gear. First, prepare the log by ensuring it’s stable and level. Next, make the initial cut using guide rails for accuracy. Adjust the mill for desired slab thickness and continue cutting. For smaller logs, elevate the log for easier cutting. After milling, slabs need drying and proper storage. Regular chainsaw and mill maintenance is crucial for optimal performance and longevity.
Are you ready to unlock the potential of those logs lying around? Embrace this guide as your starting point to mastering this fulfilling craft and creating your unique wooden masterpieces.
Getting Started with Chainsaw Milling
Chainsaw milling is the process of cutting trees into slabs or boards for various woodworking projects, such as mill lumber. It offers numerous benefits, including portability, affordability, and the opportunity to pursue unique and self-sufficient projects.
However, safety should be your top priority and gathering the right equipment is a prerequisite before you start your chainsaw milling journey.
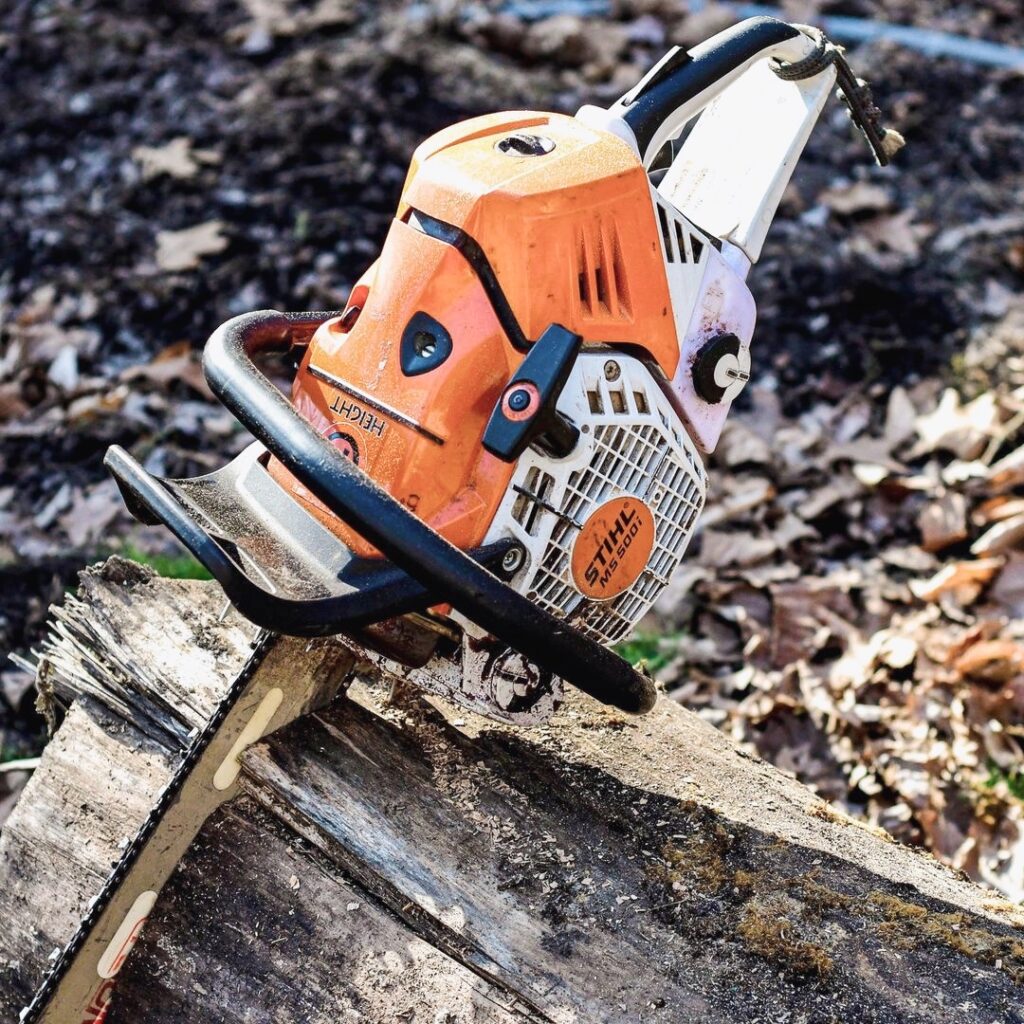
Advantages of Chainsaw Milling
Chainsaw mills provide several advantages, including:
Their lightweight nature allows for easy transport to various locations, making them well-suited for remote milling projects.
Moreover, chainsaw milling serves as a cost-effective way to mill lumber, requiring only basic equipment and a standard chainsaw. Not only is chainsaw milling straightforward to use and highly adaptable, but it can also be a pleasurable and rewarding activity.
Environmental Impact of Urban Logging
Urban logging, the process of milling trees that have been cut down in residential areas, offers numerous environmental benefits. These include enhanced air quality and the sequestration of carbon dioxide.
However, awareness of the potential negative impacts of urban logging, such as the disposal of timber products and wildlife habitat removal, is imperative. As a result, responsible logging practices and consideration of local ecosystems are crucial when engaging in chainsaw milling.
Essential Equipment for DIY Chainsaw Milling
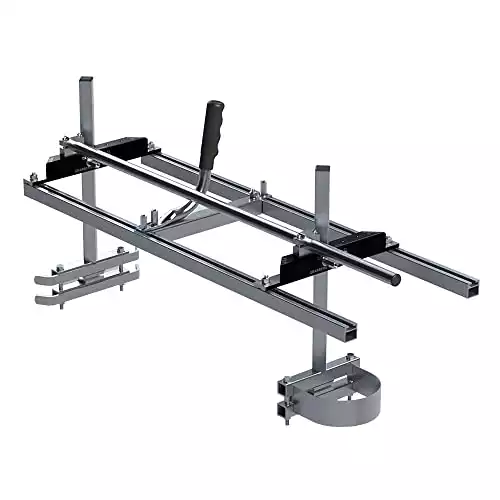
To get started with chainsaw milling, you’ll need some essential equipment, including a saw carriage, rails, and a ripping chain. A ripping chain is a specialized type of chain used for chainsaw milling, which differs from the chain used for felling a tree.
Moreover, when it comes to milling with a chainsaw, there are a few key factors to consider:
| Equipment/Component | Description | Why It’s Essential |
|---|---|---|
| Saw Carriage | A frame that holds the chainsaw in place during milling. | Provides stability and precision during the milling process. |
| Rails | Guides that help in making straight cuts on the log. | Ensures that the cuts are even and straight, especially for the first cut. |
| Ripping Chain | A specialized chainsaw chain designed for milling. | Produces smoother cuts and reduces the chances of kickback compared to standard chains. |
| Chainsaw with Adequate Bar Length | The chainsaw’s bar length determines the width of the wood you can mill. | Ensures that the chainsaw can handle the width of the logs you’re milling. |
| Bar Oil | Lubricant for the chainsaw bar and chain. | Reduces friction, prevents overheating, and prolongs the life of the chain. |
| Chain Tensioning Tool | A tool to adjust the tension of the chainsaw chain. | Maintains optimal chain tension for efficient cutting and reduces wear. |
| Safety Gear (e.g., chaps, goggles, gloves) | Protective equipment for the user. | Prevents injuries from flying debris, chain contact, and other hazards. |
Key Factors to Consider:
- Bar Length: Ensure your chainsaw’s bar length is suitable for the width of the logs you plan to mill. If not, consider upgrading to a longer bar.
- Maintenance: Regularly check and maintain your chainsaw. This includes sharpening the chain, ensuring adequate chain tension, and refilling bar oil.
- Safety: Always prioritize safety. Wear appropriate safety gear, work in a well-ventilated area, and be aware of your surroundings.
Choosing the Right Chainsaw Mill for Your Needs
Considerations such as the size of the log to be milled, the chainsaw’s power, and the intended use of the finished wood product should guide your chainsaw mill selection. A chainsaw with a minimum engine displacement of 60cc is recommended for milling lumber.
Additionally, a standard chainsaw designed for residential use can generally mill logs in the 18-20 inch range. By choosing the right chainsaw mill for your needs, you’ll be able to achieve optimal performance and produce high-quality lumber for your projects.
Types of Chainsaw Mills
There are two primary types of chainsaw mills available: edging mills and horizontal mills. Edging mills require the attachment of a board to the log for operation, while horizontal mills can be used directly on the log.
Some well-known chainsaw mills include:
Each type of mill has its own advantages and intended uses, so it’s crucial to select the one that best suits your specific needs.
Compatibility with Your Chainsaw
Making sure your chainsaw mill works well with your chainsaw is fundamental to both optimal performance and safety. Chainsaws with 60 cc to 120 cc of displacement, such as:
Chainsaw mills are compatible with chainsaw bars.
When selecting a powerful Husqvarna or Stihl chainsaw that is compatible, it’s important to consider features such as engine power, bar length, and chain low-kickback. Proper compatibility will not only ensure a smooth milling process, but also help prolong the lifespan of your equipment.
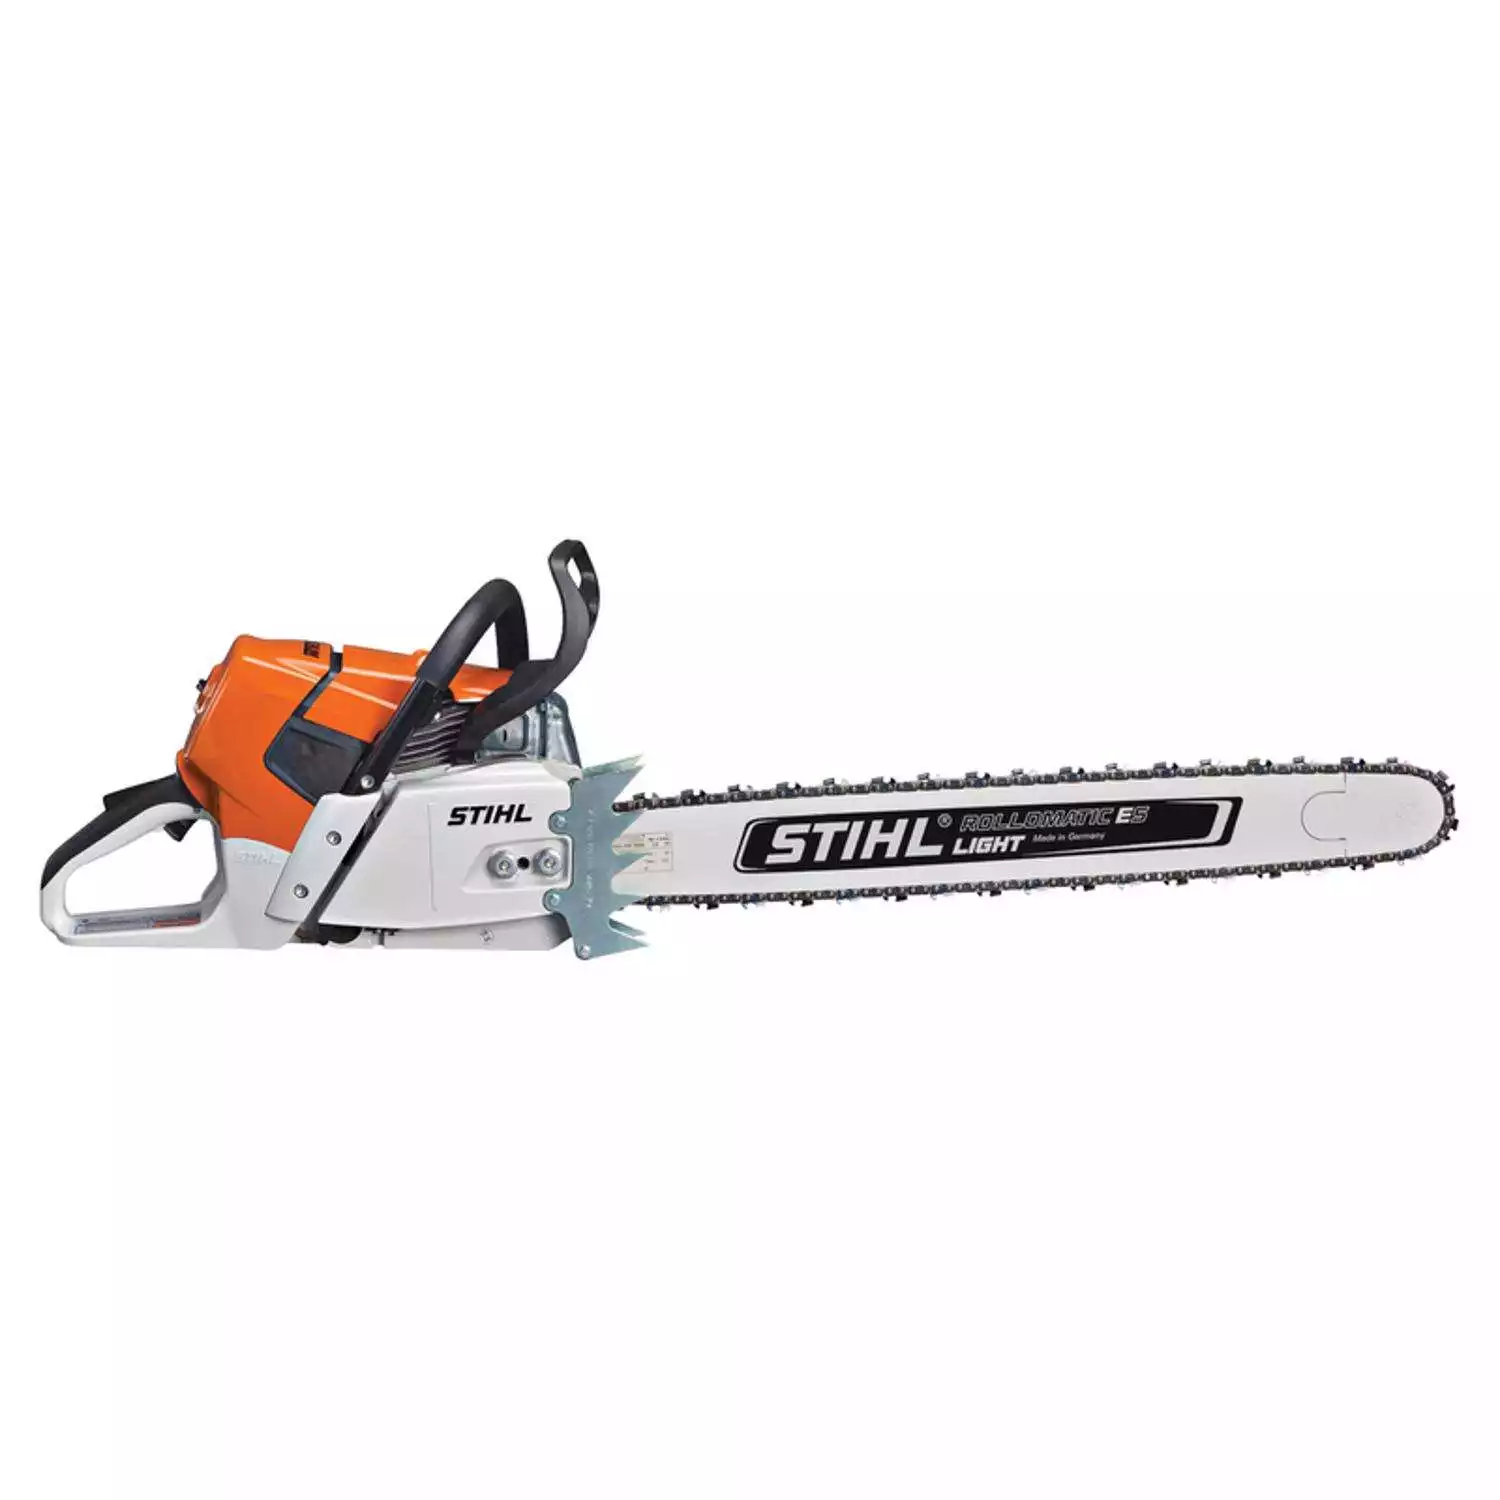 Stihl MS 661 C-M 36-Inch MAGNUM®
- Fuel Efficiency and Power: The Stihl MS 661 C-M chainsaw is designed for demanding professionals and is known for its impressive power-to-weight ratio. It offers 20% greater fuel efficiency than the MS 660.
- STIHL M-Tronic™ Technology: This feature ensures optimum engine performance, as it adjusts for changes in environmental conditions and fuel quality.
- Advanced Filter System: The chainsaw boasts a long-life filter system using HD-2 filter elements, which means longer run times between maintenance.
- User-Friendly Design: The chainsaw comes with an ElastoStart™ handle, which reduces the effort needed during starting. It also features a high-output adjustable oiler and a side-access chain tensioner for easy adjustments.
- Optimized Performance: M-Tronic™ Operation
- Environmentally Friendly: Reduced emissions
- User Comfort: ElastoStart™ reduces fatigue
- Price: Higher cost might deter some buyers
- Weight: Powerhead weight is cumbersome
Preparing for the Milling Process
Before initiating the milling process, choosing and falling the right trees and preparing the logs for milling is a must. The type, size, and location of the tree should all be considered when choosing trees for milling.
Additionally, proper safety precautions must be taken when falling trees, such as wearing appropriate protective gear and ensuring the area surrounding the tree is free of any potential hazards.
Selecting and Felling Trees
The selection of the right trees for your chainsaw milling project is of paramount importance. Factors such as tree size, shape, species, location, and surrounding environment should be considered.
When felling a tree, it’s important to follow these steps.
- Making the Cut: Use a chainsaw to make a series of cuts in the trunk to ensure the tree falls in the desired direction.
- Safety First: Remember to wear protective gear, such as safety glasses, gloves, long sleeves and a hard hat.
- Awareness: Be aware of your surroundings when felling a tree to ensure a safe and successful process.
Log Preparation
Once the tree is felled, preparing the log correctly is fundamental for a seamless milling process. This includes removing any branches, cutting off any knots, and ensuring the log is straight and level. To secure the log for milling, a log clamp or other appropriate securing device should be used to hold the log firmly in place.
Proper log preparation for milling will not only make the process more efficient, but also help produce higher-quality lumber for your projects.
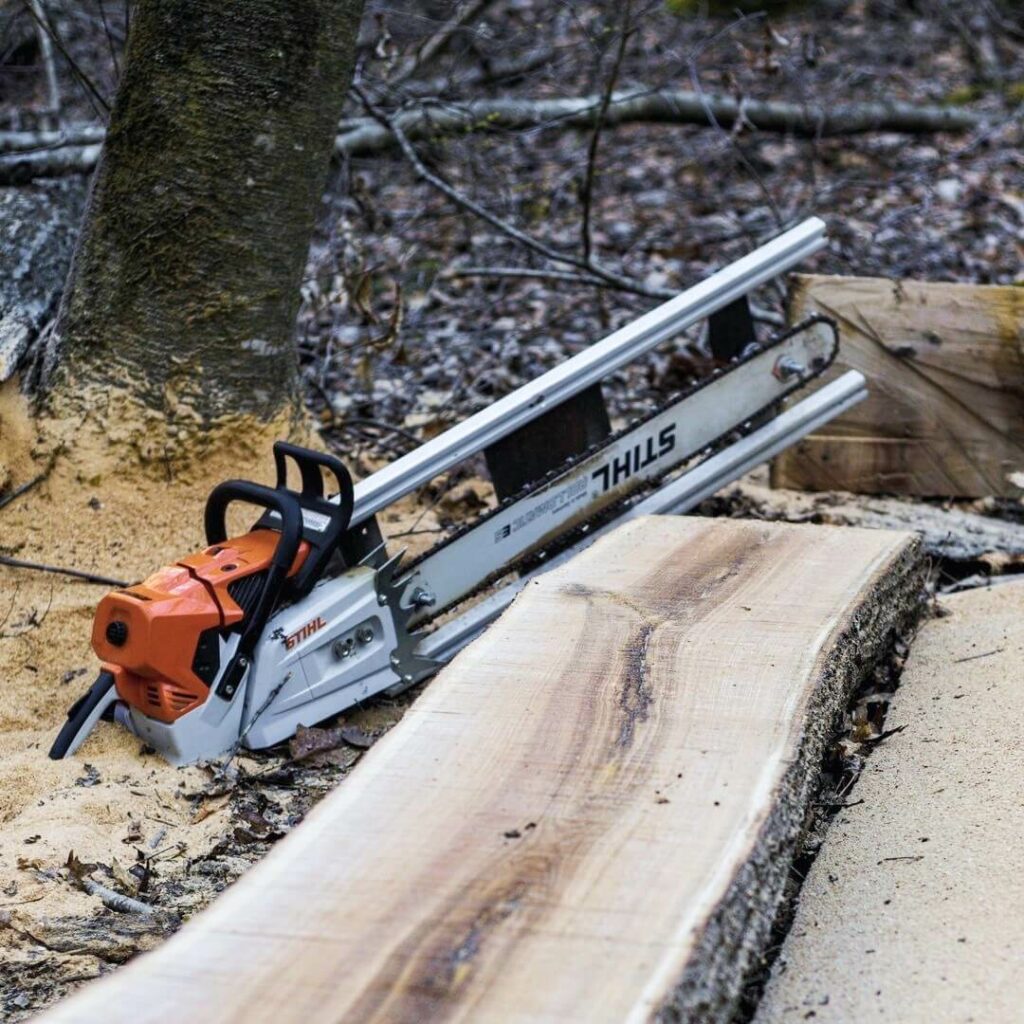
How to Use a Chainsaw Mill: 7 Step Alaskan Chainsaw Milling Process
Alaskan chainsaw milling is a revered technique, turning logs into quality lumber. At the heart of this process is the Granberg Alaskan Chainsaw Mill. Renowned for its durability, precision, and ease of use, it’s the go-to choice for both hobbyists and professionals.
The Granberg Alaskan Chainsaw Mill promises outstanding results, whether you’re just starting out or have years of woodworking experience. Investing in this mill means aligning with a tradition of unparalleled quality. Let’s now explore the steps to perfect the art of Alaskan chainsaw milling and enhance your woodworking endeavors.
Step 1: Select, Examine, and Prepare Your Logs
- Choosing the Right Log:
- Before you begin the milling process, select logs that are suitable for your project.
- Examine each log closely, looking for the most attractive grain patterns. This will ensure that the final milled product has a visually appealing finish.
- Preparing the Log:
- Check the log for a flat surface. This will be crucial when setting up your guide rails for the first cut.
- If there are any branches, knots, or lumps sticking up from the log, consider removing them with the chainsaw. This will make the milling process smoother and reduce the chances of any mishaps.
Step 2: Set Up and Make the First Cut
- Position the Log: Before making any cuts, position your log in a stable location. Examine it for the most attractive grain patterns and the flattest surface. If there are any branches or lumps sticking up, consider removing them with the saw.
- Guide Rail Preparation:
- Lay the guide rails on the log.
- Use a level to ensure the rails are even across multiple areas, guaranteeing a flat base for your first cut.
- Secure the rails using lag bolts. Keep bolts of different lengths on hand to ensure a firm attachment regardless of the log’s surface.
- Double-check that the setup remains stable and flat.
- Executing the First Cut:
- With the guide rails securely in place, adjust your Alaskan chainsaw mill so that the saw cuts beneath the bolts, ensuring you don’t accidentally hit them.
- Proceed with making a clean and accurate first cut by apply consistent and adequate pressure while proceeding forward.
Step 3: Adjust the Slab Thickness and Continue Milling
- Setting the Thickness:
- Adjust your Alaskan chainsaw mill to your desired slab thickness. A common thickness is 2.5 inches, but adjust based on your project’s needs.
- Remember, thicker slabs will be heavier, so plan accordingly for moving and storing them.
- Making Subsequent Cuts:
- After the first cut, remove the guide rails.
- The mill will now glide directly on the log’s surface. Continue milling, adjusting the thickness as needed.
- As you approach the log’s center, or pith, aim to cut through its middle. This reduces the chances of a large split in your slab.
Step 4: Handling Smaller Logs
- Elevating the Log:
- As you near the end of the milling process and are left with a smaller section of the log, you might find it challenging to continue cutting without the chainsaw touching the ground.
- To address this, prop up one end of the log using a sturdy object or platform. This elevation will give you the necessary clearance to continue milling.
- Utilizing Gravity:
- By propping the log at an angle, you’re also leveraging gravity to your advantage. The downward angle of the log will make the cutting process smoother and more efficient, reducing the effort required on your part.
Step 5: Drying Your Slabs
- Initial Drying:
- Freshly milled slabs will be wet and need time to dry. While some suggest allowing one year of drying per inch of thickness, using aids like a box fan and dehumidifier can speed up the process.
- Moisture Check:
- Once the slabs have dried for some time, use a moisture meter to check their content. Compare this to other wood in your workspace that you know is dry to gauge readiness.
- Sealing the Slabs:
- To prevent uneven drying and cracking, seal the ends of the slabs. You can use specialized log sealers or even latex paint for this purpose.
Step 6: Stacking and Storing
- Choosing the Right Surface:
- Ensure you have a flat, elevated surface ready for stacking your slabs. An uneven surface can cause the slabs to dry in a warped shape, affecting their quality.
- Stacking the Slabs:
- Begin stacking your slabs one on top of the other.
- Between each slab, insert 3/4 or 1-inch thick stickers (wooden sticks). These stickers ensure proper airflow between the slabs, which is crucial for even drying.
- Be mindful of the sticker thickness. Thinner stickers might slow down the drying process and increase the risk of mold growth on the slabs.
Step 7: Disassembling and Storing Equipment
- Empty the Fuel Tank:
- Before storing your chainsaw for an extended period, it’s crucial to empty the fuel tank. This prevents reactions of the individual fuel components which can lead to deposits in the carburetor, affecting performance.
- Run the Carburetor Dry:
- After emptying the fuel tank, run the chainsaw until the carburetor is dry. This ensures that there are no residues left which can impair the chainsaw’s performance when you use it next.
- Clean and Store the Mill:
- Once you’ve taken care of the chainsaw, clean any wood residues or dust from the Alaskan chainsaw mill.
- Store the mill in a dry place, away from direct sunlight or moisture. This will ensure the longevity of your equipment.
Chainsaw milling, especially with the Granberg Alaskan chainsaw mill, is hard work but incredibly rewarding. I hope this guide demystifies the process and sets you on the path to creating beautiful lumber for your projects.
Chainsaw Mill Maintenance and Troubleshooting
Regular maintenance and troubleshooting are key to ensuring the long life and peak performance of your chainsaw mill. This includes proper chainsaw care, mill adjustments, and addressing any issues that may arise during the milling process.
Chainsaw Care
Maintaining your chainsaw properly is vital for its optimal performance and extended lifespan. Here are some steps to follow.
- Pre-Use Inspection: Make sure to check the chain tension, chain oil level, and bar oil level before each use.
- Chain Maintenance: Remove your chainsaw chain to sharpen or replace the chain every time you refuel it.
- Post-Use Cleaning: Clean the chainsaw after each use to prevent buildup and maintain optimal cutting performance.
By following these steps, you can ensure that your chainsaw, with its regular chain, is always in good condition and ready for use.
By keeping your chainsaw well-maintained, you’ll ensure a smooth and efficient milling process.
Mill Adjustments
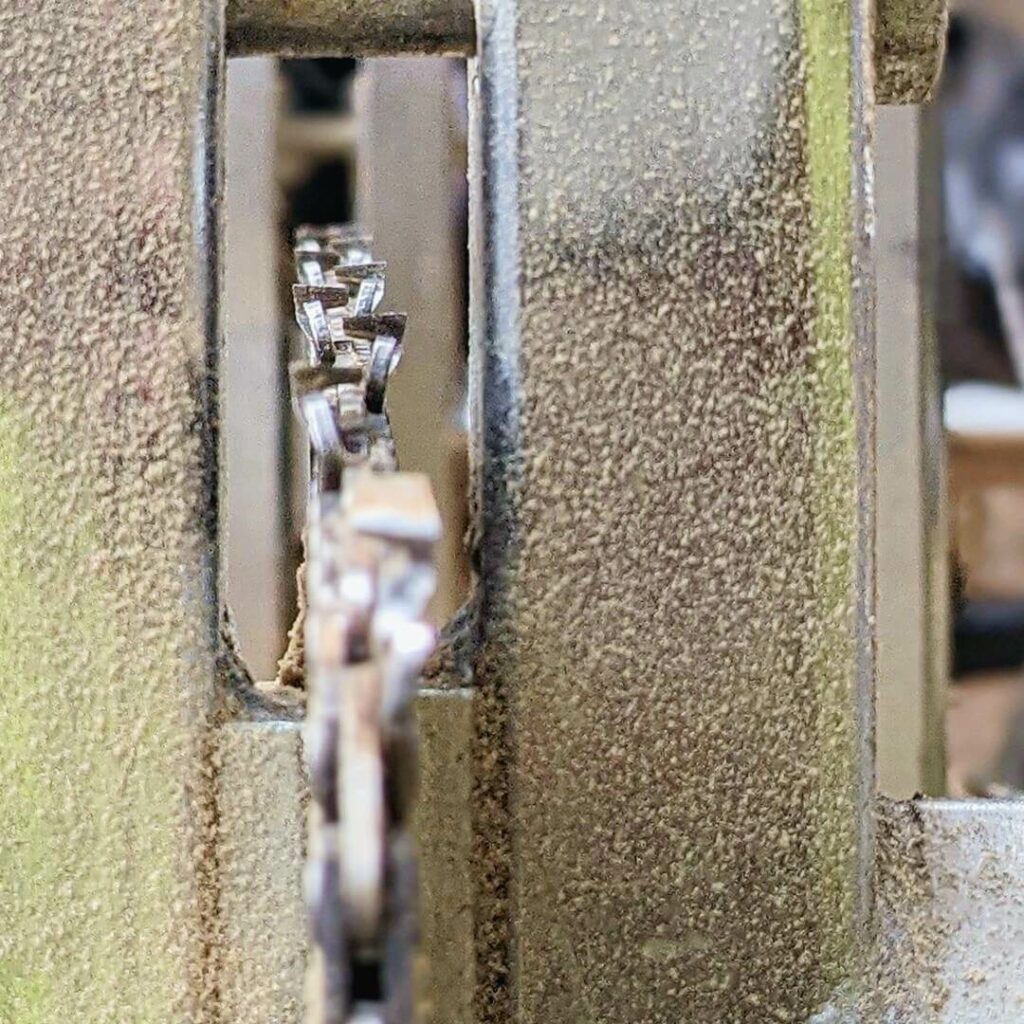
For precise cuts and a smooth operation, adjusting your chainsaw mill is vital. This includes adjusting the depth of the cut, tension of the chain, and angle of the mill.
By regularly checking and adjusting your mill, you’ll ensure optimal performance and prevent potential issues during the milling process.
Essential Accessories for Precise Chainsaw Milling Adjustments
| Accessory | Description | Purpose |
|---|---|---|
| G778 Alaskan MKIV Chainsaw Mill Roller Bracket | Uses heat-resistant roller wheels to lower friction and feed pressure. | Ensures a smoother pass through the log, especially on uneven edges. |
| G996 On/Off Bar Kit | Enables the user to place a second grip point on larger mills. | Provides additional control points for tension and angle adjustments. |
| Extended Depth Post – Nose End & Thrust End | Increases the chainsaw cutting depth between 12” and 34”. | Allows for deeper cuts in larger logs. |
| Granberg Handle and Rails Sets (24” to 84”) | Sets that determine the maximum width of cut on Alaskan MKIV chainsaw mills. | Ensures precise width adjustments for milling. |
| Helper Handle with Roller | Used to adjust the chain tension at the outboard end of the Alaskan mill. | Provides an additional control point for tension adjustments. |
| Auxiliary Oiler Kit | Provides extra lubrication, especially for Alaskan mill bars over 42” in length or those that need additional lubrication. | Extends saw bar life by providing cooler cutting and preventing early bar wear. Especially crucial for double end bars. |
Useful Chainsaw Milling Accessories
Apart from the necessary equipment for chainsaw milling, several accessories can enrich the milling experience and augment efficiency. These accessories include:
Rail Systems and Brackets
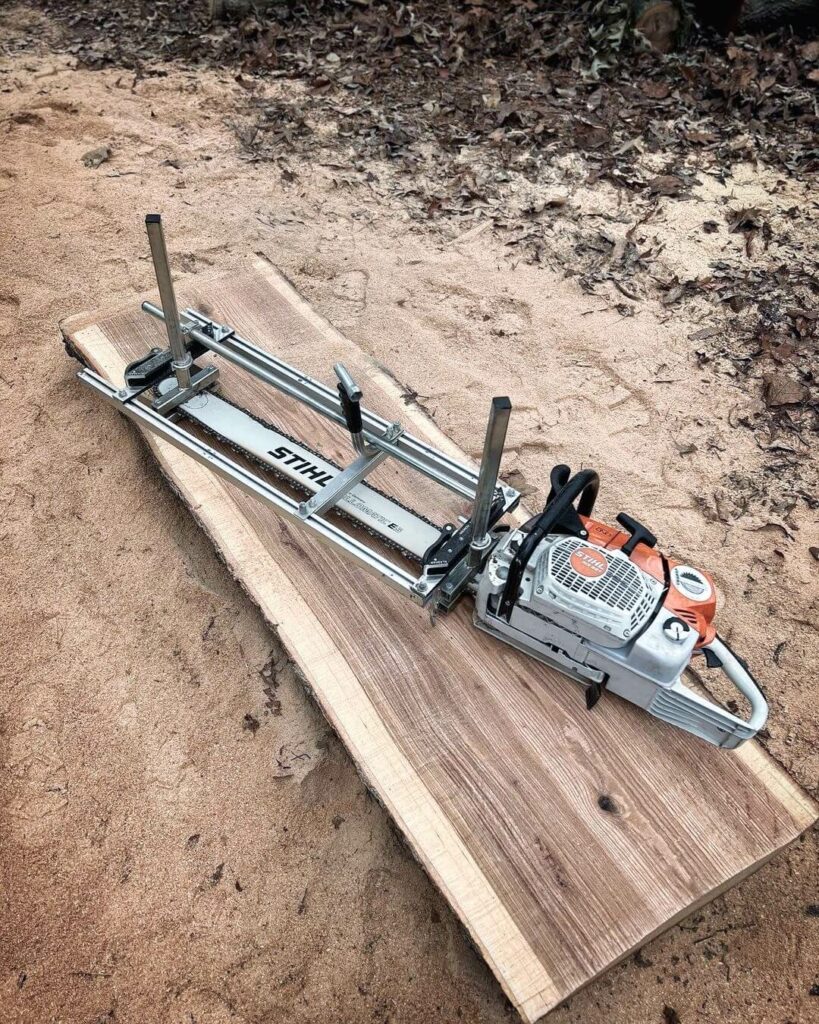
Rail systems and rail brackets offer adjustable positions for optimal placement, the ability to center or offset the rail system, and a strong and reliable railing to post connection. Utilizing rail systems and brackets can improve the accuracy and ease of use of your chainsaw mill, resulting in a more efficient and enjoyable milling experience.
Rail systems and brackets provide a secure and reliable connection between the post and the railing.
Winches and Log Handling Equipment
Winches and log handling equipment are essential for efficiently moving and positioning logs for milling. These devices typically consist of a winch, a cable, and a hook or other attachment. Utilizing winches and log handling equipment not only minimizes soil disruption and enhances safety, but also aids in tree felling and simplifies log loading.
Investing in these accessories can make your chainsaw milling projects more manageable and efficient.
Tips for Successful Chainsaw Milling Projects
Finally, successful chainsaw milling projects require thoughtful consideration of aspects like wood selection, drying, sealing, and finishing.
By following these tips, you’ll be able to produce high-quality lumber for your woodworking projects and enjoy the satisfaction of milling your own lumber.
Wood Selection and Drying
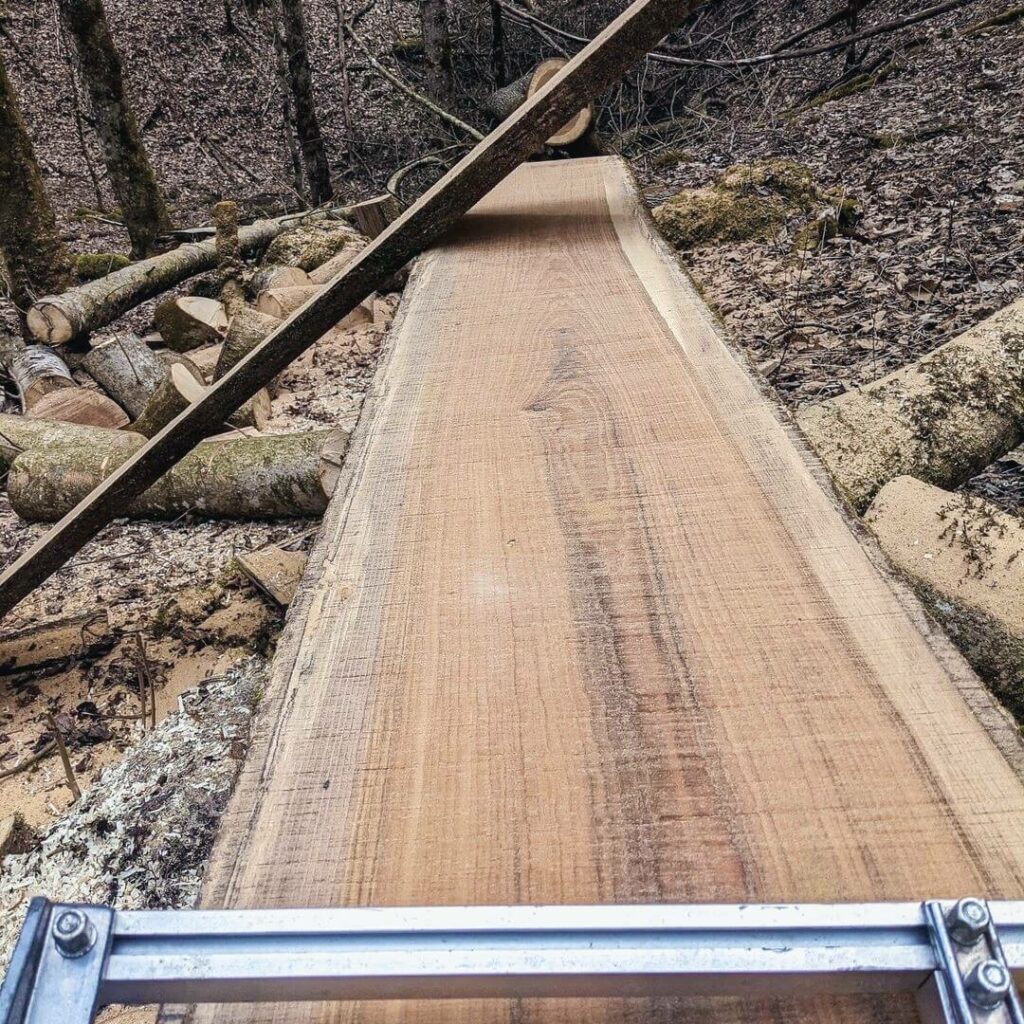
Selecting the appropriate wood for your project is vital, and utilizing correct drying techniques can avert defects like warping and cracking. Softwoods like pine, spruce, and Douglas fir are optimal for chainsaw milling, while hardwoods like oak, maple, and walnut can be milled with more power and expertise. When considering other wood options, it’s essential to research their compatibility with your project and milling techniques.
Whether air drying lumber, kiln drying, or solar drying, ensuring your wood is properly dried will make it easier to work with and result in a higher-quality finished product.
Sealing the Ends of Milled Slabs
To minimize checking and cracking during the drying process, it’s crucial to seal the ends of the milled slabs. This can be achieved using a commercial end sealer like AnchorSeal or by applying paint or polyurethane coating.
Ensuring the sealer is applied uniformly on the flat surface and that the slab is completely dry before sealing will help prevent moisture loss and cracking, ultimately enhancing the aesthetic of your finished product.
Finishing and Utilizing Milled Lumber
Once your dimensional lumber is milled and dried, finishing is the final step to ensure a high-quality end product. This may involve sanding, staining, or sealing the wood to achieve the desired appearance and protect it from the elements.
By properly finishing and utilizing your milled lumber, you can create a wide variety of beginner woodworking projects and take pride in knowing you milled the usable lumber yourself.
In Conclusion
With the right equipment, techniques, and maintenance, you can produce high-quality lumber for your woodworking projects and enjoy the satisfaction of milling your own lumber.
Key Takeaways:
Lastly, while we often lean towards recommending a Stihl chainsaw for its reliability and performance, it’s worth noting that the debate between Stihl vs Echo chainsaw is ongoing among enthusiasts.

