15 Must-See DIY Plywood Countertop Ideas and Plans
I’ve always believed that the heart of a home isn’t just in its rooms, but in the details. And what better detail than a countertop? Forget the expensive granite or marble; I’ve discovered the charm and versatility of plywood.
Affordable, adaptable, and incredibly stylish, plywood countertops are the DIY trend taking over modern homes. Join me as we dive into a world of creativity, exploring styles from rustic to futuristic, and uncovering the secrets to crafting the perfect plywood masterpiece for your space.
DIY Plywood Countertop Plans and Ideas
1 | Basic DIY Plywood Countertop
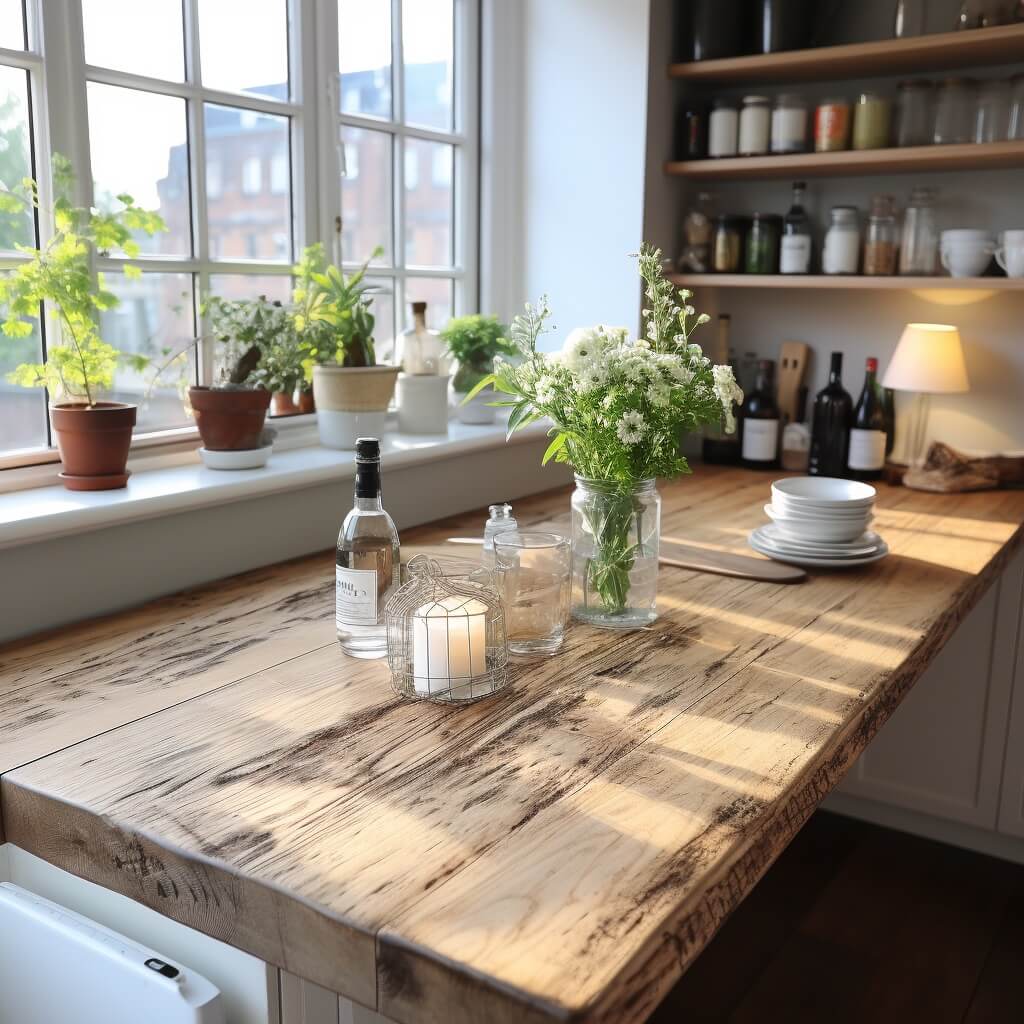
Starting a DIY project with a basic plywood countertop is a beginner-friendly choice. This design requires just a single sheet of plywood. The first step is selecting a sheet that aligns with your vision, focusing on the same wood grain and texture. Imperfections in the wood can add character, making each countertop unique.
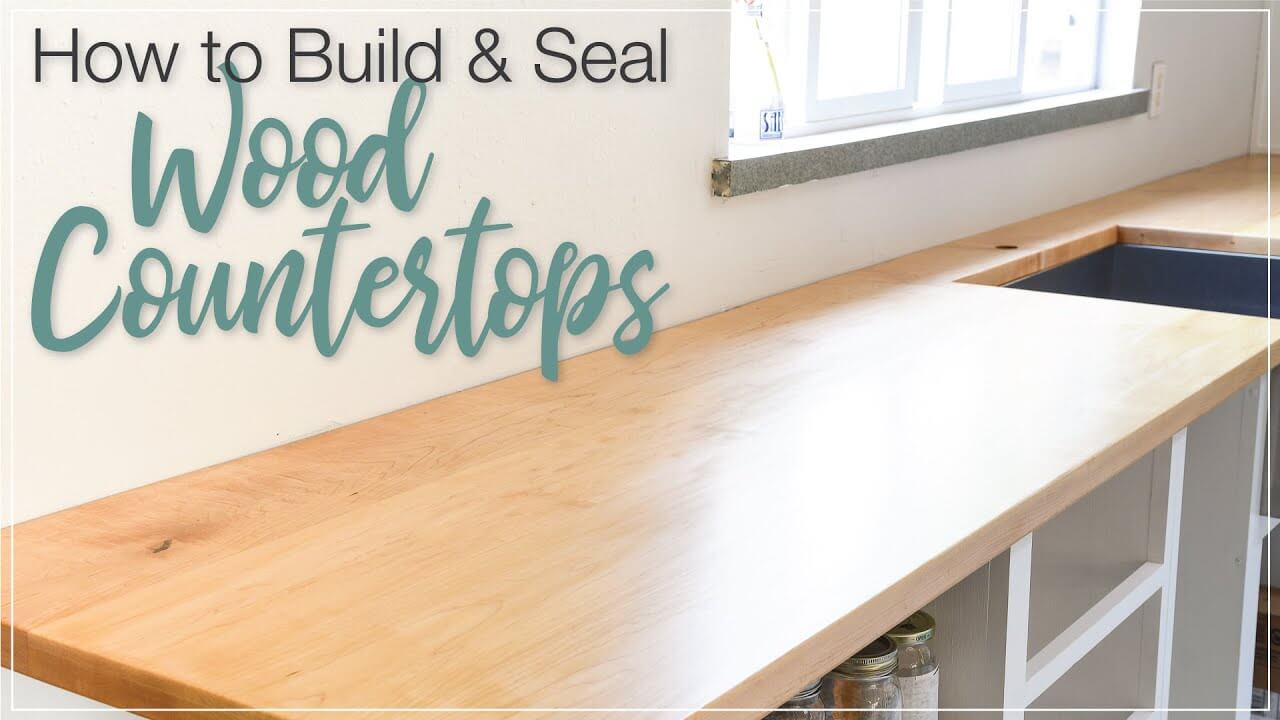
Once you have your plywood, it’s essential to sand it thoroughly. Start with a coarse grit and gradually move to a finer one, ensuring the surface is smooth and ready for finishing. The final step involves choosing a finish. A clear sealant will protect the wood and highlight its natural beauty, while a tinted wood stain alone can provide a different hue, allowing customization to fit any decor. The end product? A durable and stylish countertop that’s both functional and a testament to your handiwork.
2 | DIY Butcher Block Style Plywood Countertop
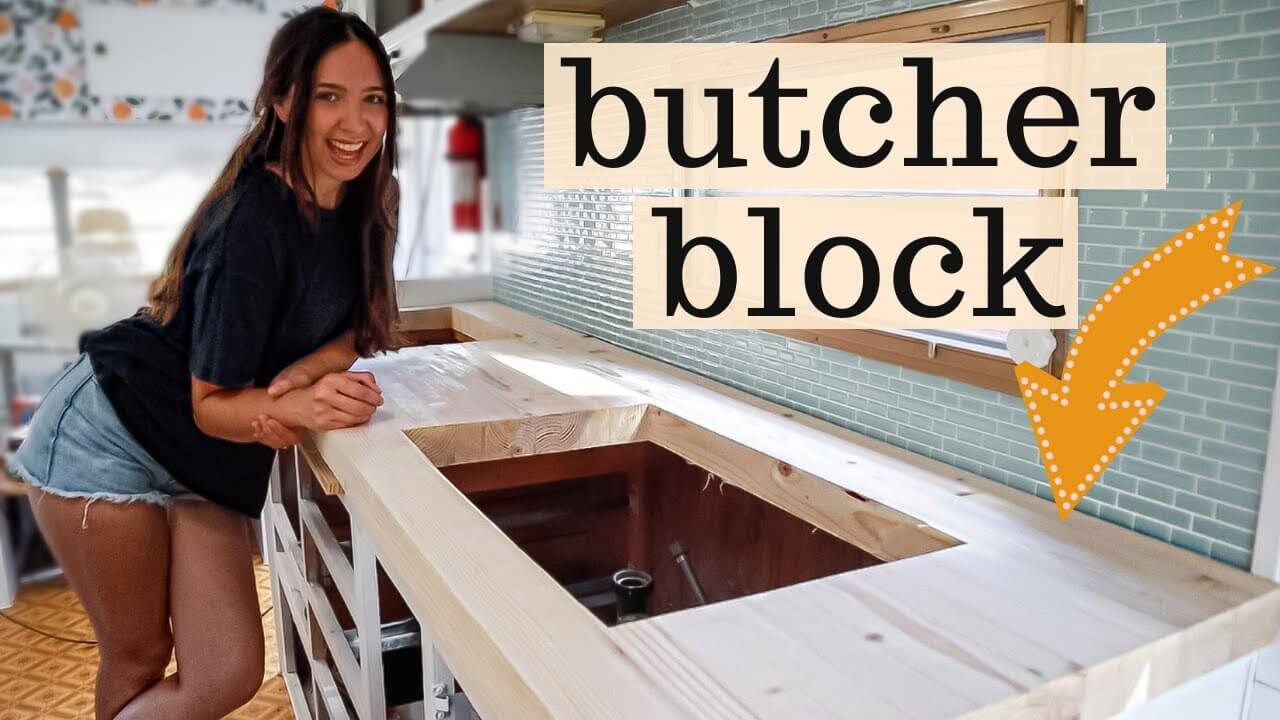
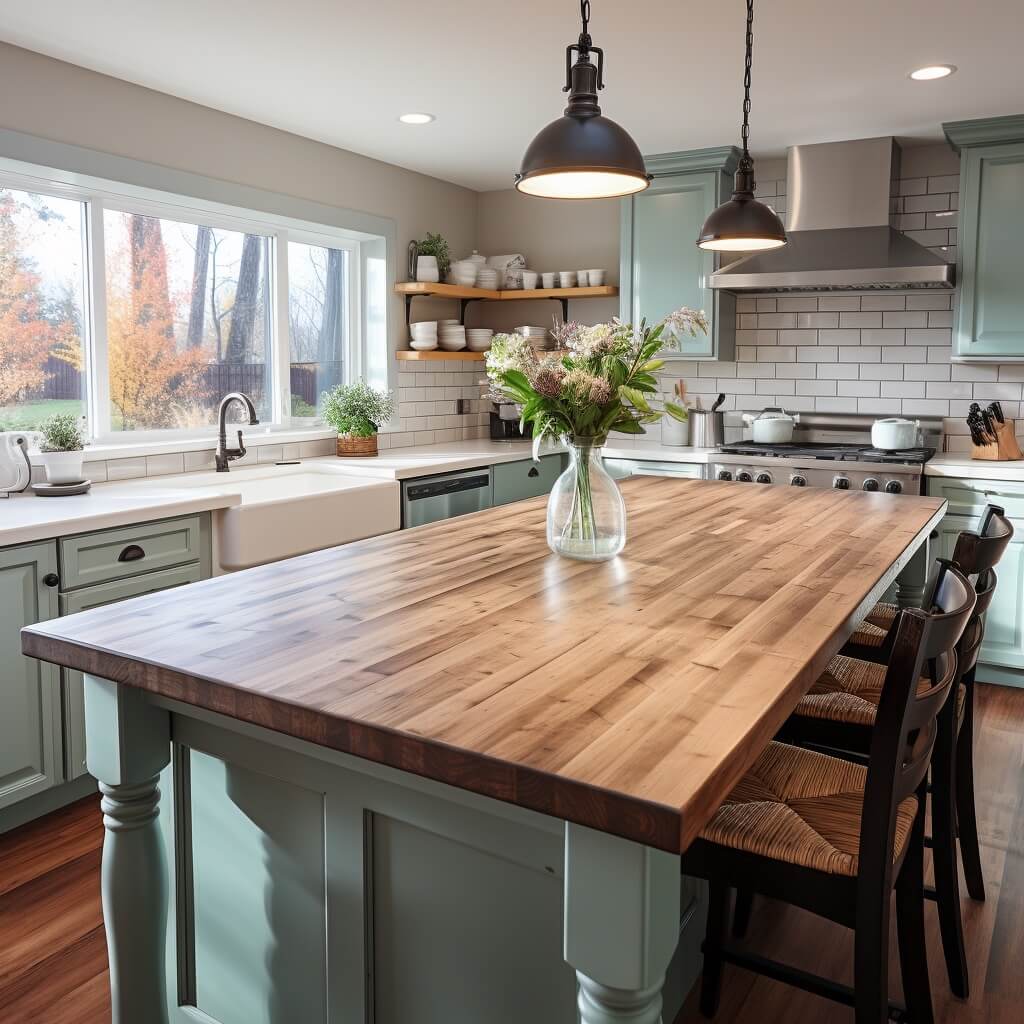
There’s a certain allure to the butcher block style that captures the essence of rustic design. By stacking multiple sheets of wood strips, you create a countertop with depth and a distinctive layered appearance. Begin by carefully aligning and gluing the sheets. The importance of clamping can’t be overstated; it ensures a solid bond and a unified surface.
Once bonded, the art of sanding comes into play. This step not only smooths out any discrepancies but also readies the surface for its protective seal. Opting for a quality sealant not only amplifies its rustic charm but also fortifies it against daily wear. The finished piece stands as a robust and visually striking addition to any space, embodying the craftsmanship and beauty of layered wood.
3 | DIY Plywood Countertop with Integrated Sink
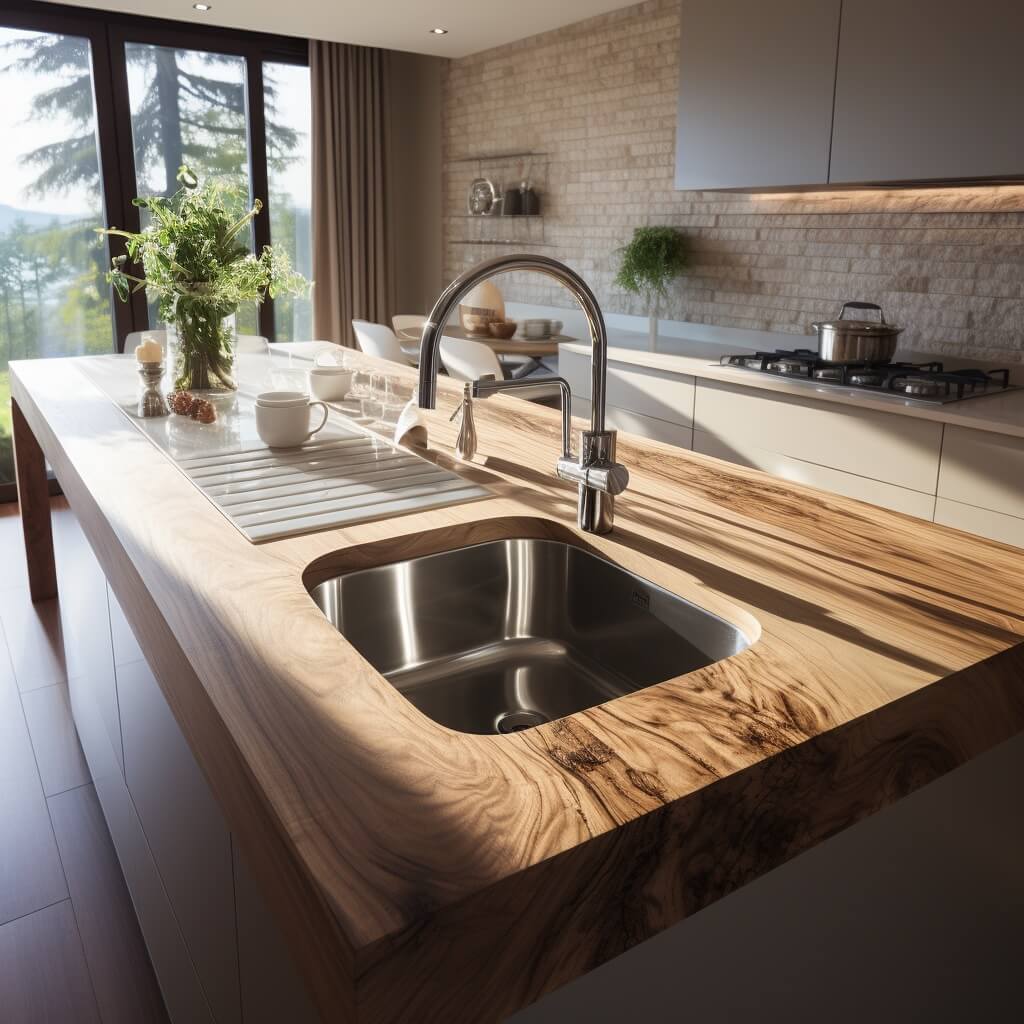
Marrying functionality with aesthetics, integrating a sink into your plywood countertop elevates the entire design. It’s about creating a seamless transition, where the countertop flows effortlessly into the sink basin. Start by marking out the desired sink dimensions on your plywood. Precision is key here; you’ll want to ensure the carved-out section aligns perfectly with your sink.
Once the section is carved out, it’s time to fit the sink, ensuring a snug and seamless fit. The beauty of this design lies in its continuity, where the grain of the wood wraps around the sink, creating a harmonious blend of wood and metal or ceramic. The final touch involves sealing the wood, especially around the sink area, to protect against moisture and potential water damage. The outcome? A countertop that’s not just a workspace but a statement piece, showcasing both your DIY skills and your flair for innovative design.
4 | Burnt DIY Plywood Kitchen Countertop
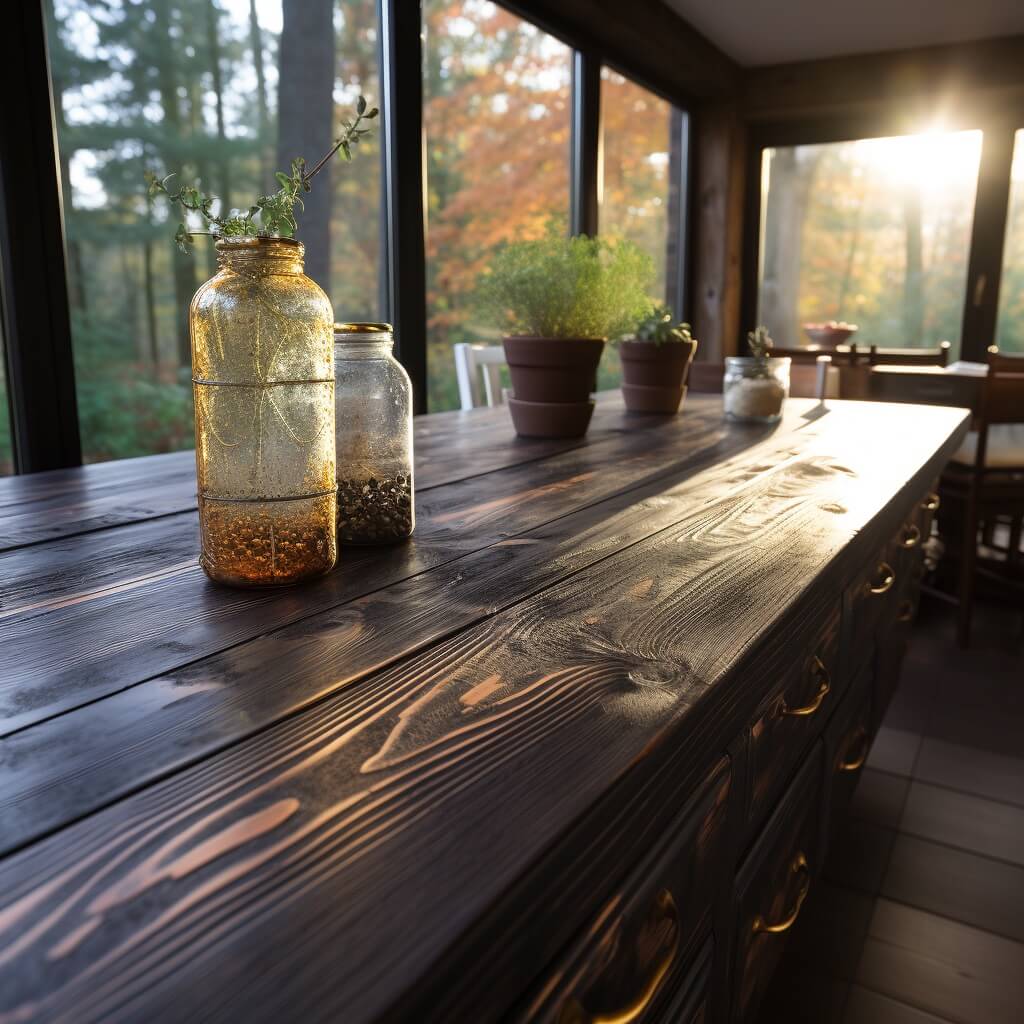
Embracing the ancient Japanese Shou Sugi Ban technique, a burnt plywood countertop offers both a unique aesthetic and practical benefits. By charring the surface, the wood takes on a deep, rich hue, revealing an enhanced grain pattern that’s both captivating and timeless. Beyond its visual appeal, this method naturally seals the wood, making it more resistant to moisture, wear, and pests.
For DIY enthusiasts looking to add a touch of rustic elegance to their space, this countertop is an excellent choice. Start with a high-quality, untreated plywood sheet and, using a propane torch, evenly char the surface. Once cooled, a gentle brushing reveals the stunning grain beneath. A clear sealant finishes the process, protecting the wood and adding a polished sheen. The result is a countertop that’s as durable as it is beautiful, blending tradition with modern design.
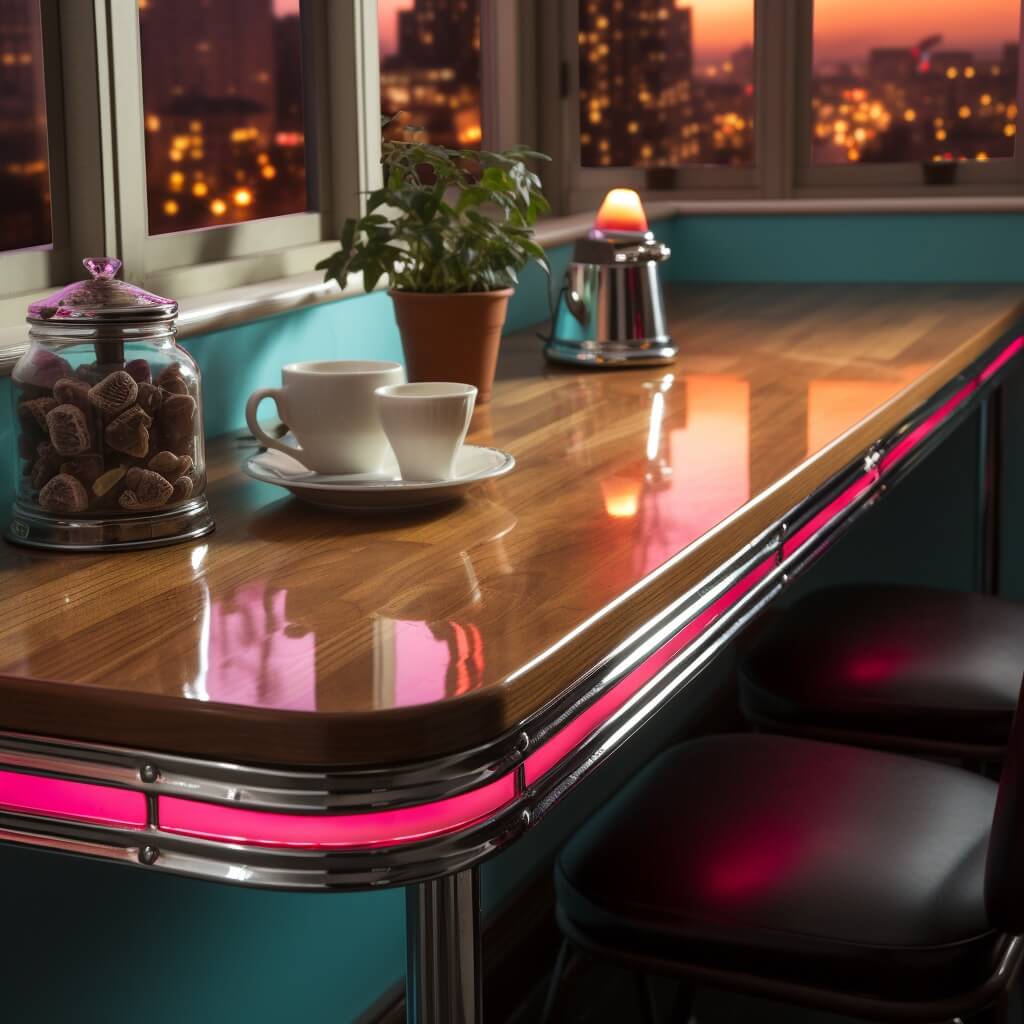
5 | Plywood Countertop with Metal Edging
Marrying the organic warmth of plywood with the sleek, industrial touch of metal creates a countertop that’s both contemporary and timeless. The juxtaposition of these two materials offers a harmonious balance, making it a versatile choice for various interior styles, from rustic farmhouses to modern lofts.
To craft this DIY countertop, start with your chosen plywood as the primary surface. Once shaped and sanded, introduce a metal trim, such as stainless steel or brushed aluminum, to the edges. This not only enhances the countertop’s aesthetic appeal but also adds an extra layer of durability, protecting the wood from potential dings or wear over time. The outcome is a functional masterpiece that stands as a testament to the beauty of mixed materials.
6 | DIY Two-toned Plywood Countertop
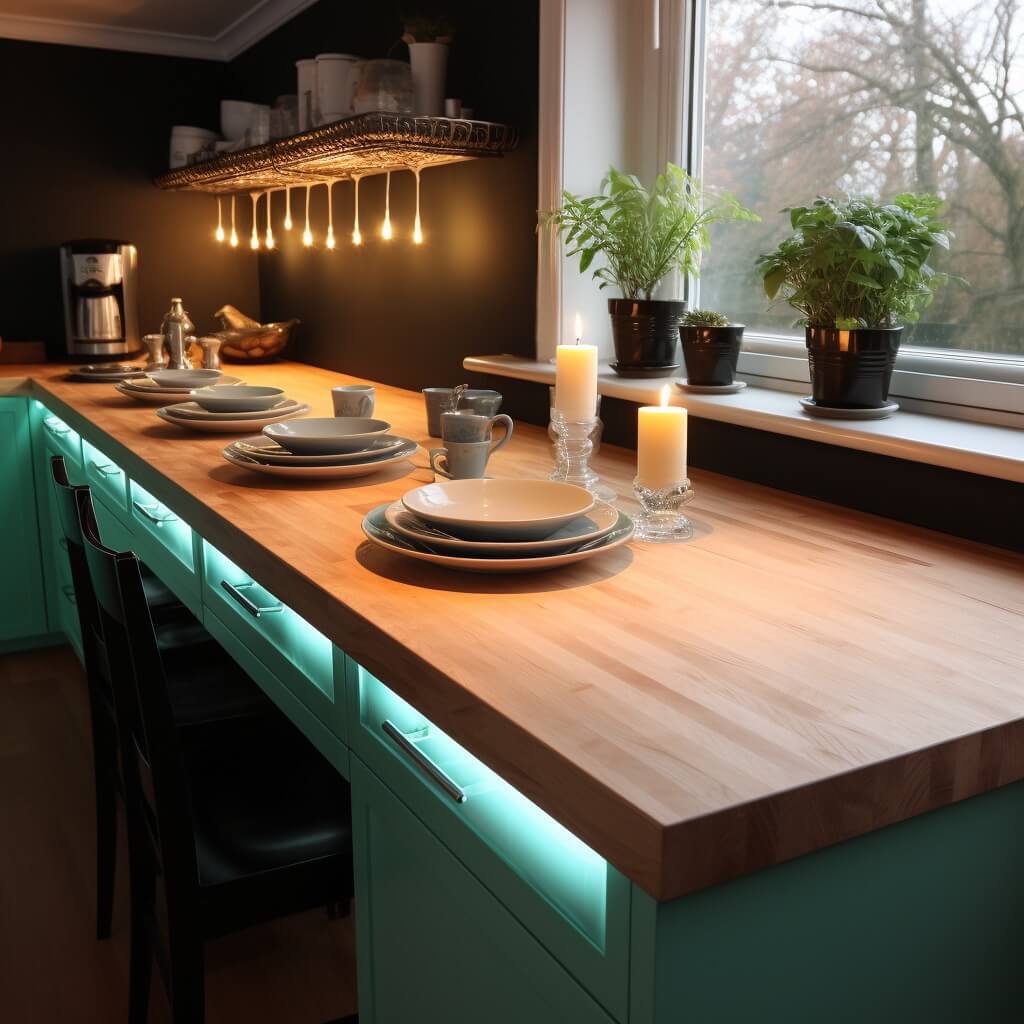
A two-toned plywood countertop introduces a dynamic visual element to any space, allowing for creative expression and a touch of sophistication. By employing contrasting stains or paints, you can accentuate the wood’s natural grain, creating a piece that’s both eye-catching and harmonious.
To bring this project to life, begin by selecting two complementary colors or shades. Consider a darker stain for the main surface, paired with a lighter hue for an accent strip or vice versa. Once the plywood is sanded and prepped, apply the stains carefully, ensuring clean lines and even coverage. The result is a countertop that not only serves as a functional workspace but also as a standout design feature, elevating the overall ambiance of the room.
7 | DIY Plywood Countertop with Inlaid Patterns
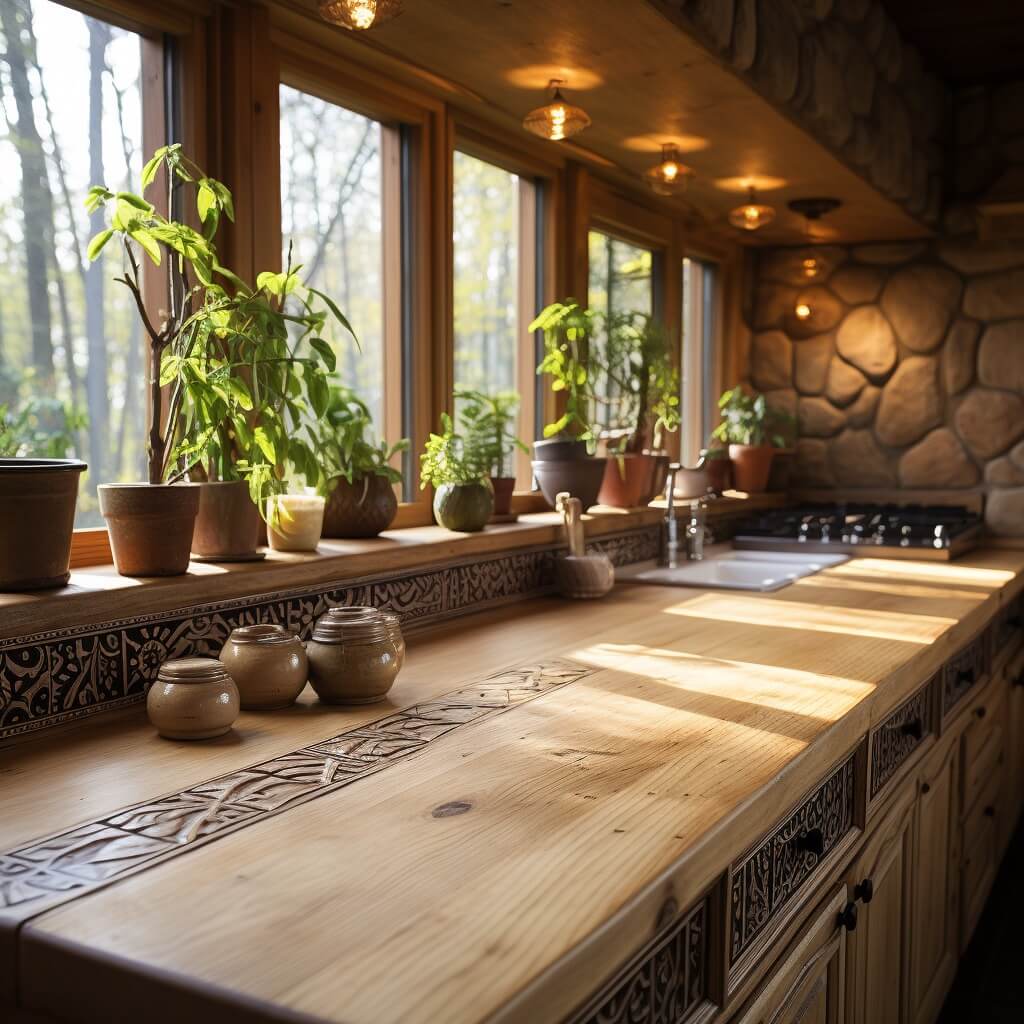
Infusing a plywood countertop with inlaid patterns is a testament to craftsmanship and artistry. By integrating different materials or plywood types, you can craft intricate designs that transform a simple countertop into a centerpiece of conversation and admiration. To embark on this creative journey, start by sketching a design or choosing a pattern that resonates with your aesthetic. Whether it’s a geometric motif, a floral design, or an abstract pattern, the possibilities are endless.
Once your DIY design is finalized, carefully carve out the sections on the plywood where the inlays will fit. Then, using contrasting wood types or materials like metals, stones, or even colored resins, fit them into the carved sections. The blending of these materials against the backdrop of plywood creates a visually stunning and tactile surface. When complete, the countertop becomes more than just a functional space; it’s a piece of art that adds character and depth to any room.
8 | DIY Maple Plywood Kitchen Countertop
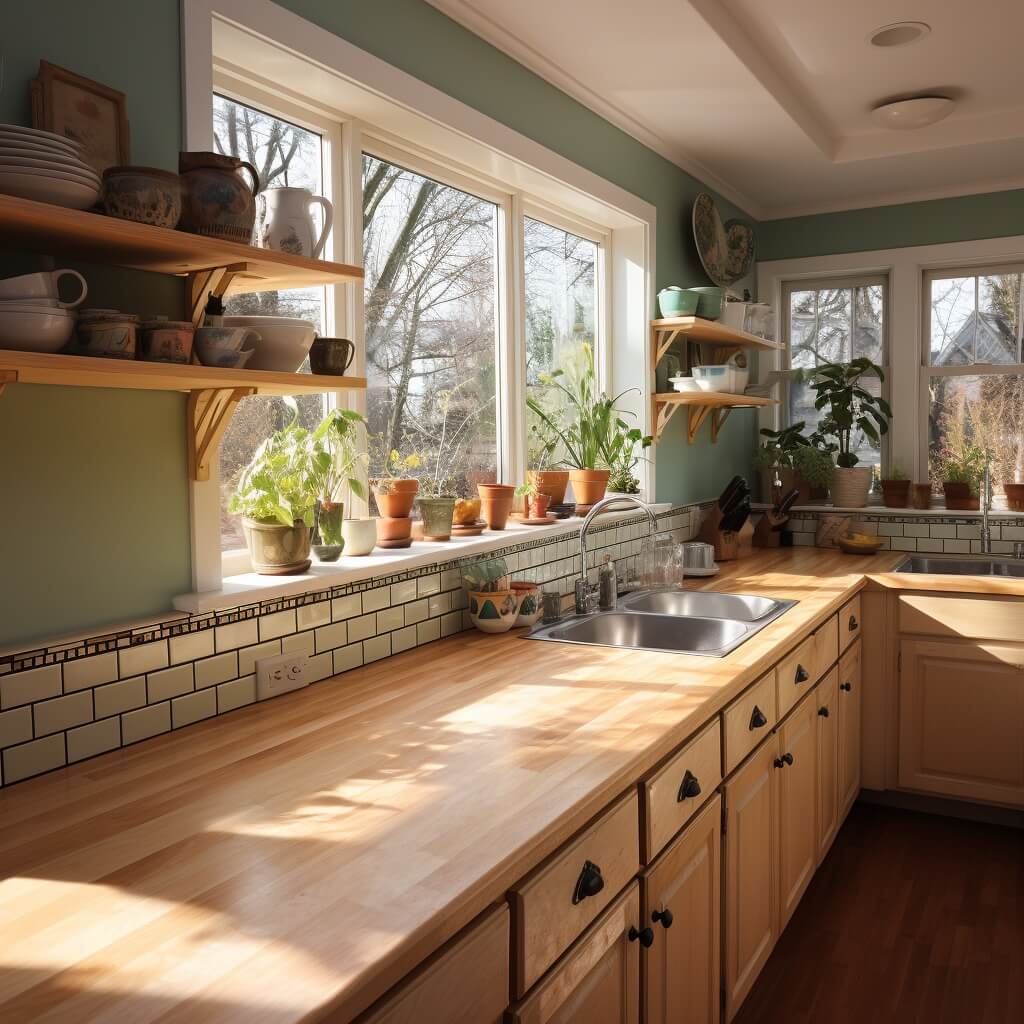
Maple plywood offers a blend of elegance and durability, making it a sought-after choice for those aiming for a high-end look without the hefty price tag. Its fine grain and warm tones provide a luxurious feel, while its inherent strength ensures longevity and resilience, especially in high-traffic areas like kitchens.
To build a countertop from maple plywood, begin by selecting a sheet with a prominent grain pattern, which will enhance its visual appeal. After cutting and shaping it to your desired dimensions, sand the surface to a smooth finish. Given maple’s naturally beautiful grain, a clear sealant or light stain can be enough to bring out its richness. However, for those wanting a deeper hue, consider a darker stain. Once sealed and polished, the countertop stands as a testament to the beauty of combining affordability with luxury, proving that with a bit of effort, premium aesthetics can be achieved on a budget.
9 | Plywood Countertop with Under-counter Storage
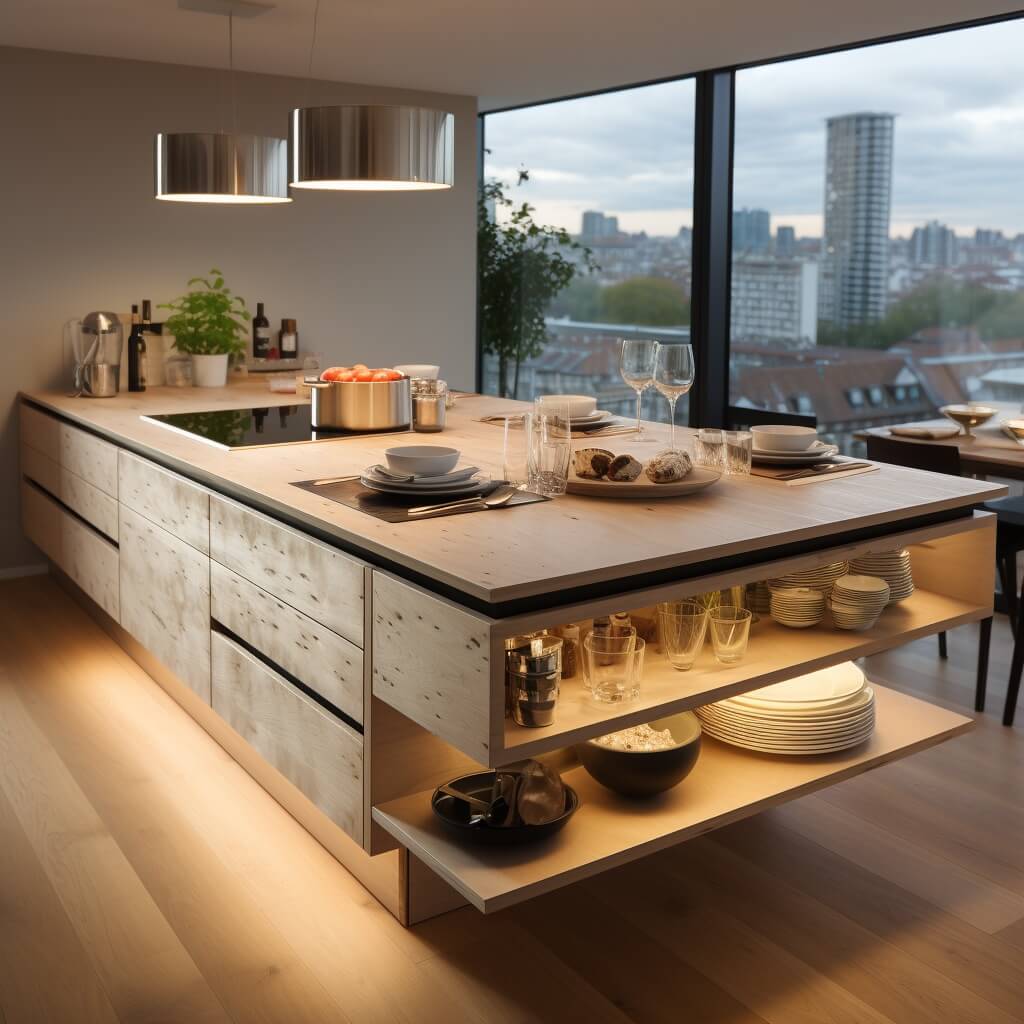
Maximizing space is a common challenge in many homes, and integrating storage solutions directly under a plywood countertop is a smart way to address this. Not only does it provide a functional workspace on top, but it also offers hidden compartments or shelves beneath, ensuring a clutter-free environment while keeping essentials within arm’s reach.
To design a countertop with under-counter storage, start by determining your storage needs. Do you require drawers for utensils, shelves for pots and pans, or perhaps a rack for cutting boards? Once you’ve identified your requirements, construct the plywood countertop with an extended base to accommodate the storage units. Ensure the compartments are easily accessible and consider adding features like soft-close hinges or pull-out trays for added convenience.
10 | DIY Backlit Plywood Kitchen Countertop
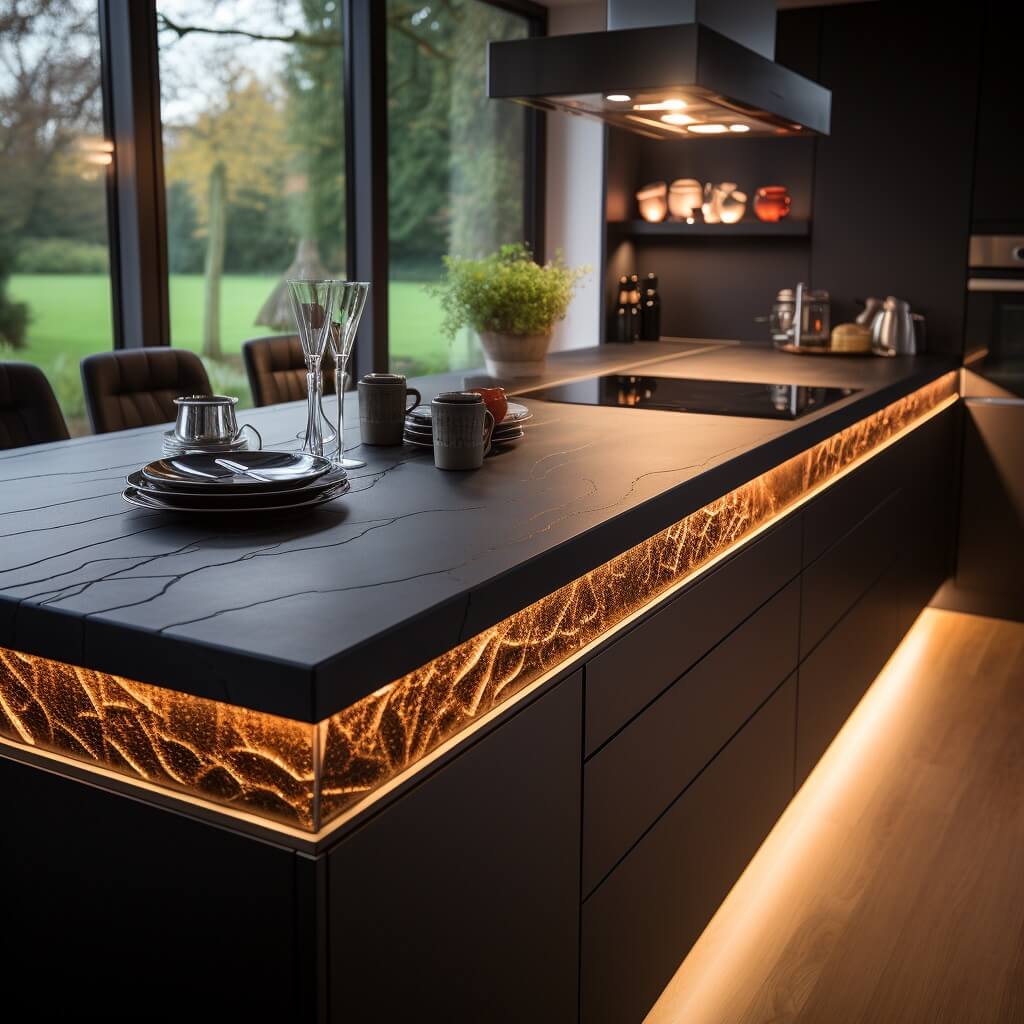
A backlit plywood countertop is where traditional craftsmanship meets modern innovation. By integrating LED lights beneath the surface, the countertop emits a soft glow, creating a captivating ambiance and adding a futuristic touch to any space.
To achieve this luminous effect, start with a sheet of high-quality plywood, ensuring it’s sanded to a smooth finish. Next, install a layer of translucent material, like frosted acrylic, beneath the plywood. This layer will diffuse the LED lights, ensuring an even glow across the countertop. Once in place, attach LED strips along the plywood edges or underside, depending on your desired effect. With a flip of a switch, your countertop transforms, becoming not just a workspace but a statement piece that’s sure to impress.
11 | Plywood Countertop with Live Edge
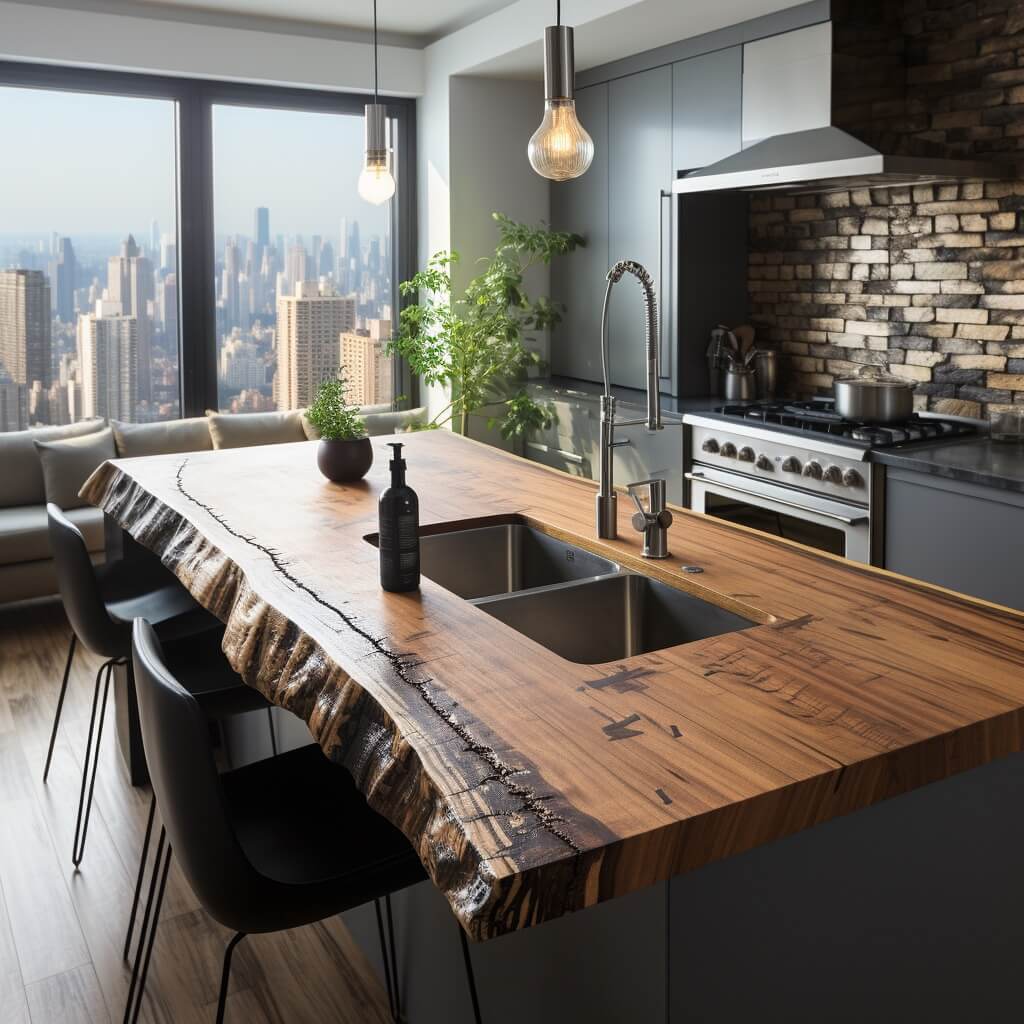
A live edge on a plywood countertop celebrates the wood’s raw beauty, offering a touch of nature right in your space. This design approach keeps the wood’s natural contours intact, making each countertop truly one-of-a-kind.
If you’re interested in making this, first select a plywood sheet where the outer edges showcase the tree’s natural form. After cutting and shaping, sand the surface, paying special attention to the live edge to smooth any rough spots while preserving its organic shape. Finish with a clear sealant to enhance the wood’s grain and protect its unique edge. This design choice not only adds character but also brings a sense of the outdoors into your home.
12 | Concrete Overlay on Plywood Countertop
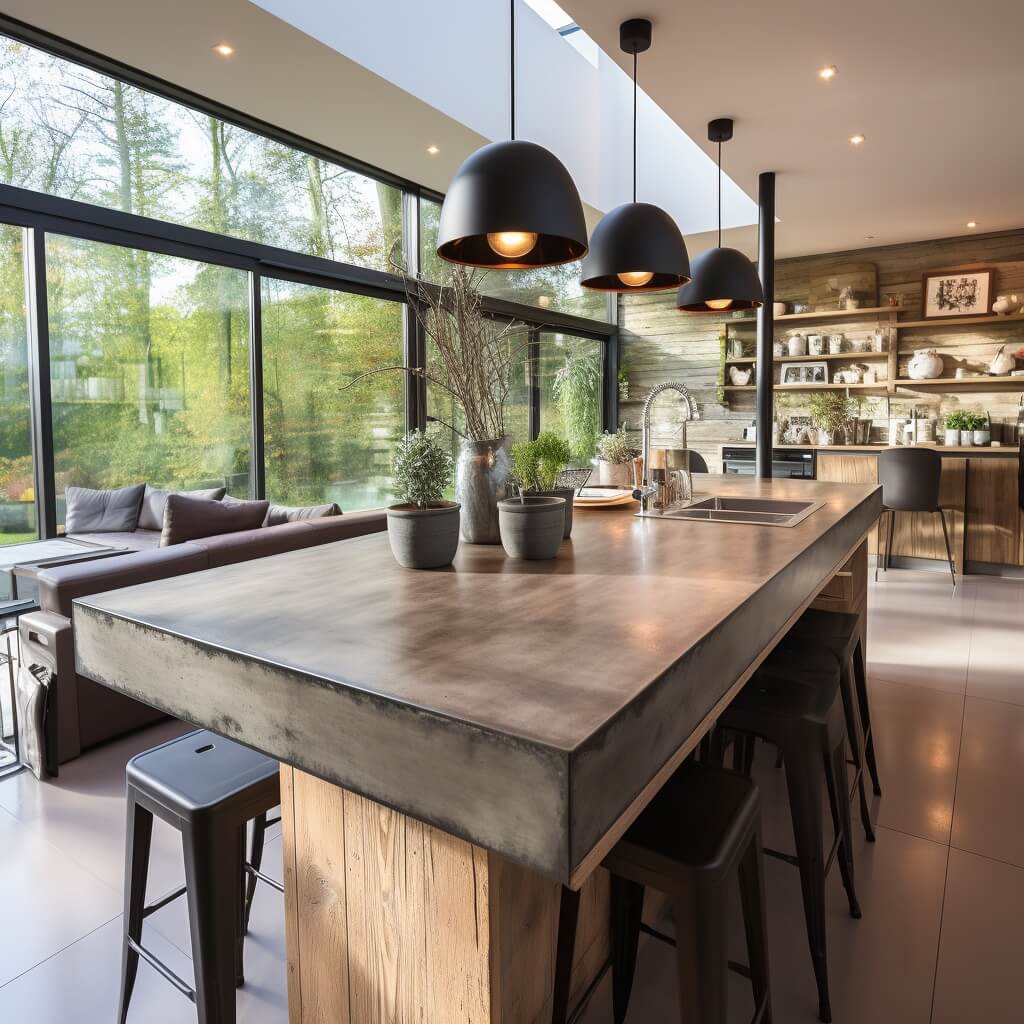
Blending the raw beauty of plywood with the sleekness of concrete results in a countertop that exudes both industrial and rustic vibes. This unique combination not only elevates the aesthetic appeal but also fortifies the surface.
Begin with a well-sanded plywood base. Mix concrete to a smooth consistency and spread it evenly over the plywood using a trowel. Once it’s set and cured, you can opt to stain or paint the concrete layer to align with your decor preferences. The end result marries the warmth of wood with the robustness of concrete, making it a standout choice for any space.
13 | Tile or Stone Veneer Plywood Countertop
Introducing tiles or stone veneers to a plywood countertop can dramatically elevate its appearance, adding a touch of elegance and sophistication. This approach allows for a myriad of design possibilities, from intricate mosaic patterns to the rustic charm of natural stone.
Start with a sturdy plywood base, ensuring it’s level and free from imperfections. Depending on your choice, lay out tiles or stone veneers to visualize the final design. Using a suitable mortar or adhesive, affix each piece meticulously, ensuring tight seams and even spacing. Once set, grout the spaces between tiles or seal the stone veneers to protect against spills and stains. The fusion of these materials with plywood offers a durable countertop that’s as functional as it is aesthetically pleasing.
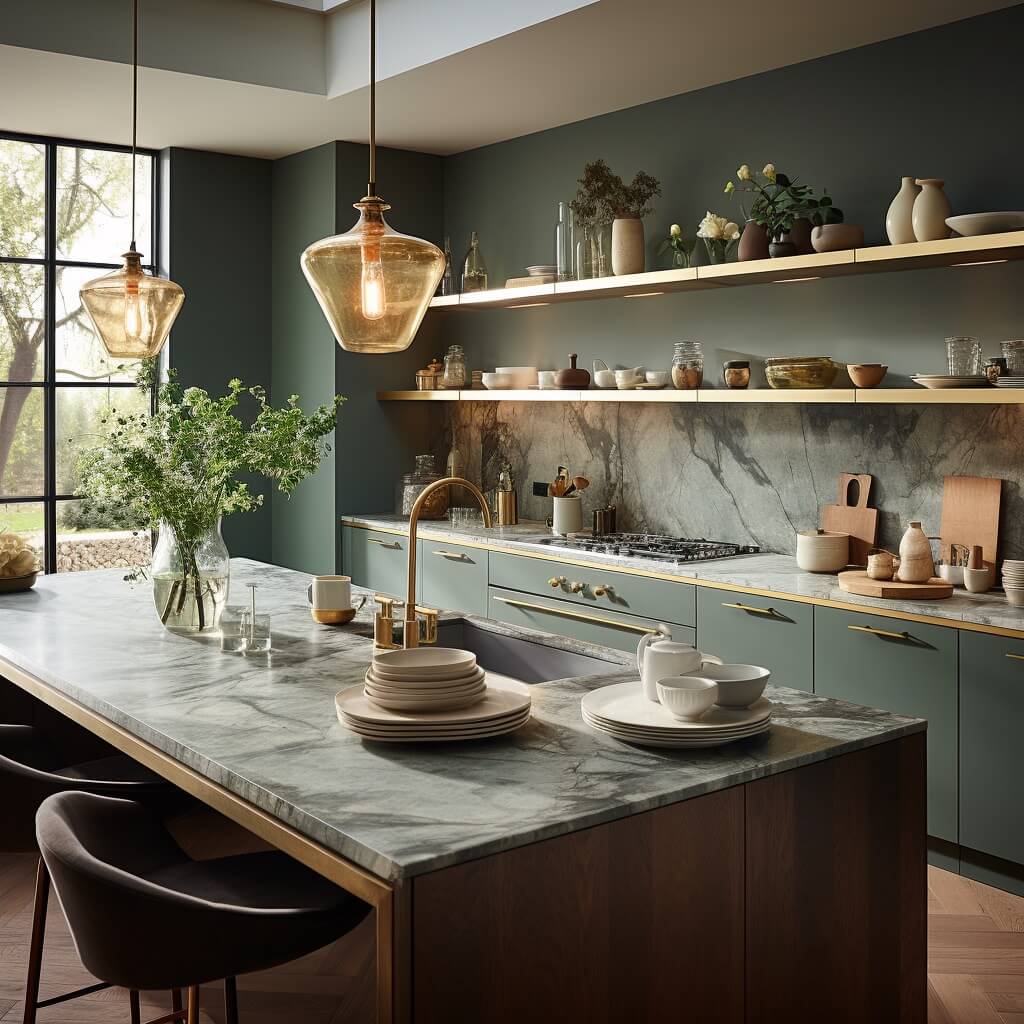
14 | DIY Epoxy Resin Coated Plywood Countertop
Epoxy resin brings a transformative touch to plywood countertops, encapsulating them in a glossy, glass-like sheen. Beyond its visual appeal, this coating offers a resilient barrier against daily wear and tear, making it a favorite among DIY enthusiasts and professionals alike.
Before applying, ensure the plywood surface is clean, dry, and sanded smooth. Mix the epoxy resin as per the manufacturer’s instructions, adding colors or effects if desired. Pour the mixture over the countertop, spreading it evenly with a spatula or trowel. As it cures, the epoxy forms a hard, clear surface that accentuates the wood’s natural grain while providing a modern, polished look. The result is a countertop that’s both stunning and built to last, making it a perfect addition to any space.
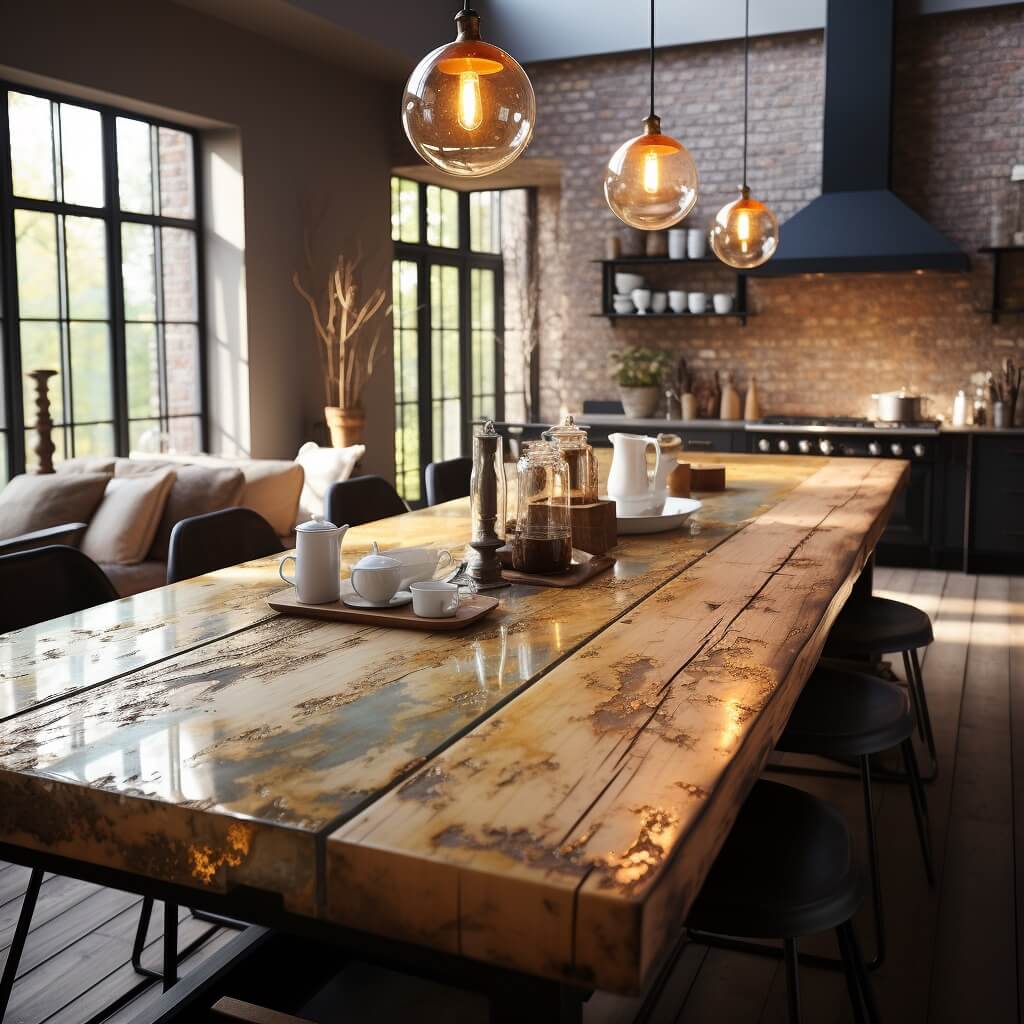
15 | DIY Distressed Plywood Countertop
A distressed plywood countertop evokes a sense of history and charm, reminiscent of timeworn surfaces found in vintage homes or rustic retreats. This style captures the essence of age and character, making each piece uniquely its own.
To create this aged appearance on wooden countertops, begin with a plywood sheet. Using tools like chisels, wire brushes, and sandpaper, intentionally introduce marks, scrapes, and dents to the surface. The key is to vary the techniques and pressure to ensure the distressing looks organic and not overly uniform. Once satisfied with the level of distressing, apply a sealant to protect the wood from moisture and daily wear. The finished countertop exudes a warm, nostalgic vibe, seamlessly blending the past’s character with today’s functionality.
Tips for Crafting DIY Countertops for Laundry Room Makeover
Crafting a DIY countertop for a laundry room makeover is a rewarding endeavor. Not only does it allow for personalization, but it also provides a sense of accomplishment. Here are some essential tips I’ve gathered over the years to help you achieve the best results.
The Right Plywood: Picking plywood for building DIY wood countertops.
Choosing the right wood for table tops and countertops is crucial. For countertops, I recommend opting for higher-grade plywood, like Baltic Birch or Cabinet Grade. These types offer a smoother surface, fewer knots, and are more durable, ensuring your countertop stands the test of time.
Preparation and Sanding: Achieving a smooth surface for finishing.
Before diving into any finishes, it’s essential to prepare the wood. I always start by sanding the plywood, beginning with a coarse grit and working my way up to a finer one. This process ensures a smooth surface, ready to absorb stains or sealants evenly.
Sealing and Protecting: Ensure longevity and resistance to water and stains.
The laundry room can be a humid environment, so protection is key. I’ve found that using a water-resistant sealant, like polyurethane, works wonders. It not only protects the wood from moisture but also from potential stains. Remember, multiple thin coats are better than one thick one!
Joinery Techniques: Connecting pieces of plywood for larger countertops.
If you’re working on a larger countertop, you might need to join multiple plywood pieces. Biscuit joinery or doweling are techniques I’ve used with great success. They provide strong connections while maintaining a seamless look.
Maintenance and Care: Regular upkeep to retain the countertop’s beauty.
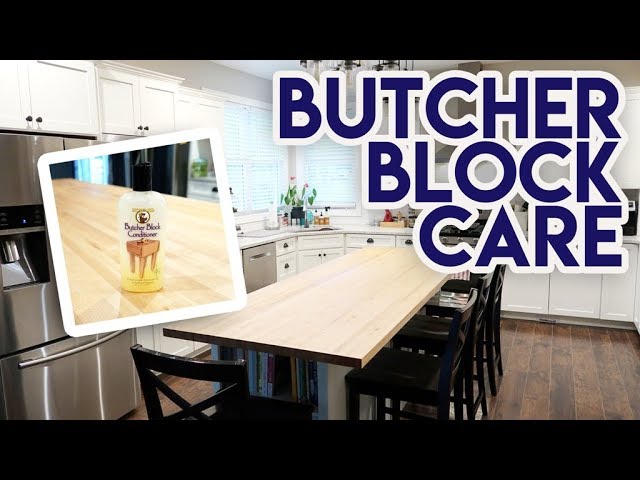
Like any cherished item in your home, regular care ensures your countertop remains pristine. I suggest wiping it down with a damp cloth regularly and avoiding abrasive cleaners. Every few years, consider reapplying a sealant coat to maintain its protective barrier.
DIY Wood Countertop for Laundry and Kitchen Cabinets FAQs.
What thickness of plywood is ideal for countertops?
When it comes to selecting the right thickness for plywood countertops, the choice largely depends on the finish material you plan to use on top. Generally, for most countertops, a thickness of 3/4 of an inch is recommended, especially if it’s supporting a finish material.
However, if you’re using tile as the finish, you might need more support, either in the form of additional boards or thicker plywood. For all-wood or vinyl countertops, the thickness requirement can be less stringent.
Table: Plywood Thickness Recommendations Based on Finish Material
| Finish Material | Recommended Plywood Thickness | Additional Notes |
|---|---|---|
| Vinyl | Any thickness | Vinyl is flexible and doesn’t require significant structural support. |
| Tile (e.g., ceramic, natural stone) | 3/4 inch + 1/4-inch concrete slab/fillerboard | Tiles are heavy; ensure at least 1 inch of substrate beneath the tile. Alternatively, use two sheets of 5/8-inch plywood. |
| Wood (e.g., butcher-block) | Personal preference (commonly 5/8-inch or 3/4-inch) | Plywood can be used as a finish material itself. Ensure it’s laminated or painted for aesthetics. |
| Marine Plywood | Depends on the environment | Ideal for areas with frequent moisture exposure. |
| Structural Plywood | Depends on the design | More about structural integrity than visual appeal. |
Note: It’s essential to note that these are general recommendations. Depending on specific needs and design preferences, the ideal thickness might vary. Always consult with a professional when in doubt.
How do I prevent warping in plywood countertops?
Warping in plywood countertops can be a concern, especially in areas with fluctuating humidity levels. Warping occurs when the plywood absorbs moisture from the air, causing it to expand and contract unevenly. To ensure your plywood countertop remains flat and warp-free, consider the following preventive measures:
- Consistent Humidity Levels: One of the primary reasons for warping is the fluctuation in humidity. By maintaining a consistent humidity level in your home, you can prevent the plywood from absorbing excess moisture. Using devices like humidifiers or dehumidifiers can help regulate the moisture content in the air.
- Seal the Plywood: Applying a sealant can act as a barrier, preventing the plywood from absorbing moisture. Ensure you seal all sides of the plywood, especially the edges, to offer comprehensive protection.
- Choose the Right Plywood: Opt for high-quality plywood that’s specifically designed for countertops. These are often more resistant to warping due to their construction and the type of glue used.
- Proper Installation: Ensure the plywood is properly anchored and supported during installation. This can prevent any movement or bending that could lead to warping over time.
- Avoid Direct Water Exposure: While occasional spills won’t harm your countertop, prolonged exposure to water can. Always wipe away spills promptly and avoid placing wet items directly on the countertop for extended periods.
By following these guidelines, you can significantly reduce the risk of warping wooden counters, and ensure your plywood countertop remains in pristine condition for years to come.
Can I use plywood for a kitchen island countertop?
Certainly! Plywood is a versatile material that can be used for a kitchen island countertop. Its layered construction provides stability, making it less prone to warping or shrinking compared to solid wood. When properly sealed and finished, a plywood kitchen countertop offers a smooth and durable surface that can withstand the daily wear and tear of a busy kitchen. Moreover, it provides a blank canvas, allowing homeowners to customize the look with stains, paints, or even laminates to match their kitchen’s aesthetic.
However, it’s essential to choose a high-quality, furniture-grade plywood for this purpose. While plywood is inherently strong, not all types are suitable for countertop use. Opting for a thicker sheet ensures better durability and resistance to potential damage. Additionally, to enhance its longevity, it’s crucial to seal the plywood to protect it from moisture, stains, and potential scratches. With the right care and maintenance, a plywood kitchen island countertop can be both a functional and stylish addition to any kitchen.
How do I handle cuts and scratches on my plywood countertop?
Cuts and scratches on plywood countertops can be a common occurrence, especially in high-traffic areas like the kitchen. While these imperfections might seem daunting, they can be addressed with the right techniques and materials. Addressing these blemishes promptly can restore the beauty of your countertop and prevent further damage.
Steps to Handle Cuts and Scratches on Plywood Countertop:
- Clean the Area: Begin by cleaning the affected area with dish soap and water to remove any dirt or debris. Dry the countertop thoroughly with a towel.
- Laminate Repair Paste: For deeper cuts, consider using laminate repair products like SeamFil or Liberon Laminate Repair Sticks. These pastes are soft upon application and harden after a few hours. Ensure you choose a color that matches your countertop. Apply the paste using a putty knife, ensuring it fills the scratch or cut. Scrape off any excess and let it harden. Once set, wipe off any residue with a soft cloth.
- Furniture Paste Wax: For minor scratches, furniture paste wax can be an effective solution. Apply the wax with a soft cloth, ensuring you don’t create more scratches. Let it dry for a few minutes, then buff it with the cloth. This method might require reapplication every few months.
- Baking Soda for Shallow Scratches: For superficial scratches that haven’t penetrated deep, a mixture of baking soda and water can be used as a mild abrasive. Sprinkle baking soda on the scratch, dampen a cloth, and gently rub the area. Rinse with water and check the scratch. If it’s still visible, repeat the process.
- Seal the Surface: Once the scratches or cuts are addressed, consider sealing the countertop to protect it from future damage. A good sealant can act as a barrier against moisture and other potential threats.
Remember, while these methods can address minor damages, for more significant issues or if you’re unsure about the repair process, it’s always best to consult with a professional.
What’s the best finish to use on a plywood countertop?
When it comes to plywood countertops, the finish you choose plays a crucial role in both its appearance and durability. The right finish can enhance the natural beauty of the wood, protect it from moisture and stains, and ensure its longevity. Whether you’re aiming for a glossy, matte, or natural look, there are several finishes available that can meet your needs.
Table: Best Finishes for Plywood Countertops
| Finish Type | Description | Best For | Durability | Application |
|---|---|---|---|---|
| Polyurethane | A clear or tinted finish that can be either water or oil-based. It offers a protective coat and can be available in satin, semi-gloss, or gloss. | General use, especially in kitchens due to its resistance to water and stains. | High | Typically applied with a brush or roller. Requires multiple coats. |
| Epoxy Resin | A thick, glossy finish that provides a high-gloss sheen. It’s durable and resistant to moisture. | Countertops that need a sleek, modern look. | Very High | Mixed in two parts (resin and hardener) and poured onto the surface. |
| Tung Oil | A natural oil that penetrates the wood and hardens. It enhances the wood’s grain and provides a matte finish. | Those who prefer a natural, matte look. | Moderate | Applied with a cloth. Multiple coats might be needed. |
| Danish Oil | A blend of oils and varnish. It penetrates the wood and provides a low-luster finish. | A natural look with added protection. | Moderate to High | Applied with a cloth or brush. Requires multiple coats. |
| Lacquer | A clear or tinted wood finish that dries by solvent evaporation. It can be sprayed or brushed on and provides a durable finish. | A smooth, glossy finish. | High | Best applied using a sprayer. Requires multiple coats. |
Note: When selecting a finish for your plywood countertop, consider the countertop’s intended use, the desired appearance, and the level of maintenance you’re willing to commit to.
Conclusion: The Warmth of DIY Plywood Countertops
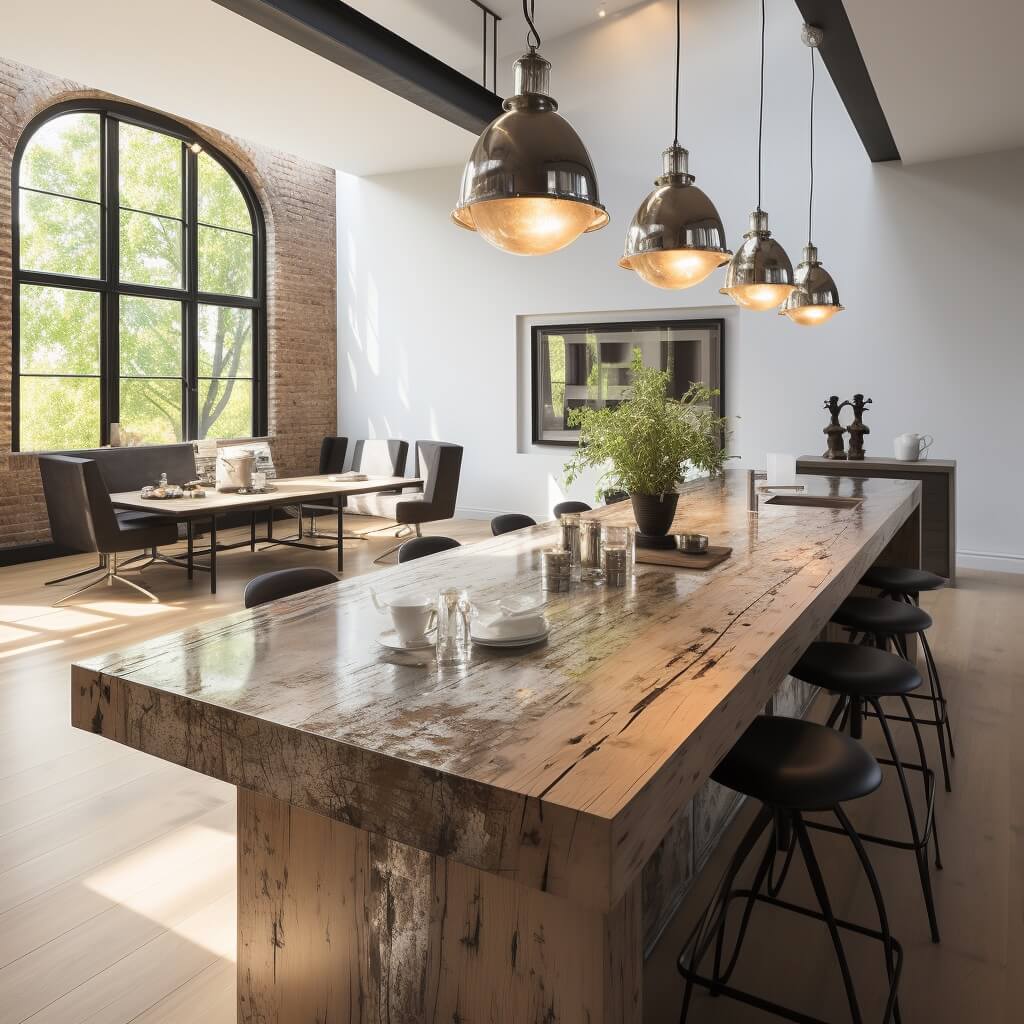
In my journey through the world of DIY, I’ve come to appreciate the versatility and warmth that plywood countertops bring to a space. Whether it’s a rustic kitchen island or a sleek DIY bar table, the possibilities are endless.
These countertops not only offer a unique aesthetic but also provide an affordable solution for those looking to customize their spaces. As we’ve explored, with the right techniques and finishes, you can transform a simple sheet of plywood into a stunning centerpiece for your home. Embrace the DIY spirit and let your creativity shine!

