20 Easy DIY Wooden Box Ideas and Plans to Craft
Woodworking is more than just a craft; it’s an art form that tells a story with every grain and groove. As I’ve journeyed through the world of DIY, I’ve come to appreciate the timeless charm of wooden boxes. They’re not just containers; they’re keepsakes, memories, and a testament to one’s skill.
Whether you’re here to find a project for a rainy afternoon or to challenge your carpentry prowess, this guide promises a blend of tradition and innovation in wooden box designs. Join me as we delve deep into the essence of woodworking and bring these designs to life.
DIY Wooden Box Ideas for Cool Woodworking Projects
1 | Classic DIY Keepsake Wooden Box
There’s an undeniable allure in preserving memories. In a world dominated by fleeting digital snapshots, there’s something profoundly grounding about tangible mementos. Handmade containers, with their intricate designs and sturdy build, serve as the perfect guardians for such treasures. Their timeless appeal lies not just in their aesthetics but in the stories they protect, from old letters to heirloom trinkets.
Crafting such a container is a journey in itself. It’s not just about assembling pieces of timber; it’s about weaving in emotions, history, and a touch of personal flair. The rich grains, the subtle scent of wood, and the smooth finish all come together to create a piece that’s not just functional but deeply sentimental. Whether it’s a gift for a loved one or a personal keepsake box, these containers are a testament to the beauty of handcrafted artistry and the memories they safeguard.
2 | Modern Minimalist DIY Wooden Box
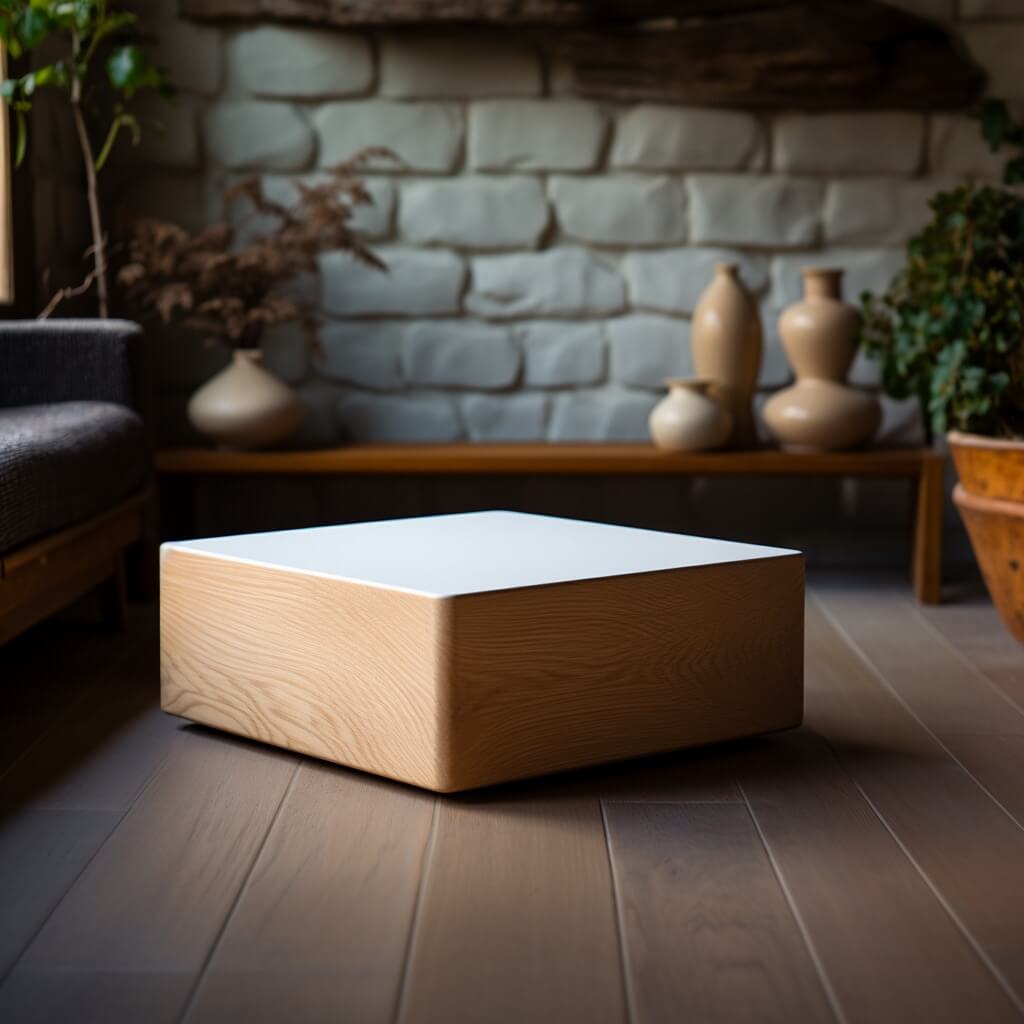
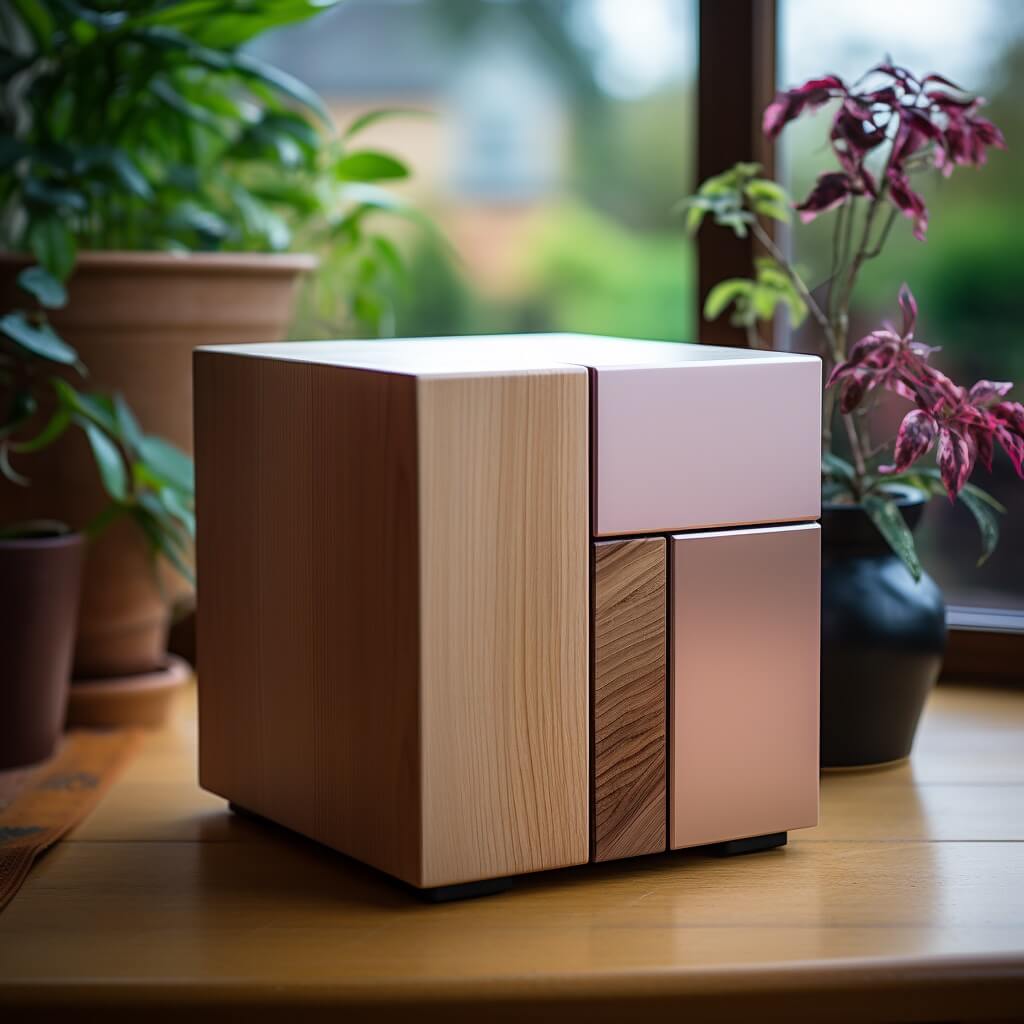
In a world where clutter often reigns supreme, the allure of minimalism becomes ever more pronounced. Handcrafted containers, embodying this philosophy, stand out not for their ornate designs, but for their sheer simplicity. Their beauty lies in their understated elegance, where every line, curve, and edge is thoughtfully crafted. These creations resonate with those who appreciate the ‘less is more’ ethos, seamlessly blending functionality with aesthetics.
Such containers are more than just storage solutions; they’re statements. In contemporary spaces, where every item has a purpose and place, these sleek designs find their rightful spot. They don’t scream for attention; instead, they subtly enhance the ambiance, adding a touch of sophistication. For the DIY enthusiast, crafting one is an exercise in restraint and precision, resulting in a piece that’s both versatile and timeless. Whether placed in a modern loft or a chic office, these containers are a testament to the power of simplicity in design.
3 | DIY Wooden Jewelry Box with Velvet Lining
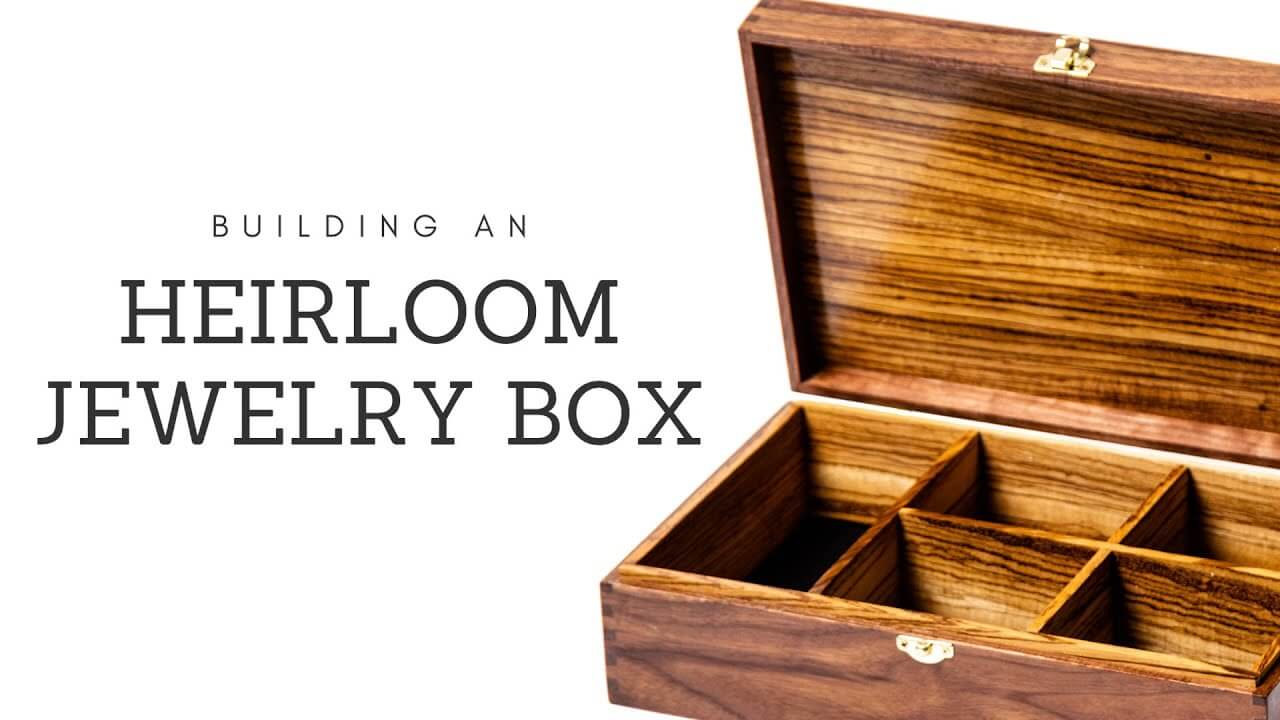
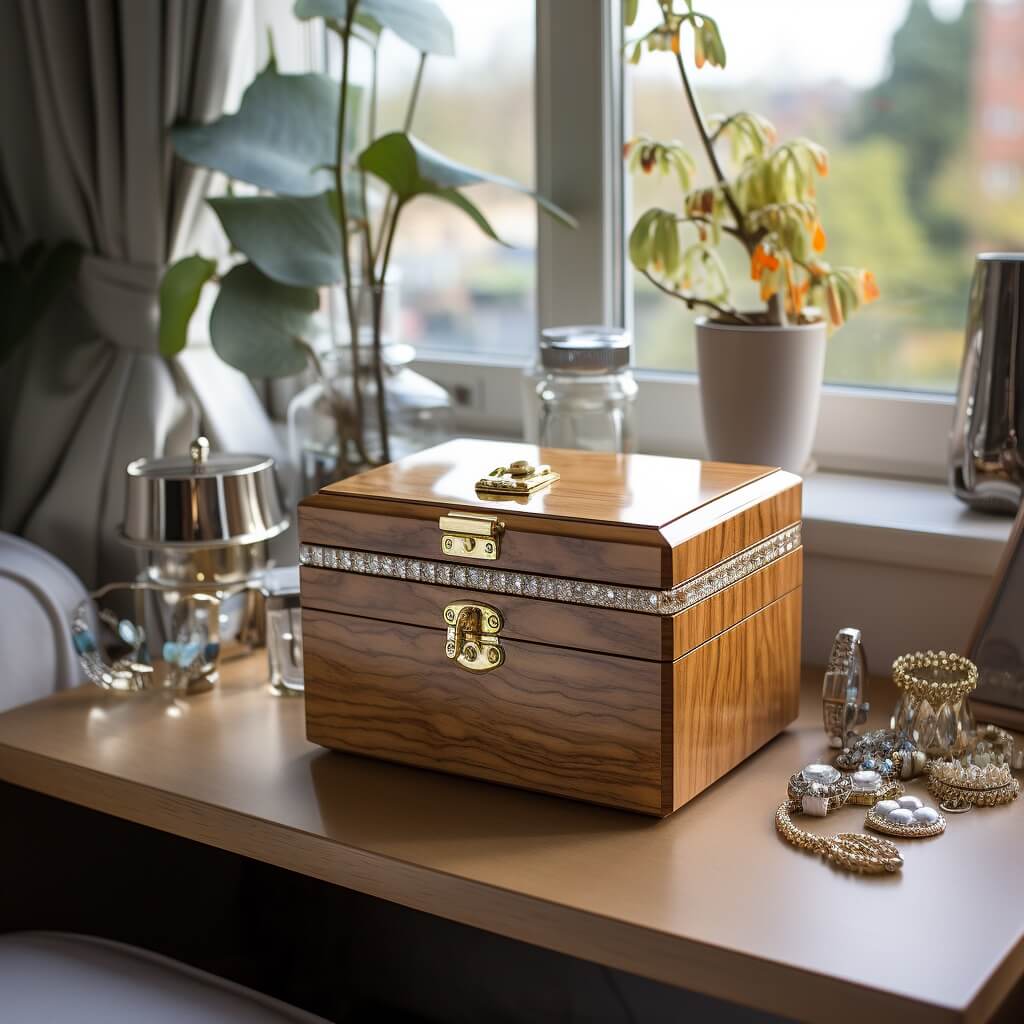
Jewelry, with its shimmer and sparkle, often holds stories of special moments, be it an heirloom passed down or a gift marking a milestone. Such precious pieces deserve a home that’s equally special. Enter the DIY jewelry boxes, where the soft embrace of velvet meets the sturdy embrace of wood. This union creates a sanctuary, ensuring each piece of jewelry is cradled in luxury, protected from scratches and the wear of time.
Crafting such a container is a dance between delicacy and durability. The exterior, robust and durable, guards against external threats, while the plush velvet lining inside offers a gentle touch, perfect for delicate chains and intricate designs. For those who cherish their jewelry collection, this container is more than just storage; it’s a reflection of the value placed on those treasured pieces. It’s not just about keeping jewelry safe; it’s about giving it a home that mirrors its significance.
4 | Stackable DIY Wooden Crate Design
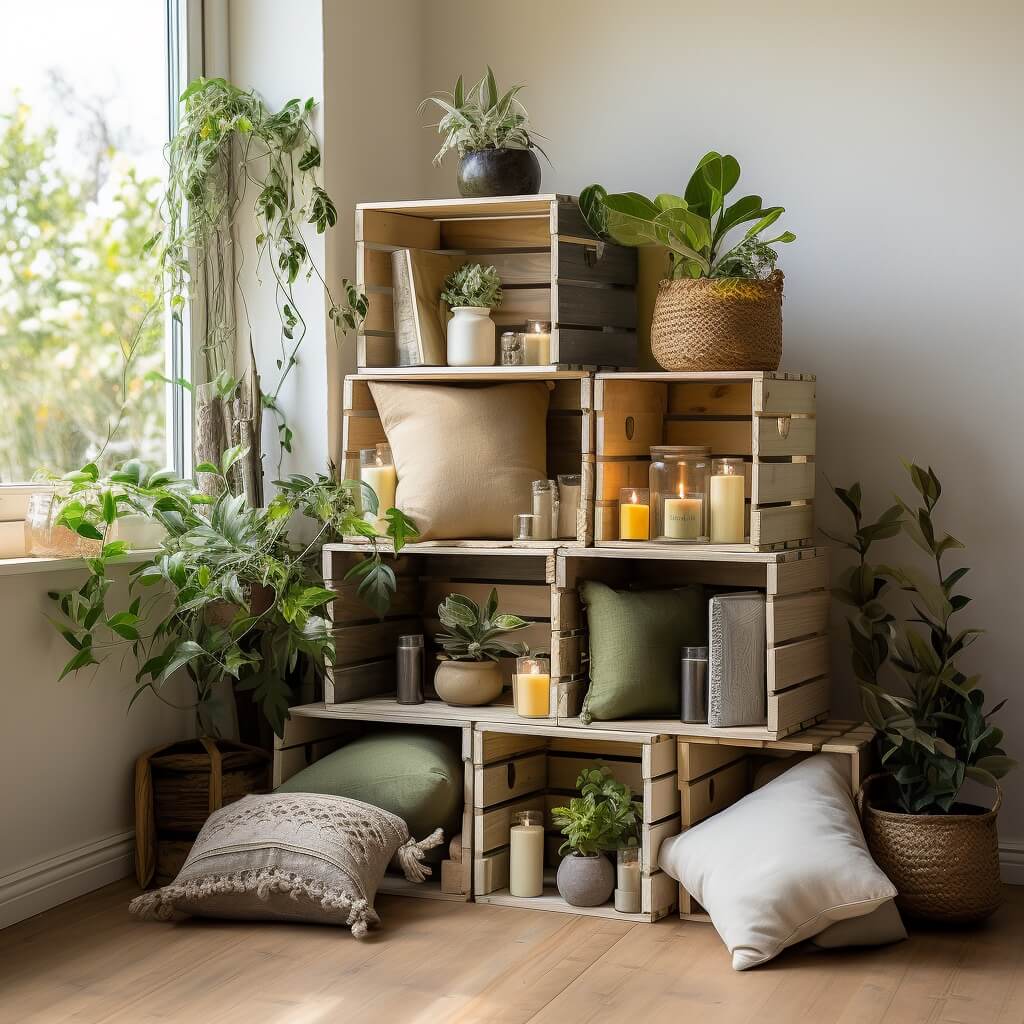
In the realm of storage, versatility is king. As our collections grow and change, so too do our storage needs. Stackable designs come to the rescue, offering a dynamic solution that adapts with ease. Handcrafted from wood, these crates combine the rustic charm of timber with the practicality of modular design. Whether you’re organizing books, toys, or pantry items, these crates stack seamlessly, optimizing vertical space while keeping contents accessible.
The beauty of such a design lies in its adaptability. Today, it might be a bookshelf; tomorrow, a pantry organizer. The DIY enthusiast will appreciate the challenge of crafting crates that are both sturdy and aesthetically pleasing. With interlocking designs or simple weight balance, they ensure stability when stacked. Beyond mere storage, these crates can become a design feature in any room, showcasing the timeless appeal of wood while offering a practical solution to ever-evolving storage needs.
5 | Wooden Box with Hidden Compartments
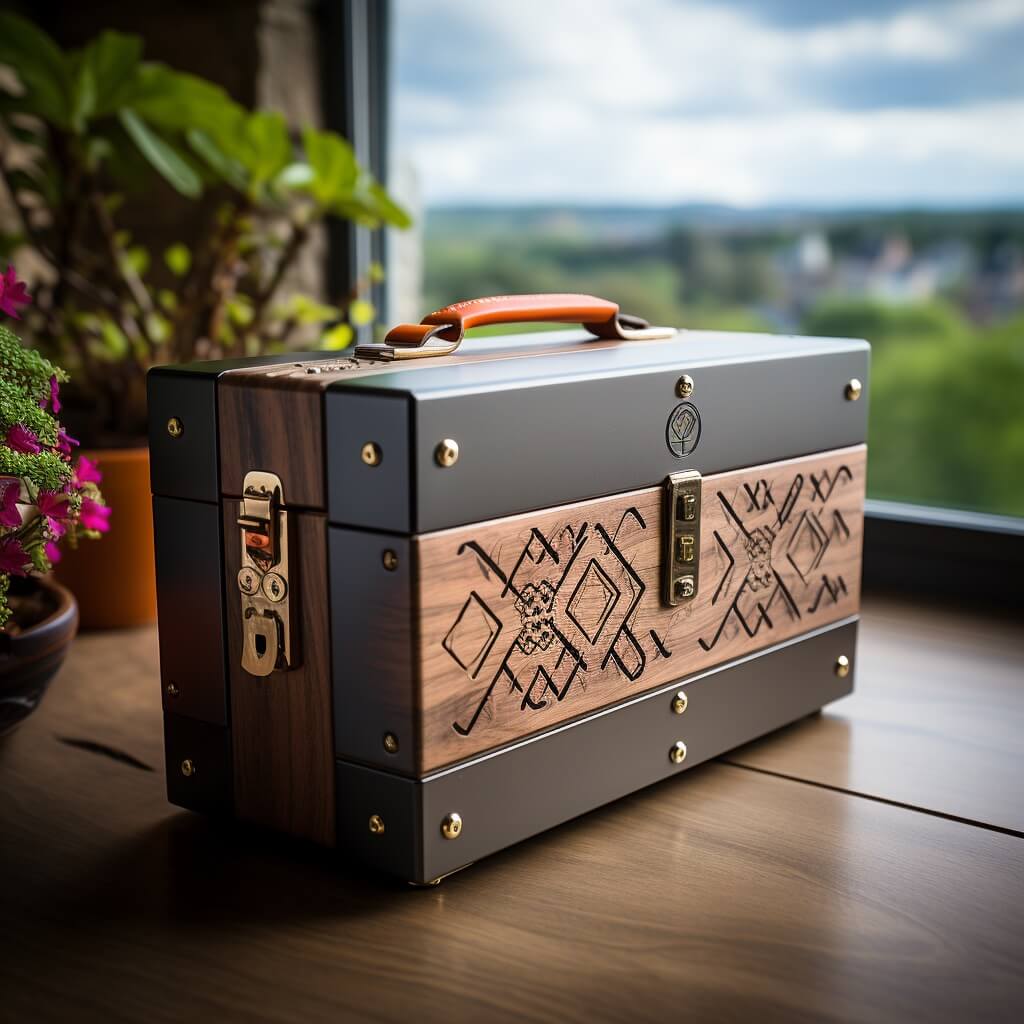
There’s an age-old allure to mysteries and secrets, and when it comes to these storage boxes, the intrigue only deepens. Handcrafted wooden containers with concealed compartments are more than just functional pieces; they’re a nod to the art of disguise. On the surface, they may seem like any other storage box, but a closer look reveals hidden nooks, perfect for safeguarding treasures or personal keepsakes away from prying eyes.
Creating such a container is a test of a craftsman’s skill and ingenuity. It’s not just about constructing a box but about integrating secret chambers seamlessly into size box, ensuring they remain undetected. For the DIY enthusiast, this presents a delightful challenge, blending carpentry skills with a touch of espionage flair. Beyond their covert appeal, these containers offer genuine security, making them ideal for storing sensitive documents, heirloom jewelry, or even just personal mementos.
6 | Simple DIY Wooden Candle Stand Box
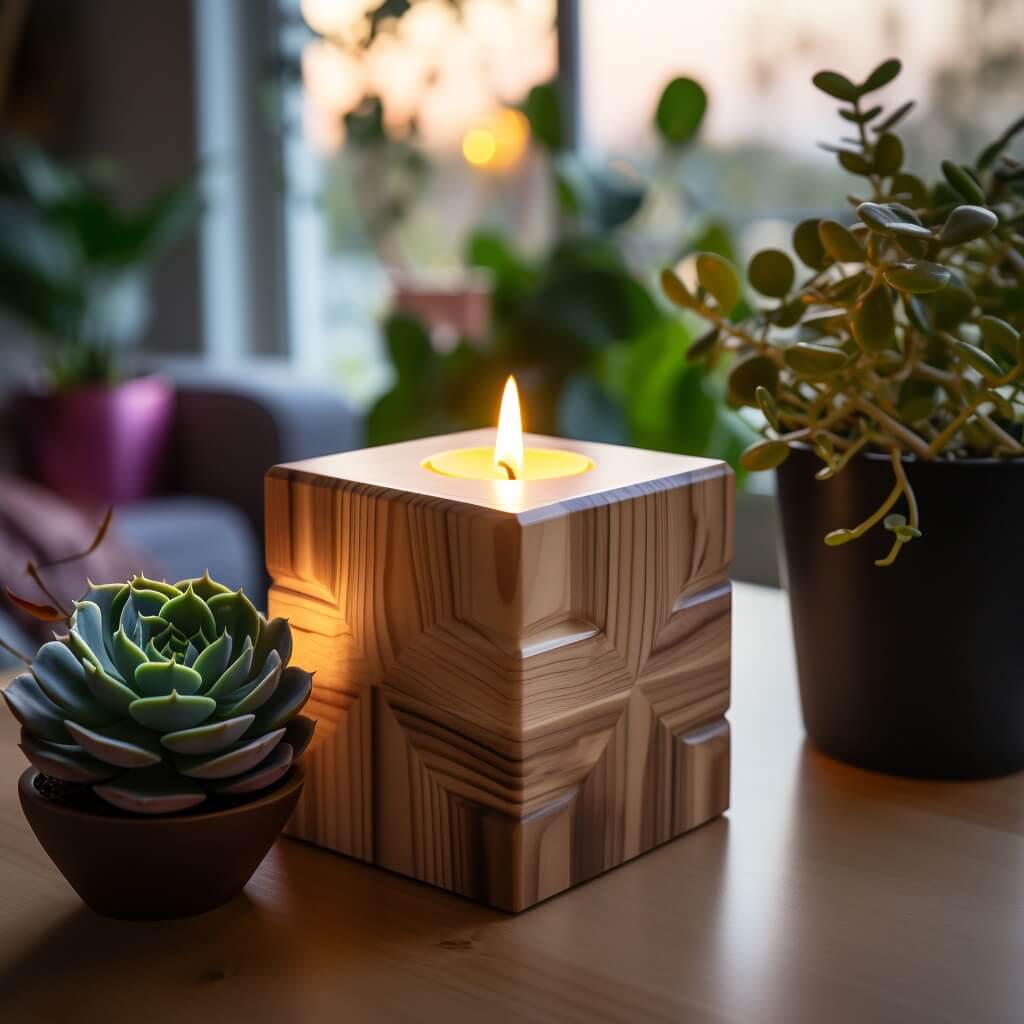
The gentle flicker of a candle, when nestled within a bespoke wooden stand box, takes on a new dimension. This handcrafted piece doesn’t just serve as a holder; it accentuates the candle’s glow, highlighting the wood’s natural grain and unique characteristics. Every knot, swirl, and texture becomes a part of the story, adding depth and charm to the ambient light.
Creating such a candle stand box is an ode to refined simplicity. It’s a dance between design and utility, ensuring the candle remains secure while the stand remains a visual delight. For those passionate about DIY, this project is a canvas for innovation. Whether designed for a single candle or multiple, the outcome is a captivating accessory that infuses warmth and sophistication into its surroundings.
7 | DIY Scrap Wood Planter Box
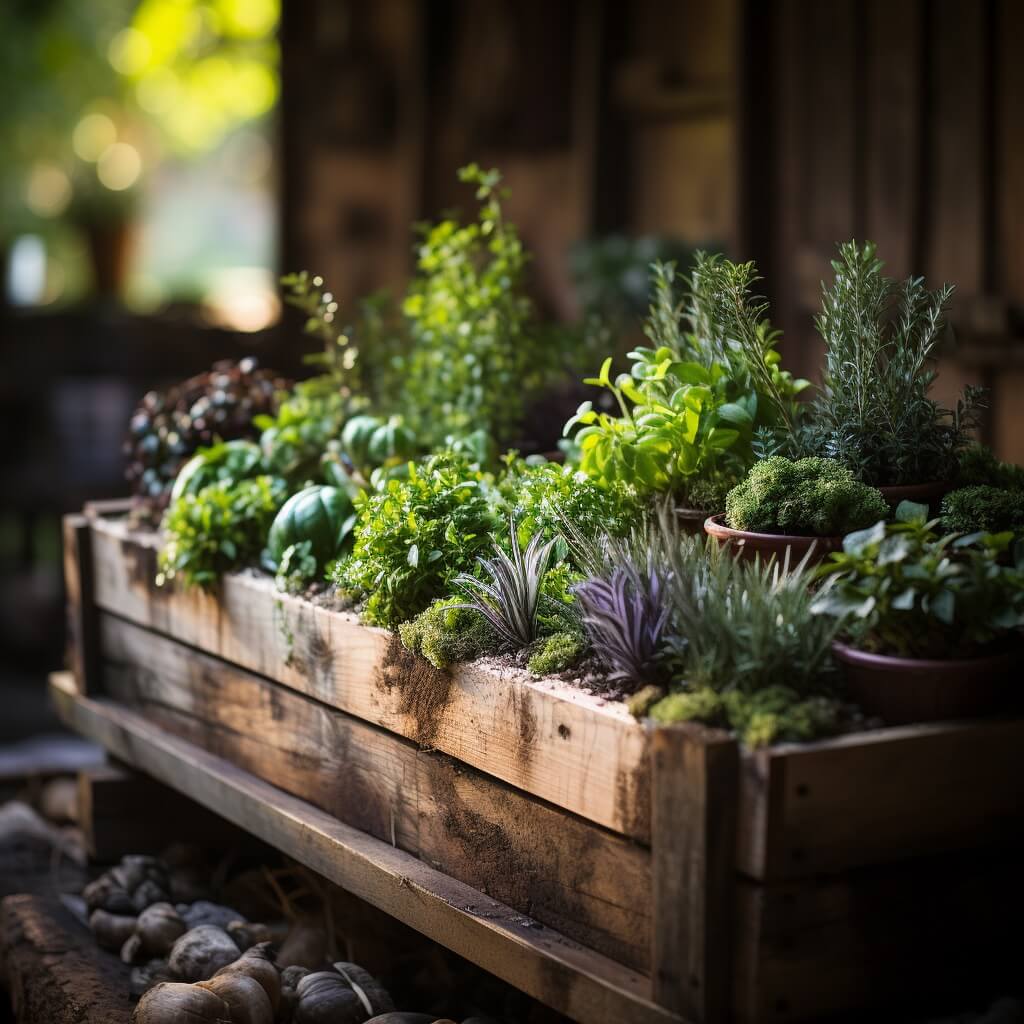
Scrap wood, often overlooked, becomes the star of the show when transformed into a DIY planter box. These remnants, with their varied grains and hues, come together to create a patchwork of natural beauty. The result is a rustic container that not only houses plants but also stands as a testament to sustainable crafting.
For the DIY enthusiast, this project is a delightful exercise in resourcefulness. It’s about giving discarded pieces a new purpose, turning what was once waste into a centerpiece for your garden. As plants bloom and thrive within, the planter serves as a constant reminder of the beauty that can be found in repurposing and reimagining.
8 | DIY Wall-mounted Wooden Shadow Box
Wall-mounted shadow boxes offer a unique canvas for showcasing cherished collectibles and mementos. With their recessed design, these boxes create a sense of depth, allowing each item to stand out, casting intriguing shadows and drawing the viewer’s eye. Whether it’s a collection of vintage coins, cherished postcards, or small trinkets from travels, these boxes provide a protective and stylish display.
Crafting such a display is a blend of carpentry and curatorial skills. The wood frame serves as the boundary, but within, the arrangement becomes an art form. For the DIY creator, the challenge lies in designing a box that complements the items it houses, ensuring they remain the stars of the show. As it hangs on the wall, the shadow box becomes more than just storage; it’s a conversation starter, a piece of interactive art that holds stories waiting to be shared.
9 | DIY Wooden Box with Sliding Lid
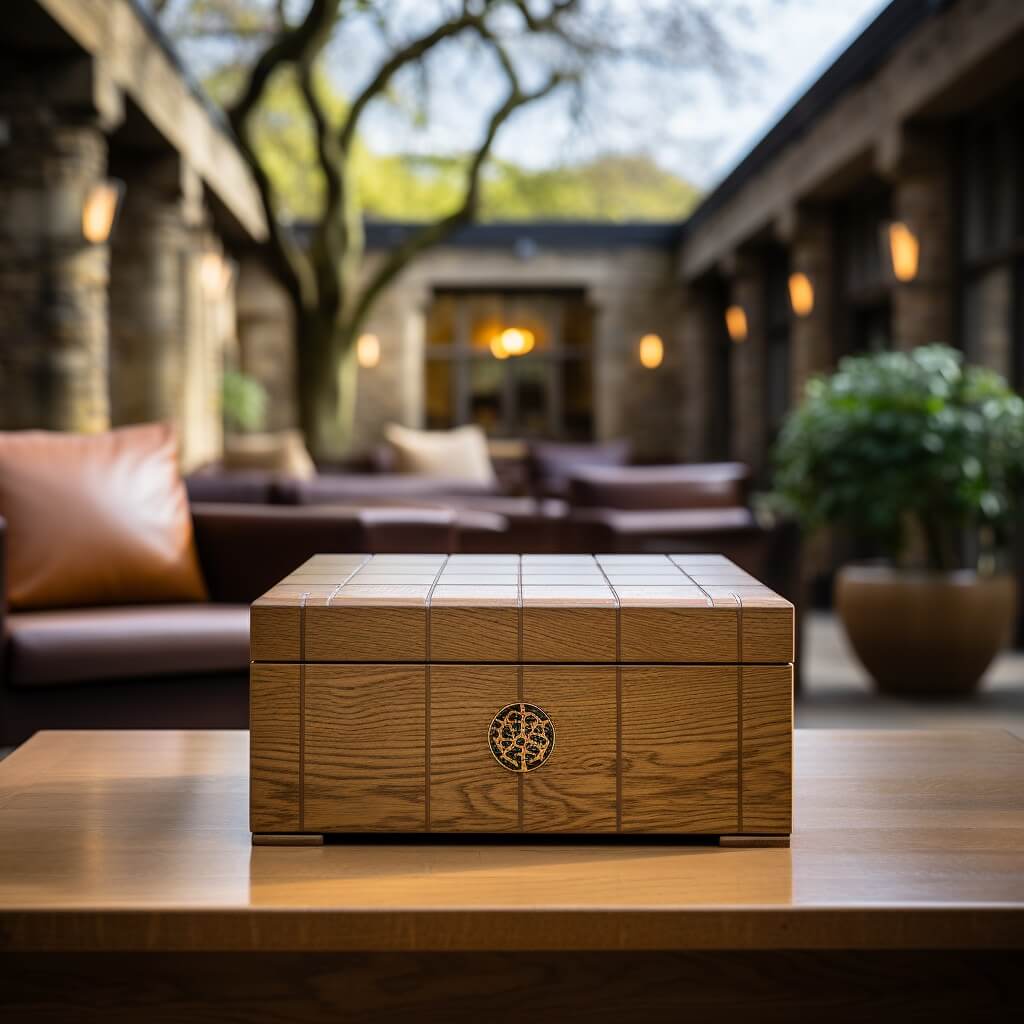
The sliding lid on a wooden box is more than just a design choice; it’s a nod to convenience and modern aesthetics. The smooth glide as the lid reveals or conceals the box’s contents adds a tactile pleasure to the experience. Beyond its functional appeal, the sliding mechanism introduces a sleekness, making the wood box a perfect fit for contemporary spaces.
For those diving into DIY, crafting such a box offers a delightful challenge. It’s not merely about constructing a container, but ensuring the lid slides effortlessly, marrying form with function. As the lid moves back and forth, it’s a testament to precision and craftsmanship. Whether used for storage or as a decorative piece, this box, with its modern touch, seamlessly blends utility with style, making it a versatile addition to any space.
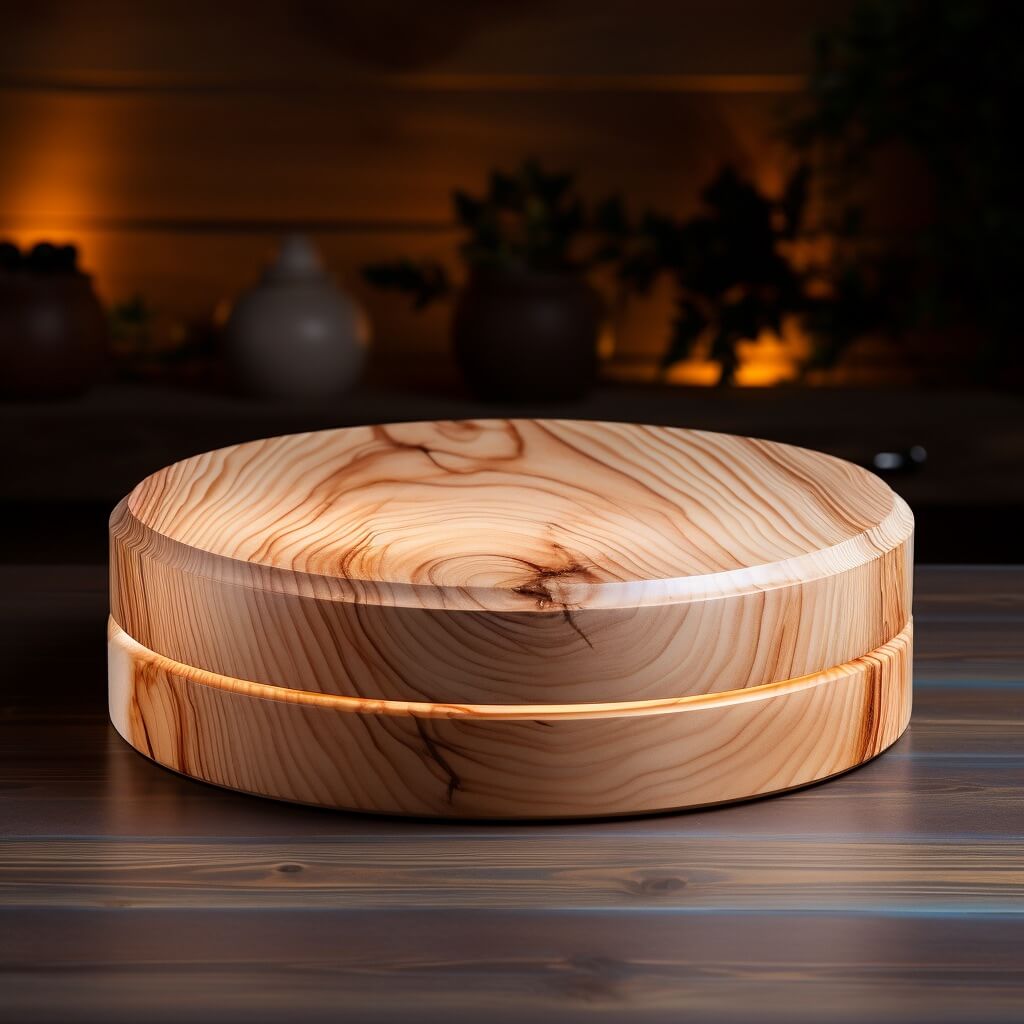
10 | Rounded Wooden DIY Box Design
Breaking away from traditional angular designs, the rounded wooden box offers a refreshing deviation. Its soft curves contrast beautifully with the natural rigidity of wood, creating a harmonious blend of form and material. This design not only stands out aesthetically but also feels delightful to the touch, with no sharp edges, just smooth, continuous lines.
Crafting a box of this nature demands a keen eye and a steady hand. It’s about sculpting wood into a shape that’s both pleasing to the eye and functional. The end result is a container that’s as much a piece of art as it is a storage solution. Whether placed on a coffee table or a bookshelf, its distinctive shape ensures it never goes unnoticed, making it a perfect home for treasures or simply as a statement piece in any decor.
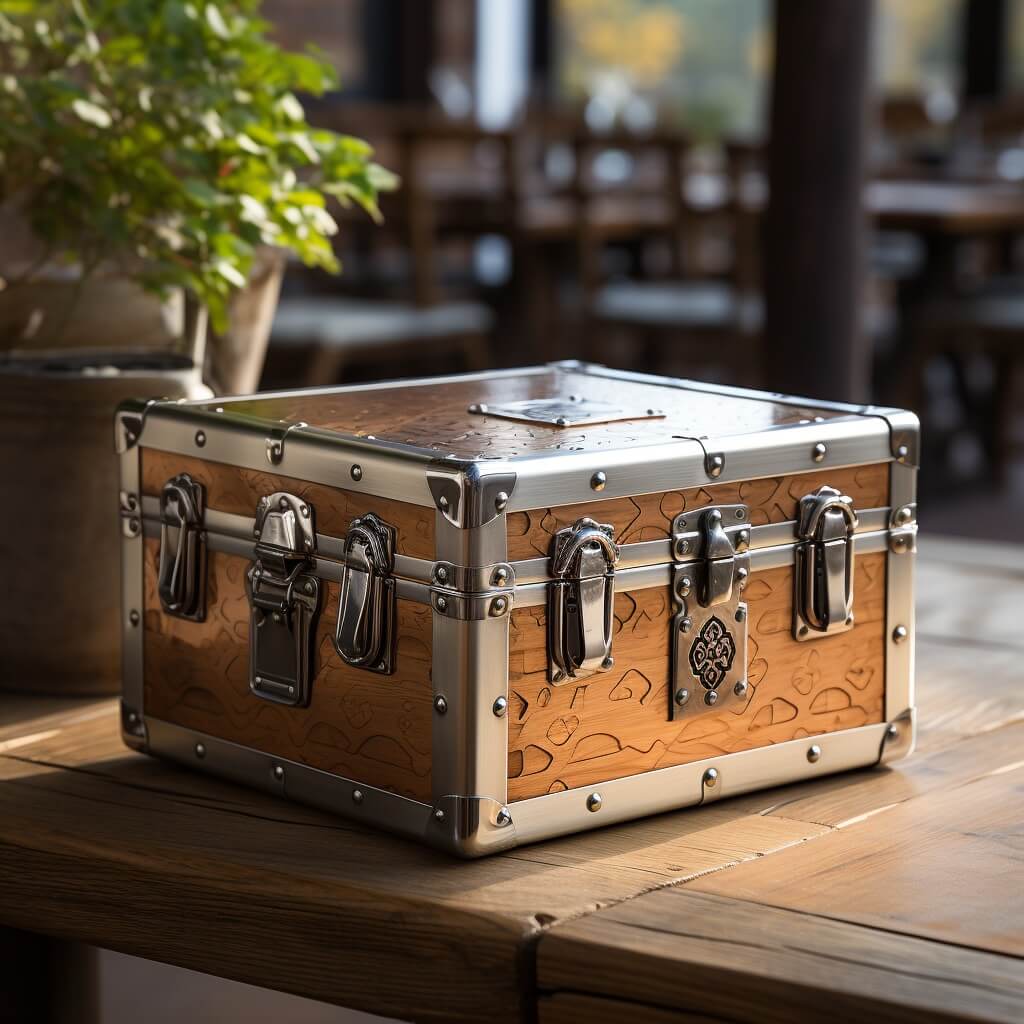
11 | Wooden Box with Metal Accents
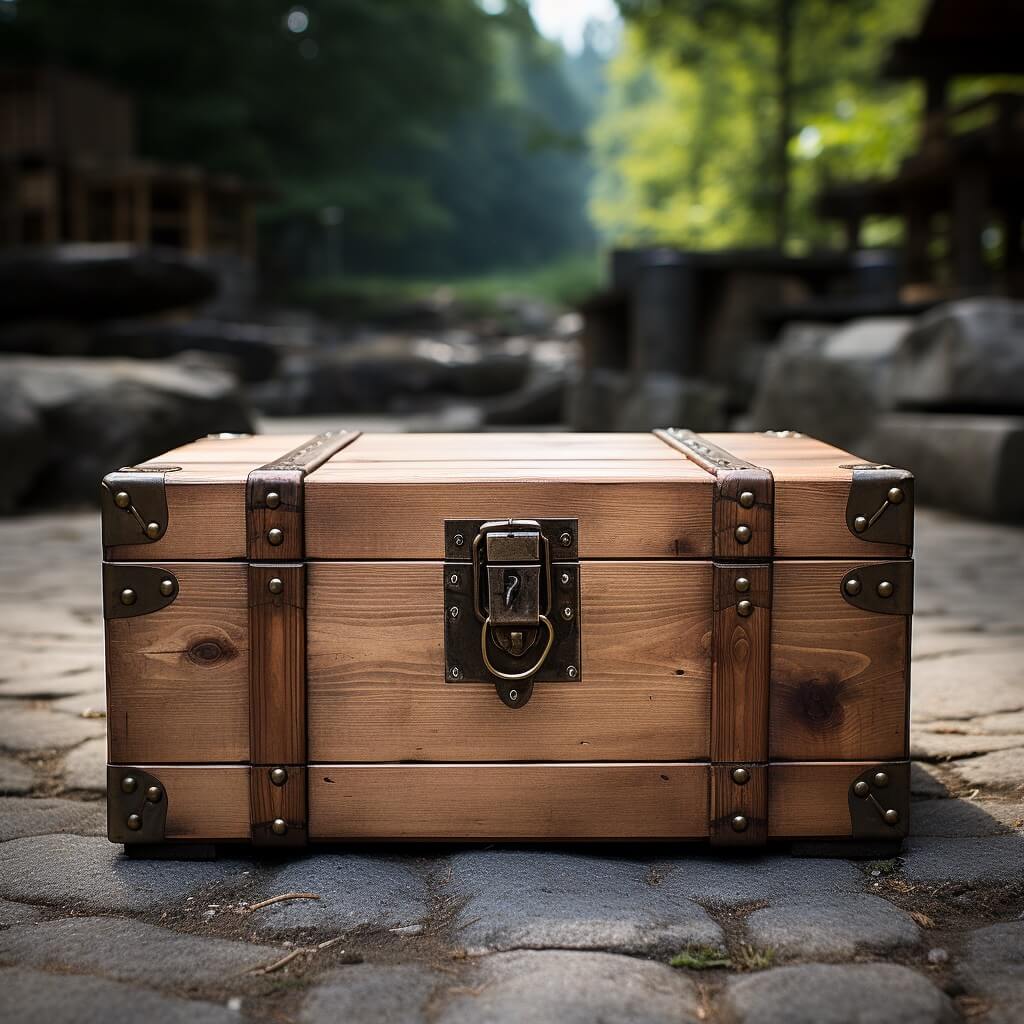
Marrying the earthy tones of wood with the industrial sheen of metal creates a juxtaposition that’s both striking and harmonious. The warmth of the timber, paired with the coolness of metal accents, results in a design that resonates with rustic charm while exuding a touch of modern sophistication. These metal embellishments, be it handles, hinges, or corner protectors, not only enhance durability but also elevate the box’s aesthetic appeal.
Creating such a fusion requires a balance of materials and design sensibilities. It’s about ensuring that neither element overshadows the other, but rather they complement each other seamlessly. For the DIY craftsman, this blend offers an opportunity to play with contrasts and textures. The finished product is a testament to versatility and creativity, a container that feels both timeless and contemporary, making it a standout addition to any space or collection.
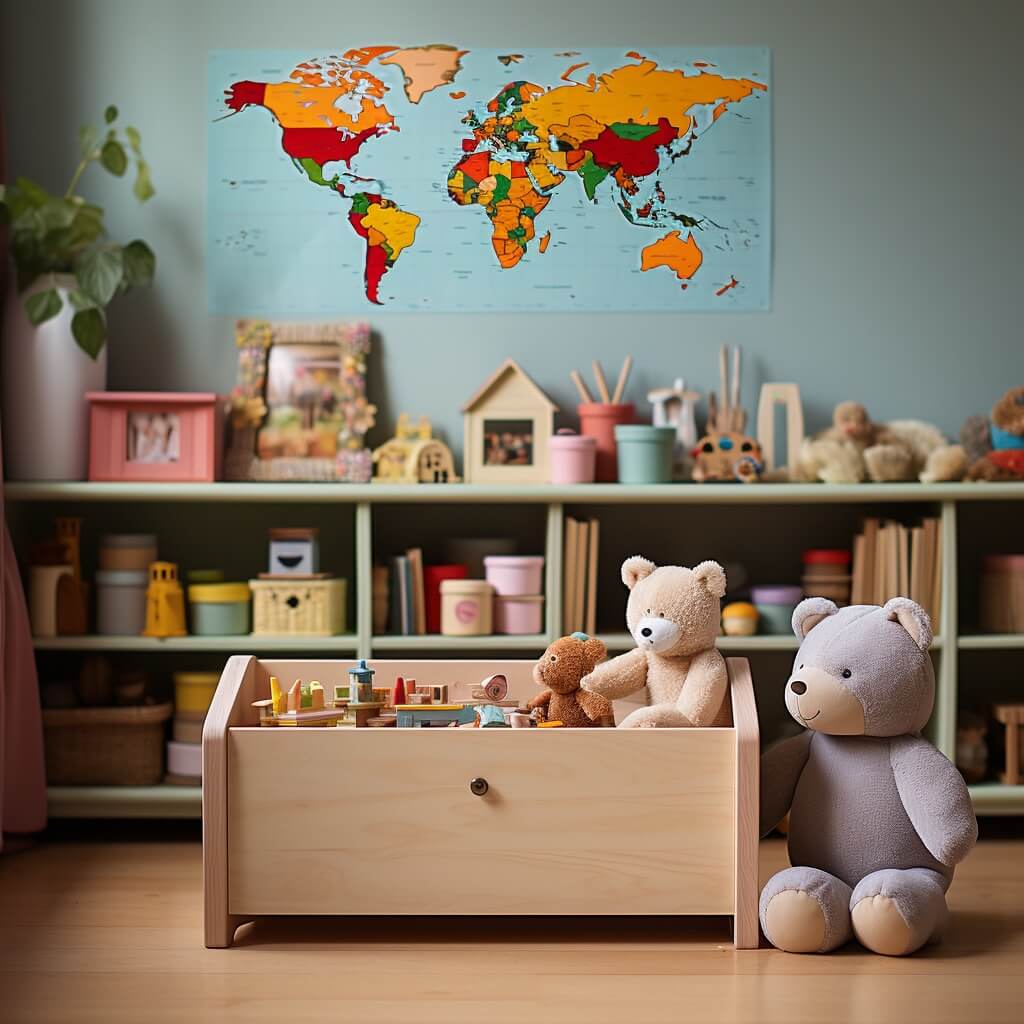
12 | DIY Wooden Toy Box
Every toy tells a tale of adventure, imagination, and joy. As these cherished playthings multiply, the need for a dedicated space becomes evident. Enter the wooden toy box, a blend of practicality and charm. Crafted with care, it ensures that every stuffed animal, puzzle, and action figure has a cozy spot, while also prioritizing the safety of little hands with smooth edges and child-friendly latches.
Constructing such a sanctuary for toys is as much about functionality as it is about aesthetics. It’s envisioning a space where toys are easily accessible yet neatly tucked away. For the DIY enthusiast, this project is a delightful blend of carpentry and childlike wonder. The end result is more than just a storage solution; it’s a treasure chest of memories, capturing the essence of childhood and the countless stories that toys bring to life.
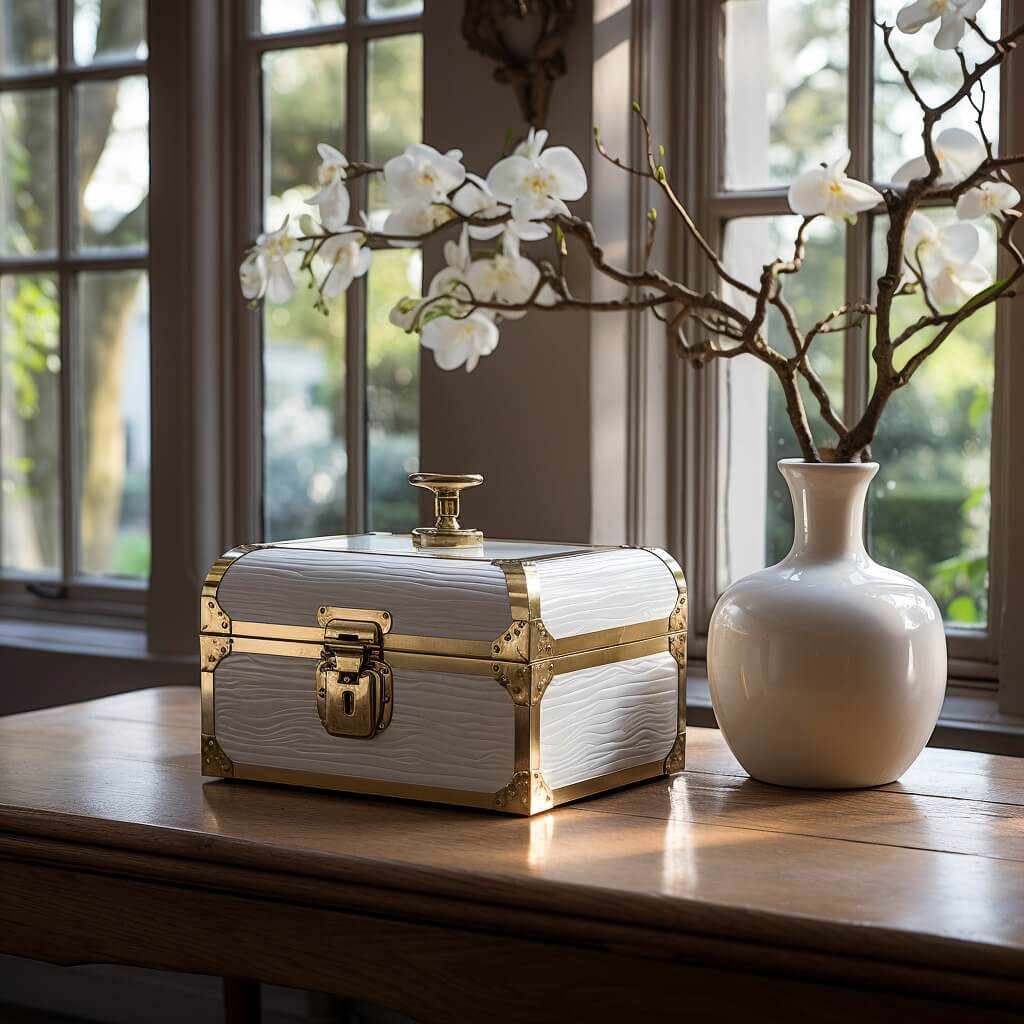
13 | Luxury DIY White Oak Wooden Box
Drawing inspiration from serene beaches and the rhythmic dance of waves, the white oak wooden box embodies coastal luxury. The rich, pale hue of the white oak, known for its durability and fine grain, serves as the perfect canvas. When adorned with seashells and a touch of sand, it transports one to sunlit shores, evoking memories of ocean breezes and salt-kissed skin.
Crafting such a piece is a journey through textures and memories. It’s about embedding the essence of the coast into every inch, from the choice of wood to the delicate placement of seashells. For the DIY artisan, this creation is an exploration of nature’s finest elements, marrying the forest’s gifts with treasures from the sea. The finished box is not just a storage solution but a piece of art that will look great on your DIY bar table, capturing the soul of the coast and the luxury of handcrafted design.
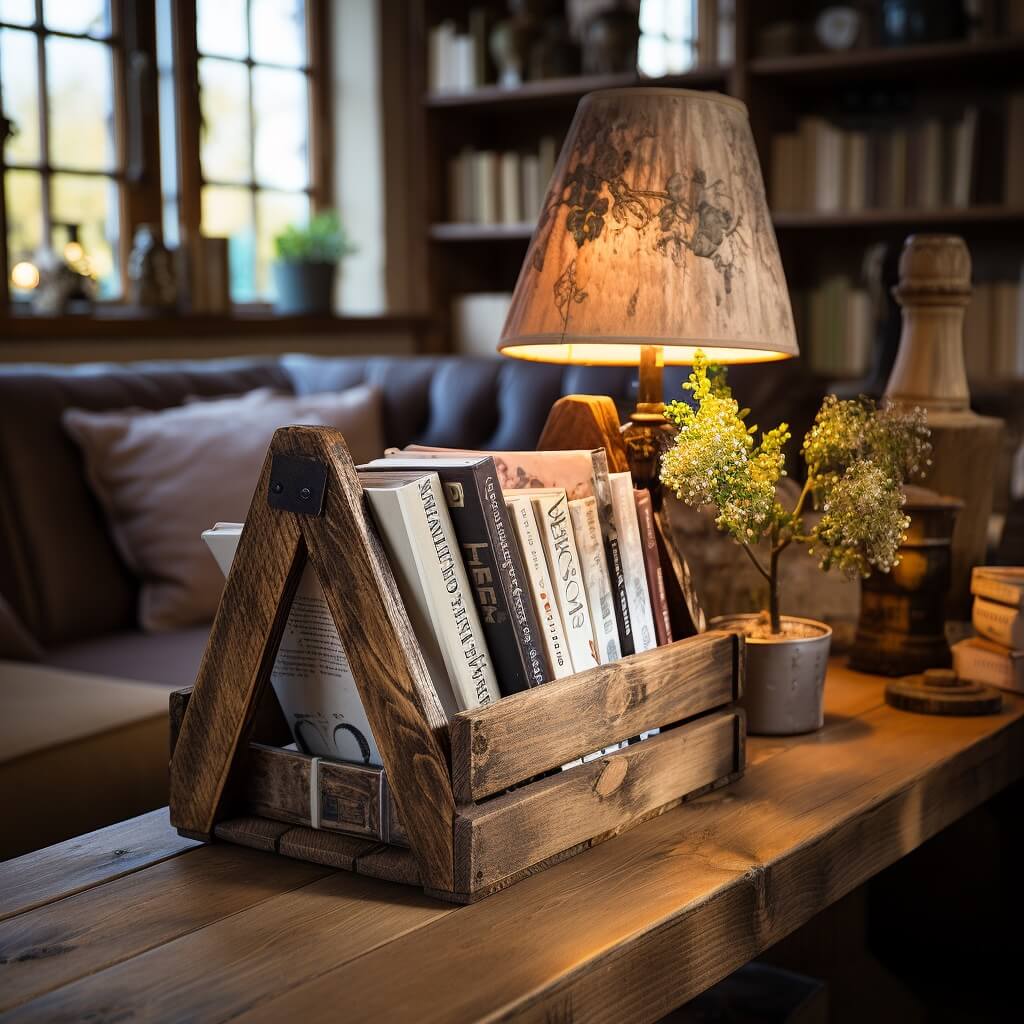
14 | Rustic Wooden DIY Book Bin
Books, with their tales and teachings, deserve a home that mirrors their timeless value. The rustic wooden book bin, with its modular design, offers just that. Its vintage aesthetics, reminiscent of old-world libraries, pair beautifully with the adaptability of modular storage. Whether it’s a growing collection of novels or an assortment of magazines, this bin adjusts effortlessly to accommodate varying storage needs.
Constructing such a bin is a delightful blend of old-school charm and modern-day practicality. It’s about creating a structure that’s both flexible in its capacity and rich in character. For the DIY builder, this project offers a chance to craft a piece that’s as dynamic as it is nostalgic. The end result is a versatile storage solution that not only houses literary treasures but also adds a touch of rustic elegance to any space.
15 | Wooden DIY Box with Glass Top
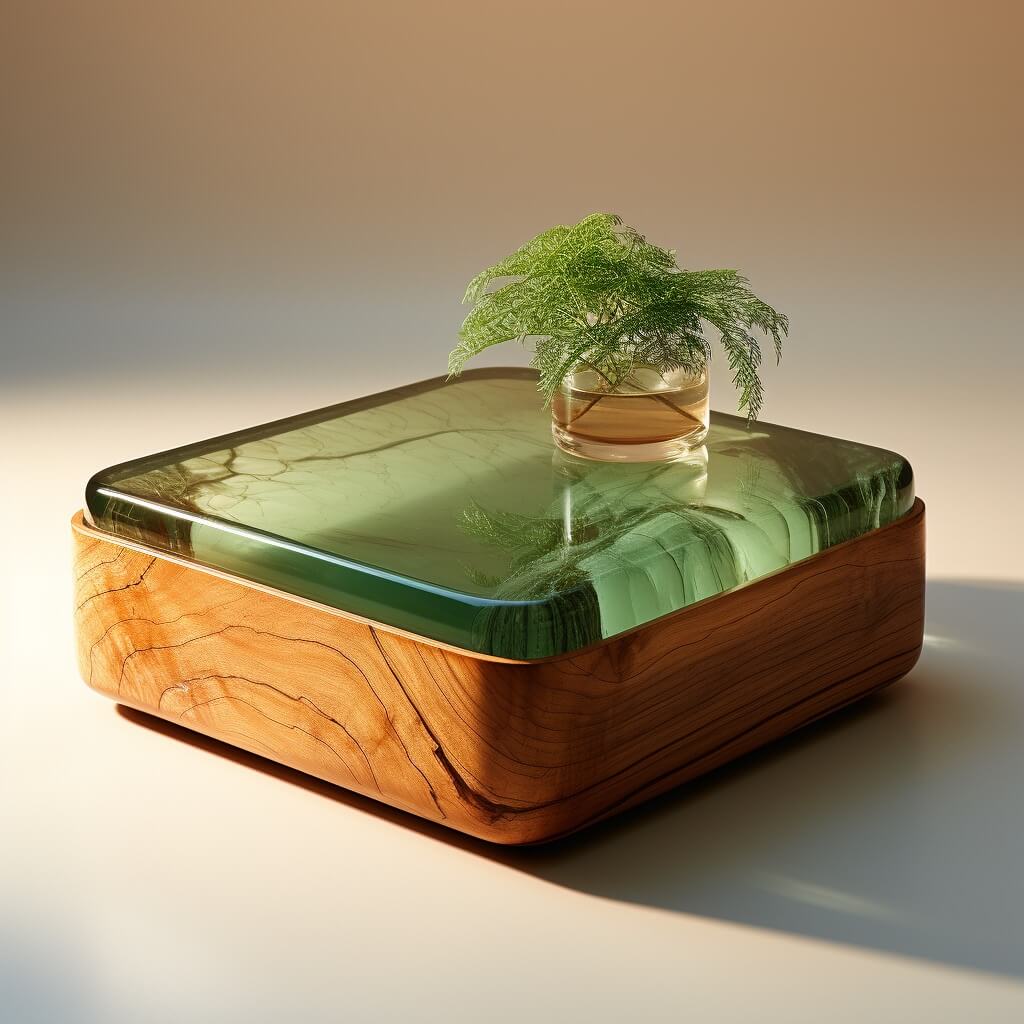
There’s something captivating about being able to glimpse treasures while ensuring they remain protected. A wooden box with a glass top strikes this balance perfectly. The transparent surface offers a clear view of the entire box and it’s contents, turning storage into a display. Meanwhile, the sturdy wooden frame provides the protection and elegance that only natural timber can offer.
Crafting this piece is about merging transparency with solidity. The glass top invites curious eyes, while the wood ensures the contents remain undisturbed. For the DIY enthusiast, this design presents an opportunity to work with diverse materials, achieving a harmonious blend of visibility and security. The finished box becomes more than just a storage unit; it’s a showcase, allowing one to appreciate the beauty of its contents while resting assured of their safety.
16 | Varnished Wooden Centerpiece Box
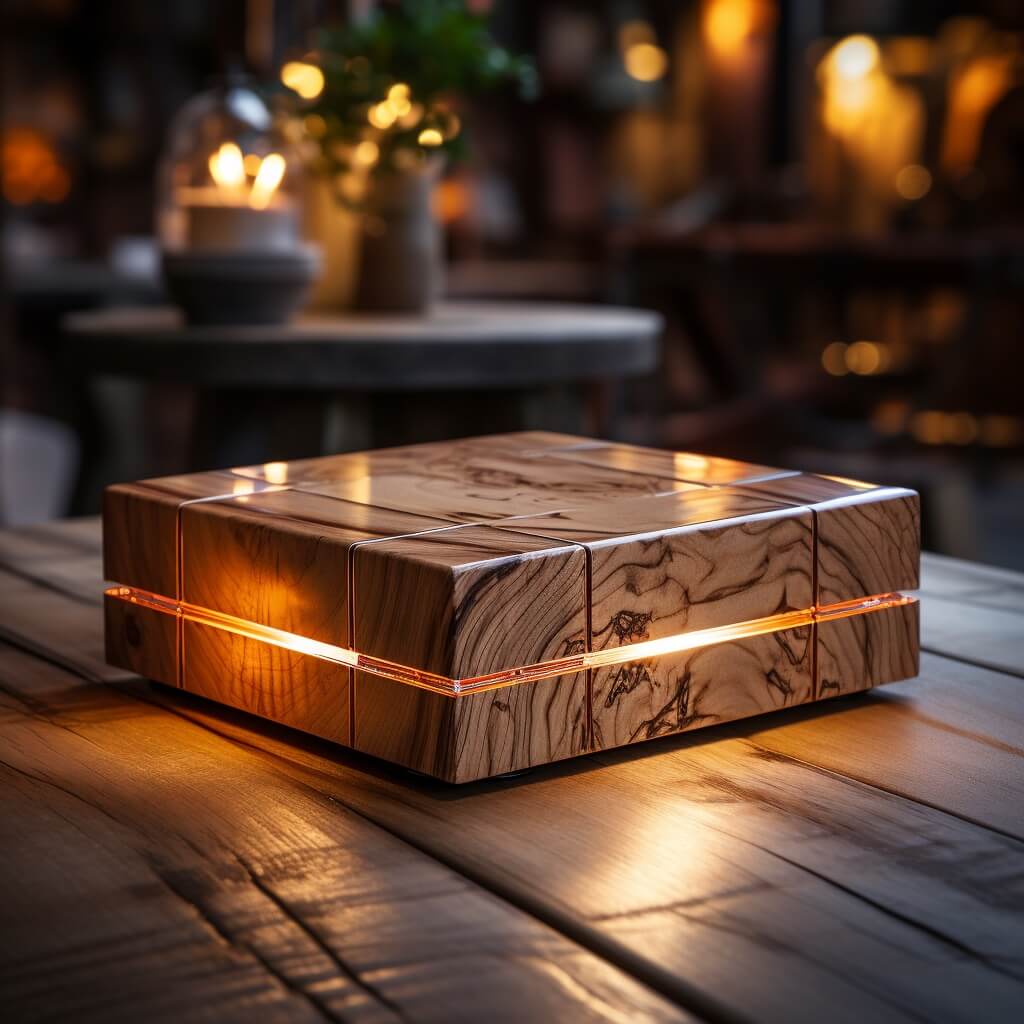
The allure of wood is undeniable, and when enhanced with a glossy varnish, its charm is elevated to new heights. A varnished wooden centerpiece box not only captures the natural beauty of the wood grain but also adds a layer of sophistication with its reflective sheen. This finish not only accentuates the wood’s patterns but also offers a tactile experience, smooth to the touch and pleasing to the eye.
Creating such a centerpiece is a testament to attention to detail. It’s about choosing the right varnish to complement the wood type, ensuring an even application for that flawless finish. For the DIY aficionado, this is an exercise in patience and precision. The end result is a box that doesn’t just store items but does so with panache, becoming a focal point in any setting, reflecting both its contents and the ambient light.
17 | DIY Wooden Box with Leather Handles
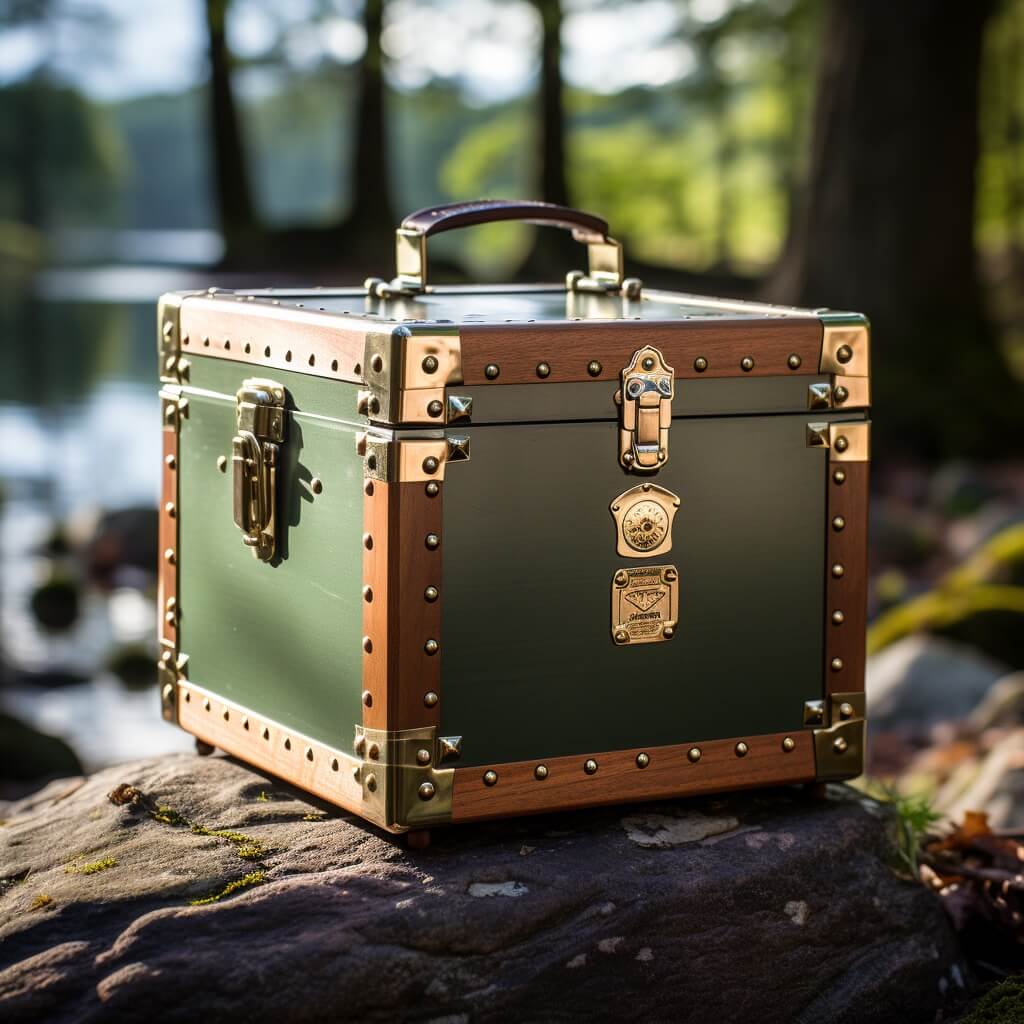
Leather handles on a wooden box offer more than just a means to carry. They introduce a tactile contrast, blending the rugged feel of wood with the smoothness of leather. Beyond aesthetics, these handles ensure durability and ease of use.
The combination speaks to a design that’s both practical and stylish, catering to those who appreciate the finer details in craftsmanship. For DIY enthusiasts, integrating leather into a wooden project presents a delightful challenge, resulting in a box that stands out not just for its contents but also for its distinctive design elements.
18 | Freestanding DIY Wooden Chest
The freestanding wooden chest is a testament to its spacious design and aesthetic appeal. With its generous dimensions, it’s an ideal solution for storing blankets, linens, and other bulky items, ensuring they remain organized and easily accessible. Beyond its functional role, the chest stands as a statement piece in any room, with its sturdy construction and classic design reflecting both practicality and taste.
For those passionate about DIY, building such a chest offers the satisfaction of creating something both beautiful and utilitarian. The design can be tailored to fit specific spaces or storage needs, and the choice of wood and finish can further personalize the piece. In the end, it’s more than just a box sitting a storage unit; it’s a blend of form and function, ready to enhance any living space.
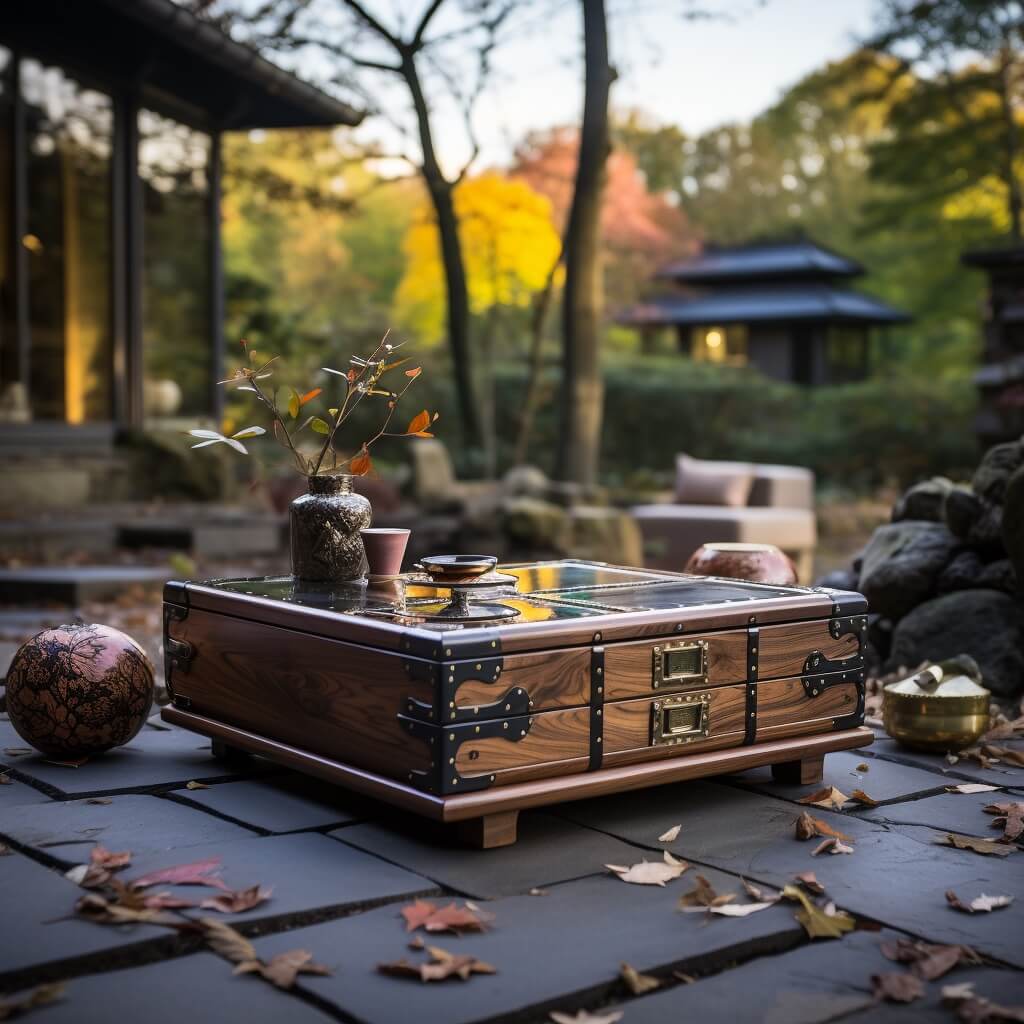
19 | Wooden Box with Painted Designs
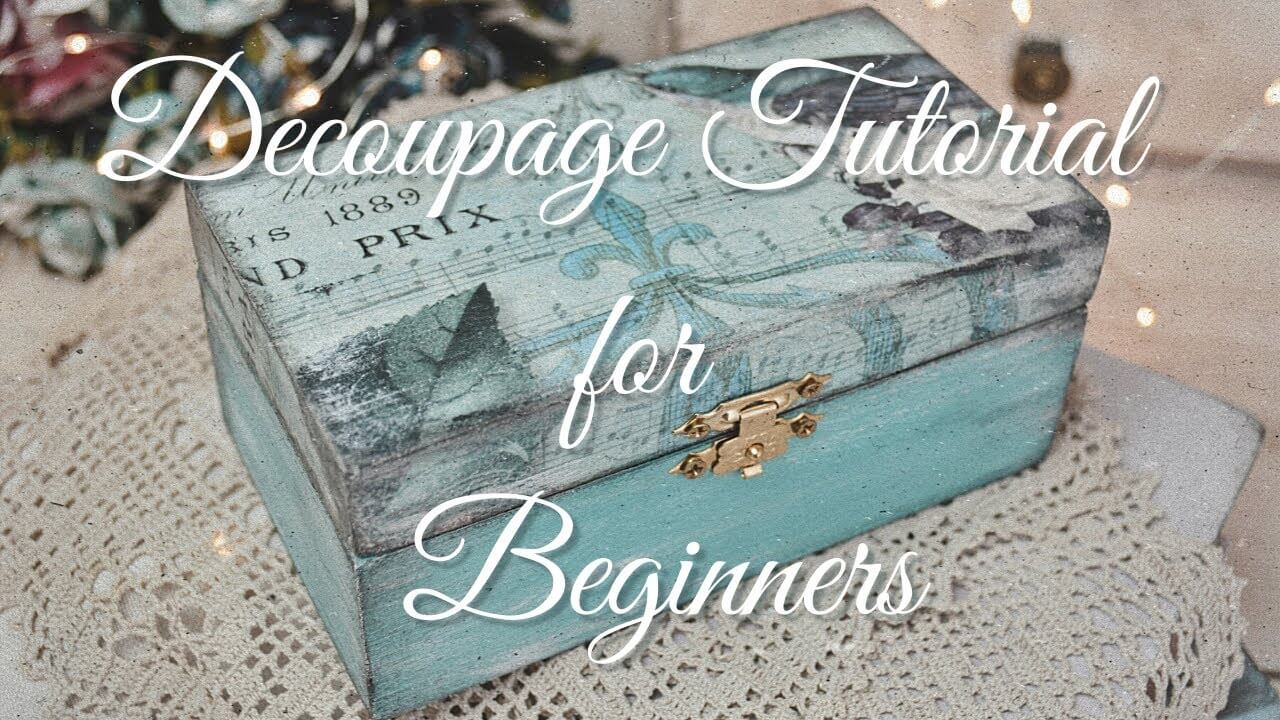
A wooden box becomes a vibrant expression of personality when adorned with painted designs. Whether it’s intricate patterns, bold colors, or subtle motifs, paint transforms the box from a mere storage solution to a work of art. Each brushstroke tells a story, allowing for a unique customization that reflects individual tastes and preferences.
For DIY enthusiasts, this project is an invitation to unleash their artistic side. It’s not just about constructing a sturdy box but also about envisioning a design that resonates. The choice of paint, technique, and pattern can vary, offering endless possibilities. The end result is a box that’s as much a reflection of its creator as it is a functional piece, making it a cherished possession or a thoughtful gift.
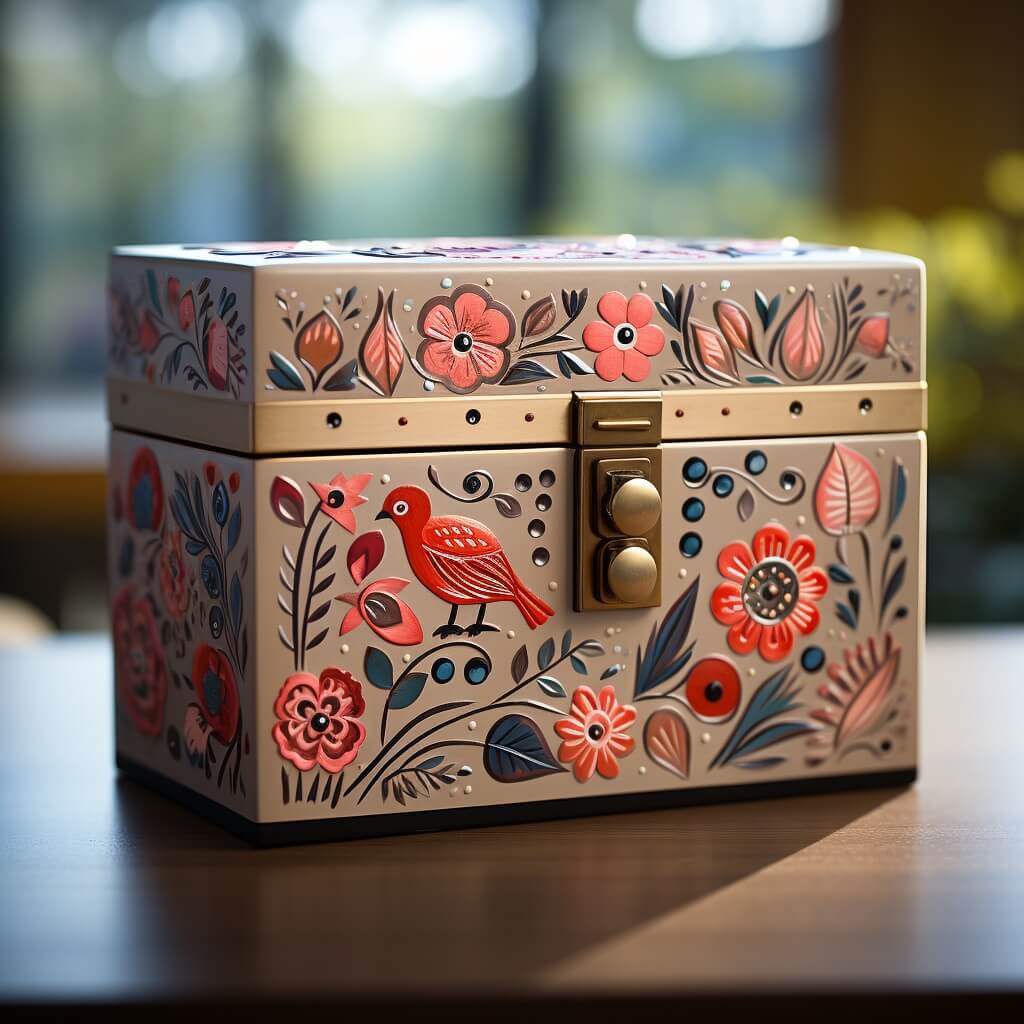
20 | DIY Wooden Bread Box
Every loaf of bread, with its golden crust and soft interior, deserves a special place in the kitchen. A wooden bread box is that sanctuary. Designed to maintain the perfect balance of humidity, it ensures your bread remains fresh for days, keeping the crust crispy and the inside tender.
Beyond its practical benefits, the rustic design of the box adds a touch of vintage charm to any kitchen setting. For those with a penchant for DIY, crafting this box becomes a journey in blending utility with aesthetics. The end result? A kitchen staple that’s as beautiful as it is functional.
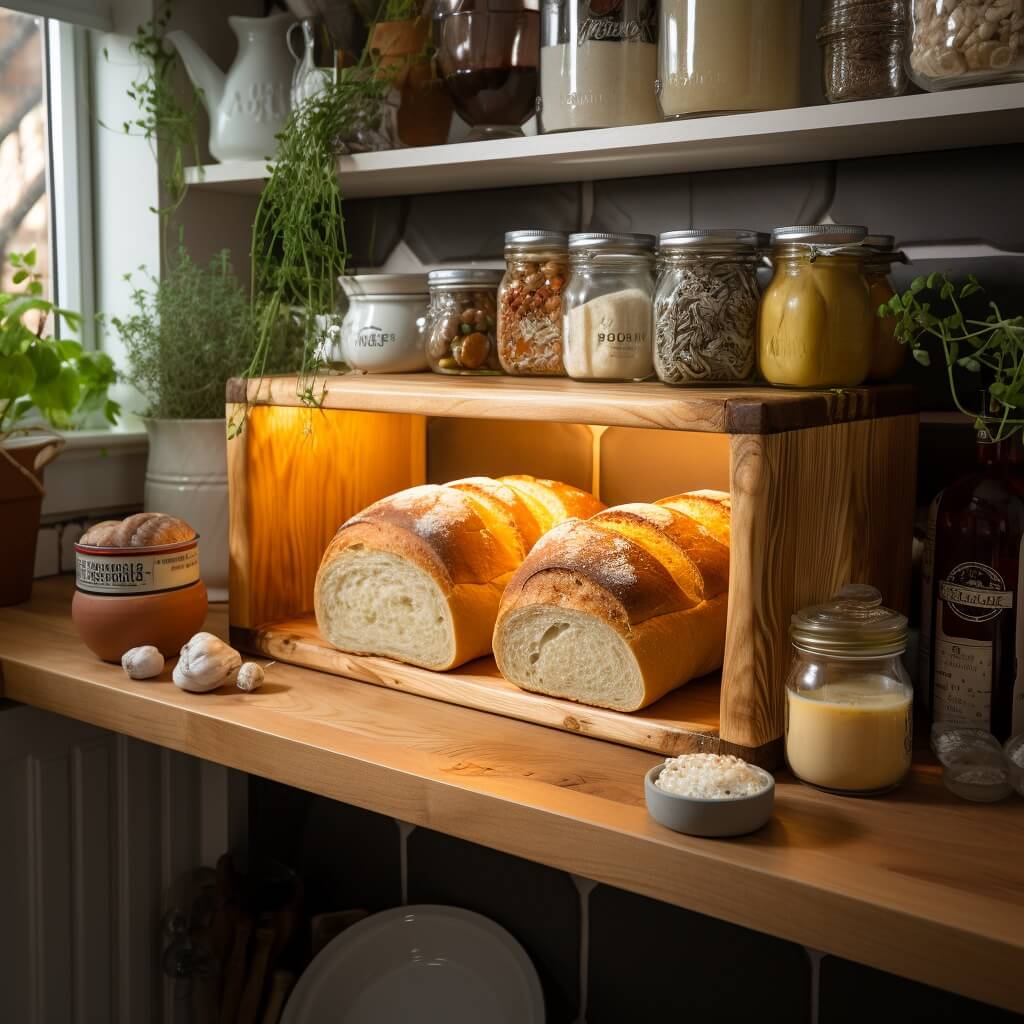
Tips to Craft DIY Wood Boxes for Small Woodworking Projects
Whether you’re looking to make a keepsake, wooden jewelry box plan or a functional storage unit, the process involves careful planning and attention to detail. Let’s delve into some essential tips to help you navigate this fulfilling endeavor.
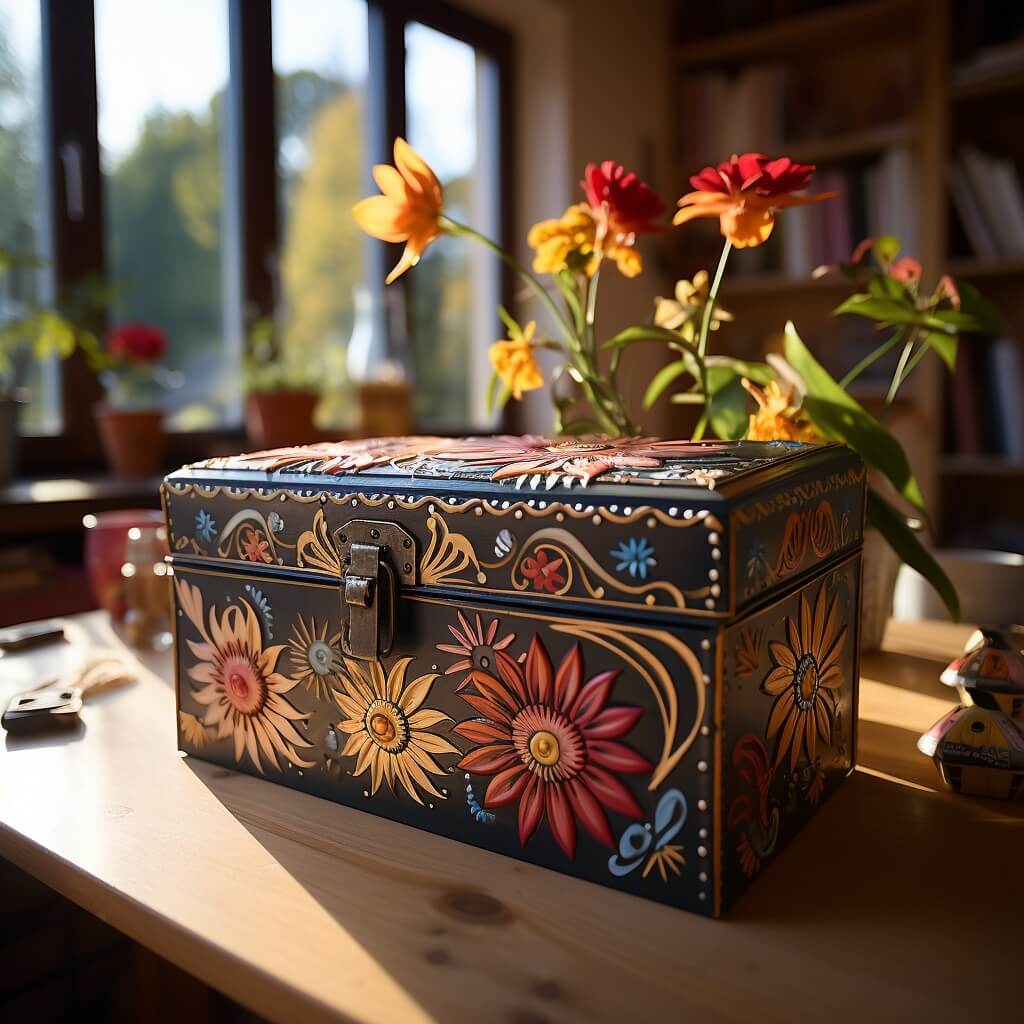
Choosing Wood Types: Consider grains & patterns for plans for wooden boxes.
The essence of a well-crafted wooden box lies in the wood itself. Different woods offer unique grains and patterns that can elevate the design of your box. For a rustic feel, consider woods like oak or cherry, known for their durability and pronounced grain. For a softer touch or if you’re looking to experiment with carving, woods like pine might be more suitable. Your choice should align with the desired aesthetic and function of your box.
Joinery Techniques: Build a sturdy simple box with quality wood glue.
The strength and longevity of your box hinge on how its parts come together. Traditional joinery methods, like dovetail or mortise and tenon, are renowned for their durability. However, for those just starting or looking for a quicker build, using high-quality wood glue in conjunction with screws or nails can be just as effective. The key is ensuring a snug fit for wood screws at all joints.
Finishing Touches: Painting, and decorating the perfect wood jewelry box.
A wooden box’s charm often lies in its finishing touches. Whether you opt for a clear coat to showcase the he diy wood box’s natural beauty or decide on vibrant paint, the finish can make all the difference. For boxes meant to store delicate items, like jewelry, consider lining the interior with soft materials like velvet.
Maintenance and Care: Protect your box from wear and potential damage.
To ensure your box stands the test of time, regular maintenance is crucial. This includes dusting, protecting it from direct sunlight, and occasionally treating the wood to prevent it from drying out. If your box encounters moisture, it’s vital to dry it adequately to avoid issues like warping.
Safety Measures: Using tools safely and ensuring box edges are smooth.
Safety should always be at the forefront of any DIY endeavor. Always use protective gear, such as safety goggles and gloves, especially when working with tools. After your box is complete, double-check for smooth edges and ensure there are no exposed nails or screws, ensuring it’s safe for all users.
DIY Wooden Box Centerpiece Plans and Ideas FAQs.
What materials do you need to make a DIY wooden box?
Crafting a DIY wooden box requires a selection of materials to ensure durability, aesthetics, and functionality. The choice of wood, in particular, plays a pivotal role in the final appearance and strength of the box.
Here’s a breakdown of the essential materials you’ll need:
Table: Materials for DIY Wooden Boxes
| Material Type | Description | Suitable For |
|---|---|---|
| Plywood (1/4” thick) | Versatile and easy to work with, plywood provides a stable base for your box. | General-purpose boxes, storage bins |
| Oak Wood | Known for its pronounced grain and durability, oak is perfect for rustic designs. | Jewelry boxes, keepsake boxes |
| Pine Wood | Softer than oak, pine is great for carving and offers a lighter color palette. | Toy boxes, decorative boxes |
| Wood Glue | Essential for joining pieces together, ensuring a strong bond. | All types of wooden boxes |
| Paint or Stain | Enhances the visual appeal of the box, offering protection and a personalized touch. | All types of wooden boxes |
Accessories/Build Add-ons:
| Accessory | Description |
|---|---|
| 1”x2” Boards | Used for support at the inner corners of the box. |
| Sandpaper (150 grit) | Helps in smoothing any rough edges of the wood. |
| Nails/Brads | Used to secure the box pieces together, especially when combined with wood glue. |
| Leather or Metal Handles | Adds functionality and a touch of elegance to the box. |
| Velvet Lining | Perfect for jewelry boxes, providing a soft cushion for delicate items. |
Note: The choice of materials can vary based on the specific design and purpose of your wooden box. Always consider the intended use and desired aesthetic when selecting materials.
What wood is good for making a DIY wooden box with lid?
When crafting a DIY wooden box with a lid, the choice of wood plays a pivotal role in determining the box’s durability, appearance, and overall quality. Oak, for instance, is a popular choice due to its strength and the beauty of its grain.
However, other woods like cherry, pine, mahogany, and poplar also offer unique aesthetics and functional benefits. The lid’s wood should complement the box’s body, both in terms of appearance and durability. Additionally, the type of hinges and locks you choose can enhance the box’s functionality and security.
| Wood Type | Ideal For | Hinge Type | Lock Type |
|---|---|---|---|
| Oak | Durable boxes with pronounced grain | Butt Hinge | Cam Lock |
| Cherry | Rich color and smooth texture | Continuous Hinge | Toggle Latch |
| Pine | Lightweight boxes, easy to carve | Pivot Hinge | Hasp Lock |
| Mahogany | Ornamental boxes with deep red hue | Barrel Hinge | Slide Bolt |
| Poplar | Affordable, paint-grade boxes | Concealed Hinge | Hook Latch |
Note: The choice of hinge and lock should align with the box’s intended use and the overall design aesthetic. Always ensure that the chosen hardware complements the wood type and the box’s purpose.
How to decorate a wooden box centerpiece?
Decorating a wooden box centerpiece allows you to infuse your personal style and creativity into a functional piece of home decor. Whether you’re aiming for a rustic charm, a modern edge, or a vintage feel, the possibilities are endless.
With the right materials and a touch of inspiration, you can transform a simple wooden box into a stunning centerpiece that captures attention and complements your interior.
Steps to Decorate a Wooden Box Centerpiece:
- Preparation: Begin by cleaning the wooden box to remove any dust or debris. Sand any rough edges to ensure a smooth surface for decoration.
- Choose a Theme: Decide on a theme or color scheme for your centerpiece. This could be based on the season, a holiday, or your room’s decor.
- Paint or Stain: Depending on your desired look, you can paint or stain the wooden box. Acrylic paints work well for a colorful design, while wood stains can enhance the natural grain of the wood. Allow it to dry thoroughly.
- Add Decorative Elements: Consider using stencils to paint patterns or designs onto the box. Alternatively, you can glue on embellishments such as beads, sequins, or fabric.
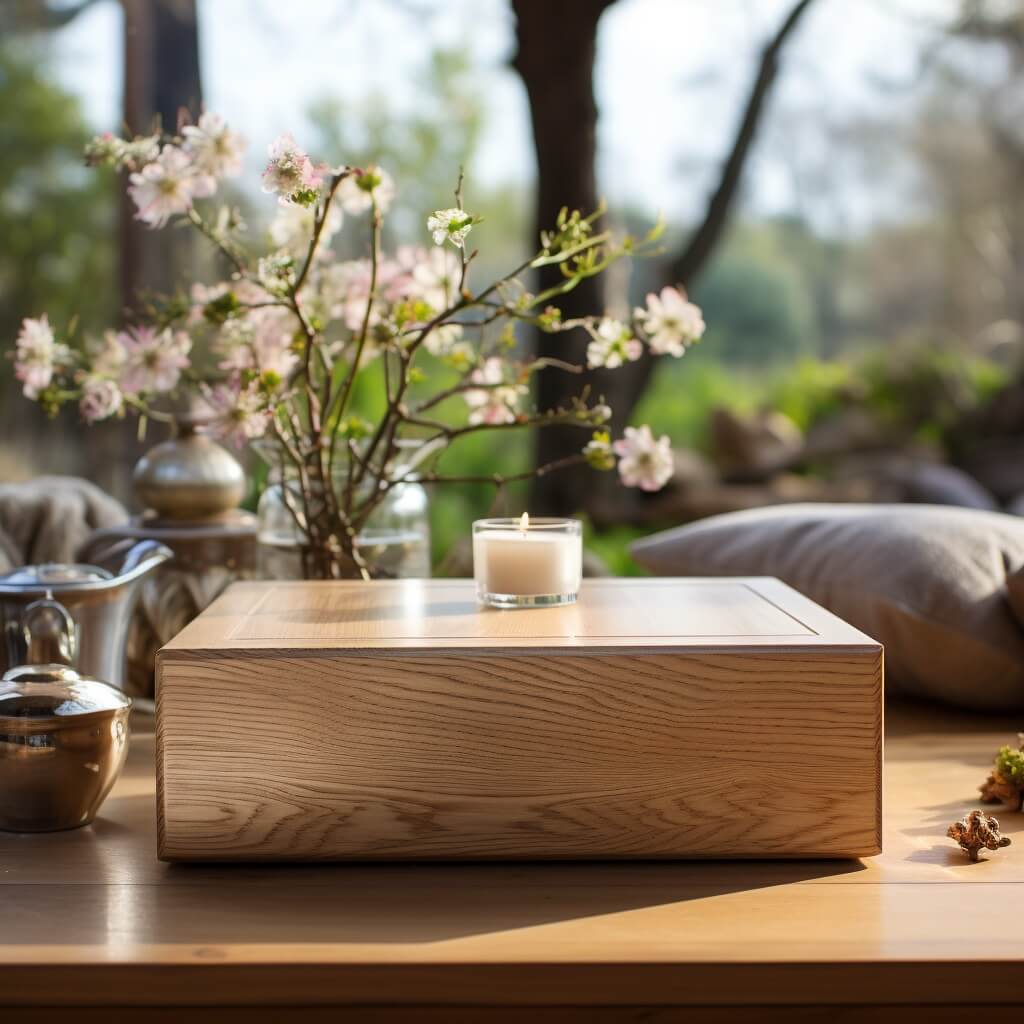
- Interior Decoration: Fill the box with floral foam and arrange fresh or dried flowers, succulents, or even candles. You can also add decorative stones, moss, or other fillers.
- Protective Finish: Once your design is complete, apply a clear protective sealant to protect your artwork and ensure longevity.
- Safety: If you’re using candles inside the box, ensure there’s enough ventilation, and never leave them unattended.
Materials and Products Recommendations:
| Material/Product | Suggested DIY Project Options |
|---|---|
| Wood Types | Pine (lightweight, affordable), Oak (durable, attractive grain), Cedar (aromatic, pest-resistant), Birch (smooth, ideal for painting), Walnut (dark, rich color) |
| Paints | Acrylic paints (matte finish), Chalk paints (vintage look) |
| Stains | Water-based wood stains (lighter finish), Oil-based stains (deeper hue) |
| Sealants | Clear polyurethane, Polycrylic (protects wood and design) |
| Embellishments | Beads, Sequins, Fabric patches, Ribbons, Lace |
| Adhesives | Wood glue (for larger elements), Hot glue gun (for smaller embellishments) |
Note: The key to a beautiful wooden box centerpiece is creativity. Don’t be afraid to experiment with different designs and materials until you achieve the desired look.
How do you decorate the inside of a wooden box?
Decorating the inside of a wooden box can transform a simple storage solution into a personalized treasure chest. Whether it’s to store jewelry, keepsakes, or any other cherished items, a well-decorated interior can elevate the overall appeal and functionality of the box.
Step-By-Step Process:
- Choose a Theme or Purpose: Determine the purpose of the box. Is it for jewelry, keepsakes, or maybe a gift? This will guide your decoration choices.
- Select a Lining Material: Depending on the purpose, you might want to line the box. Velvet or felt are popular choices for jewelry boxes as they prevent scratches. For keepsakes, consider decorative paper or fabric.
- Measure and Cut: Measure the interior dimensions of the box. Cut your chosen lining material to fit the bottom and sides. Remember to account for any overlap.
- Adhere the Lining: Use a suitable adhesive, like fabric glue or mod podge, to attach the lining. Ensure it’s smooth and free of air bubbles.
- Add Compartments (Optional): For items like jewelry, consider adding compartments. You can use cardboard or thin wood dividers, covered in the same lining material, to create sections.
- Personalize: Consider adding personal touches. This could be a photo, a quote, or even a small trinket that has sentimental value.
- Seal and Protect: If you’ve used paint or any other material that might wear off, consider sealing the interior with a clear sealant. This will protect both the decoration and the items inside the box.
Note: Personal touches make all the difference. Whether crafting a box for personal use or as a thoughtful gift, the effort put into interior decoration will undoubtedly stand out and be cherished.
How do you make a simple wooden jewelry box?
Creating a wooden jewelry box is a delightful beginner-friendly DIY project that combines functionality with artistry. Not only does it provide a safe space for your precious items, but it also serves as a decorative piece that can enhance the aesthetics of your room.
Materials Required:
- 1/2″ x 4-1/2″ x 32″ hardwood or plywood
- 1/4″ x 12″ x 18″ Baltic Birch Plywood
- 150-grit sandpaper
- 3/4″ x 6″ x 20″ hardwood
- Wipe-on polyurethane
- Wood glue
DIY Step-by-Step Build:
- Box Top & Bottom: Begin by cutting a 3/4-inch hardwood to 6-in. x 20-in. Use a table saw to create a groove cut on the two long sides of the board, 1/4-in. deep x 1/2-in. wide. Then, with a sharp handsaw, divide the board into two nine-inch pieces for the front and back. Make two more groove cuts on the end of each board.
- Cut Wood for the Box: Slice a piece of 1/2-inch hardwood or plywood to 32 inches. Then, rip the same board to 4-1/2-in.
- Box Sides: Cut one board at six inches with 45-degree angles on each end. Use the piece you’ve cut as a template for your next cut. Produce one more six-inch side identical to the one you just crafted, ensuring straight lines.
- Box Front & Back: Cut two boards at nine inches with 45-degree angles on each end for the front and back boards. Use the front piece as a template for your backboard.
- Dry-fit the Box Together: Lay the front board flat, ensuring the 45-degree angles face down. Place the left side board end to end with the front board. Next, position the backboard end to end with the sideboard. Tape all three boards together. Fit the box assembly in the groove of the bottom.
- Glue the Box Together: Lift the box assembly off the bottom and remove the tape and right side. Apply wood glue to each of the 45-degree angles and in the groove on the bottom board. Secure it with a clamp. Use a nail gun to affix the box, ensuring to use both finish nails and brad nails for a sturdy hold.
- Cut Wood for the Tray: Rip two 2-in. x 16-in. pieces of 1/4-in. hardwood or plywood. Make a groove cut on one long side of each board. Cut two pieces for the front and back of the tray box, referring to them as “short side pieces.”
- Tray Sides: Use a plunge router to cut grooves on both ends and in the middle of each board, designating these as “box dividers.”
- Glue Tray Together: Apply wood glue on both ends of the sides and partition. Fit the sides into the groove on each end of the front and back. Secure the box tightly together.
- Tray Cleats: Cut two 1/4-in. cleats. Glue the two cleats to the sides of the inside of the jewelry box and apply clamps to secure the cleats.
- Finishing Touches: Allow the glue to dry. Sand all parts using an orbital sander. Finish with wipe-on polyurethane. Add stick-on felt feet to the bottom of your box.
Conclusion: The Versatility of Simple Wooden Box Plans
Embarking on DIY projects, especially when crafting wooden boxes for gifts, is a voyage of artistic expression and meticulous attention to detail. From keepsake boxes to jewelry holders, the versatility of these designs is truly remarkable. And while we’ve delved deep into the world of wooden boxes, the realm of DIY doesn’t stop here.
Just imagine the possibilities, like creating a DIY Plywood Countertop to complement your handcrafted DIY wood box. The beauty of woodworking is that with every project, you not only build something tangible but also hone your skills and passion. Here’s to many more DIY adventures ahead!

