How Long Does Wood Glue Take to Dry: An Expert’s Guide
Ever wondered how long you need to wait for wood glue to dry before moving on to the next step in your woodworking project? The answer lies in understanding the drying process.
In a Nutshell:
Wood glue drying time varies based on the glue type, environmental conditions, and wood properties. PVA glue typically sets in a few hours but requires up to 24 hours for full curing. Fast-setting adhesives like cyanoacrylate bond within seconds, strengthening over hours. Clamping the glued pieces ensures a stronger bond, especially for PVA glue. Factors like humidity, temperature, and wood type also influence drying time. For precise timing, consult the manufacturer’s guidelines and consider room temperature and humidity levels for optimal curing.
How Long Does It Take Wood Glue to Dry
Wood glue drying times vary based on the adhesive type, environmental conditions, and wood type. Common PVA wood glues typically set in a few hours and fully cure in 24 hours, while fast-setting adhesives like cyanoacrylate bond within seconds, reaching full strength in a few hours.
Factors such as humidity and temperature also play a crucial role in affecting these drying times. Let’s delve into the specifics of different wood glues and how environmental conditions impact their effectiveness for your woodworking projects.
Understanding Wood Glue
In woodworking, the adhesive used plays a pivotal role in ensuring a durable final product. Wood glue, specifically designed for bonding wood surfaces, ensures secure and long-lasting joints.
Throughout my woodworking journey, I’ve encountered various types of wood glue, including polyvinyl acetate (PVA), polyurethane, cyanoacrylate (CA), and even epoxy glue. Each has its unique properties:
Environmental factors like temperature, humidity, and the amount of glue applied can influence drying and curing times. By choosing the right adhesive and considering these conditions, I ensure my projects stand the test of time.
Defining Drying Time
Drying time is the period it takes for the glue to cure fully set and hold objects firmly. This process has stages:
Different glues have varying drying times. For instance, PVA glue typically takes 24 hours, while epoxy might need 12 hours or more.
Types of Wood and Drying Time
The curing time for wood glue vs liquid nails depends not only on time but also on factors such as wood type and environmental conditions.. Hardwoods, like oak and maple, are denser, leading to longer drying times and too much glue. In contrast, softwoods, being more porous, tend to dry faster.
When gluing, the surfaces’ condition also matters. Smooth surfaces might lead to faster drying times, while rough or uneven ones could extend it. Always follow the manufacturer’s recommendations for optimal results.
Bonding Process
Achieving a temporary bond is crucial in the early stages of gluing. Depending on the glue type and environmental conditions, this can take anywhere from 5 minutes to an hour. Clamping the wooden pieces during this time ensures a uniform bond. For stressed joints, it’s essential to consider the glue’s strength specifications and recommended clamping duration.
Influence of Environmental Factors
Environmental factors, especially humidity and temperature, significantly impact wood glue’s drying time. High humidity can extend drying times, while colder conditions might slow down the drying process. Ideal drying temperatures usually range between 60°F and 80°F. Using a fan or dehumidifier can help maintain suitable drying conditions.
Specific Brands and their Drying Times
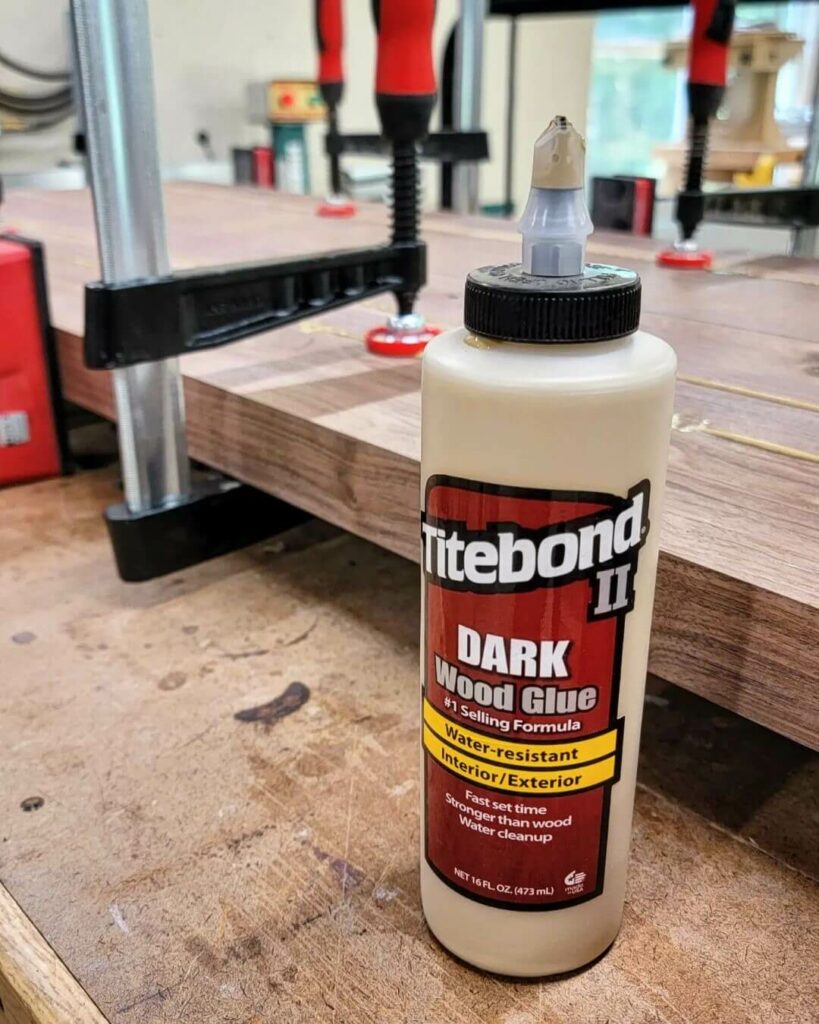
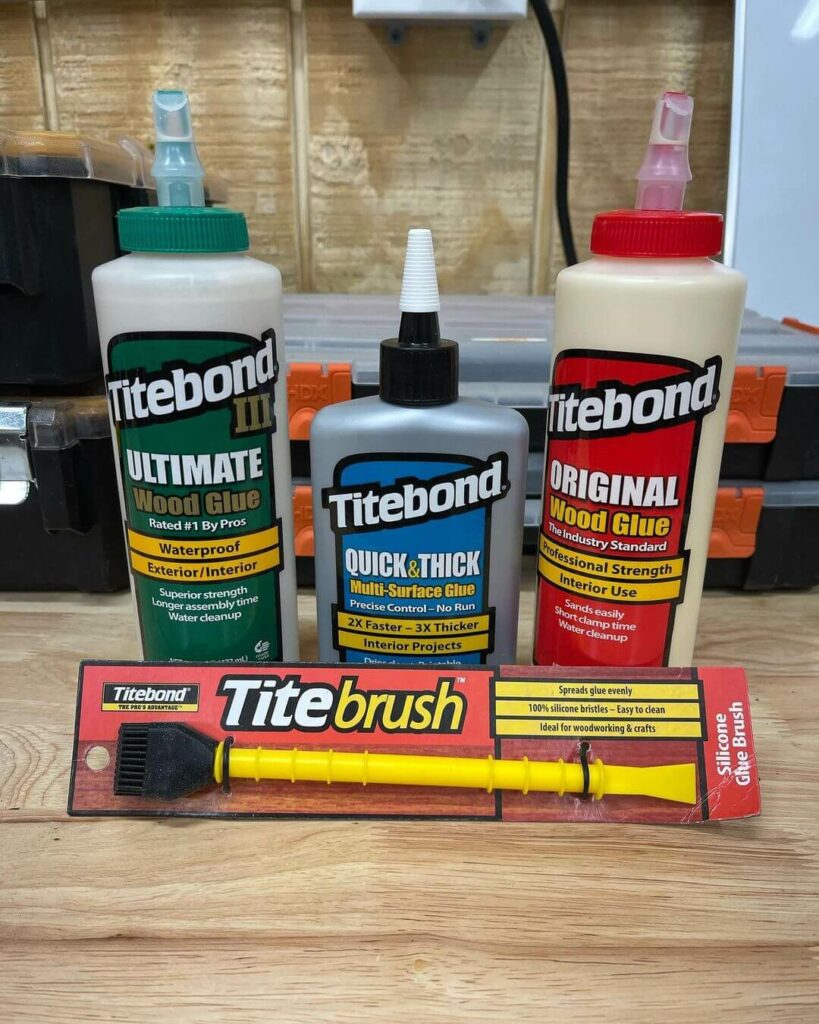
Different brands have varying drying time recommendations. For instance, Gorilla Glue’s curing time can range from 10 minutes to 12 hours, while Titebond typically recommends a minimum of 24 hours. It’s crucial to follow the manufacturer’s guidelines for the best results.
Application for Woodworkers and Hobbyists
Understanding wood glue drying times is essential for projects like furniture and repairs. While the glue might feel dry within an hour, allowing it to fully cure ensures a stronger bond. Always consider the manufacturer’s instructions and environmental conditions for successful outcomes.
Preparation and After Care
Before gluing, ensure surfaces are clean and free from debris. Sanding can help create a better bond. After applying, it’s essential to wipe away any excess glue. Once dry, sand any residue before applying any finish or paint.
Water-Based vs Solvent-Based Wood Glues
Water-based glues, like PVA and CA, are easy to use and clean. In contrast, solvent-based glues, such as epoxy and polyurethane glue, offer stronger bonding and moisture resistance. The choice between them depends on the project’s requirements and the wood’s oil content.
How Can I Get Wood Glue to Dry Faster?
When working on woodworking projects, time is often of the essence. Speeding up the drying process of wood glue can be a game-changer, especially when you’re on a tight schedule. While the inherent properties of the glue dictate its drying time, there are several strategies you can employ to expedite the curing process by:
- Optimal Environment: Ensure your workspace is in a dry, warm environment. A temperature range of 60°F to 80°F is typically ideal for most wood glues.
- Increase Air Circulation: Using fans or maintaining good ventilation can help evaporate the moisture in the glue faster.
- Thin Application: Apply a thin, even layer of glue. Excessive glue not only takes longer to dry but can also weaken the bond.
- Use Quick-Setting Glues: Opt for fast-drying adhesives like cyanoacrylate when the situation permits.
- Warm the Wood: Slightly warming the wood pieces (not the glue) before application can reduce drying time. However, avoid overheating as it can affect the wood’s properties.
Keep in mind that although these tips can help speed up the drying process, it’s essential to ensure that the bond remains strong and durable during dry time. Always prioritize the quality of the bond over drying time, and when in doubt, refer to the manufacturer’s guidelines for the best results.
What is the Best Wood Glue for Woodworking?
Through extensive testing, research, and hands-on experience, I’ve narrowed down a few brands that consistently deliver exceptional results. These recommendations are based on their bonding strength, versatility, drying time, and durability.
- Titebond
- Titebond III Ultimate Wood Glue: This is a versatile adhesive suitable for both interior and exterior woodworking projects. It boasts superior strength, excellent sandability, and is waterproof, making it ideal for outdoor furniture, kitchen cabinets, and other projects exposed to moisture.
- Gorilla Glue
- Gorilla Wood Glue: A PVA-based adhesive, this glue is designed specifically for bonding wood. It’s water-resistant, making it suitable for indoor projects that might encounter short-term moisture. Its strong bond and fast drying time are perfect for tasks like joining wooden panels or crafting wooden toys.
- Elmer’s
- Elmer’s Carpenter’s Wood Glue Max: This adhesive offers superior bond strength and stainability. It’s also resistant to heat, making it a good choice for projects that might be exposed to higher temperatures. Its versatility is perfect for a range of applications, from furniture assembly to intricate wood crafts.
When selecting a wood glue, always consider the specific requirements of your project and the properties of the adhesive. Each of these brands offers a range of products tailored to different needs, ensuring you can find the perfect fit for your woodworking endeavors.
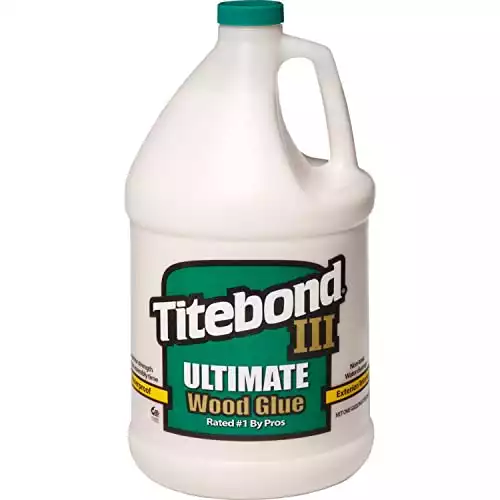 Titebond III Waterproof Wood Glue
- Waterproof Formula: Titebond III Ultimate Wood Glue is the first one-part wood glue that is proven waterproof. This ensures that the bond remains strong even in moist conditions, making it ideal for both interior and exterior woodworking projects.
- Superior Strength with Strong Initial Tack: The glue boasts superior bond strength, ensuring that the wood pieces stay firmly attached. The strong initial tack means that the glue grips the wood quickly upon application, reducing the need for prolonged clamping.
- Extended Open Assembly Time: The glue offers a longer open assembly time, allowing woodworkers more flexibility during their projects. This is especially beneficial for complex assemblies where alignment and positioning are crucial.
- FDA Approved for Indirect Food Contact: This feature ensures that the glue is safe to use for woodworking projects that might come into indirect contact with food, such as cutting boards or wooden utensils.
- Versatile: Suitable for both indoor and outdoor use
- Safe: FDA-approved glue for indirect food contact
- Flexible: Extended open assembly project time
- Temperature Sensitive: Not for use below 45°F
- Potential Corrosion: May corrode metal surfaces
How Long After Wood Glue Can You Paint?
After using wood glue on a DIY project, it’s essential to ensure that the adhesive has completely dried and is fully cured before applying paint or varnish. Painting over uncured glue can lead to an uneven finish, and the paint may not adhere properly to the surface.
The time you should wait before painting depends on the type of glue used and the environmental conditions, but there are some general guidelines to follow:
- Check the Cure Time: Always refer to the manufacturer’s recommendations on the glue’s packaging. While many wood glues dry to the touch within hours, they might take up to 24 hours or more to fully cure.
- Surface Preparation: Before painting, ensure that any excess dried glue is sanded off. This will help in achieving a smooth and even paint application.
- Environmental Factors: Humidity and temperature can affect the drying time of wood glue. In drier and warmer conditions, the glue will cure faster, allowing you to paint sooner.
- Type of Paint: Oil-based paints generally require a longer waiting period than water-based paints. Ensure the surface is free of any glue residue before applying.
- Test the Surface: Before painting the entire piece, consider doing a small patch test. If the paint adheres well and dries evenly, you can proceed with painting the rest.
While the eagerness to see a finished project is understandable, patience is key. Waiting for the glue to fully cure ensures that your paint job looks professional and lasts longer. Always prioritize the integrity and appearance of the final product over rushing the process.
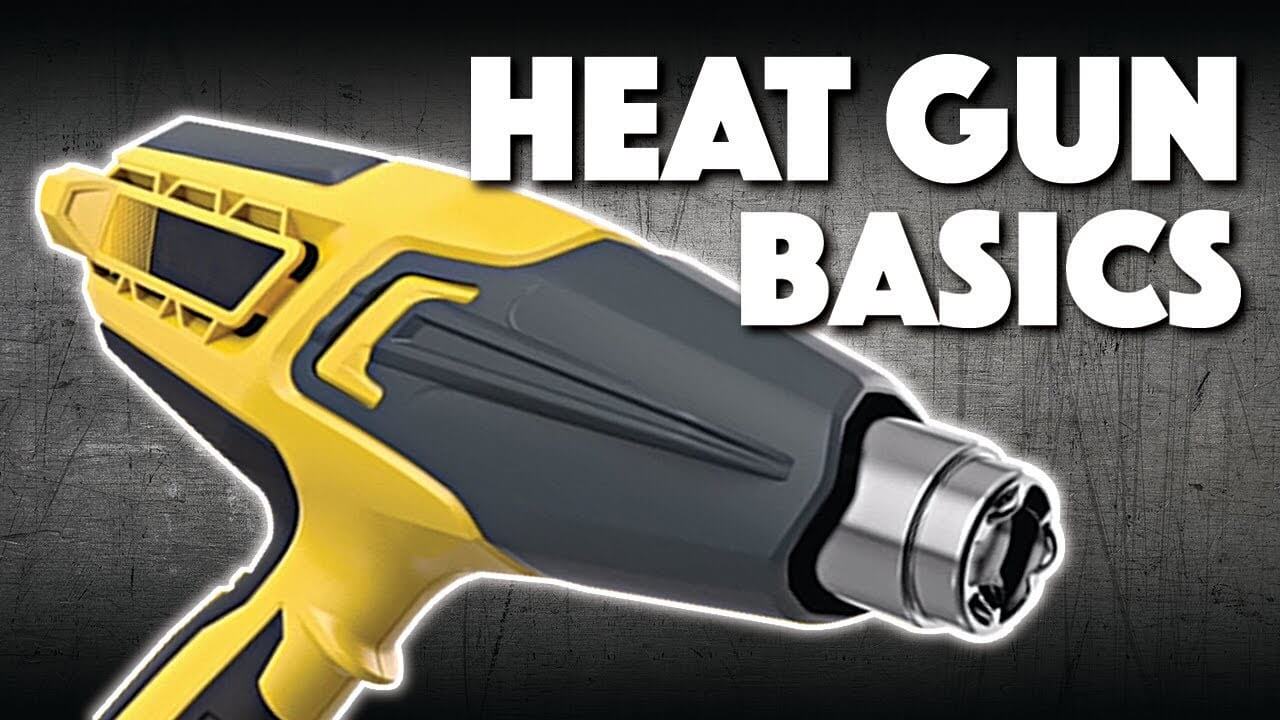
Will a Heat Gun Dry Wood Glue Faster?
Yes, a heat gun can expedite the drying process of wood glue. The heat emitted from the gun accelerates the evaporation of moisture within the glue, leading to faster drying times. However, it’s essential to use this method with caution to avoid damaging the wood or compromising the adhesive’s bond strength. Here’s a step-by-step process to use a heat gun to dry wood glue:
- Safety First: Before starting, ensure you’re wearing safety goggles and heat-resistant gloves. Work in a well-ventilated area to avoid inhaling any fumes.
- Prepare the Surface: Ensure that the glued area is free from any excess adhesive. Wipe away any wet glue that’s outside the joint to prevent it from hardening on the wood’s surface.
- Set the Heat Gun: Start with a low heat setting. High temperatures can scorch the wood or cause the glue to bubble, leading to an uneven bond.
- Hold at a Distance: Position the heat gun approximately 6-8 inches away from the glued area. Move the gun continuously in a back-and-forth motion to distribute the heat evenly.
- Monitor the Process: Pay close attention to the glue and the wood. If you notice any discoloration or bubbling, move the heat gun further away or reduce the heat setting.
- Check Consistency: Periodically touch the edge of the glued area (not the center) to check its dryness. Remember, the surface might feel dry, but the glue underneath can still be wet.
- Allow Cooling: After using the heat gun, let the wood and glue cool down naturally for a few minutes. This ensures that the bond remains strong and the wood isn’t affected by the sudden temperature change.
Using a heat gun can be a handy method to speed up the drying process, especially when you’re pressed for time. However, always prioritize the quality of the bond over speed, and ensure you’re following safety precautions throughout the process.
In Conclusion
The importance of drying wood for woodworking before applying any adhesive is paramount. Properly dried wood ensures optimal adhesion and reduces the chances of bond failure.
Key Takeaways:
As you embark on your woodworking projects, always remember to choose the right adhesive, be patient during the drying process, and prioritize the bond’s quality over speed. With these insights, you’re well-equipped to achieve woodworking masterpieces that stand the test of time.

