Are Circular Saw Blades Hardened?
Circular saw blades are known for their durability and strength, which is the main reason why people often ask if circular saw blades hardened?
The answer is yes, they are! While this depends on the manufacturing process and the material that the blades are made out of, it is a fact that most of the circular saws on the market are hardened.
But why is this done, what are the benefits, and how exactly are circular saw blades hardened? Let’s take a look.
The Benefits of Circular Saw Blades
Circular saw blades are tooth-forged metallic discs that are ideally used for cutting through different materials, including wood, metal, and plexiglass.
What’s the best thing about these blades? They are completely safe, and with the right precautions, you are not risking any type of injury.
Along with that, you will not have trouble with the smoothness of the process, and even if the blade does get stuck, you can simply take it out and continue, which is the main difference between these saws and those of angle grinders or other power tools.
Additionally, if you are experienced with using circular saws, you be fully aware that performing straight and precise cuts takes a bit of practice. But once you have gotten used to wielding a circular saw with a quality saw blade, you’ll be making short work of just about anything, including hardened steel.
What Type of Steel Are Circular Saw Blades Made From?
Before we get into the manufacturing process, it is essential to determine the type of hard steel that is used to make the blades. It is mostly high carbon steel or a blend of different steels, depending on what the blade is intended for.
What you should know is that the manufacturing process for blades is quite complicated, and comprises a few steps, of which hardening comes right after cutting the steel.
But what is hardening and how does it affect a circular saw blade?
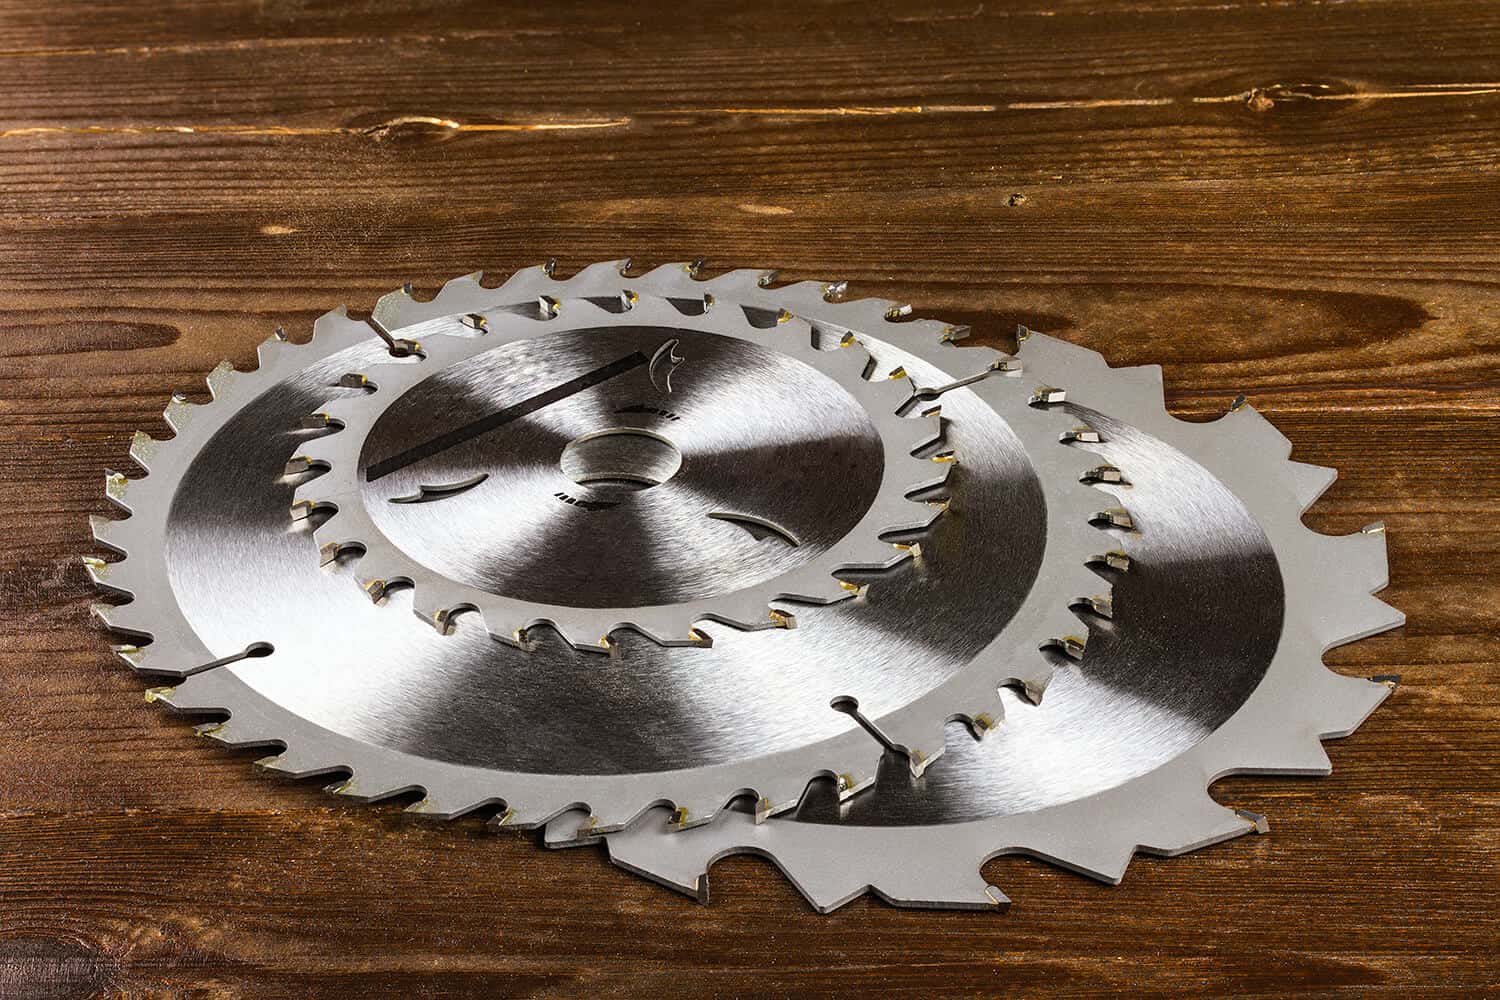
How are Circular Saw Blades Hardened?
Once the steel is cut to an adequate shape and size, it is time to move on and ensure that it can resist heavy force and provide a more powerful performance. How is this done? By putting the blade close to a high heat source.
The temperature that is usually used ranges anywhere from 900 to 1,100 degrees Celsius and is, as such, perfect for hardening steel blades.
As we mentioned above, the first step is heating the steel blade to very high temperatures. Once that is done, the blade is cooled rapidly, only to be then heated again to temperatures of 500 degrees Celsius. The last step of the process is cooling down the second time, ending up with a strong and durable steel blade.
After the hardening process is done, the blades are straightened, polished, sharpened, and coated.
High carbon steel, along with a careful step-by-step manufacturing process that includes hardening, is what ensures the high quality and durability of these blades. The blades need to be hard in order to function effectively, but we’ll break this down even further.
Why is the Blade of a Saw Hardened?
Once successfully hardened, the saw blade requires what is referred to as tempering, which in turn reduces the hardness and increases the durability of the blade.
This is the entire process of hardening blades, and most circular saw blades have at least hardened teeth. High-quality circular blades are made completely hardened, and that’s what you should look for.
You might also find bi-metal blades that have a tough body with an outer rim of hardened steel.
This all takes place so that the saw blade can cut through other dense metal materials effectively by withstanding the force generated during the cutting process. Without circular saw blades being treated and hardened, you’d be looking at shattered blades and other mechanical failures.
Do Circular Saw Blades Make Good Knives?
If you’re interested in making the most out of your old saw blades to craft unique-looking custom knives, you can certainly take on the challenge and hopefully add knife-making to your list of DIY accomplishments.
Instead of discarding your old blades to the scrap metal heap, you could make this a side project and potentially sell these custom blades for cash, depending on the finish quality.
So what tools will you need to get started:
Materials you’ll need:
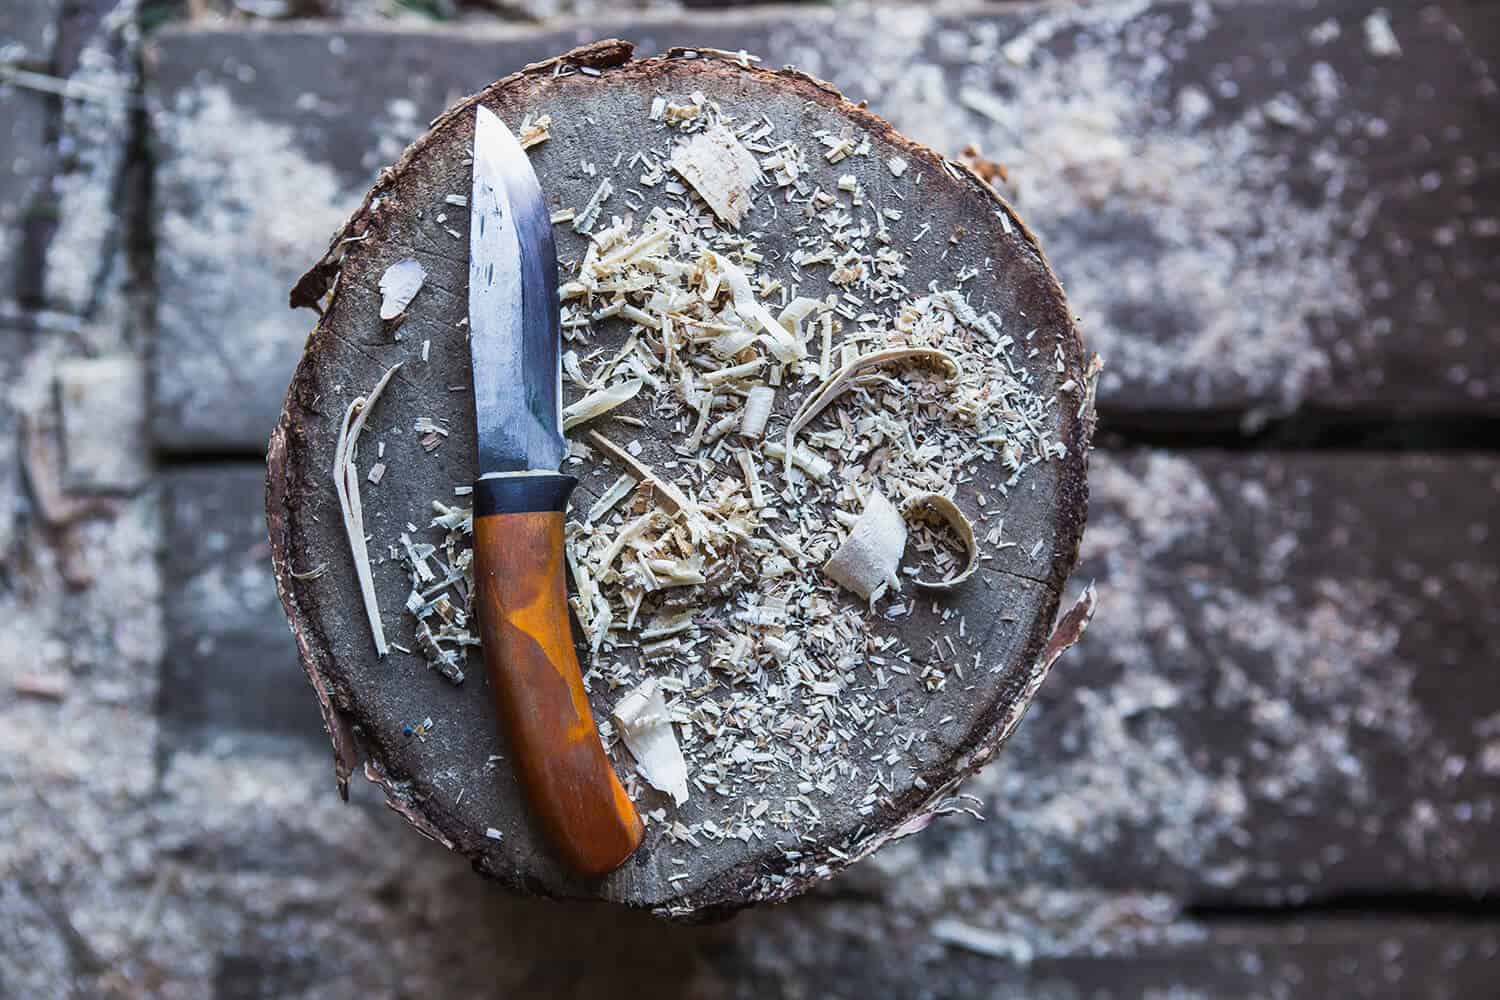
Getting Started – Knife Making 101
Once you’ve gathered everything necessary, make sure you apply some basic safety measures before commencing work.
Step 1
Measure and mark the blade – Simply take a permanent marker or some chalk, and scribe the section of the blade you wish to forge. If you’re working off a specific design, you could create a stencil and outline the material to accuracy.
Step 2
Break out the angle grinder – It will be easier to clamp the blade on a bench or secure it in a bench vise before you do anything. With an abrasive metal cutting diamond disc, cut around the section which you’ve outlined.
Step 3
Take the rough off – Using your angle grinder and vise, secure the grinder in the vise and grind down the rough edges of the steel. If you have the time, it would be advantageous to assemble an angle grinder jig, plus it’s something you’ll most definitely use again for other projects.
Step 4
Start refining and forging – With either a belt sander or a file, commence filing down the edges in a circular angled motion. This will be a hell of a lot easier with a belt sander, but you can get it done by utilizing a file and by clamping the freshly cut steel in a vise. Time-consuming and tedious, but the extra effort will produce a much better-finished product.
Step 5
Make it shiny – To make the knife all shiny and sleek-looking, like it was something Masamune crafted himself, you’ll need to apply some serious elbow grease and hand sand the fresh-cut steel.
Step 6
Fit the handle – Lastly, you want to fit a handle to your new blade. You’ll first have to drill several small holes into the base of the knife. Then you’ll want to cut the wood material you measured precisely by utilizing a bandsaw.
Step 7
Cleaning & finishing – After you’ve fitted your handle, you want to treat the wood you’ve used by coating and sealing the handle with oil. You need to use Tung oil which is a hardening oil, or go with boiled linseed oil which is typically a popular choice.
If you’d like a more detailed breakdown from an expert knife marker, check out Dustin from The Art of Craftsmanship and his extraordinary knife-making skills.
You’ll be able to follow along and essentially recreate a beautifully crafted knife that you’ll be able to use yourself or sell.
Final Thoughts
The main reason why circular saw blades are so efficient is due to the fact that they are hardened under the right conditions and are later sharpened, coated, and polished.
This makes the circular saw a product that can be used for tasks such as cutting through hard materials. All that is left to do now is select the right one for your upcoming projects and make sure always to work safely when operating saws.

