How to Build a Woodworking Bench for Your Home Workshop
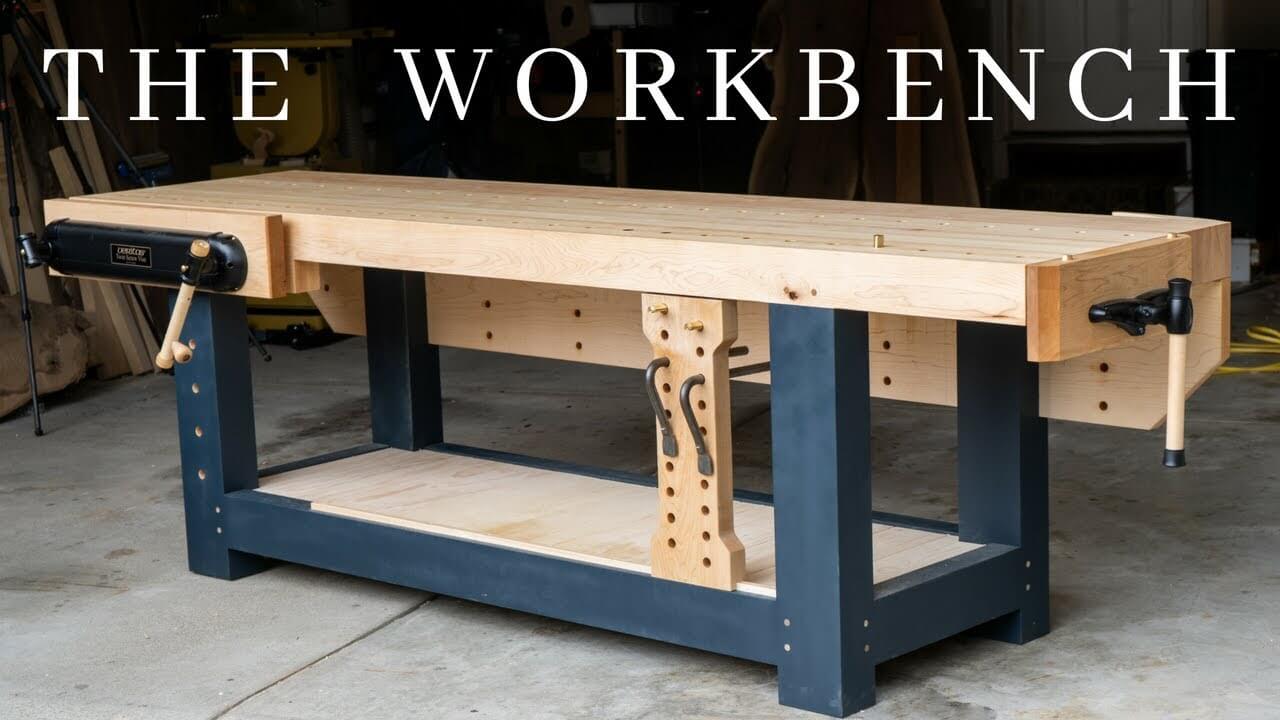
What is a woodworking bench? Although it looks like a table, it is definitely not a table or something that you put random things on. It is a tool that holds your woodworking projects.
It is built to hold various mechanisms, such as bench dogs, planning stops, board jacks, and so on. It has to be heavy enough so that it doesn’t move while you work, and also robust enough so that it doesn’t break under the pressure of different working mechanisms.
There are various kinds of woodworking benches, and the one we want to talk about is a bench that provides almost all of the functionality of the traditional woodworking benches.
It is not too difficult to build a highly functional workbench for your home workshop and can be constructed even by beginners with little to no experience.
How Big Should a Woodworking Bench Be?
Before you start to build the bench, let’s see what materials we will need to determine the size of your new workbench.
First, we will need to use construction-grade lumber. This material can be bought at any lumber yard. Of course, you can use better lumbar, which costs more, but there is no point in using expensive materials since they will all do the same job.
If you, however, decide to use construction-grade lumber, make sure that you dry it before use. If you use green lumber, it will warp on you as it dries, so be sure to pick the straightest, dryest, and cleanest pieces when you are buying.
For the base, you will need four legs, as well as four short and long stretchers. Also, you need four all-threaded 3/8 inch rods that are two feet long and four all-threaded 3/8 inch rods that are 4 feet long.
The best solution is to buy four pieces of six-foot-long 3/8 inch rods and then cut them down.For the top, you will need two layers of 3/4 inch MDF and edge-glued oak.
Also, if you decide to install a vise, which can be pretty useful, you will need hardwood for the jaws, and some scrap plywood for the right mounting thickness.
The dimensions of all the materials are entirely up to you, depending on the size and proportions of the workbench that you want to create.
Tools You’ll Need to Build a Workbench
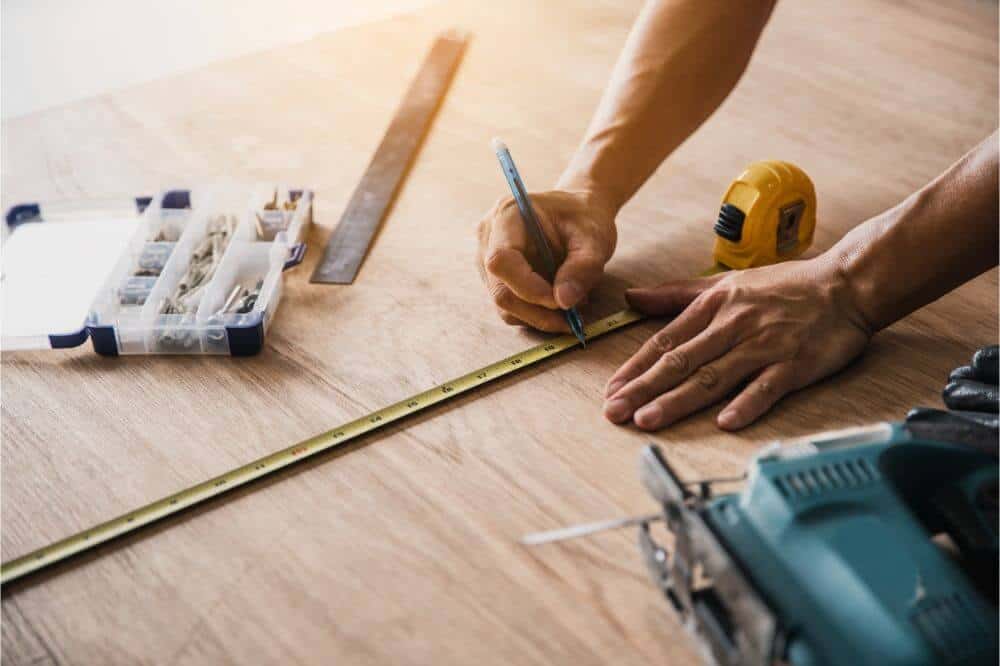
Acquiring the right tools is an essential thing to do before starting to build a workbench. You should have everything ready so that you can focus all your energy and concentration on the actual building process.
Although not all of the tools we will mention are mandatory, various tasks could be done much faster and simpler with the right tools. If you have a table saw, a miter saw, and a drill press, be sure to use them.
For the saw, you will definitely need a plywood blade and a crosscut blade. For the router, you will need a 3/8 inch straight bit, round over bits of 1/4 and 1/8 inch radius, an edge guide, and a flush-trim.
Also, for the drill, you will need a few bits of different sizes, and you will need some type of workbench. Although we are building a workbench, you will still need a solid surface, even if it isn’t as stable as the classic workbench.
Building the Workbench – The Basics
First, if you want the table to be square and flat, you should pay attention to your cuts. It is advised that you use a table saw, which is ideal for this process.
The first step will be to cut the length of the lumber for the base. It consists of four short stretchers, four long stretchers, and four legs. You should lay out the legs to minimize the number of knots and other flaws.
These pieces should be square and of identical length. You might want to cut two of them at once, to make sure that the length is identical. If the cut on one end is good, flip all four legs, still clamped together, and cut the other end. The stretchers should be cut the same way.
Next, you should root the grooves that the rods will pass through. If you don’t have a router table, which is ideal for this, you should use a hand-held router with an edge guide. One of the tricks to using a router is to notice that the bit spins in a clockwise direction.
Therefore, when you cut from left to right, the router will tend to go away from you. If you cut from right to left, the router will go toward you. It is essential to know in which direction to cut, depending on the situation and on what you find more comfortable. You can always make a few practice cuts first.
How Do You Make a Simple Workbench?
When you have all the base parts ready, you should sand them down until they are smooth. Keep on sanding until they look as you would like them to look when it’s all finished.
Now, that all the basic parts are complete, take two legs and two stretchers, and make the trestle. The first thing to do is to drill the holes through which the threaded rod that connects the two legs will go. Be sure to mark the holes before drilling, and drill carefully.
When you assemble the trestle, it is time to do it again, for the other ones. Then, you should flip the assembly upside down and install the levelers. When everything is done, and you are satisfied, you should move on to building the top.
You are now halfway there. Before you start cutting and drilling the pieces for the workbench’s top, determine the layout you want for the top. A useful tip about the top’s width is that a base’s width ultimately determines this width. That’s why you have to be sure that you have built the base correctly.
Then, you should laminate and edge the MDF, and trim the MDF edging. When you are entirely sure that you have done everything correctly, and you like what it is looking like right now, you should move on to the vises.
Pro Tip for Building a Workbench
Note that clamps with lag screws should be attached from the bottom. You might also need to drill some more holes, depending on the layout and plan of your workbench table.
One of the last steps is to finish the MDF layer. First, you will need to drill the holes for all the screws that will hold the two layers together.
Then, note that while the main two parts of the MDF should be glued together, the countertop and the MDF will be screwed together, because the oak will expand and contract as the humidity changes.
Now you have everything done. Well, almost everything. You just need to join the top and base, and that’s it! According to your plan, you might want to drill some more holes, depending on what you want your table to look like, and depending on what kinds of work will you use it for.
In Conclusion
Although it might seem a little bit difficult, building a woodworking bench is not too complicated if you have the right tools.
By taking this DIY woodworking project on, you further enhance your woodworking skills and have a new cool workbench as the centerpiece of your home workshop.
If you manage to create your own, it will definitely pay off, or you could even build the same bench for others and sell it.
Lastly, you’ll also pay far less for designing and building your own workbench than you would be buying one from a designer workshop. Plus, you’ll have a bench entirely built according to your needs.


