How to Charge a 6 Volt Battery: The Complete Guide
Staring at a 6-volt battery and contemplating its fate? Let’s turn this moment into an eco-friendly victory. This guide not only revives your battery but also helps keep it out of the landfill.
In a Nutshell:
To charge a 6-volt battery efficiently, identify its type (lead-acid, nickel, or lithium) first. For lead-acid batteries, use a charger that applies a bulk charge voltage, tapering off as the battery fills. Lithium-based batteries require a constant voltage method. Position the battery and charger near a power source, connect the charger cables correctly to the battery terminals, set the charger to 6V, and monitor the charging process until complete. Always adhere to safety guidelines to prevent battery damage.
Ready to give your 6-volt battery a new lease of life? The bulk of it below will break down the charging process step-by-step, ensuring your battery’s optimal performance.
Understanding the 6-Volt Battery Charging Process
In my extensive experience with various batteries, I’ve come to appreciate the simplicity and reliability of charging a 6-volt battery. While these batteries might not be as prevalent as the 12-volt variants, they hold a special place in powering older equipment. Their reputation for durability and longevity is well-deserved, making them a favorite for many who have had the pleasure of using them.
Essential Points to Remember:
- Battery Types: 6-volt batteries come in diverse chemical compositions. These include:
- Lead-Acid: Often labeled as LA or SLA.
- Nickel: Designated as NiCd or NiMH.
- Lithium: Marked as Li-Ion.
- Importance of Chemical Composition: The battery’s chemical makeup dictates its charging method and voltage settings, making it crucial to identify before initiating the charging process.
- Charging Methods:
- Lead-Acid Batteries: Emphasis is on the bulk charge voltage, where the battery receives the majority of its charge. As the battery fills up, the current gradually decreases.
- Lithium-Based Batteries: The constant voltage charging method is prevalent. This involves supplying a steady voltage until the battery reaches its full charge, suitable for both initial charging and topping up partially discharged batteries.
With these essentials in mind, you’re well-equipped to delve into the step-by-step process of charging your 6-volt battery. Whether you’re dealing with a lead-acid or a lithium-based battery, understanding its nuances ensures a safe and efficient charging experience.
How to Charge a 6 Volt Battery in 5 Steps
As someone who frequently charges 6-volt batteries, I can share some insights on the process. There are two main methods for charging a 6-volt battery: using a 6v charger and using a 12v charger. I will discuss both methods in their respective sub-sections below.
Charging a 6-Volt Battery: A Comprehensive Guide
Before you begin, ensure you have the following items on hand:
- A 6V battery and insulated screwdriver
- A compatible 6V battery charger
- Alligator clips or charger cables
- An electrical outlet or power source
Step 1: Preparing the Battery and Charger
- Positioning: Place the battery and charger close to the power outlet. This ensures easy connectivity, especially if the charger cables are short.
- Identifying Terminals: Familiarize yourself with the battery terminals. Typically, the positive terminal is marked with a “+” and is red, while the negative terminal is labeled with a “-” and is black.
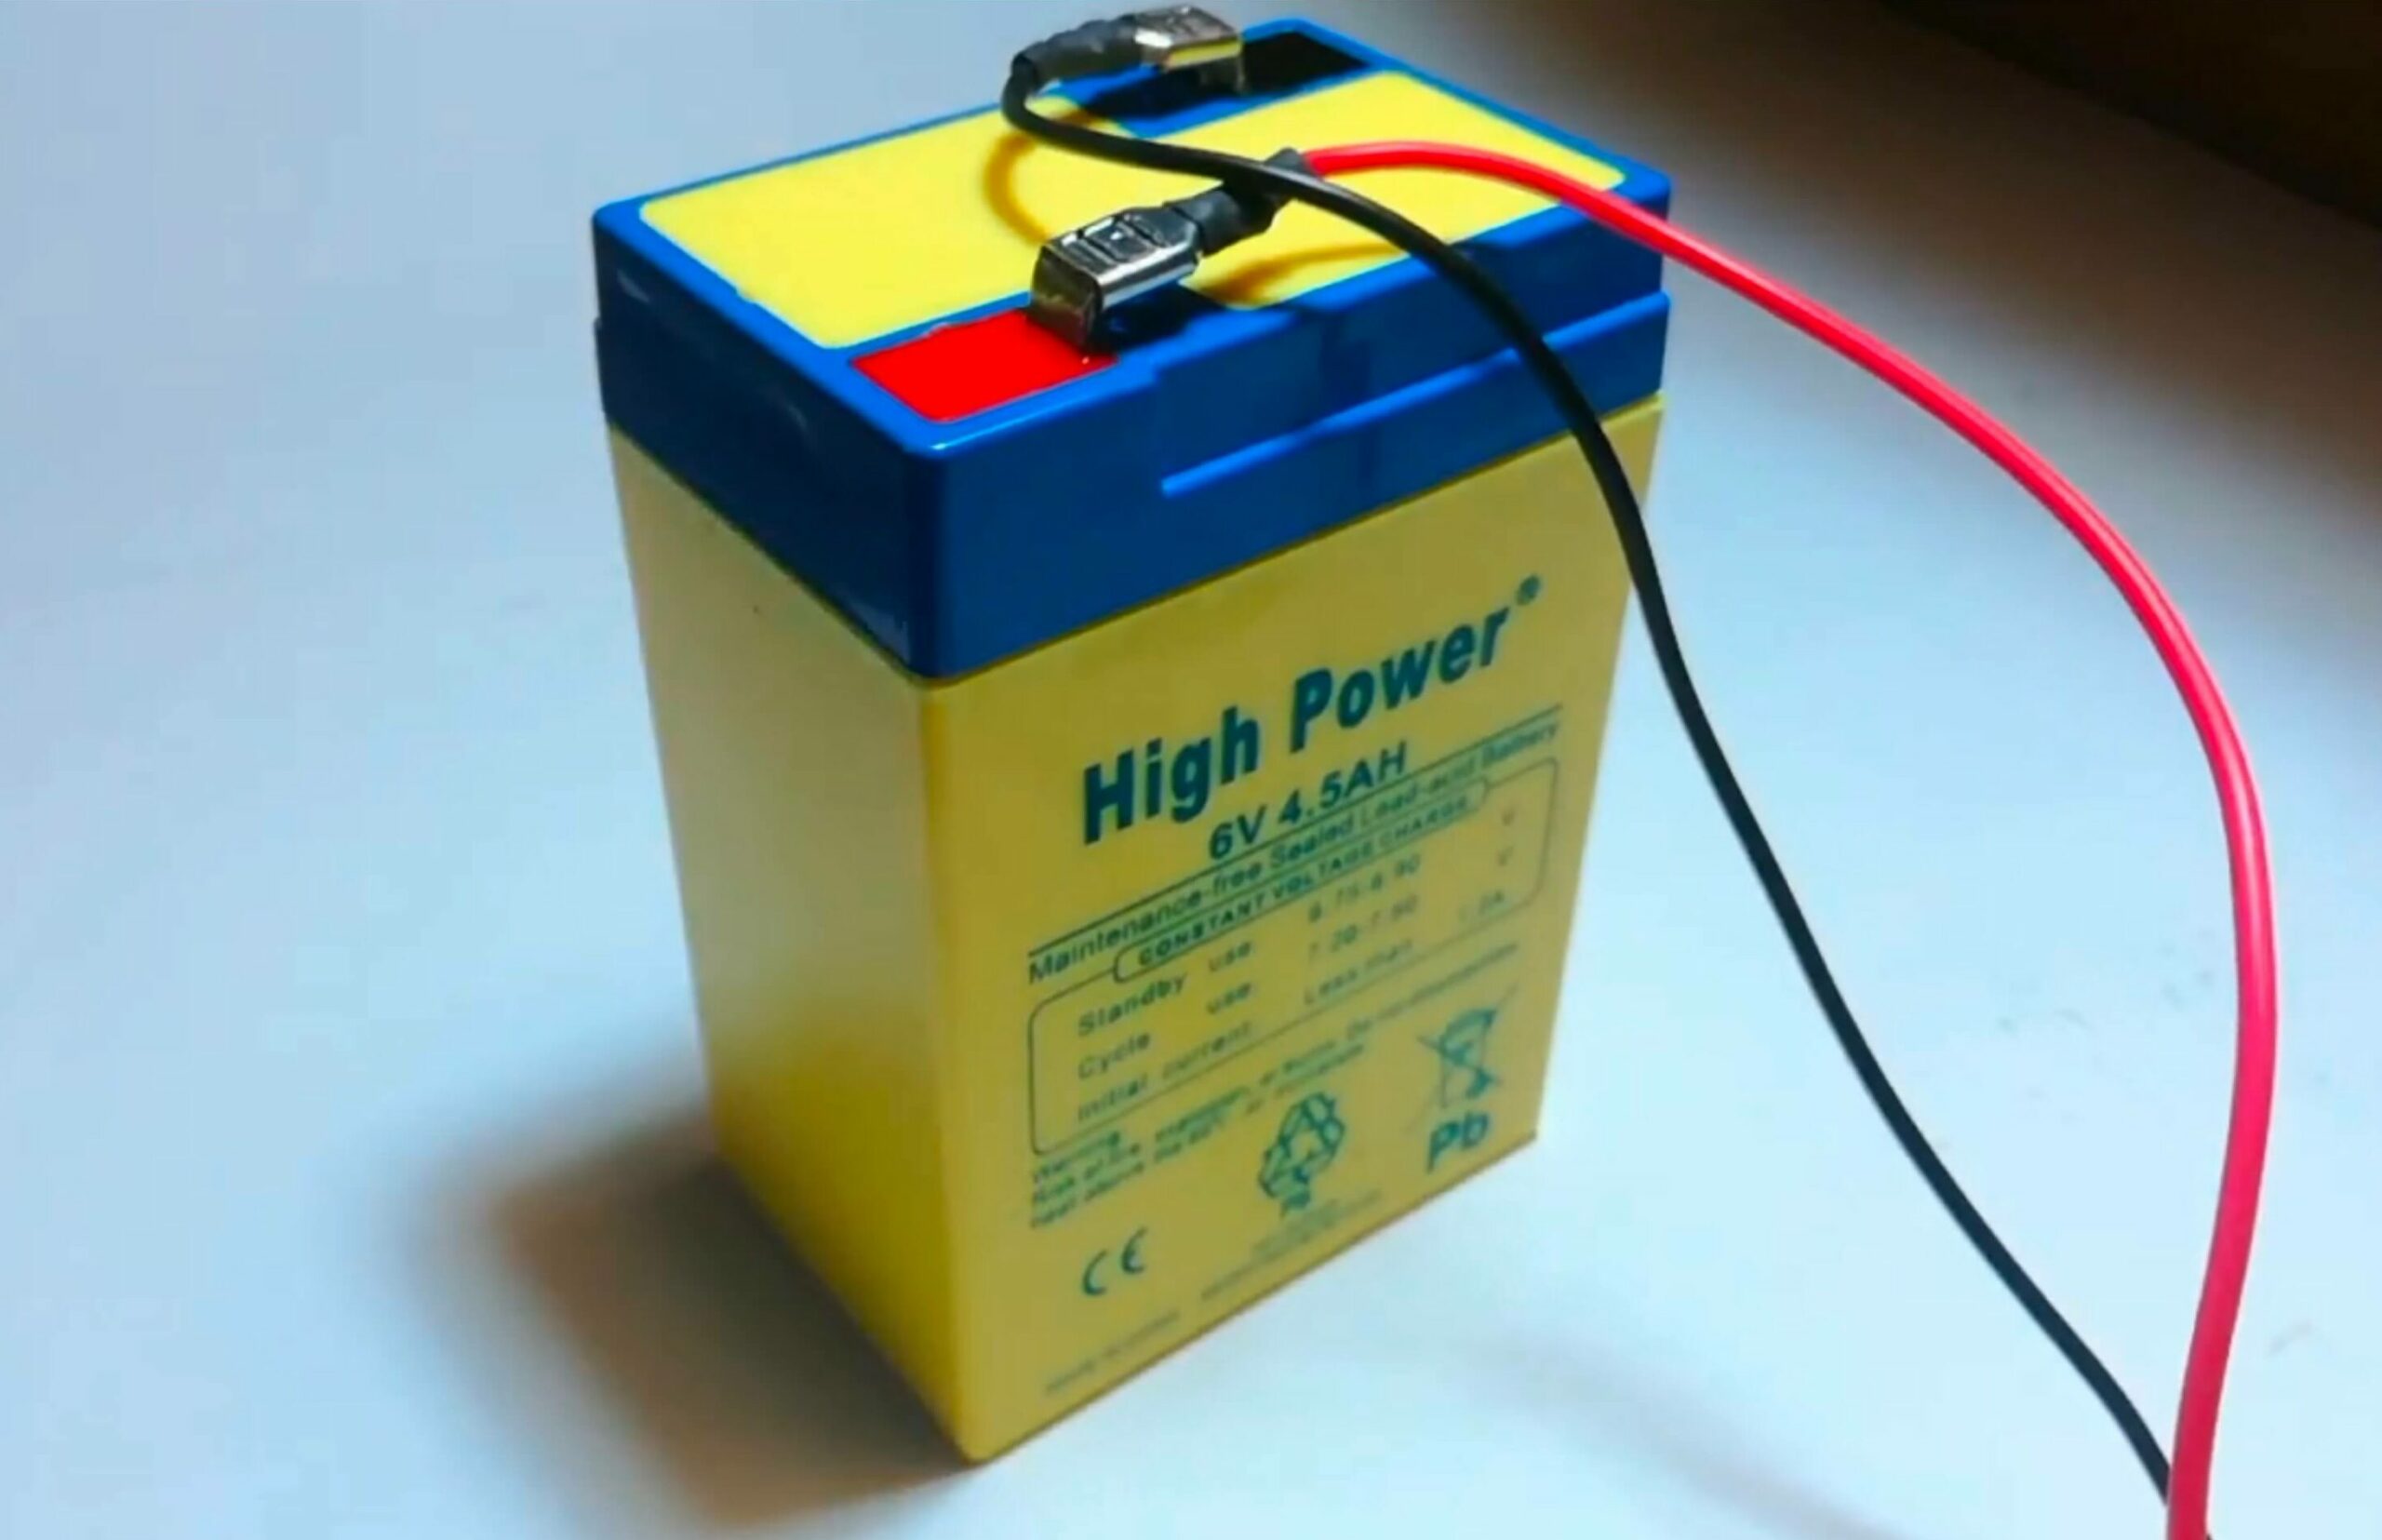
Step 2: Connecting the Battery to the Charger
- Positive Connection: Attach the red cable from the charger to the positive (red or +) terminal on the battery.
- Negative Connection: Connect the black charger cable to the negative (black or -) terminal on the battery.

Step 3: Setting the Charger
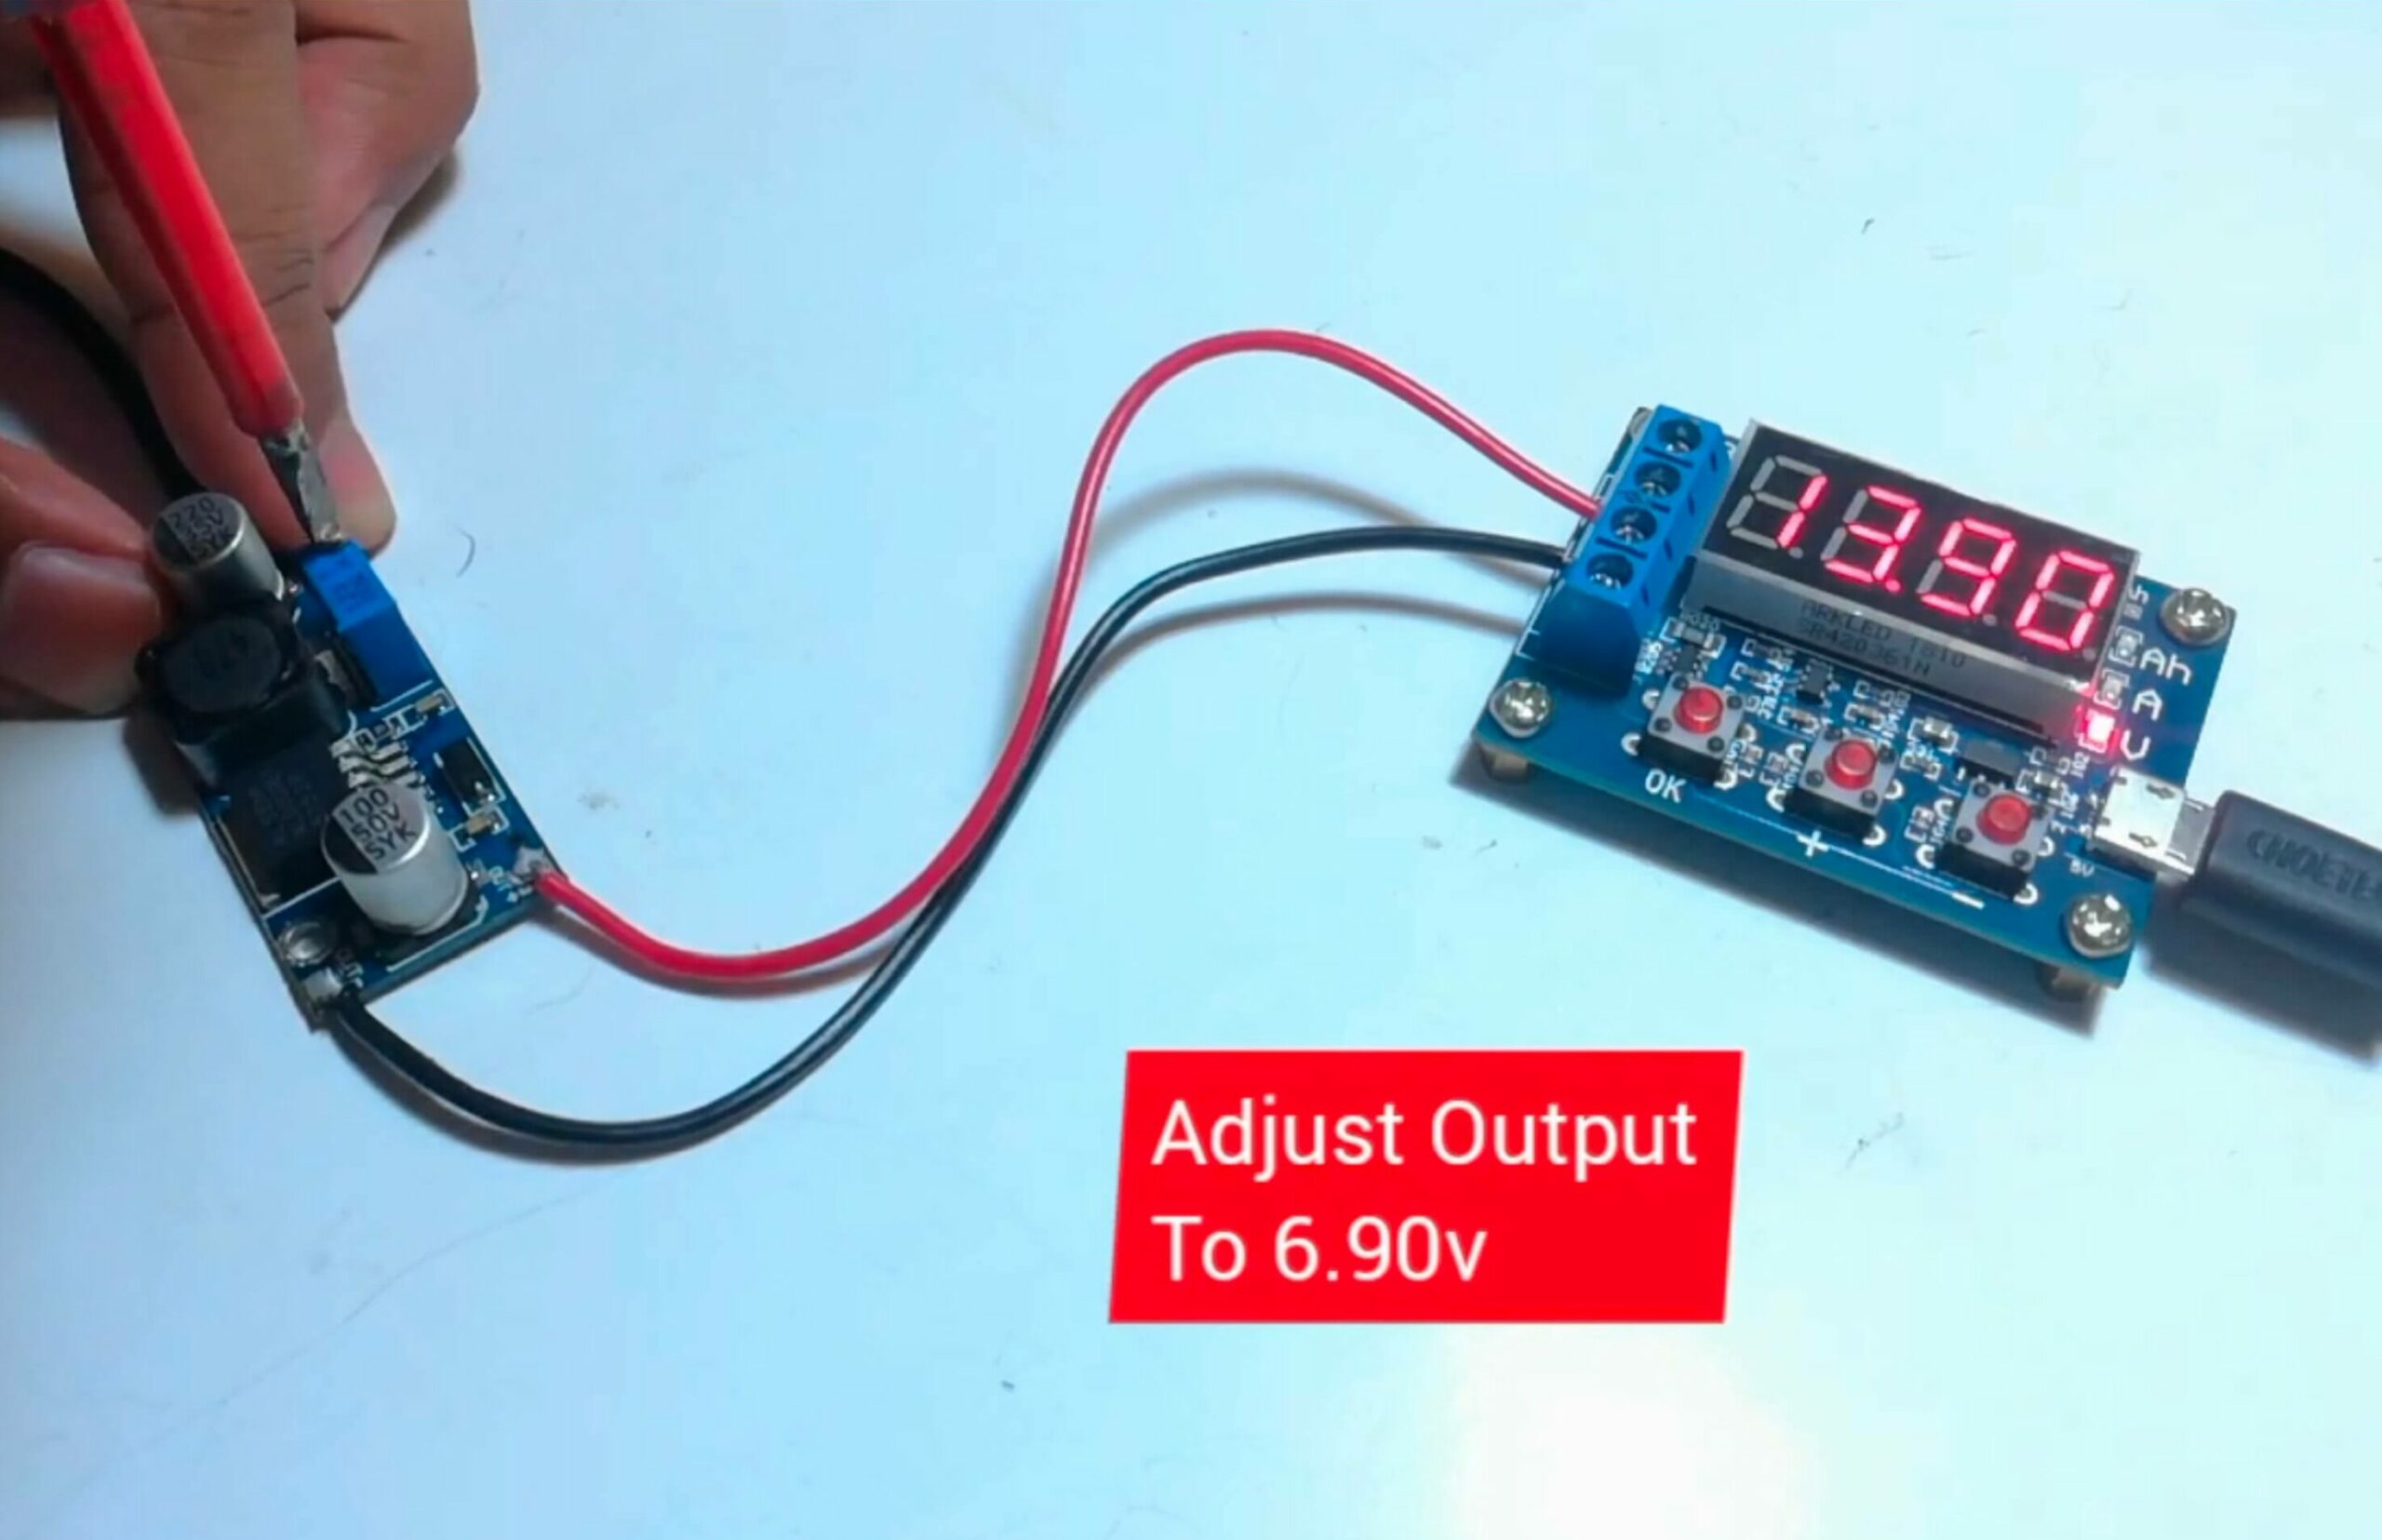
- Voltage Selection: Ensure the charger’s voltage switch is set to 6V, matching the battery’s capacity.
- Powering On: Plug the charger’s power cord into the nearby electrical outlet and turn on the charger.

Step 4: Monitoring the Charging Process
- Observation: Periodically check the charger’s gauge. Some chargers have a needle indicator, while others use a series of lights that transition from red to green.
- Completion Indicators:
- Needle Gauge: Charging is complete when the needle points to the fully charged section.
- Light Gauge: Charging is done when the lights turn green.
Step 5: Disconnecting and Storing
- Power Off: Once charging is complete, turn off the charger.
- Unplugging: Carefully disconnect the charger cables from the battery terminals. Start with the negative cable followed by the positive cable. Store the charger in a safe place.
Safety and Fault-Finding Checks
- Charger Compatibility: Always use a charger specifically designed for 6V batteries. Using a 12V or other voltage charger can damage your battery.
- Battery Inspection: Before charging, inspect the battery for any visible damages or leaks. Do not charge a damaged battery as it poses fire and explosion risks.
- Correct Terminal Connection: Ensure you connect the charger cables to the correct battery terminals. Reversing the connections can cause damage.
- Ambient Temperature: Be aware that cold weather can extend the charging time as batteries are less efficient in colder conditions. Conversely, batteries charge faster in warmer conditions.
- Battery Age: Older 6V batteries or those with extended shelf lives might take longer to charge. Consider using slow chargers for such batteries to prevent potential damage.
By following these steps and safety checks, you ensure the longevity of your 6V battery and prevent potential hazards. Always prioritize safety and consult a professional if unsure about any step or if you encounter issues during the charging process.
What voltage should I charge a 6V battery?
Charging a 6V Battery: Optimal Voltage Settings
Charging a 6V battery requires understanding its chemical composition and the appropriate voltage settings. The lead acid battery, which is a common type of 6V battery, uses the constant current constant voltage (CCCV) charge method. This involves a regulated current that raises the terminal voltage until an upper charge voltage limit is reached. Once this limit is achieved, the current drops due to saturation.
Key Points:
- Charge Method: The CCCV method involves three stages: constant-current charge, topping charge, and float charge. The constant-current charge provides the bulk of the charge, taking up about half of the required charge time. The topping charge offers saturation, and the float charge compensates for self-discharge.
- Voltage Threshold: The correct setting of the charge voltage limit is crucial. It typically ranges from 2.30V to 2.45V per cell. This setting is a balance between ensuring the battery is fully charged to maximize capacity and avoiding over-saturation that can lead to grid corrosion on the positive plate.
- Temperature Considerations: The charge temperature coefficient of a lead acid cell is –3mV/°C. The charge voltage should be adjusted based on the ambient temperature, with a reduction of 3mV per cell for every degree above 25°C and an increase for every degree below 25°C.
- Float Voltage: The recommended float voltage for most flooded lead acid batteries is between 2.25V to 2.27V/cell. This voltage maintains the battery at full charge.
When charging a 6V battery, especially a lead acid type, it’s essential to consider the battery’s chemical composition, the appropriate charging method, and the optimal voltage settings. Ensuring the correct voltage settings and considering ambient temperature can help achieve efficient charging and prolong the battery’s lifespan.
Using a 6v Battery Charger
Charging a 6-volt battery with a dedicated 6v charger ensures optimal performance and longevity of the battery. To achieve a successful charge:
- Preparation: Position the battery near a power outlet for easy access.
- Connection: Attach the charger to the battery, ensuring the “+” and “-” terminals align correctly.
- Activation: Plug in the charger and initiate the charging process.
- Monitoring: Regularly observe the charging status. Once fully charged, safely disconnect the charger.
Battery Maintenance: Periodically check the battery for signs of wear or damage. Clean the terminals to ensure a good connection and prevent corrosion.
Using a 12v Battery Charger
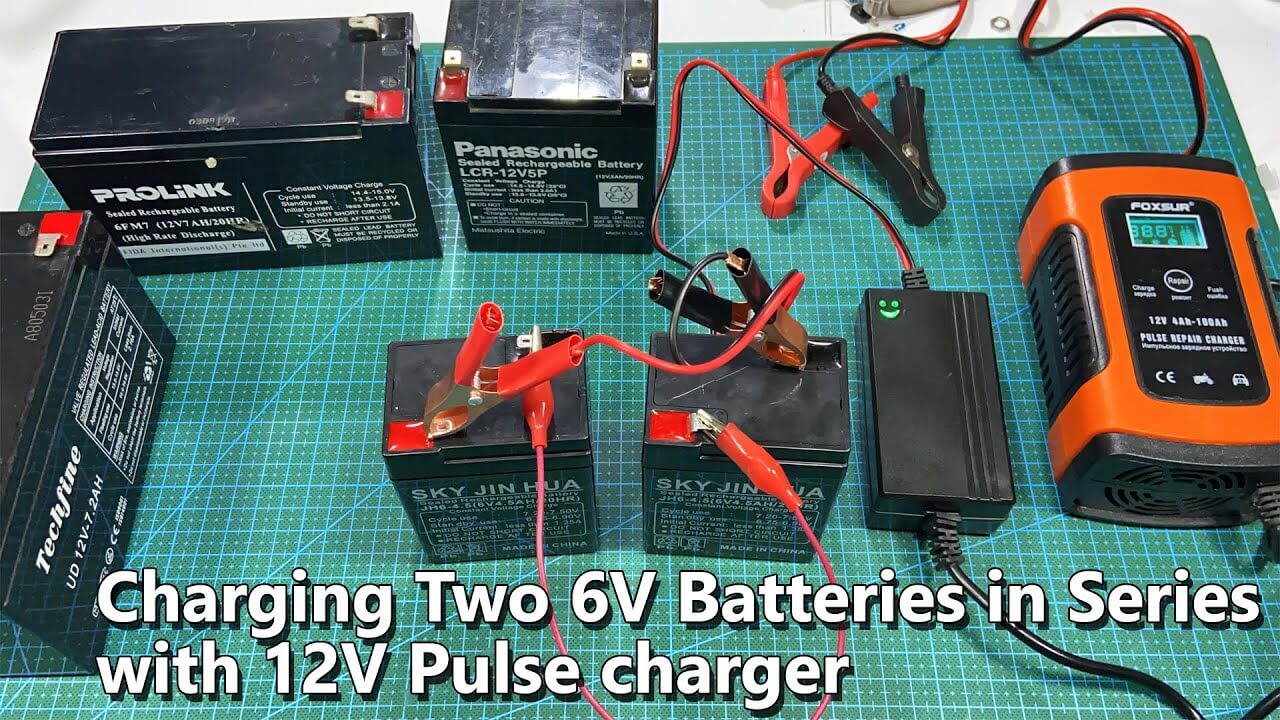
While unconventional, a 12v charger can charge a 6v car battery by connecting two 6v batteries in series:
- Battery Matching: First ensure both 6v batteries share the same type and cell capacity.
- Series Connection: Link the “+” terminal of the first battery to the “-” terminal of the second using a jumper wire.
- Charger Connection: Connect the 12v charger to the unlinked terminals of the batteries.
- Charging: Activate the charger and monitor the process. Once the batteries attain approximately 6.3 volts each, cease charging.
Safety First: Always prioritize safety. Utilize chargers compatible with and match your battery type and remain vigilant to prevent overcharging or overheating.
How long does a 6V battery take to charge?
Charging Duration for a 6V Battery
Charging a 6V battery largely depends on its capacity, the state of its charge, and the charger being used. However, there are some general guidelines to consider:
- Charging Method: The lead acid battery, which is a common type of 6V battery, uses the constant current constant voltage (CCCV) charge method. This involves a regulated current that raises the terminal voltage until an upper charge voltage limit is reached. At this point, the current drops due to saturation.
- General Charging Time: For lead acid batteries, the typical charge time is between 12–16 hours. However, for larger stationary batteries, this can extend up to 36–48 hours. By utilizing higher charge currents and multi-stage charge methods, this time can be reduced to 8–10 hours, but this might not result in a full topping charge.
- Stages of Charging: Charging occurs in three stages:
- Constant-current charge: This is where the battery gets most of its charge, and it takes up about half of the required charge time.
- Topping charge: This stage provides saturation and continues at a lower charge current.
- Float charge: This compensates for the loss caused by self-discharge.
- Factors Affecting Charge Time: The actual time it takes to charge a battery can vary based on several factors:
- Battery Capacity: Larger batteries will naturally take longer to charge than smaller ones.
- State of Discharge: A battery that is deeply discharged will take longer to charge compared to one that’s partially discharged.
- Charger Specifications: Different chargers deliver different amounts of current. A charger that delivers more current can charge a battery faster, but it’s essential to ensure it’s within the battery’s safe charging range.
- Safety Considerations: It’s crucial to monitor the charging process to avoid overcharging or overheating the battery. Overcharging can lead to reduced battery life and potential safety hazards.
It’s essential to always refer to the manufacturer’s guidelines when charging any battery, as specific requirements can vary based on the battery type and brand.
Battery Indicators and Measurement
Using a Multimeter
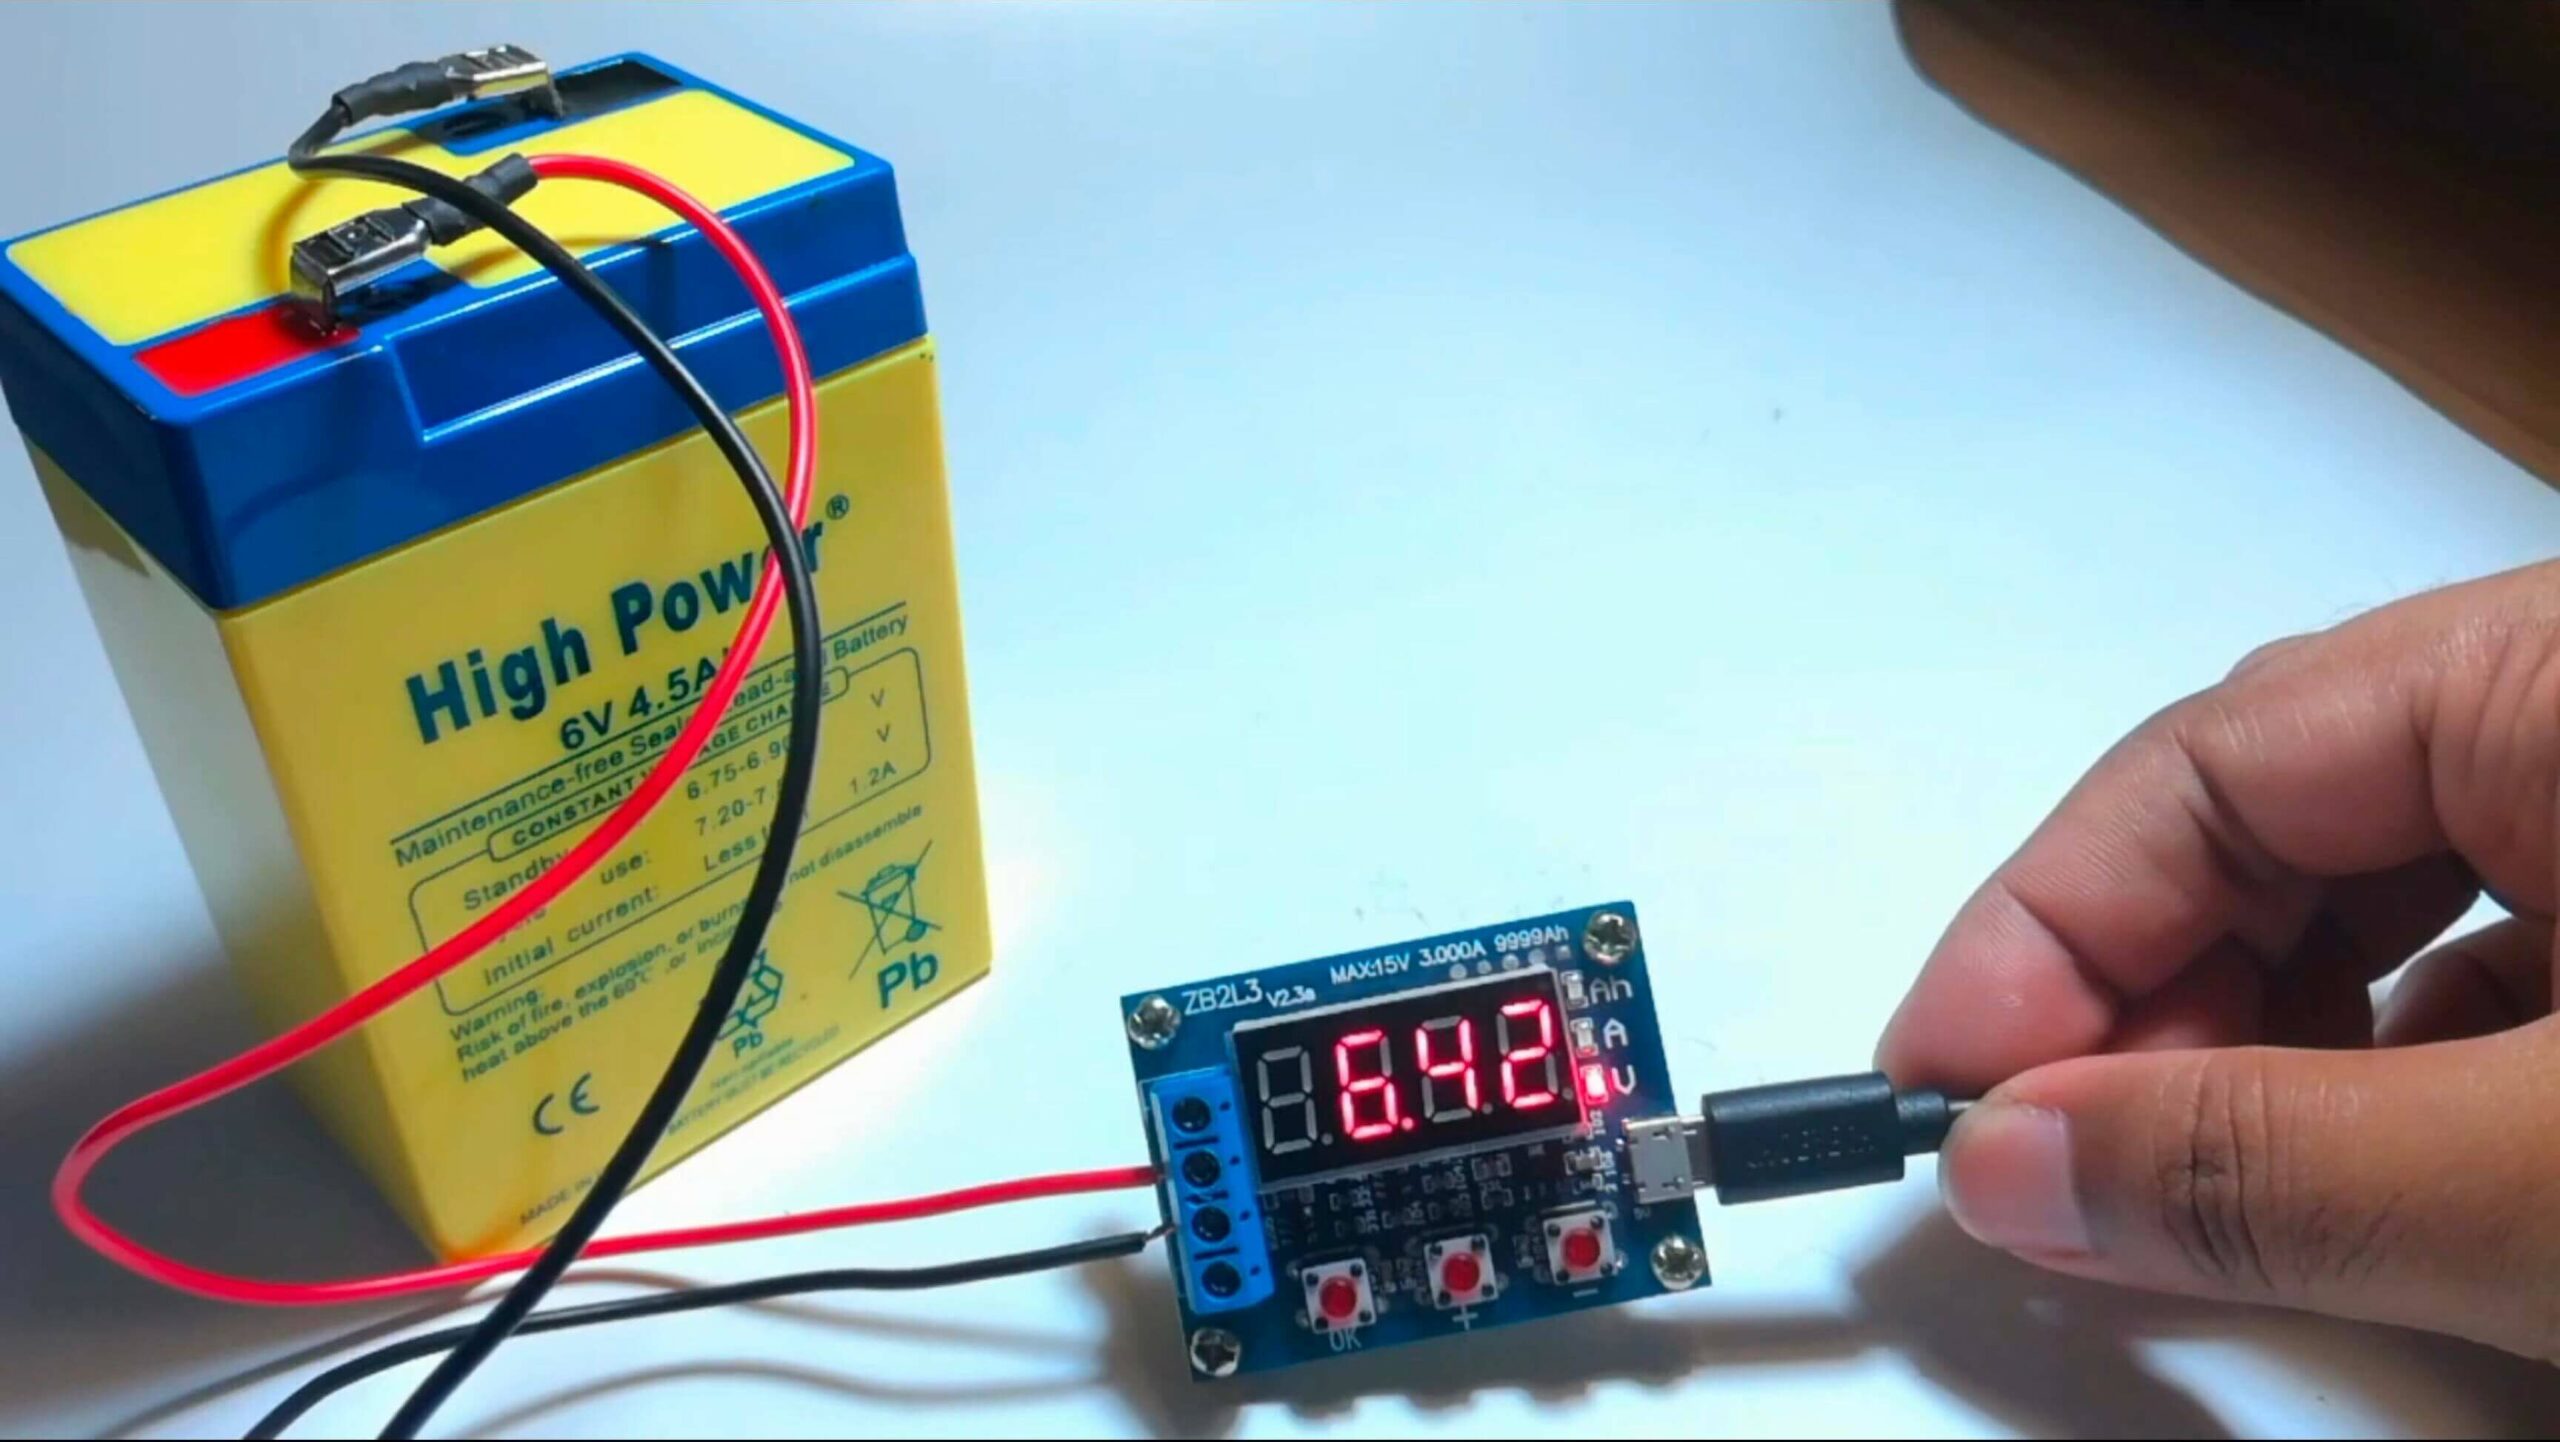
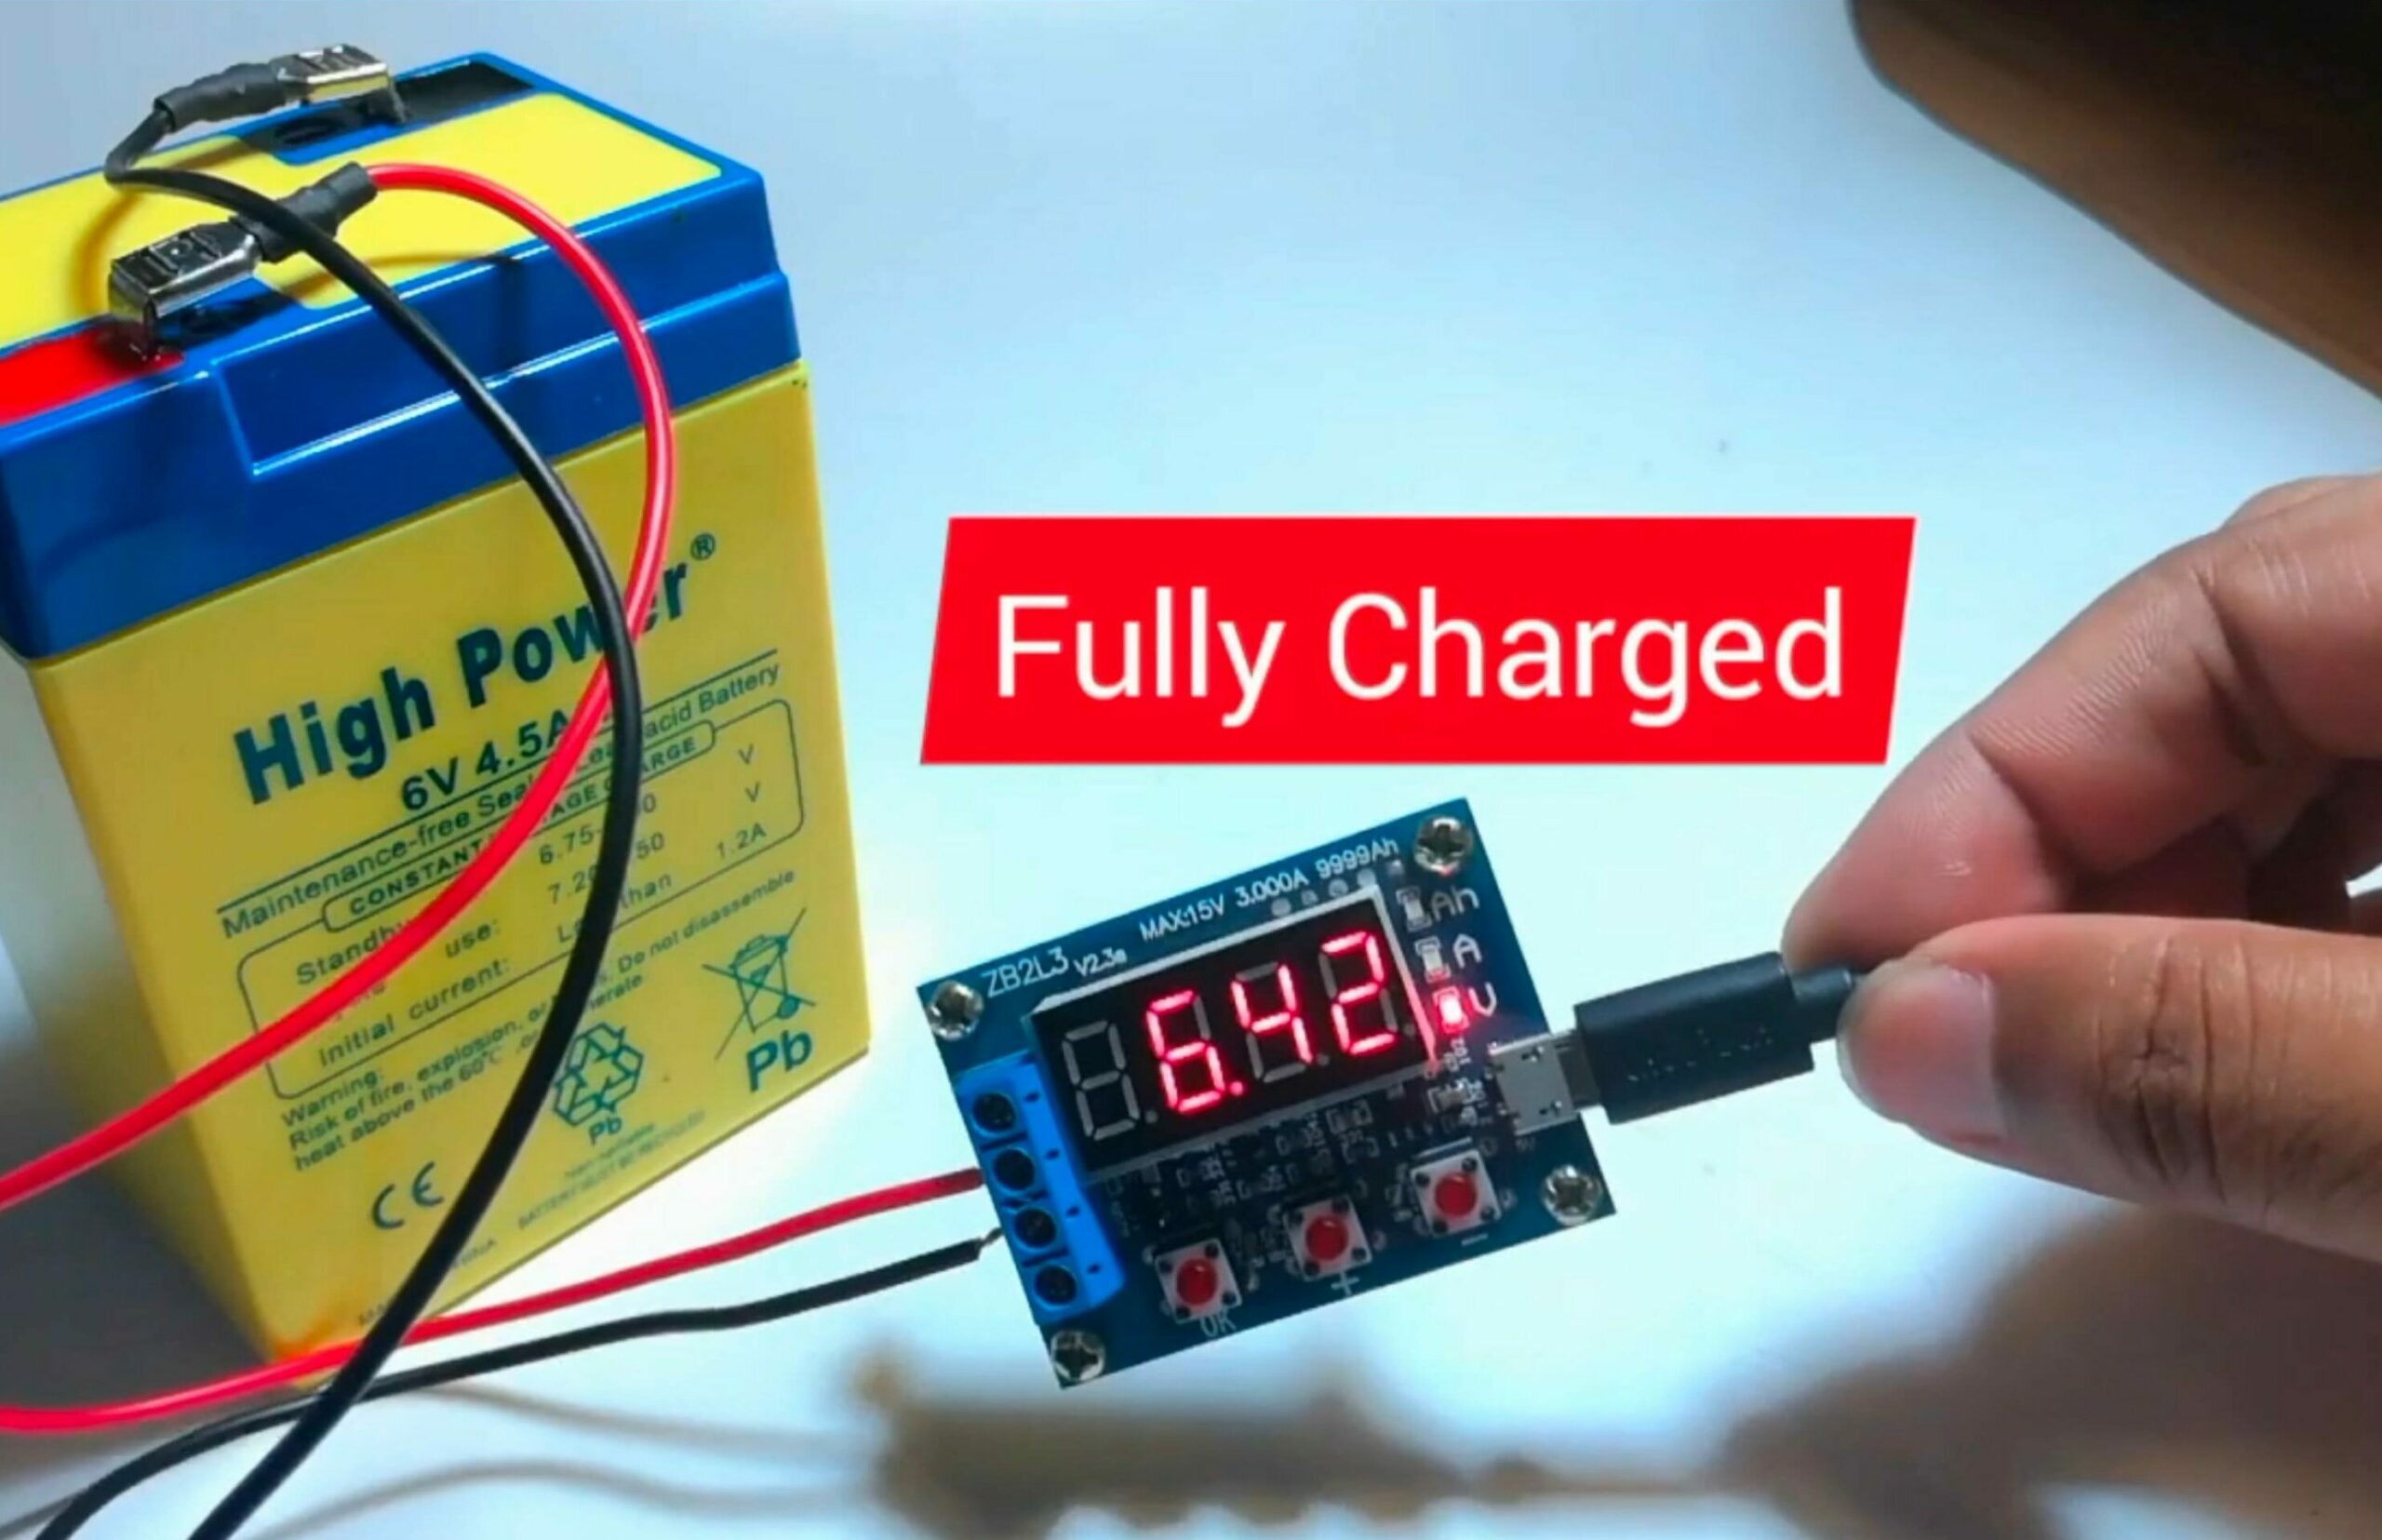
To keep track of a 6-volt battery’s charge level, I recommend using a multimeter. This handy device allows me to measure the voltage and determine if the battery is fully charged. A fully charged 6-volt battery should show a value between 6.3 and 6.4 volts. By checking the voltage, I can easily estimate the battery’s charge state.
A multimeter is a testing device every contractor should add to their toolbox that offer a range of measurement capabilities. For instance, when measuring a 6-volt battery’s voltage, I can also check the charge across each of its three cells. Since each cell has a capacity of about 2.12 volts, this method provides a detailed understanding of the battery’s overall health.
Using a Voltmeter
Besides multimeters, I can use a voltmeter as an alternative to check the voltage of a 6-volt battery. Voltmeters are specifically designed for battery voltage and measurement. Similar to the multimeter, a voltmeter should read between 6.1 and 6.3 volts for a fully charged 6-volt battery.
As I charge the battery, I can also pay attention to the charger’s indicator lights or gauge. Most charger gauges have a needle that sweeps through a charging scale, and some have a series of indicator lights glowing from red to green. When the needle registers fully charged, or if the lights glow green, I know the charging is complete.
By using a multimeter or voltmeter to measure a battery’s voltage and monitoring the charger’s indicator lights, I can effectively manage my 6-volt battery’s charge and ensure its optimal performance.
Battery Maintenance and Longevity
Optimizing 6-Volt Battery Performance and Lifespan
To maximize the performance and lifespan of a 6-volt battery, it’s crucial to adopt the right maintenance practices and understand the intricacies of the recharging process. Proper care can significantly extend the battery’s operational life and ensure it functions efficiently.
Key Maintenance Tips:
- Regular Inspection: Check the battery for signs of damage, leaks, or corrosion.
- Cleanliness: Regularly clean the terminals and connections to prevent potential issues related to poor connections.
- Electrolyte Levels: Monitor these levels and top off with distilled water when necessary. Avoid overfilling and using tap water, as they can damage the battery.
- Recharging Techniques:
- Opt for the trickle charge method, which delivers a low, steady current, allowing a gradual and safe recharge.
- This method is especially beneficial during extended periods of non-use, preventing overcharging or overheating.
- Voltage Monitoring: A fully charged 6-volt battery should read between 6.3 and 6.4 volts. Regularly monitor the voltage to prevent overcharging.
As batteries age, their capacity naturally diminishes. By adhering to regular maintenance, employing the right recharging techniques, and consistently monitoring the battery’s health, you can ensure optimal performance and longevity for your 6-volt battery.
Types of 6 Volt Batteries
Understanding the Different Types of 6-Volt Batteries
6-volt batteries are versatile power sources used in a myriad of applications. Their type determines their performance, lifespan, and suitability for specific tasks. To make an informed decision on the right 6-volt battery for your needs, it’s essential to understand the distinctions between the primary categories.
Types of 6-Volt Batteries:
| Battery Type | Description | Key Features | Common Applications |
|---|---|---|---|
| Lead-acid and SLA | Traditional high-capacity batteries. SLA is a maintenance-free variant. | Stable voltage, durable, reliable performance. | Automotive, renewable energy systems. |
| NiCd and NiMH | Nickel-based batteries with distinct characteristics. | NiCd: High discharge rates. NiMH: Higher energy density, environmentally friendly. | Power tools, electronic devices. |
| Li-ion and Lithium-based | Modern batteries with high energy density. | Lightweight, long lifespan, specific charging parameters. | Electric vehicles, smartphones, portable electronics. |
Insightful Takeaway: When selecting a 6-volt battery, it’s not just about the type but also about the specific demands of your application. While lead-acid batteries might be ideal for heavy-duty tasks, lithium-based ones could be more suitable for portable electronics. Always consider the battery’s performance, lifespan, and charging requirements to ensure you’re making a choice that aligns with your needs.
Charging Specialty Batteries
Guidelines for Charging Specialty 6-Volt Batteries
Charging specialty 6-volt batteries requires a nuanced approach tailored to the specific application. Whether it’s for recreational vehicles, mobility devices, or motorcycles, understanding the unique requirements ensures optimal battery performance and longevity. The following table provides insights into charging 6-volt batteries across different applications.
Charging Procedures for Specialty 6-Volt Batteries:
| Application | Charging Method | Key Considerations | Recommendations |
|---|---|---|---|
| Recreational Vehicles (RVs) | Use chargers designed for 6-volt systems. | Proper connection of positive and negative leads. | Follow manufacturer’s guidelines on charging rates and times. If two batteries are in series, charge simultaneously. |
| Mobility Devices | Use chargers compatible with the specific battery type. | Ensure the device is off before charging. | Adhere to manufacturer’s guidelines and monitor to prevent overcharging. |
| Motorcycles | Employ battery tenders or trickle chargers. | Access battery by removing covers; ensure ignition is off. | Consult owner’s manual for specific charging times and rates. Monitor charging process. |
Concluding Insights: The key to successfully charging specialty 6-volt batteries lies in understanding the specific requirements of each application. By adhering to manufacturer guidelines, ensuring proper connections, and monitoring the charging process, you can optimize battery performance, extend its lifespan, and ensure safety.
What is the best 6-volt battery charger?
Finding the perfect 6-volt battery charger can be a daunting task, especially with the plethora of options available in the market. However, the NOCO GENIUS2 stands out as the ideal budget-friendly charger for this task.
Its advanced technology and user-friendly features make it a top choice for those seeking efficiency and reliability in battery chargers.
 NOCO GENIUS2 6V and 12V Automotive Charger
- Fully-Automatic Functionality: The charger offers a hassle-free experience by automatically detecting battery sulfation and acid stratification, restoring lost performance for stronger engine starts and extended battery life.
- Precision Charging: With its integrated thermal sensor, it detects the ambient temperature and alters the charge to eliminate over-charging in hot climates and under-charging in cold climates.
- Compact and Portable: The NOCO GENIUS2 is designed to be sleek and lightweight, making it easy to carry around and store.
- Versatile Use: Suitable for all types of vehicles, from cars and trucks to boats and lawnmowers, ensuring a wide range of applicability.
- Temperature: Adjusts based on ambient
- Performance: Boosts battery lifespan
- Versatility: Suitable for many vehicles
- Price: Higher than basic chargers
- Design: Compactness may not appeal
In Conclusion
As we conclude our exploration of 6-volt batteries, I trust these insights and tips have been enlightening. Remember, successful recharging hinges on knowledge, safety, and using the right type of hand tools, whether it’s for an old toy or your RV’s lighting.
Key Takeaways:
So, the next time you hold that 6-volt battery in your hand, know that you’re equipped with the expertise to give it the charge it deserves. Here’s to many more powered-up adventures!

