How to Dry Wood Stain Faster: A Detailed Expert Guide
Ever found yourself meticulously staining a piece of wood, only to be left waiting, and waiting… and waiting some more for it to dry?
In a Nutshell:
To dry wood stain faster, consider both method and environment. Utilize natural drying in a well-ventilated, low-humidity area for gentle yet effective drying. For faster results, employ forced air drying with an adjustable oscillating fan, enhancing airflow and evaporation. When urgency is key, apply heat drying using a heat gun or hairdryer to speed up the process significantly. Explore the use of drying agents, tailored to your specific stain type, for a rapid drying solution. Additionally, leverage sun drying as an eco-friendly and efficient method to achieve dryness.
How Long Does It Take for Wood Stain to Dry
While patience is indeed a virtue in woodworking, it’s also essential to know what you’re up against. So, let’s dive deep and unravel the mystery behind drying wood stains.
The drying time for wood stain largely depends on the type of stain you’re using and the conditions of your workspace.
Remember: The type of stain and workspace conditions influence drying time. Always consult manufacturer guidelines. Better to wait a tad longer than risk the finish’s quality.
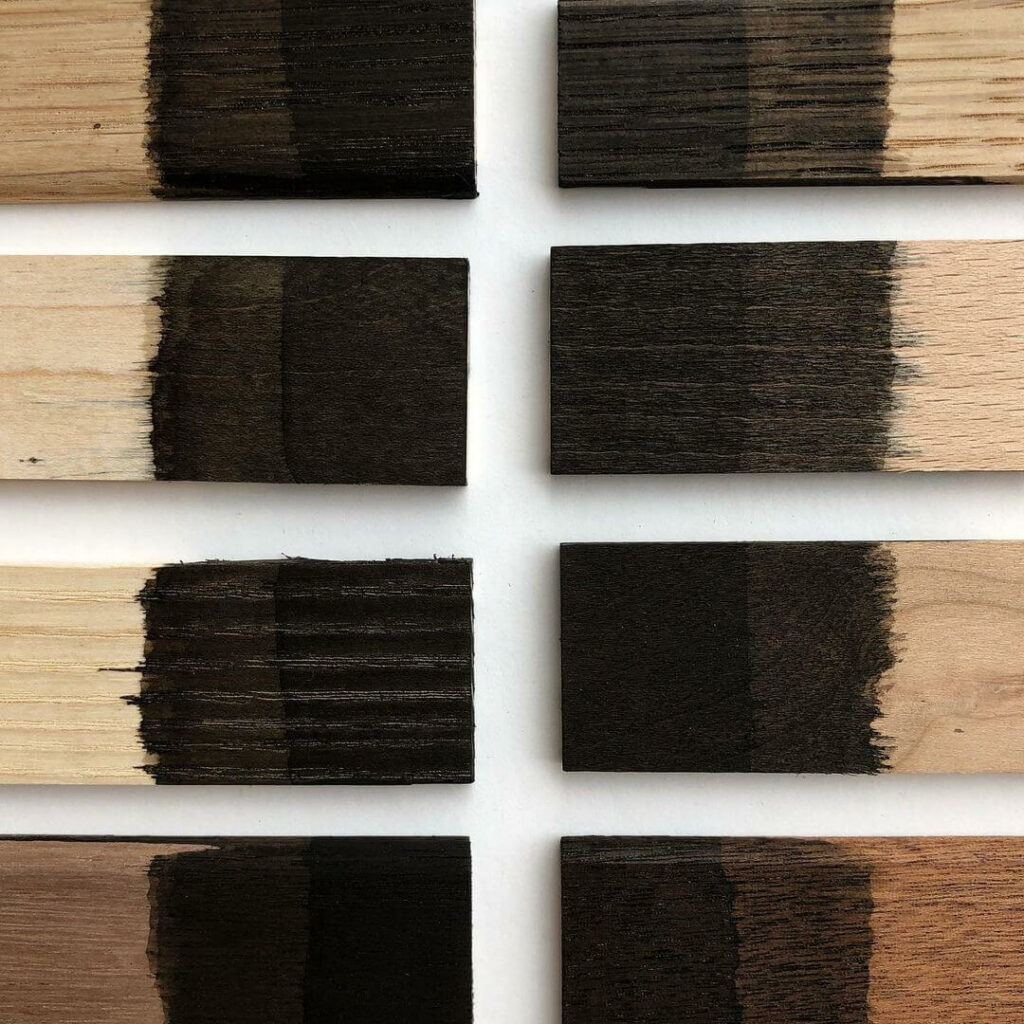
How to Dry Wood Stain Faster: The 5 Best Methods
5 Steps to Natural Air Drying Wood Stain
- Understanding the Benefits of Natural Drying: Natural drying is all about letting the wood stain cure at its own pace. This method ensures that the stain penetrates deep into the wood fibers, giving a rich and long-lasting finish.
- Setting Up in a Well-Ventilated Area: Choose a spot that’s airy and free from humidity. A well-ventilated area ensures that the stain dries evenly and prevents the formation of bubbles or patches.
- Monitoring the Drying Progress: Keep an eye on your stained wood. Touch it gently to gauge its dryness. Remember, it should not feel tacky.
- Protecting the Wood from Dust and Debris: Dust particles can settle on wet stain, ruining the finish. Ensure your workspace is clean, and consider covering the wood with a light cloth if you’re working in a dusty environment.
- Checking for Evenness and Consistency: Once you think the stain has dried, inspect the wood for any uneven patches or areas where the stain might have pooled. If needed, you can lightly sand these areas for a consistent finish.
Precautionary Considerations:
Drying Time: 45 – 60 mins
6 Steps to Forced Air Drying for Wood Stain
- The Rationale Behind Forced Air Drying: Forced air drying is all about leveraging airflow to speed up the evaporation process. By increasing air circulation around the stained wood, you promote faster drying, ensuring a quicker turnaround for your projects.
- Choosing the Right Fan or Blower: Opt for a fan or blower with adjustable speeds. An oscillating fan can be particularly effective as it distributes air evenly across the wood surface.
- Setting Up Your Workspace for Optimal Airflow: Position your stained wood in an open space, ensuring there are no obstructions around it. Place the fan or blower at a distance where it can cover the entire piece but not too close to blow dust or debris onto the wet stain.
- Adjusting Fan Speed for Best Results: Start with a moderate fan speed and adjust as needed. Too much airflow can cause the stain to dry unevenly, so monitor the wood and adjust the fan speed accordingly.
- Ensuring a Dust-Free Environment: Before starting the drying process, clean your workspace thoroughly. Any dust or debris can get blown onto the wet stain, ruining the finish. Consider using a damp cloth to wipe down surfaces and the floor.
- Monitoring and Testing for Dryness: Periodically touch the wood to check its dryness. It should feel smooth and not tacky. If certain areas are drying faster than others, adjust the fan’s position or speed to ensure even drying.
Additional Drying Tips:
Drying Time: 15 – 20 mins
5 Steps to Heat Drying Wood Stain Efficiently
- The Science Behind Heat-Assisted Drying: Heat accelerates the evaporation of solvents in the stain, allowing it to dry faster. By applying controlled heat, you’re essentially speeding up the natural drying process without compromising the quality of the stain.
- Choosing the Right Heat Source: Depending on the size of your project, you can opt for a heat gun or a hairdryer. A heat gun provides intense heat and is ideal for larger surfaces, while a hairdryer offers gentler heat, suitable for smaller projects or delicate wood pieces.
- Applying Heat Evenly Across the Wood Surface: Hold your heat source at a distance of about 6-8 inches from the wood. Move it back and forth, ensuring even heat distribution. This prevents the stain from drying patchy or uneven.
- Monitoring the Wood to Prevent Overheating: It’s essential to keep an eye on the wood as you apply heat. Overheating can cause the stain to bubble or the wood to warp. If you notice any signs of overheating, move the heat source further away or reduce its intensity.
- Checking for a Uniform Finish: Once you’ve completed the heat drying process, inspect the wood. The stain should appear even, and the wood should feel smooth to the touch. If there are any tacky spots, you can apply a bit more heat or let it air dry for a few more minutes.
Precautionary Considerations:
Drying Time: 2 – 5 mins
6 Steps to Using a Drying Agent for Wood Stain
- Introduction to Drying Agents and Their Benefits: Drying agents are specially formulated chemicals that accelerate the drying process of wood stains. They work by promoting faster oxidation and polymerization, leading to quicker curing times.
- Choosing the Right Drying Agent for Your Stain Type: Not all drying agents are compatible with every stain type. Ensure you select one that’s recommended for the specific stain you’re using. Always read the manufacturer’s guidelines.
- Preparing the Wood Surface for Application: Before applying the stain mixed with the drying agent, ensure the wood surface is clean, free of dust, and sanded smoothly. This ensures optimal penetration and even drying.
- Mixing the Stain and Drying Agent as Per Guidelines: In a separate container, mix the wood stain with the drying agent following the manufacturer’s recommended ratio. Stir thoroughly to ensure an even mixture.
- Applying the Mixture Evenly: Using a brush or cloth, apply the mixture to the wood in even strokes. Ensure you work in manageable sections to maintain a wet edge, preventing lap marks.
- Monitoring the Drying Progress: Even with a drying agent, it’s essential to monitor the drying process. Touch the surface lightly to check for tackiness. Remember, the surface might feel dry to touch, but it’s always good to wait a bit longer before applying a protective topcoat or handling the wood extensively.
Precautionary Considerations:
Drying Time: 35 – 45 mins
5 Steps to Sun Drying Wood Stain for Faster Results
- The Benefits of Sun Drying: Sun drying is a time-tested method that relies on the natural power of the sun. It’s not just about letting the wood sit outside; it’s about harnessing the sun’s energy to facilitate the evaporation of solvents in the stain. This method is eco-friendly, cost-effective, and often results in a richer finish due to the gradual drying process.
- Setting Up Your Wood in Direct Sunlight: Choose a location that receives consistent sunlight throughout the day. The area should be free from obstructions like trees or overhangs. Elevate the wood on a platform, such as sawhorses, to ensure airflow from all sides, aiding in even drying.
- Rotating the Wood for Even Exposure: To achieve a consistent dry and color, rotate the wood every 30 minutes. This ensures all sides get equal sun exposure and prevents one side from drying or getting more sun-bleached than the other.
- Protecting the Wood from External Elements: While the sun is a great drying agent, other elements like rain, wind, or debris can be detrimental. If there’s a sudden change in weather, be ready to move the wood indoors or shield it. Also, ensure the drying area is free from falling leaves or dust that could stick to the wet stain.
- Checking for a Consistent and Dry Finish:After the sun drying process, touch the wood. It should be dry, not tacky. Look for any uneven patches or areas that might need more drying time or a second coat of stain.
Precautionary Considerations:
Drying Time: Approximately 3 hours
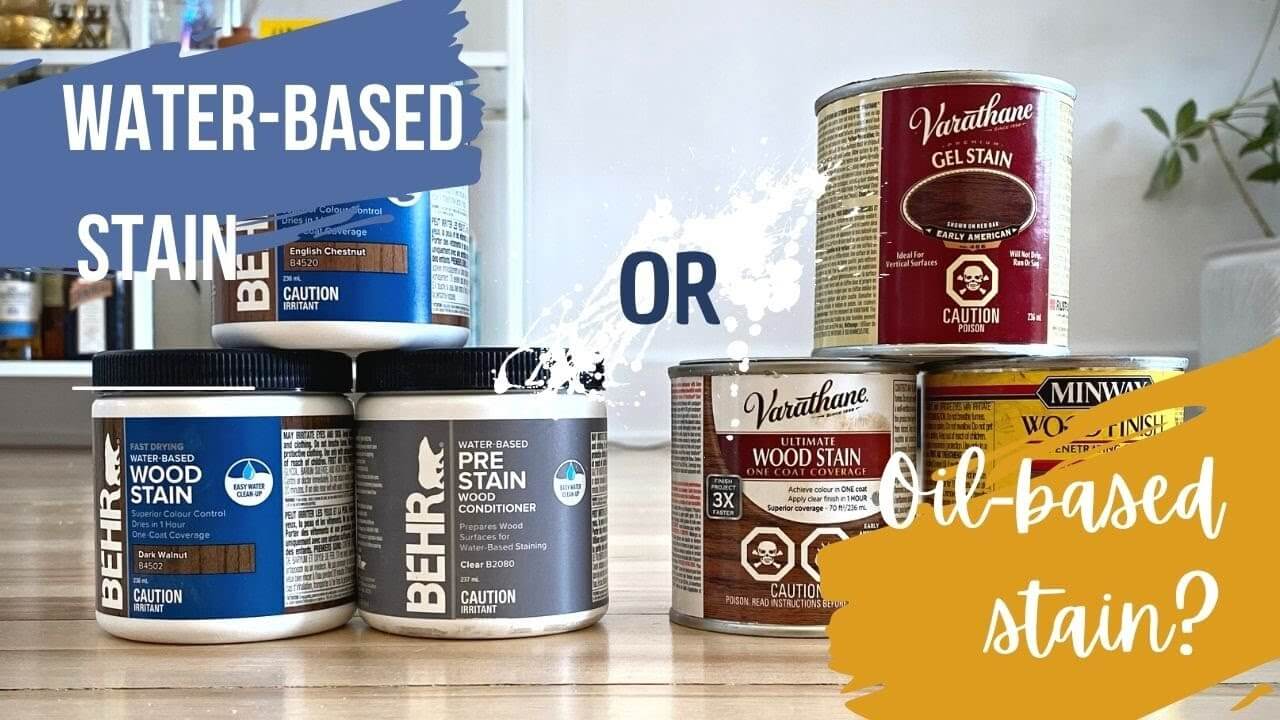
Oil-Based Stains Vs. Water Based for Staining Wood
When choosing a stain for wood, one of the primary considerations is the drying time. Both oil-based and water-based stains have their advantages, but they differ significantly in how long they take to dry. Here’s a breakdown:
Oil-Based Stains:
- Drying Time: Oil-based stains generally take longer to dry than water-based stains. Depending on the brand, environmental conditions, and the thickness of the application, it can take anywhere from 24 to 48 hours for an oil-based stain to dry to the touch. For it to cure completely, it might take several days.
- Advantages: Despite the longer drying time, many professionals prefer oil-based stains because they penetrate deeper into the wood, providing a richer color and longer-lasting finish. They also tend to be more durable against wear and tear.
Water-Based Stains:
- Drying Time: Water-based stains dry much faster. In optimal conditions, they can dry to the touch within a couple of hours. However, for a full cure, it’s still recommended to wait at least 24 hours before subjecting the wood to heavy use.
- Advantages: Water-based stains are easier to clean up (you only need soap and water), have a lower odor, and are more environmentally friendly. They also offer a broader range of colors since they can be easily mixed.
Recommended Drying Process for Oil-Based Wood Stains:
Oil-based stains generally require more time to dry than their water-based counterparts. Here’s a suggested process:
- Apply the stain evenly using a brush or cloth.
- Allow it to penetrate the wood for about 5-15 minutes.
- Wipe off any excess stain using a clean cloth.
- Let the wood dry for at least 24 hours in a well-ventilated area before applying any finish or topcoat.
Gel Stains:
Gel stains have a thicker consistency compared to traditional liquid stains. They’re excellent for vertical surfaces or woods with a tight grain where penetration can be challenging. They provide a more even finish and are less likely to drip.
Recommended Drying Process for Water-Based Wood Stains:
Water-based stains dry faster due to their composition. Here’s a general guideline:
- Apply the stain using a brush, roller, or cloth.
- Let it sit for about 2-5 minutes.
- Wipe off excess stain with a clean cloth.
- Allow the wood to dry for 2-6 hours before applying a finish. However, drying times can vary based on humidity and temperature.
Dye Stains:
Dye stains are different from pigment-based stains. They consist of small molecules that penetrate deep into the wood, offering vibrant and clear colors. They’re perfect for highlighting the natural grain of the wood.
Does Wood Stain Dry Faster in Heat or Cold?
The drying time of wood stain is influenced by various factors, and temperature is one of the most significant. Here’s a breakdown of how temperature affects the drying process:
- Heat and Warm Temperatures:
- Pros: Warm temperatures accelerate the evaporation of solvents in stains, which can speed up the drying process. The molecules in the stain move faster in heat, allowing the stain to set and dry more quickly.
- Cons: Excessive heat or direct sunlight can cause the stain to dry too quickly, leading to an uneven finish or the formation of bubbles on the wood surface.
- Cold and Low Temperatures:
- Pros: Cold temperatures slow down the drying process, which can be beneficial if you want to ensure an even coat and have more working time with the stain.
- Cons: The stain might not set properly if it’s too cold, leading to a tacky finish. It can also extend the drying time considerably, delaying your project.
- Humidity:
- It’s essential to consider humidity along with temperature. High humidity can prolong the drying time of wood stains, regardless of whether it’s hot or cold. On the other hand, low humidity can aid in faster drying.
Note: While warm temperatures generally help wood stain dry faster, it’s crucial to avoid extreme heat or direct sunlight. Cold temperatures can slow down the drying process, so it’s best to stain wood in a moderate temperature range. Always check the deck stain manufacturer’s recommendations for optimal staining conditions to achieve the best results.
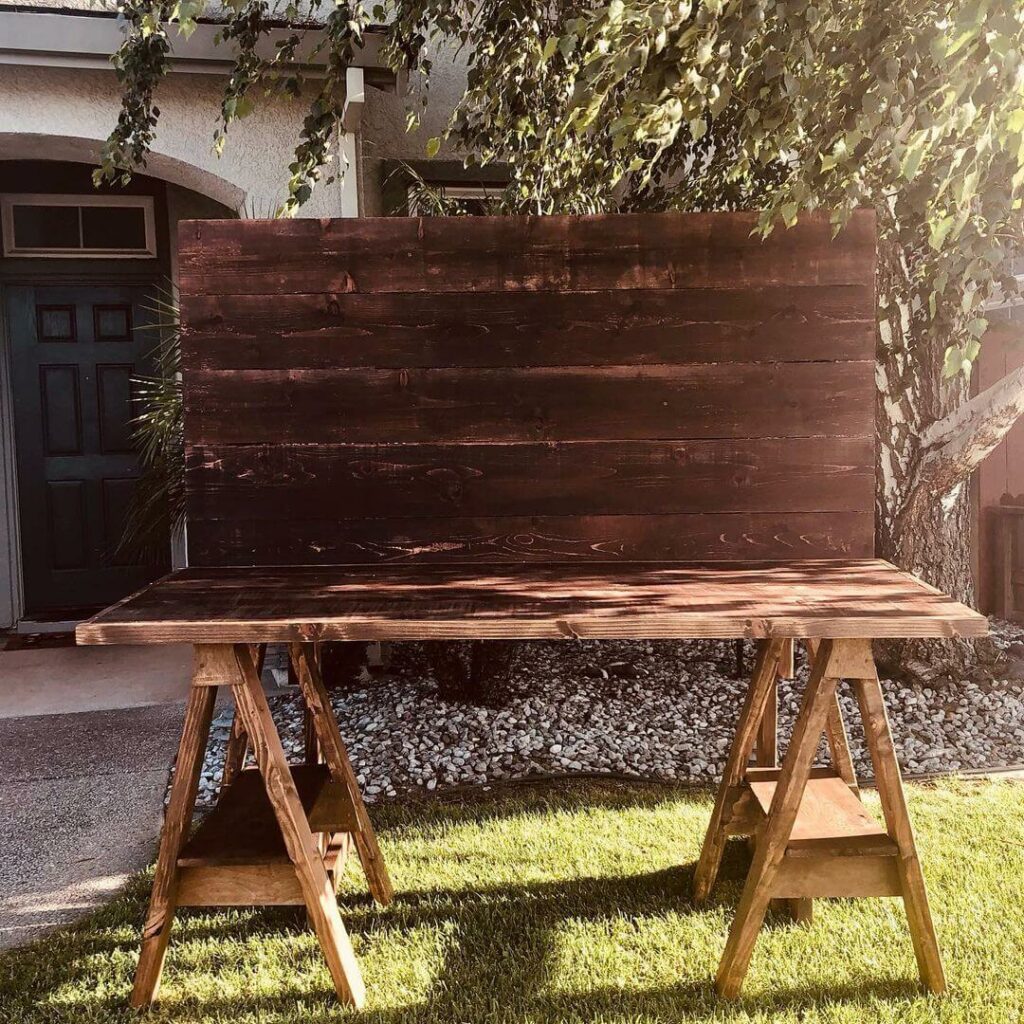
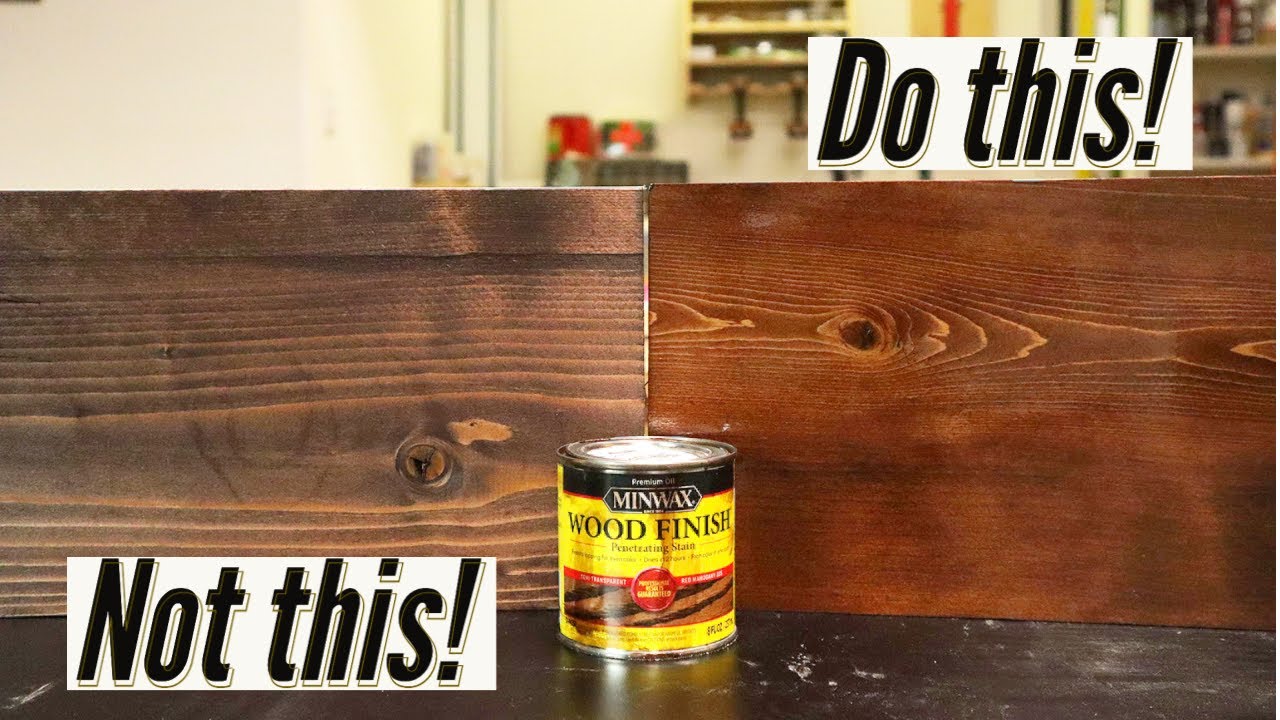
Do Stains Dry Lighter or Darker?
When working with wood stains, one of the most common questions is whether the stain will dry lighter or darker than when it’s first applied. Here’s what you need to know:
- Initial Appearance:
- When you first apply a stain, it may appear darker due to the wetness and the concentration of the pigment or dye. The wood absorbs the liquid components, which can make the color seem more intense initially.
- Drying Process:
- As the stain dries, the solvents or water in it evaporate, leaving behind the pigments or dyes. Depending on the type of stain and the wood’s porosity, the final color can either lighten or darken. However, in most cases, stains tend to dry slightly lighter than their wet appearance.
- Factors Influencing the Final Color:
- Wood Type: Different woods absorb stains differently. Softer woods like pine tend to absorb more stain, which can result in a darker finish. Hardwoods like oak might not absorb as much, leading to a lighter appearance.
- Stain Type: Oil-based stains often dry darker than water-based stains. Gel stains, due to their thicker consistency, might also result in a darker finish.
- Number of Coats: Applying multiple coats of stain can darken the final color. It’s essential to wait for the first coat to dry completely before adding another.
- Testing is Key:
- To avoid surprises, always test the stain on a scrap piece of the same wood or an inconspicuous area. This will give you a clear idea of the final dried color.
While many stains tend to dry slightly lighter than when wet, several factors can influence the final color of dye stain. It’s always best to test beforehand to ensure you achieve the desired finish.
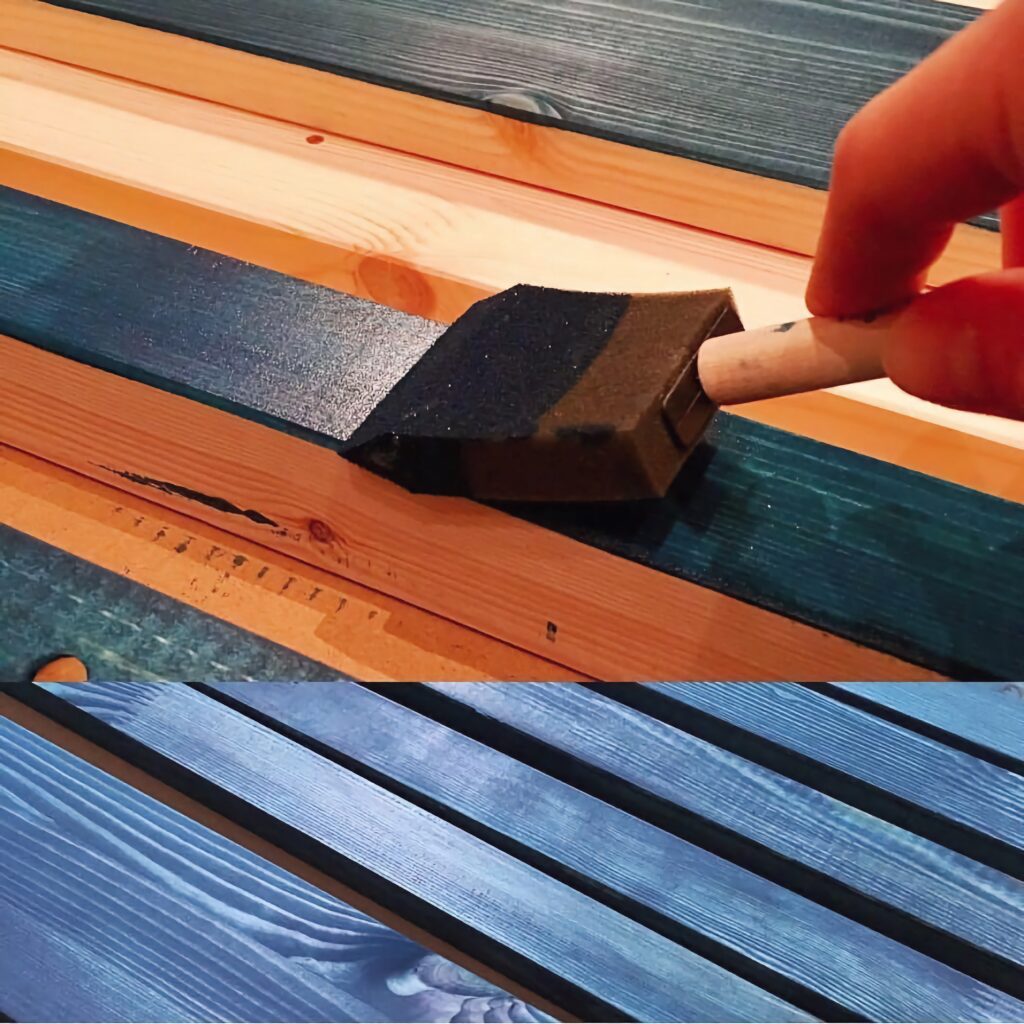
Can You Put Polyurethane Over Wood Stain?
Absolutely! Applying polyurethane over wood stain is a common practice in woodworking and furniture finishing. Here’s why and how you can do it:
- Purpose of Polyurethane:
- Polyurethane serves as a protective topcoat. It shields the stained wood from wear, tear, moisture, and other environmental factors. It also enhances the wood’s appearance by adding a glossy or satin sheen, depending on the type of polyurethane used.
- Compatibility:
- Most wood stains are designed to penetrate the wood’s surface, altering its color without leaving a film on top. This makes it easy for polyurethane to adhere to the stained wood, ensuring a durable finish.
- Steps to Apply Polyurethane Over Stain:
- Wait for the Stain to Dry: Before applying polyurethane, ensure the stain is completely dry. Depending on the type of stain and environmental conditions, this can take anywhere from a few hours to a couple of days.
- Prepare the Surface: Lightly sand the stained wood with fine-grit sandpaper (220-grit or higher) to ensure a smooth surface. This step also helps the polyurethane adhere better.
- Clean the Surface: Wipe off any dust or debris using a tack cloth or a soft cloth dampened with mineral spirits.
- Apply the Polyurethane: Using a good-quality brush or foam applicator, apply a thin coat of polyurethane in the direction of the wood grain. Avoid over-applying, as this can lead to drips or an uneven finish.
- Additional Coats: Depending on your desired level of protection and finish, you might want to apply additional coats. Always sand lightly between coats and clean the surface to ensure a smooth finish.
- Types of Polyurethane:
- There are mainly two types: water-based and oil-based. Water-based polyurethanes dry clear and are less odorous, while oil-based ones can add a slight amber hue to the wood but are more durable.
Note: Applying polyurethane over wood stain not only enhances the beauty of the stained wood surface but also provides a protective barrier against external elements. Ensure you choose the right type of polyurethane for your project and follow the application steps for the best results.
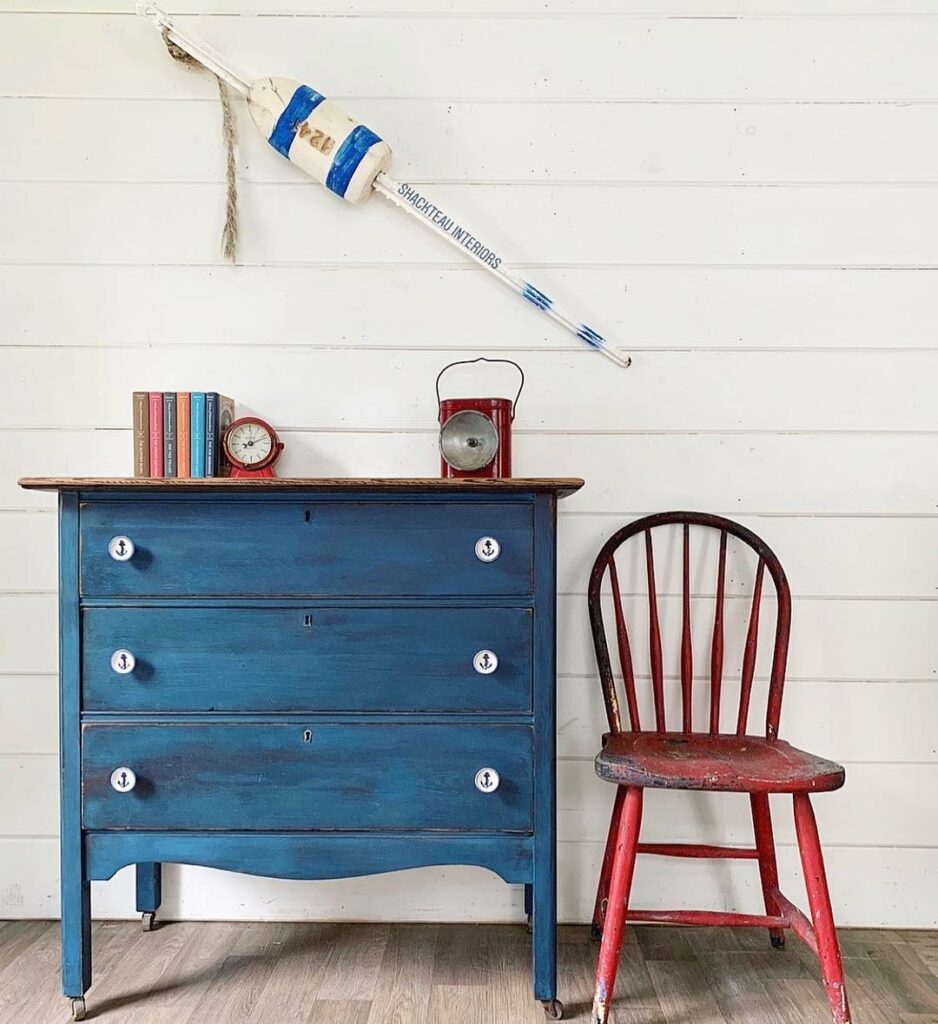
How Do You Dry Tacky Wood Stain?
Tackiness can be a woodworker’s nightmare, especially when you’re aiming for that perfect finish. But why does wood stain become tacky in the first place?
1. Understand the Causes of Tacky Stain:
- Humidity’s Role: At a molecular level, wood stain dries as the solvents in it evaporate. High humidity levels in the environment can slow down this evaporation process. Think of it as trying to dry your clothes on a rainy day; they just don’t dry as fast because the air is already saturated with moisture.
- Old Stains: Stains that have been sitting on the shelf for a long time might have undergone some chemical changes. This can affect their consistency and drying time, leading them to remain tacky longer than expected.
2. Wipe Off Excess Stain:
Gently wipe off any excess stain using a clean cloth. This not only speeds up the drying process but ensures an even finish.
3. Increase Ventilation:
As mentioned, stain dries as its solvents evaporate. By increasing ventilation, you’re facilitating this evaporation process, helping the stain dry faster.
4. Allow Extended Drying Time:
Sometimes, all the stain needs is a bit more time. Be patient and give it an additional 12-24+ hours to fully cure.
5. Reapply a Thin Layer:
If the stain remains tacky after extended drying time, consider applying a thin layer of fresh stain. This can sometimes reactivate the tacky stain beneath the thin coats, allowing for a more uniform drying process.
Alternative Solutions:
- Solvents and Thinners: If you’re dealing with an oil-based stain, mineral spirits or paint thinners can be used to remove the tacky layer. For water-based stains, a damp cloth can help. Always test a small area first to ensure it doesn’t affect the color or finish.
- Sanding: If all else fails, lightly sanding the tacky area and then reapplying a thin layer of stain can resolve the issue.
Precautionary Considerations:
- Dirt and Debris: A tacky stain can act like a magnet for dust, dirt, and other airborne particles. If not addressed, these can become permanently embedded in the finish, ruining the smooth look you’re aiming for.
- Long-term Issues: Leaving the stain tacky can lead to problems down the road. It might not set properly, leading to uneven wear, vulnerability to water damage, or issues when applying protective finishes like polyurethane.
How to Remove Excess Stain That Has Dried?
There’s a certain art to staining wood, and sometimes, even the best of us can end up with a bit more stain than we’d like. Whether it’s a blotch that dried before you could wipe it away or an entire section that’s darker than the rest, dried excess stain can be a real eyesore.
But don’t fret; with a bit of patience and the right techniques, you can get your wood piece looking pristine again. Dive into this step-by-step guide to master the art of removing that stubborn dried stain.
- Safety First:
- Always wear gloves and protective eyewear.
- Work in a well-ventilated area to avoid inhaling fumes from solvents or strippers.
- Test a Small Area:
- Before diving in, test your removal method on a small, inconspicuous area of the wood to ensure it doesn’t cause damage.
- Use a Stain Stripper:
- If sanding doesn’t do the trick, consider using a stain stripper.
- Apply the stripper according to the manufacturer’s instructions.
- Let it sit for the recommended time.
- Use a plastic scraper to gently remove the loosened stain. Avoid metal scrapers as they can damage the wood.
- Clean the Surface:
- After removing the excess stain, clean the surface with mineral spirits or another suitable wood cleaner. This step will remove any residue left behind by the stripper.
- Sanding:
- If the stain is only slightly over-applied, you might be able to remove it by sanding. Use a fine-grit sandpaper and sand the area gently. Remember, the goal is to remove the stain, not the wood.
- Neutralize the Stripper:
- Some stain strippers require neutralization. If yours does, use a solution of water and baking soda. This step is crucial as any leftover stripper can interfere with the re-staining process.
- Re-stain if Necessary:
- If you’ve removed more stain than intended, you might need to re-stain the wood to achieve a uniform look.
Note: While dried excess stain can be a nuisance, with patience and the right approach, you can restore your wood piece to its desired look. Remember, the key is to work slowly and methodically, and always prioritize safety.
In Conclusion: How to Make Stain Dry Faster
Navigating the world of wood staining can feel like a dance, balancing patience with eagerness to see the final result.
Key Takeaways:
Remember, it’s not just about speed; it’s about preserving the wood’s integrity and beauty. As you embark on your next DIY woodworking adventure, keep these tips close to heart. With a bit of knowledge and a dash of patience, you’ll master the art of staining in no time. Happy woodworking!

