How to Square a Board With a Table Saw
Not every piece of wood is sold squared. Sometimes the edges are way off that clean 90° angle that you need for square edges.
If you haven’t got a fully equipped workshop, you might be cursing yourself and the boards in question with rough-looking edges.
But, before breakout into belligerent song and dance and kicking the nearest inanimate object in your vicinity, take a breath. Gladly, you do have options when it comes to squaring a board, and if you have a cabinet table saw, you have a surefire way to square your boards.
So let’s get to the exact step-by-step process for using a table saw to effectively square a board.
What You’ll Need to Square a Piece of Lumber
Obviously, you’re going to need a table saw for squaring a board like a woodworking pro. But, apart from the table saw itself, there are a few more things you’ll need if you want sublime straight edges.
For safety, you should also make sure you have the following:
How Do You Square a Piece of Lumber?
Simply put, a board is square if all four corners are at a 90° angle. If the corners are 90°, then the edges will run perfectly straight.
To square or true-up a board, as it’s sometimes called, you need to get one straight edge. With this edge straight, you can square off the rest of the edges.
Of course, the difficulty arises if you have a board where all edges are off. If your board doesn’t have a single square edge, you’ll need to use something else as a reference edge.
Start By Checking for Squared Edges

Before you start up the table saw, you’ll need to check the edges. Ideally, one of the edges will be square, and you can go from there.
To check if an edge is square, you simply need a flat surface. This could be your rip fence, your table, and or a carpenter’s square if you have one.
Grab the piece of questionably straight lumber, and try each of the edges against your true flat surface. You’re looking for an edge that sits flush with the straight edge.
Once you’ve established a straight edge, you can now move forward following our step-by-step guide.
Method 1: Using a Table Saw to Square a Board With Scrap Wood
Before you fire up the table saw in an attempt to cut and craft superb straight edges so that your future woodworking projects are constructed to perfection, think safety first. Make sure you always wear your safety goggles and ear defenders on before starting up your table saw.
Alright, so this method assumes that none of the edges of your board are straight. If you have one straight edge, you can simply skip ahead to step 8. Although, I recommend you read over these steps first if you’re even slightly uncertain.
Step 1
Select some scrap wood that has at least one straight edge. Plywood is ideal. It’s not too thick and generally easy to move around. You want a board that is at least as long as the board you are trying to square.
Step 2
Position the board to be squared on top of the scrap wood. The straight edge of the scrap wood is going to rest against the rip fence. The board should be on the opposite edge and overhang by a few centimeters.
Step 3
Screw the board to the scrap wood. Keep the screws away from the cutting edge as you don’t want your table saw blade ripping through a screw.
Step 4
Screw the board to the piece of scrap wood and place the straight edge of the scrap wood firmly against the rip fence.
Step 5
Adjust the rip fence so that the board will be pushed through the blade. You’ll want to position it so that any defects are removed thus leaving a straight edge.
Step 6
Keeping your hands clear of the blade, push the wood and board through the saw. Use push blocks where necessary.
Step 7
Now turn off your table saw and unscrew your board from the wood, and clear the table saw of any sawdust and or clutter.
You now have a board with one straight edge. You can check the edge with your carpenter’s square to be sure. This edge is going to become your reference edge.
Step 8
Place your board with the straight edge against the rip guard and adjust the rip guard to the desired width of your board.
Step 9
Now, safely using a push block or push stick (not your free hand) push the board into the saw blade until you’ve made a clear pass.
At this point, both long edges are now straight and square. Now we need to deal with the shorter edges.
Step 10
Screw the board back onto the wood. This time, position it so the short, unsquared edge is facing toward the blade.
Step 11
Again, place the board against the fence and push the board through the blade using a push block. Once you’ve made your cut, simply unscrew the board.
Step 12
Place the now square short edge against the rip fence and adjust it accordingly until you get the desired length. Grab your push stick and pass the board through the table saw blade clearly, and turn off your table saw.
You should now have a square board. Check the angles using a carpenter’s square to be sure. This method is ideal if you don’t have a miter gauge for your table saw. The next method we’ll be discussing will show you how to square a board using a miter gauge on your table saw.
Method 2: Using a Table Saw to Square a Board With a Miter Gauge
Step 1
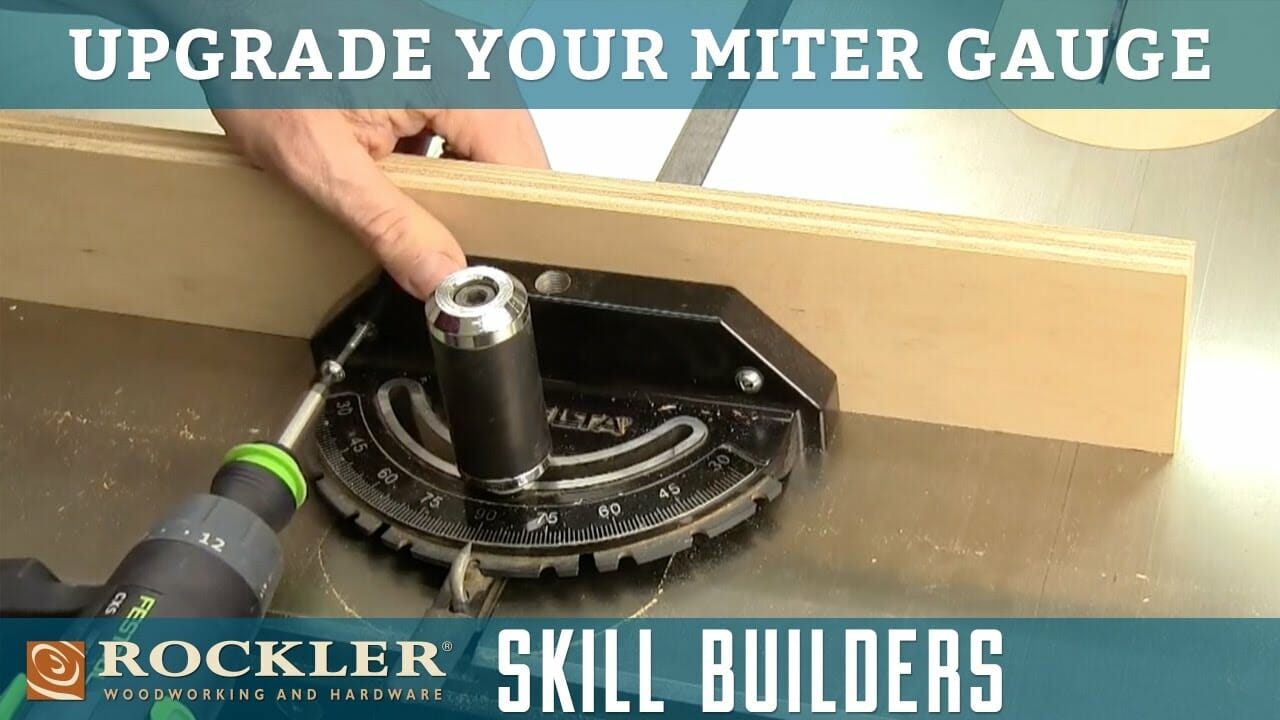
Set your miter gauge to 90° and clamp your board to it. You’ll want to position the board so that it will pass through the blade removing any defects.
Step 2
Put on your protective safety gear, clear and clean off your table saw of any offcuts, adjust your rip fence, and start up the saw.
Step 3
Push the board into the saw using the miter gauge. The gauge moves along the miter slot, which is a straight line. This will cut a straight edge.
Step 4
Remove the board and place the now straight edge against the rip fence, adjusting the rip fence to the desired width.
Step 5
Push the board into the saw using either a push block or a push stick at a steady pace letting the blade do the work.
At this point, you should now have two straight long edges. Use a carpenter’s square to check.
Step 6
Place the board into the miter gauge again. This time position the board so that the shorter non-squared edge will pass through the blade.
Step 7
Now just push the board through the blade using the miter gauge, and once you’ve made your cut, you can remove the board from the gauge.
Step 8
Next, place the now straight short end against the rip fence and adjust the rip fence to the desired length. Push the board through the table saw blade safely using a push stick or block until you’ve made a complete pass.
And there you have it! Perfectly squared boards using a miter gauge.
Most table saws will have a miter slot for a gauge to fit. If you have the slot but not a gauge you could use a joiner’s sled.
Essentially, this is a piece of wood that fits into the channel and uses clamps to hold another piece of wood to it.
How Do You Square the Edge of a Board?
The secret to squaring up a board lies in that reference edge. You need at least one straight edge to get going. If the board you’re using doesn’t have a square edge, you’ll need to find a square edge somewhere else.
The square edge is crucial because it needs to run along the rip fence. If you run an uneven edge along the rip fence, you will get an uneven cut.
If you don’t have a scrap bit of wood with a straight edge or a miter saw you can try to cut a straight edge by sight.
You’ll need to use a carpenter’s square to measure the 90° angle. You’ll need to place the square onto your board. Don’t rest it against an edge if you know they’re not square.
Once you’ve placed it on top, use a pencil to mark the corner. Extend the lines as far as you can with the square.
You need to extend that line-up across the length and width of the board. However, you need to keep the line square and straight. This is the difficult bit. Use a ruler, laser, or line to help you keep the square line.
Once your line is drawn you need to cut along it with your table saw. Make sure you use push blocks to keep your hands away from the blade.
In Conclusion
You might be tempted to think that a few degrees out won’t harm. This might very well be the case. However, you don’t want to get to the end of your project and realize that things aren’t lining up because your boards aren’t dead square.
It’s one of the most frustrating things in the world. Take my word for it!
It’s much better to get those cuts square from the get-go to save you time and effort. After all, it’s not a massively difficult job, and if you own a table saw with some basic hand tools, squaring a board using a table saw will be super easy.


