How to Change a Table Saw Blade
It is important to change the blade on your table saw regularly to keep you safe and maintain a high-quality level of work.
The blades will inevitably wear out and become dull through use and will need replacing. If you switch the material you are working with, you will need to switch the blades as well.
It is important to know how to change the blades safely and efficiently. This article will take you through the steps for changing the blades. We will also tell you how to clean your table saw correctly.
What Are the Types of Table Saw Blades?
There are 4 main types of table saw blades – combination, crosscut, ripping, and composite. Each of these blades has its ideal use case and should be utilized depending on the material you’re planning on cutting.
- Combination blades – are the most common and measure 10 inches. They have anywhere from 32 to 50 teeth and can handle all tasks.
- Crosscut blades – have between 80 and 90 teeth. They are designed to cut fine and precise cuts across the grain of the wood. This will generate a lot of sawdust, so ensure you are wearing eye protection when using these blades.
- Ripping blades – are designed to cut in the direction of the grain. They have anywhere from 24 to 30 wide teeth. They are ideal for use on natural wood.
- Composite blades – are usually found with 60 teeth and are better suited for use on man-made materials. They are also known as multi-purpose blades.
The good news is that either of these blades mentioned is relatively cheap, and if they are used correctly (on the right materials), purchasing several for any future projects is very much cost-effective.
Which Blade Is Best Suited to Each Material?
What Do You Need to Change a Table Saw Blade?
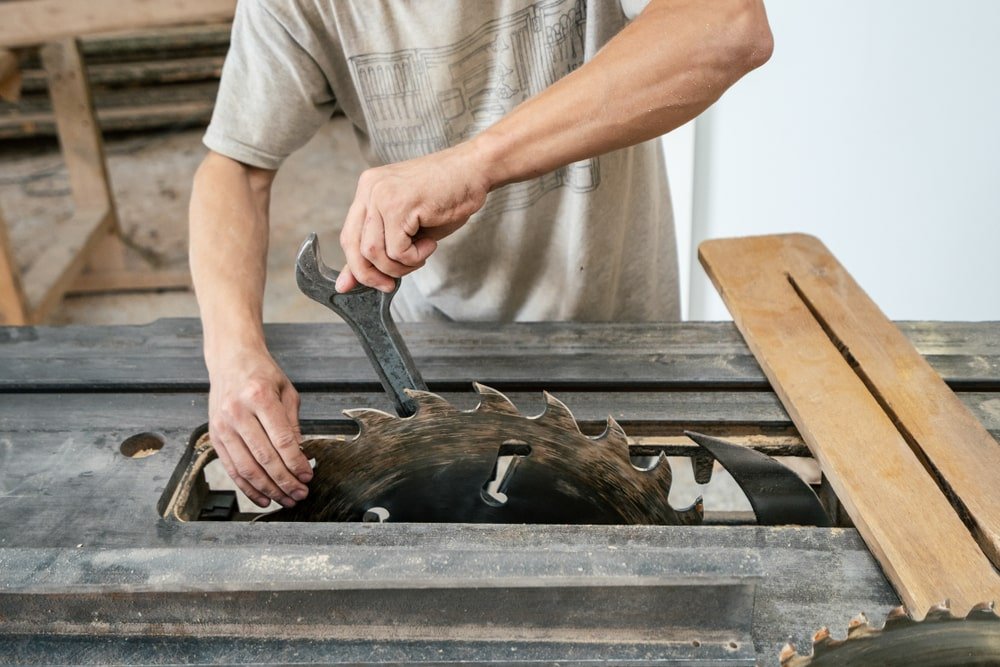
One of the most important things that you need to change a table saw blade is an adjustable wrench, or even better, a decent torque wrench with the correctly sized socket.
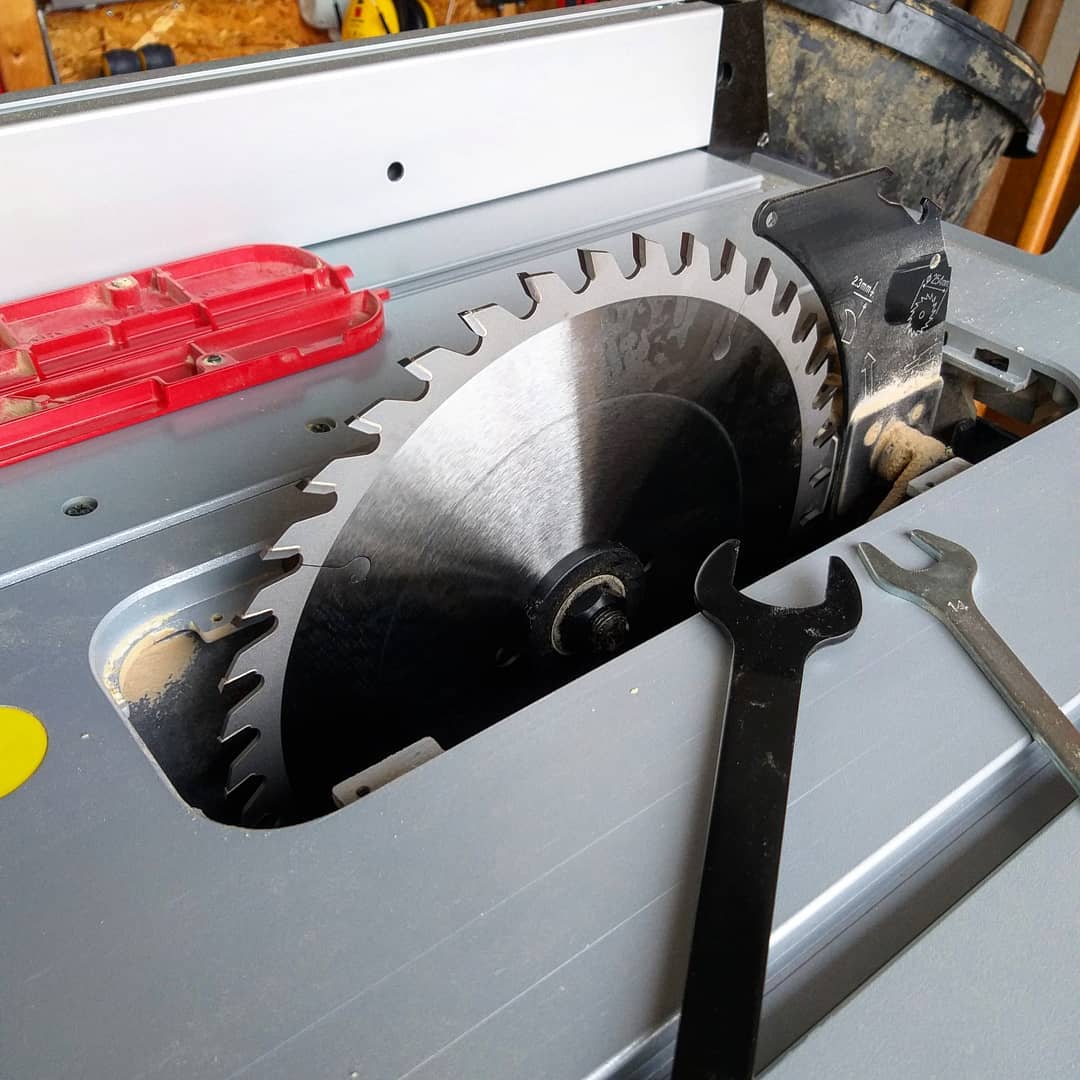
Although, your table saw may actually come with a basic wrench built-in to immobilize the blade as you loosen the arbor nut. If it doesn’t, you will need a pair of wrenches or an adjustable wrench and a torque wrench.
Ideally, you’ll want to get your hands on the recommended hand tools, but if you don’t have 2 wrenches, you can always use a block of wood to immobilize the blade as you loosen the arbor nut.
If you have a blade lock, you can pop this on the top of the blade to prevent it from turning as you loosen the nut. This will protect your hands from being cut by the blades.
Some table saws will have a special function that locks the arbor. This will prevent the blade from rotating as you unscrew the nut. They are commonly found on smaller saws.
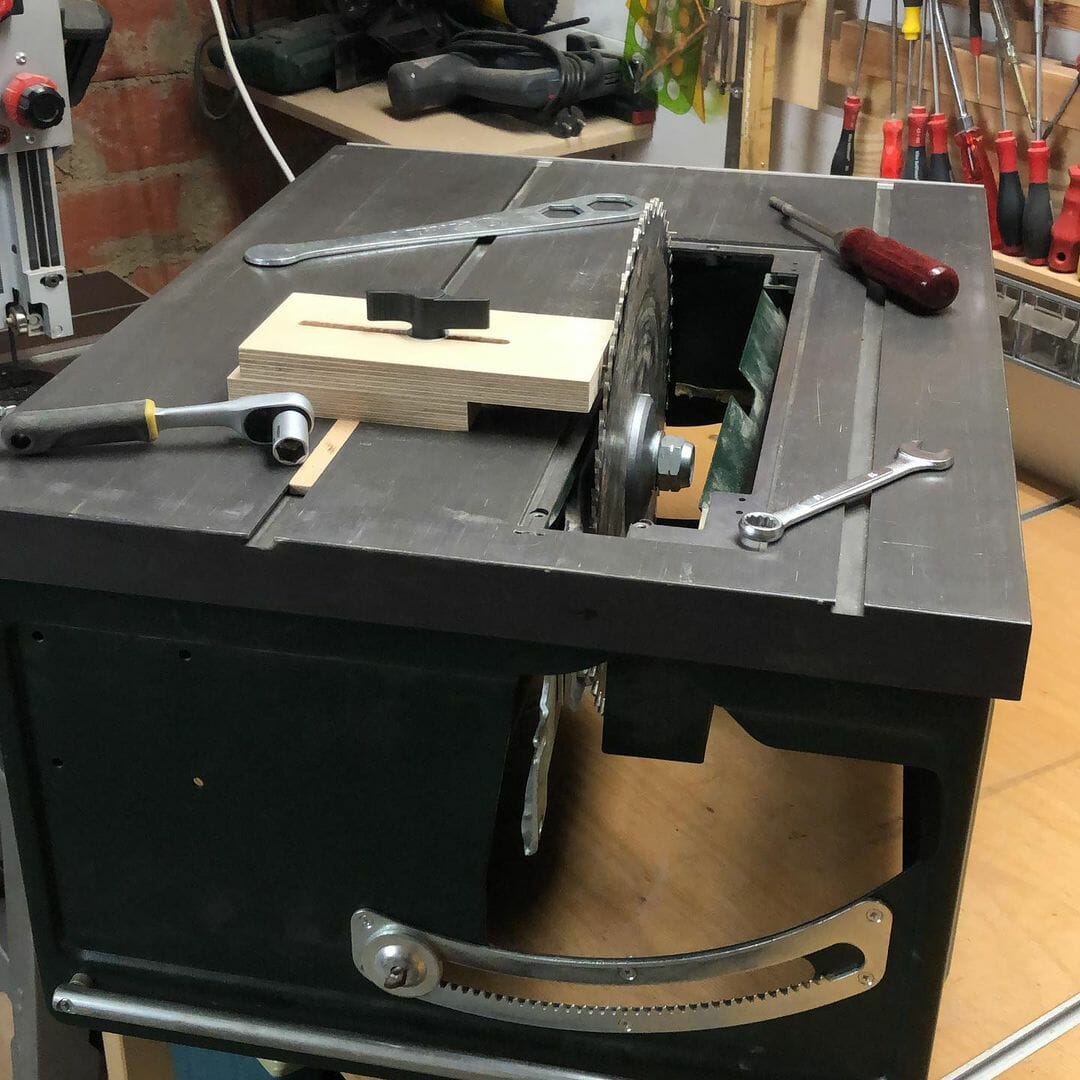
How Do You Change a Table Saw Blade?
Captain obvious here, but the first thing you’ll want to do here before changing the blade on your table saw is to disconnect the power source from the table saw.
This will be beneficial, so you don’t end up having to repeat the same story when you’re attempting to pound beers at your local bar as to why you’re only in possession of 2-3 fingers.
Step 1
First, you’ll have to remove the blade guard, and throat plate from your table saw. This will be a different process based on the manufacturer of your saw. If you are unsure how to do this, consult your table saws owner’s manual or check for an instructional video on YouTube.
Step 2
Next, lift the blade up to its maximum height setting. This will raise it from the resting position and give you more access to the blade. This makes it easier to remove and replace the blade in the saw.
Step 3
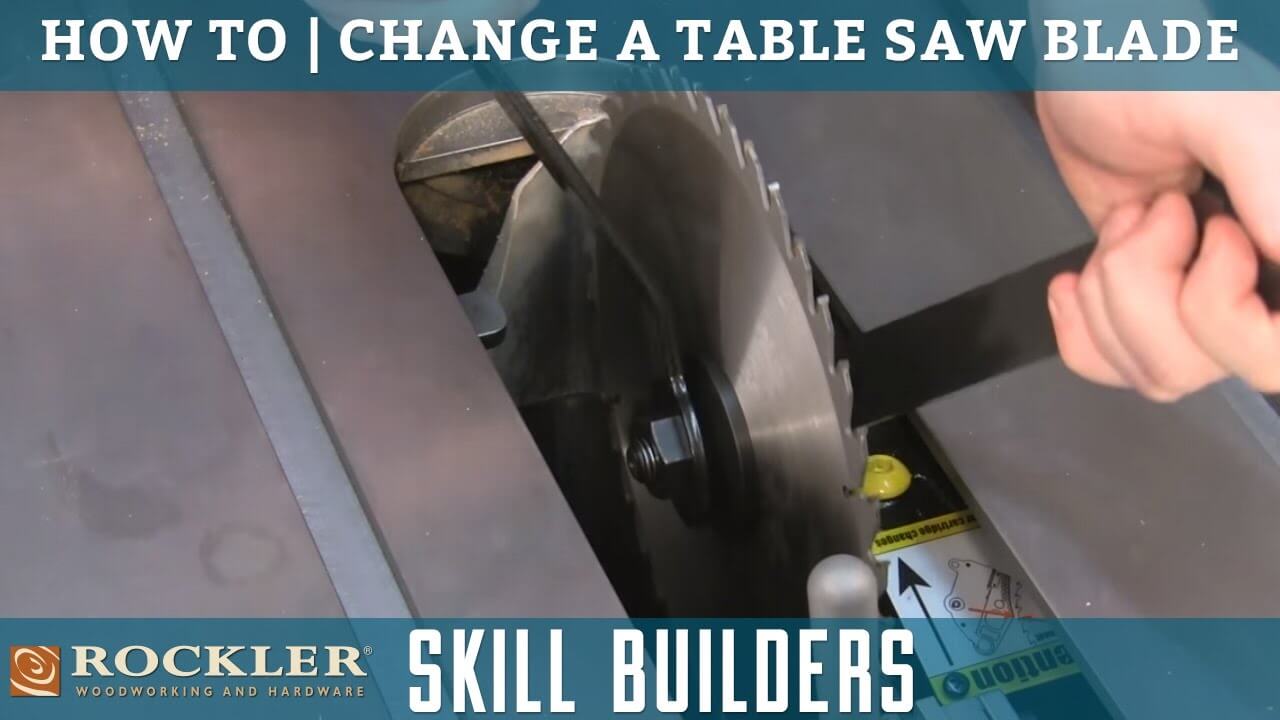
Now, you should look to see where the blade is sitting. The majority of table saws will have a blade lock; simply turn the wrench in an anticlockwise direction to loosen the arbor nut. If your saw doesn’t have one, hold the blade still with one wrench while twisting the nut in the opposite direction.
Step 4
Once you have loosened it sufficiently, use your fingers to remove the nut completely. Do not allow it to fall into the table saw because it will get lost. Take the washer off the table saw too.
Step 5
Next, carefully take the table saw blade off and replace it with your new one. Take note of the positioning of the old blade, as the new one needs to sit in the same place. Ensure the teeth of the blade are pointing towards you.
Step 6
You should next fit the washer to the arbor and then screw on the nut to secure the blade and tighten it using the wrench. Lastly, reinstall the throat plate and blade guard. Ensure the throat plate clicks into place, and reconnect the table saw to the power supply. You are now ready to use your table saw again.
How to Clean a Table Saw Blade?
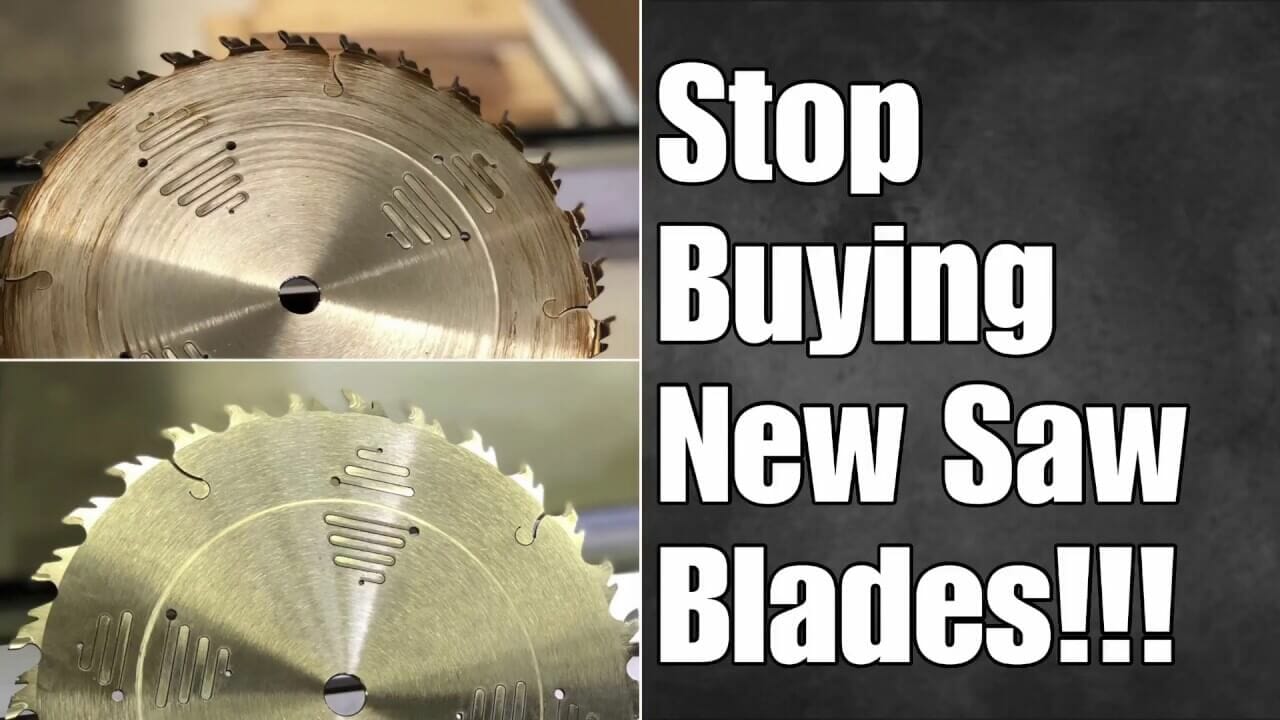
If you’ve gone to the trouble of removing your table saw blade, you might as well go the extra mile and clean up your table saw blade.
This is also highly recommended if you’ve used your miter saw to cut metal material.
What Will You Need to Clean a Table Saw Blade:
You will need a resin remover like “Flitz Multi-Purpose Polish” a shallow bowl, a soft wire brush, a scourer, and paper towels.
You will also need a hair dryer, a dry tool lubricant, and warm water. Your first step is to remove the blade from the table saw, as detailed above. Safety first, ladies and gentlemen.
Step 1
Pour some laundry detergent into the shallow bowl and dilute with some warm water. If you are using resin remover, follow the instructions written on the outside of the packaging.
Step 2
Add the blade to the bowl and leave it to sit. This will allow any residue on the blade to soften. Read the instructions for information on how long to leave the blade sitting in the liquid.
Step 3
Next, gently take the blade out of the water, being very careful not to cut your hand on the teeth; ideally, you should be wearing some rubber gloves.
Step 4
Following the direction of the blade teeth, gently brush off any residue from the outside edges of the teeth. If it is very difficult to remove, use the wire brush to scrape the residue off.
Step 5
You should next clean the blade of each tooth, one by one. Continue to clean in the direction of the teeth. This will reduce the chances of you injuring yourself and will ensure the blade teeth remain sharper.
Step 6
Once you have cleaned the blades, clean the dip in between each of the teeth. This area of a saw blade is known as a gullet. You will then need to rinse the blade well under clean, running water. Ensure you have washed off all of the soap suds.
Pro-tip, you should ideally nest dry the blade well. If it is left wet, then the blade will quickly develop rust. Spray both sides of your saw blade with a dry tool lubricant, such as WD-40. This will work to prevent rust from forming. Ensure you coat both sides of the blade evenly.
In Conclusion
Dirty and dull blades will not cut as accurately or as cleanly into the material you’re working on. The last thing you want from your table saw is to produce poor-quality rough-looking cuts with a bunch of chips in your freshly cut lumber.
Plus, using any high-powered saw like a table saw with a blunt blade, is rather dangerous as there is an increased risk of kickback.
So as a woodworker, spending a few extra bucks on a blade that is pasts its prime or making the effort to clean an existing blade will protect you and the lumber you’re working on.

