How to Dry Firewood Fast
Have you ever been stuck with a pile of damp logs just as you’re drawn to the magic of firewood’s crackling sound, the warmth it exudes, and the ambiance it creates?
In a Nutshell:
To dry firewood fast, split the wood to increase surface area and stack it in a sunny, well-ventilated spot. Elevate the stack off the ground to prevent moisture absorption. Cover the top to protect from rain but leave sides open for air circulation. Using a kiln or a forced-air method can expedite the process, especially for urgent needs. Properly dried firewood ignites easily, burns efficiently, and minimizes smoke, making it ideal for both indoor and outdoor fires.
Identifying Types of Firewood
Every tree has its unique tale, and when it becomes firewood, it narrates a story of warmth, comfort, and sometimes, adventure. The firewood you select can transform a simple flame into a radiant blaze that lasts through the night.
In my woodcutting journey, I’ve come to appreciate the nuances of different firewoods. Their warmth, burn duration, and overall fire quality can vary significantly. To help you make an informed choice, let’s delve into the characteristics of various firewoods.
Firewood Types and Characteristics Chart
| Type of Firewood | Category | Key Characteristics |
|---|---|---|
| Oak | Hardwood | Long burn time, high heat output |
| Maple | Hardwood | Good heat, pleasant aroma |
| Cherry | Hardwood | Moderate heat, sweet aroma |
| Birch | Hardwood | Bright flame, burns faster than oak |
| Ash | Hardwood | Steady flame, good heat |
| Hickory | Hardwood | High heat output |
| Pine | Softwood | Bright flame, can produce creosote |
| Fir | Softwood | Medium heat, pleasant scent |
| Cedar | Softwood | Quick burn, aromatic |
| Spruce | Softwood | Quick burn, good for kindling |
| Apple | Other | Slow burn, pleasant scent |
| Alder | Other | Steady burn, good for cooking and heating |
| Eucalyptus | Other | Hot burn, aromatic |
Remember, the choice of firewood can influence the ambiance, warmth, and duration of your fire. Whether you’re cozying up in your living room or setting up a campfire under the stars, choose wisely and let the flames narrate their tales.
Wet Wood vs. Seasoned Wood
Wet Wood:
- Characteristics: Wet wood, as the name suggests, has a high moisture content. This can be due to recent rainfall, the environment where it was stored, or simply because it was recently cut.
- Challenges: Burning wet wood is not only difficult but can also be dangerous. It produces a lot of smoke, which can contain harmful chemicals. The energy of the fire goes more into evaporating the water than producing heat, leading to a less efficient burn.
- How to Identify: Wet wood is often darker, feels cold and damp to touch, and might even have mold or fungi growing on it.
Seasoned Wood:
- Characteristics: Seasoned wood has been allowed to dry naturally over time, reducing its moisture content significantly.
- Benefits: It ignites easily, burns hotter, produces less smoke, and is more efficient in terms of heat production.
- How to Identify: It’s lighter in color compared to wet wood, feels dry, and might have cracks on the ends due to moisture loss.
The Mystery of Green Firewood
Green Wood:
- What is it?: This is freshly cut wood. It’s called “green” not because of its color, but because it’s fresh and full of sap and moisture.
- Characteristics: It’s heavier than seasoned wood due to its moisture content. The sap can make it sticky to touch.
- Burning Qualities: Green wood is challenging to burn. It produces a lot of creosote, a tar-like substance that can build up in your chimney and become a fire hazard.
- Why you shouldn’t burn it immediately: Apart from the difficulty in burning, green wood can lead to a lot of smoke, causing respiratory issues. The creosote buildup can also lead to chimney fires if not cleaned regularly.
From Green to Seasoned:
- Cutting & Splitting: Start by cutting the tree into logs and then split them. Splitting increases the surface area, helping the wood dry faster.
- Stacking: Stack the logs in a sunny, well-ventilated area. Ensure they’re elevated from the ground to prevent moisture from seeping in.
- Seasoning Time: Depending on the type of wood and local conditions, seasoning can take anywhere from 6 months to 2 years. Hardwoods generally take longer than softwoods.
Precautions to Take Before Burning Firewood
How Do You Dry Wet Firewood Fast?
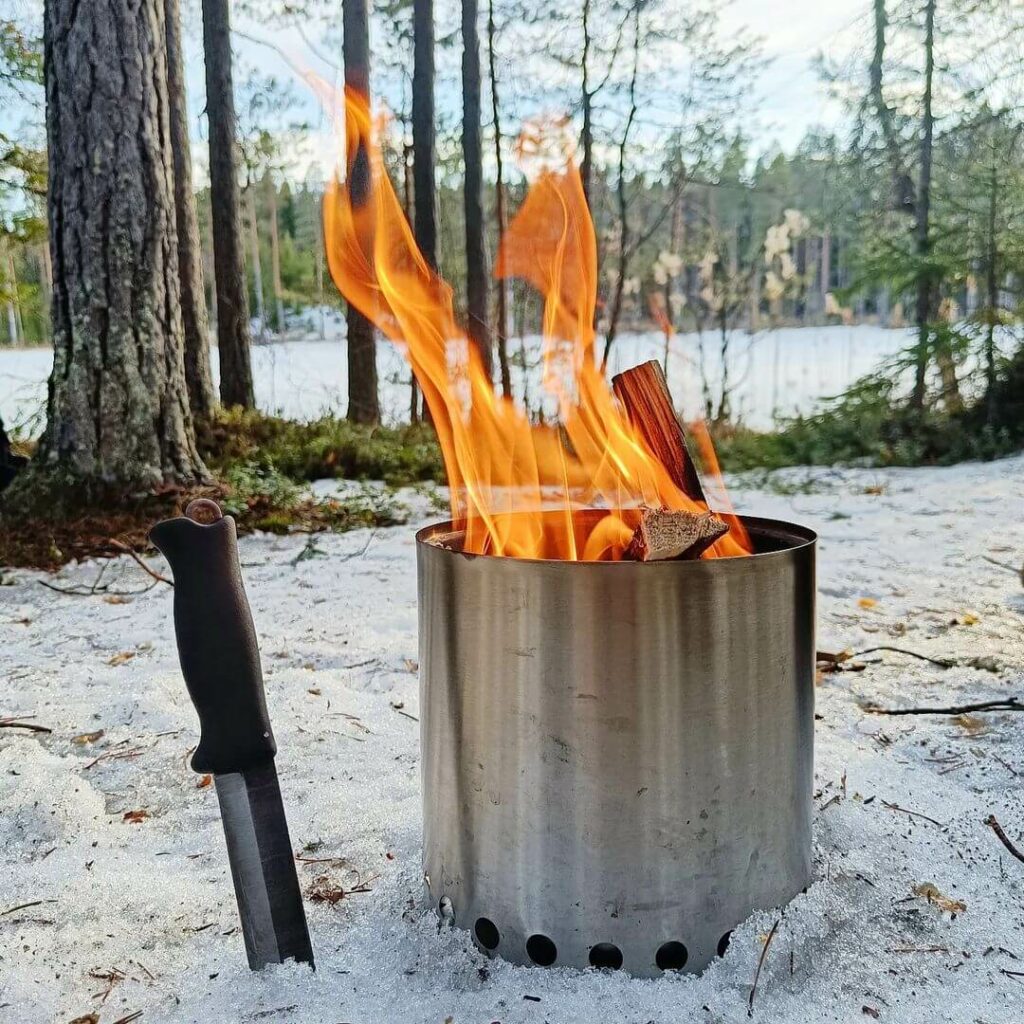
The allure of a roaring fire, the comforting warmth, and the ambiance it creates is unparalleled. But lighting wet or green wood? It’s like trying to start a car with an empty tank. The secret to that perfect, crackling fire? Dry, seasoned firewood.
But that said, how do you effectively dry wood fast for a fire, and how do you know when it’s dry enough to burn? I’m glad you asked. Before we delve into the actual step-by-step process, it’s essential to understand the drying timeframes for different types of wood and methods. The table below provides a comprehensive overview of drying times for popular firewood types using various drying techniques.
Firewood Drying Times
When it comes to the types of seasoning of timber, the method you choose plays a pivotal role in determining drying times. From the age-old air drying to innovative approaches like kiln and microwave drying, each has its unique timeline.
Furthermore, understanding how to cure firewood is crucial, and the season in which you embark on this task can greatly influence its effectiveness. The chart below provides a detailed overview, ensuring you season your timber optimally for that perfect burn or woodworking endeavor.
Firewood Drying Time Chart
| Type of Wood | Air Drying | Kiln Drying | Microwave Drying | Oven Drying |
|---|---|---|---|---|
| Oak | 12-18 months | 2-3 days | 30-60 minutes | 4-6 hours |
| Maple | 9-12 months | 1-2 days | 20-40 minutes | 3-5 hours |
| Pine | 6-12 months | 1-2 days | 15-30 minutes | 2-4 hours |
| Birch | 6-9 months | 1-2 days | 15-30 minutes | 2-4 hours |
| Cherry | 9-12 months | 2-3 days | 20-40 minutes | 3-5 hours |
| Ash | 6-9 months | 1-2 days | 15-30 minutes | 2-4 hours |
Please note that these are general estimates, and actual drying times can vary based on various factors such as the initial moisture content, thickness of the cut, and specific drying conditions.
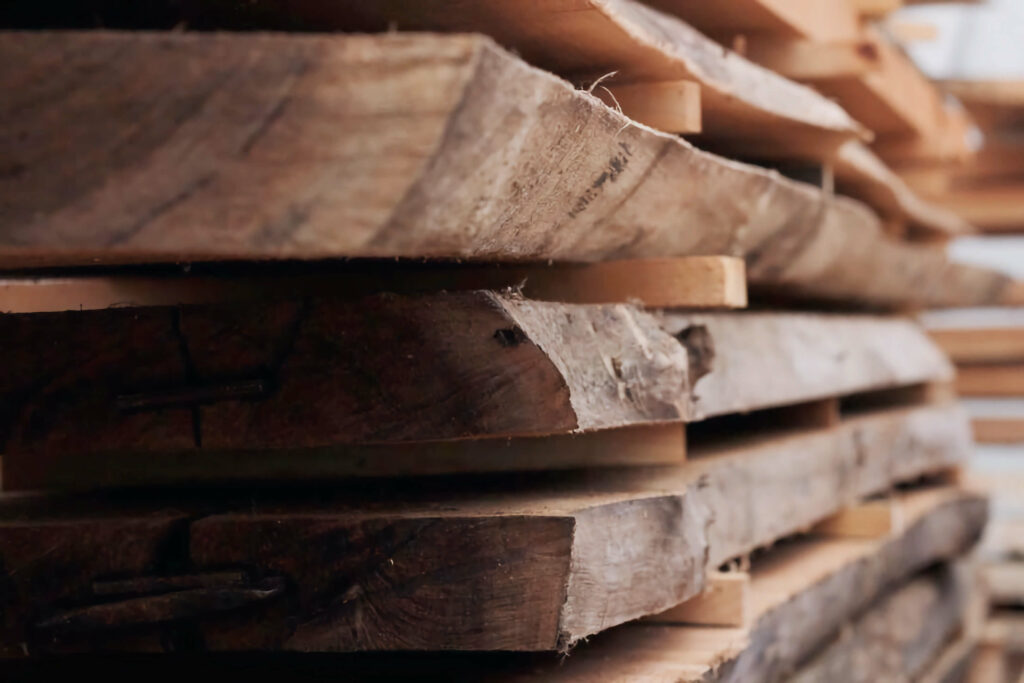
how to cure firewood: Cutting, Splitting, and Preparing Firewood
Step 1: Measure and Cut
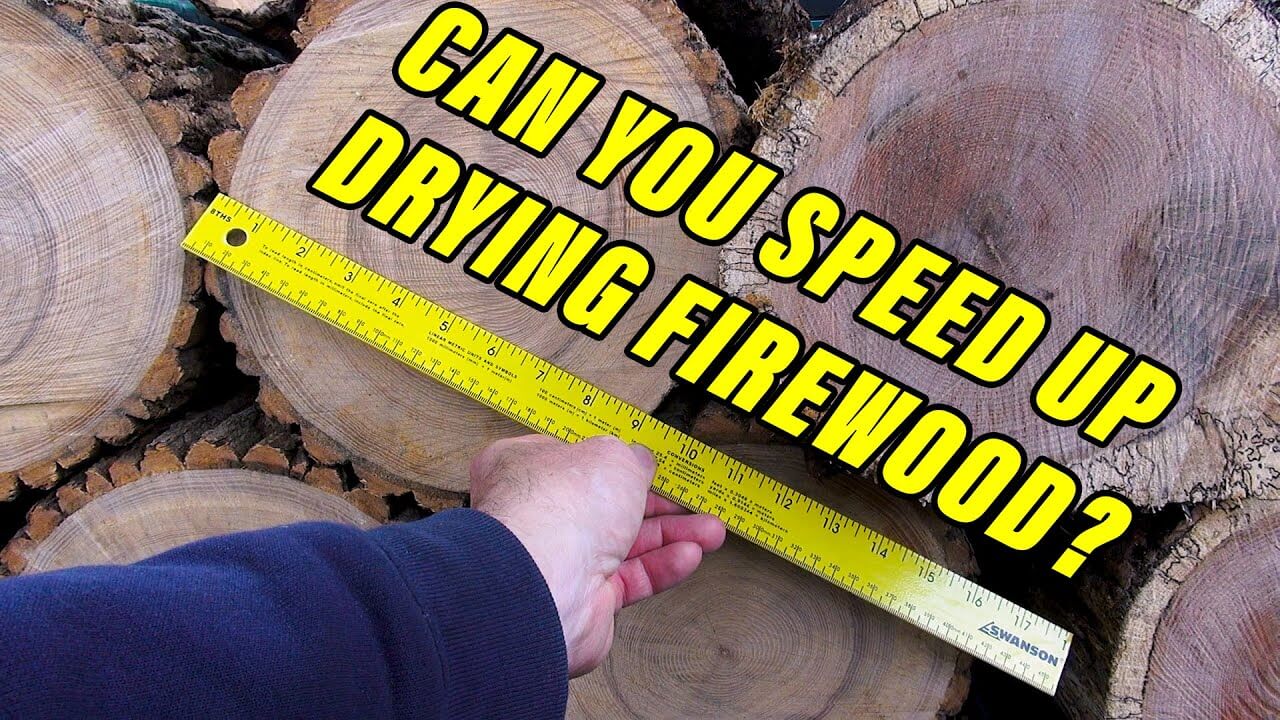
- Start by measuring the ideal length for your firewood, typically around 16 inches, suitable for most stoves and fireplaces.
- Using a chainsaw, cut the logs to the desired length, ensuring even cuts for uniform drying.
Step 2: Splitting to Perfection
- Splitting isn’t just about making the wood fit into your fireplace; it’s about increasing the surface area to speed up drying.
- Use a splitting maul or log splitter. Aim for splits between 3-6 inches thick. Remember, the thinner the wood, the faster it dries.
Stacking Techniques for Drying Firewood
Step 3: Choose the Right Spot
- Find a location that’s exposed to both sun and wind. These natural elements are your best allies in the drying process.
Step 4: Elevate Your Stack
- Use wooden pallets or rails to lift the wood off the ground. This prevents moisture from the ground from seeping into the wood.
Step 5: The Art of Stacking
- Stack the wood in a single row, ensuring there’s space between each log for airflow.
- For stability, place the largest logs at the bottom, working your way up with the smaller pieces.
Step 6: Protecting Your Pile
- Cover only the top of your woodpile to shield it from rain and snow. The sides should remain open to ensure adequate airflow.
Advanced Drying Techniques
Step 7: Exploring Kiln Drying
- If you’re in a hurry, consider kiln drying. It’s a process where wood is placed in a chamber, and hot air is circulated to evaporate the moisture quickly.
- While it’s an investment, kiln drying can reduce the drying time from months to mere days.
Step 8: Patience is a Virtue
- Even with all these techniques, nature takes its course. Depending on the type of wood and local conditions, drying can take anywhere from 6 months to 2 years
Note: Bark acts as a moisture shield on firewood. For faster drying, consider removing it. Not only does this speed up seasoning, but bark-free logs also reduce the risk of pests and mold. Debarking could be a game-changer in your firewood drying process.
How to Check the Moisture Content of Firewood
- Use a Moisture Meter:
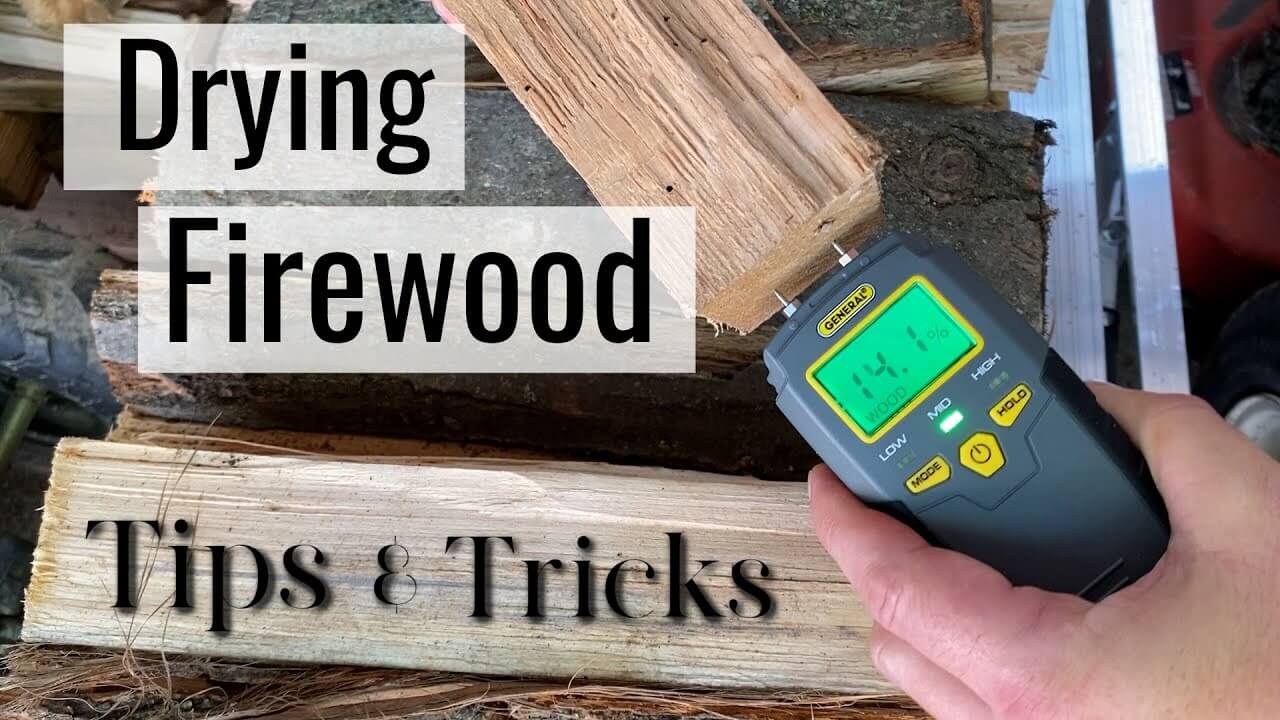
- A moisture meter is a handy tool designed specifically to measure the moisture content in wood. It’s a must-have for anyone serious about their firewood.
- To use, simply insert the prongs of the meter into a piece of firewood. The device will give a reading, usually in percentage form, indicating the moisture content.
- Ensure you measure multiple pieces from different parts of your stack to get an accurate average reading.
- The Sound Test:
- Dry wood has a distinct sound. When two pieces of seasoned wood are knocked together, they produce a sharp, ringing sound.
- In contrast, wet or green wood will produce a dull thud.
- Visual Inspection:
- Dry wood often has cracks at the ends, a sign of moisture loss.
- Wet or green wood may appear darker and can sometimes have a shiny or damp surface.
- Feel the Wood:
- Dry wood should feel light for its size and won’t feel cold or damp to the touch.
- Wet wood, on the other hand, will feel heavier and might feel cold or even slightly damp.
- Burn Test:
- As a last resort, try burning a piece of the wood. Dry wood will catch fire easily and burn with a clear flame, producing minimal smoke.
- Wet wood will sizzle, produce a lot of smoke, and might struggle to ignite.
 KOEKA Wood Moisture Meter (Pinless-colors)
- Pinless Design: This meter uses a non-invasive method to measure moisture, ensuring no damage to your wood surfaces
- Colorful LED Display: The vibrant display provides clear readings, making it easy to understand the moisture levels at a glance.
- Wide Measurement Range: With a range of 4% to 80%, this device can be used on various wood types, offering versatility.
- Automatic Temperature Compensation: This feature ensures accurate readings by adjusting for temperature variations, giving you reliable results every time.
- Non-invasive measurement preserves wood
- Bright LED display enhances readability
- Suitable for testing diverse wood types
- Temperature compensation boosts accuracy
- Durable and user-friendly design features
- Requires periodic calibration for accuracy
- Might be slightly pricey for occasional users
Why Moisture Content Matters
Understanding the moisture content of your firewood is not just about ensuring a good burn. It’s about safety, efficiency, and getting the most out of every log. Wet firewood can lead to creosote buildup in your chimney, a major fire hazard. Moreover, burning wet wood is less efficient, producing less heat and more smoke, which can be harmful to inhale.
By ensuring your firewood has the right moisture content, you’re not only guaranteeing a cozy, warm fire but also ensuring the safety and health of your household.
Ensuring Your Firewood is Ready
The Telltale Signs of Wet Firewood
It’s no secret that dry firewood is the key to a roaring, efficient fire. But how can you be sure your wood is ready? Here’s a detailed guide:
- Texture and Weight: Freshly cut or wet wood has a spongy feel and is noticeably heavier. As the wood dries, it becomes lighter and harder.
- Sound Test: Take two pieces of wood and knock them together. Wet wood gives off a dull sound, while dry wood will produce a clear, ringing tone.
- Visual Clues: Wet wood often appears darker and might have a shiny, damp surface. Another telltale sign is the presence of mold or fungi, especially on the ends of the logs.
- Touch and Temperature: Wet wood will feel cold and damp even on a warm day. Dry wood, on the other hand, will feel warm and dry.
- Wood Odor: Wet or green wood emits a fresh, sappy smell. In contrast, seasoned wood has a dry, woody aroma.
- Smoke Test: If you’re still unsure, try burning a piece. Wet wood will sizzle, produce lots of smoke, and struggle to ignite.
Table of Telltale Signs of Wet vs. Dry Firewood
| Lumber Test | Wet Firewood | Dry Firewood |
|---|---|---|
| Texture and Weight | Spongy feel and noticeably heavier | Harder feel and lighter |
| Sound Test | Dull sound when knocked together | Clear, ringing tone when knocked together |
| Visual Clues | Darker, shiny, damp surface; presence of mold or fungi on ends | Lighter in color, no mold or fungi |
| Touch and Temperature | Cold and damp even on a warm day | Warm and dry |
| Wood Odor | Fresh, sappy smell | Dry, woody aroma |
| Smoke Test | Sizzles, produces lots of smoke, struggles to ignite | Ignites easily, produces minimal smoke |
Quick Burning Firewoods
While all wood will burn, some types catch fire faster and are ideal for kindling or a quick, short-lived fire. Here’s a deeper dive:
- Pine: A resinous softwood, pine ignites quickly thanks to its sap content. However, it also burns rapidly and can produce creosote, so it’s best used in combination with hardwoods.
- Douglas Fir: Another softwood, fir has a moderate burn rate and emits a pleasant scent when burned.
- Cedar: Cedar is famous for its delightful aroma. It catches fire easily and produces a consistent flame, making it a favorite for many.
- Spruce: Light in weight, spruce ignites swiftly but burns up faster. It’s ideal for kindling or when you need a quick flame.
Insight: While these woods are great for a quick burn, for a long-lasting, steady fire, consider hardwoods like oak, maple, or hickory.
Measuring Your Firewood Supply
Understanding firewood measurements ensures you get value for your money and can adequately plan your wood supply for the season.
What is a Cord of Firewood?
A cord is the standard measurement for firewood. A cord of firewood represents a volume of 128 cubic feet (ft^3) or 3.625 cubic meters (m^3).
Visualizing a Cord:
Imagine a stack of wood that’s 4 feet high, 4 feet wide, and 8 feet long. That’s a cord. It’s roughly equivalent to 1,100 to 1,500 pieces of firewood, depending on the size of each piece.
Buying Tips: When purchasing firewood, always inquire about the volume. Some sellers offer “face cords” or “rick,” which are smaller than a full cord. Knowing the difference ensures you’re getting what you pay for.
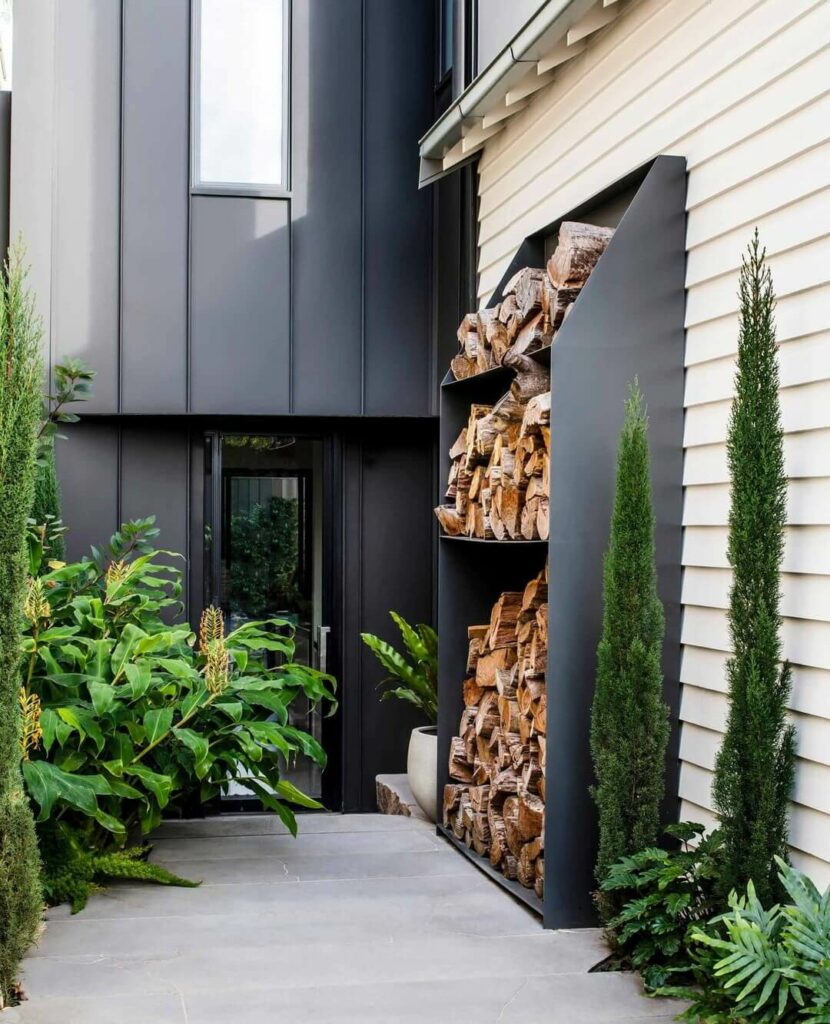
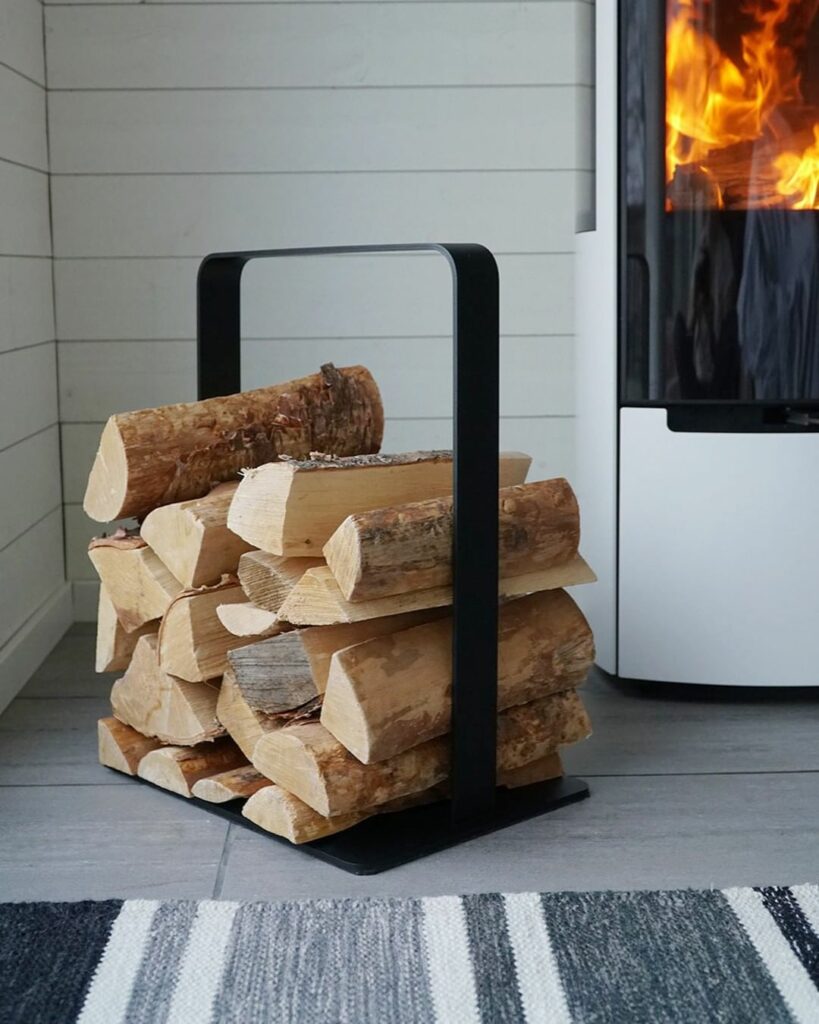
Is it Better to Store Firewood Inside or Outside?
Storing firewood properly is crucial to ensure it remains dry, free from pests, and ready to burn efficiently. The decision to store firewood inside or outside depends on various factors, including the climate, available storage space, and the duration for which the wood has been seasoned.
Here’s a comprehensive look at the pros and cons of both methods:
Storing Firewood Outside:
Pros:
Cons:
Storing Firewood Inside:
Pros:
Cons:
My Recommendation:
For the best results, consider a hybrid approach:
- Initial Outdoor Storage: After cutting and splitting, store the firewood outside in a sunny, well-ventilated area. This allows the wood to season and dry naturally.
- Indoor Storage Before Use: Once the firewood is fully seasoned, consider moving a small quantity indoors, especially during the winter months for convenience. Ensure the wood is free from pests before bringing it inside.
Note: Whether indoors or out, prioritize airflow and shield firewood from moisture. Proper storage ensures dry, efficient wood, ready to warm and comfort. Tailor your storage method to your unique needs.
In Conclusion
As we wrap up, I can’t stress enough the significance of using dry lumber, or better yet, seasoned wood. It’s not just about getting a roaring fire; it’s about efficiency, safety, and the sheer joy of a perfect wood-burning experience.
Key Takeaways:
Every crackle of the flame, every warm embrace of its heat, and the mesmerizing dance of its embers are all enhanced when the wood is just right. So, my fellow fire enthusiasts, let’s pledge to give our firewood the time it deserves to dry. Trust me, when you’re cozied up next to that perfect fire, you’ll be glad you did.

