How to Dry Wood Without Cracking
Ever struggled with cracked wood after drying? In woodworking, the risk of cracking can turn even the finest wood into wasted material. Let’s explore how to perfectly dry wood while keeping it intact.
In a Nutshell:
To prevent cracking when drying wood, start by selecting defect-free wood and sealing its ends. Use air drying in a shaded, ventilated area for uniform moisture release. Kiln drying offers a faster, controlled alternative. Regularly rotate the wood and monitor its moisture content, aiming for 6-8% for indoor use. Finally, allow the wood to acclimatize to its final environment. Each step, from sealing to acclimatization, is vital in ensuring your wood dries evenly and remains crack-free, ready for your woodworking projects.
Introduction to Drying Wood
The drying process in woodworking is more than just a preparatory step; it’s a cornerstone of quality craftsmanship. When we talk about woodworking, the moisture content of the wood plays a pivotal role in determining the final outcome of a project. Freshly cut wood, often referred to as ‘green wood’, contains a high amount of moisture.
If used in this state, the wood is likely to warp, shrink, or even crack as it dries. By properly drying the wood before use, we not only prevent these issues but also enhance the wood’s strength and workability. It’s akin to laying a strong foundation for a building; get the drying process right, and your woodworking projects will stand the test of time, both in durability and aesthetics.
So, as we delve deeper into the world of woodworking, remember that drying is not just a step—it’s an art in itself.
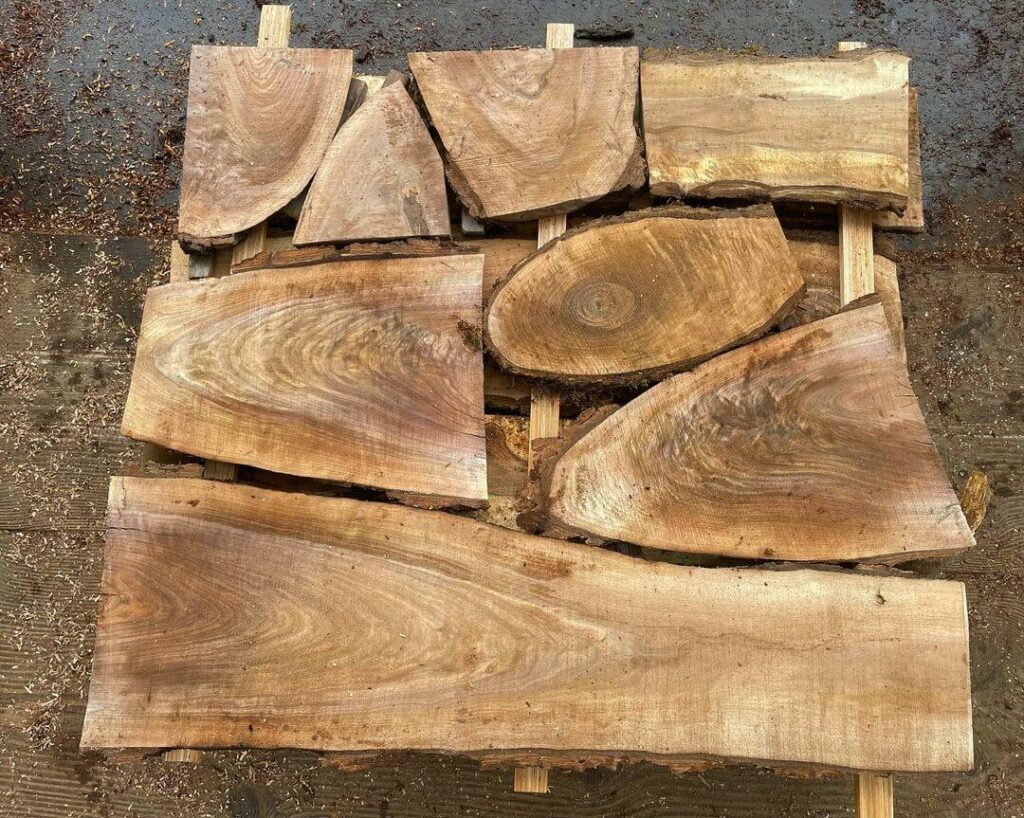
Why does wood crack when drying?
Ah, the age-old question for every woodworker! The cracking of wood during the drying process is a phenomenon that has both intrigued and frustrated many. Let’s delve into wood cracks and the science behind it.
At its core, wood is a complex matrix of cellulose fibers held together by a substance called lignin. When a tree is alive, these fibers are saturated with water. As the wood dries, the water begins to evaporate, causing the wood fibers to contract. However, this contraction isn’t uniform. The outer layers of the wood tend to dry faster than the inner layers, leading to a differential in shrinkage. This disparity in drying rates creates internal stresses within the wood. When these stresses surpass the wood’s natural strength, cracks, often referred to as “checks,” begin to form.
Several factors contribute to wood cracking during drying:
Understanding these factors and the science behind wood cracking is essential. It allows us to take preventive measures, ensuring our wood remains intact and beautiful throughout the drying process.
Preparing the Wood for Drying
Embarking on the journey of drying wood? Before diving straight into the drying process, it’s essential to ensure that your wood is adequately prepared. Proper preparation not only makes the drying process more efficient but also significantly reduces the risk of defects like cracking or warping.
Let’s walk through the crucial steps to get your wood ready for drying:
- Selecting the Right Wood: Begin by choosing wood that’s free from visible defects. Look for pieces with straight grain patterns, as they’re less likely to crack during drying.
- Cutting to Size: If you’re drying logs, consider cutting them into boards or planks. This increases the surface area exposed to air, facilitating faster drying. Remember, the thicker the wood, the longer it will take to dry.
- Sealing the Ends: The ends of wood boards tend to dry quicker than the rest, leading to end checks or splits. To prevent this, seal the ends using a commercial end grain sealer or even a thick coat of latex paint.
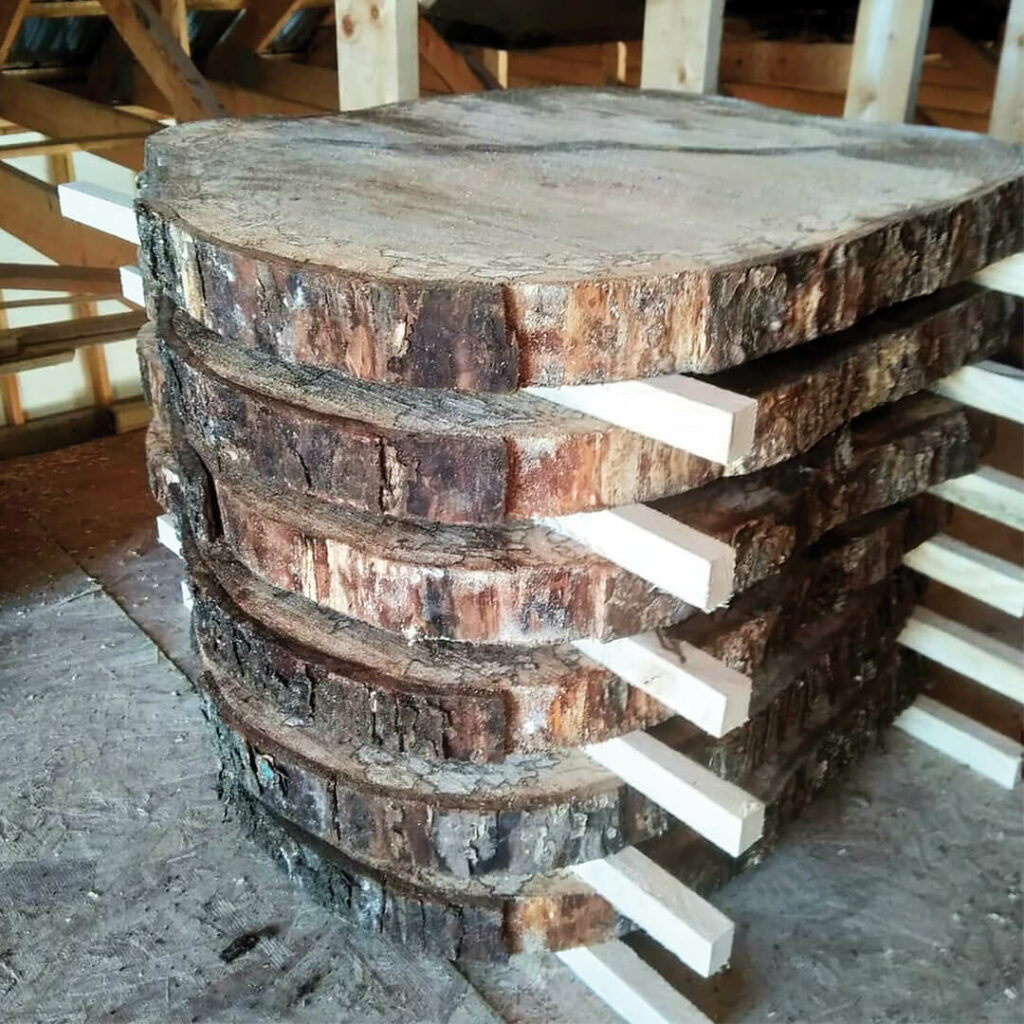
- Stacking and Sticking: Stack the wood in a way that allows for good air circulation. Place stickers (thin wooden strips) between each layer of boards to ensure even drying and to prevent warping.
- Choose a Suitable Location: The drying location matters! Opt for a shaded, well-ventilated area. Direct sunlight can cause the wood to dry too quickly, leading to defects.
- Protection from Elements: If you’re air-drying outdoors, consider placing a tarp or a roof over the stacked wood to protect it from rain. However, ensure the sides are open for ventilation.
- Label and Date: Especially if you’re drying multiple batches, label each stack with the type of wood and the date you started drying. This helps in monitoring the drying progress.
Properly preparing your wood sets the stage for a successful drying process. It’s like prepping ingredients before cooking a gourmet meal; the effort you put in upfront ensures a delightful outcome. So, take your time with these steps, and you’ll be rewarded with perfectly dried wood, ready for your next DIY woodworking project!
Air Drying Techniques for Preventing Cracking
Air drying is one of the most traditional and time-tested methods for drying wood. While it might seem straightforward, there’s an art to ensuring the wood dries evenly without cracking.
Let’s dive into the best practices and methods to master the technique of air drying:
- Choose the Right Location: Opt for a shaded, well-ventilated area. Direct sunlight can cause the wood to dry unevenly, leading to cracks. A location with good airflow ensures moisture is carried away, facilitating even drying.
- Stacking and Spacing: Proper stacking is crucial. Use stickers (thin wooden strips) between each layer of boards to ensure even drying and prevent warping. Ensure there’s enough space between each board for air to circulate freely.
- Seal the Ends: As mentioned earlier, the ends of wood boards dry rapidly. Seal them using a commercial end grain sealer or latex paint to prevent end checks.
- Monitor Moisture Content: Regularly check the moisture content of the wood using a moisture meter. Aim for a moisture content of around 6-8% for indoor use and 12-15% for outdoor use.
- Rotate the Boards: Every few weeks, rotate the boards within the stack. This helps in even moisture distribution and reduces the chances of certain boards drying faster than others.
- Protection from Elements: If rain is forecasted, cover the stack with a tarp. However, remove the tarp once the rain stops to ensure continued airflow.
- Patience is Key: Air drying can take several months to years, depending on the thickness of the wood and the climate. It’s a slow process, but the wait is worth it for the quality of wood you’ll achieve.
- Regular Inspection: Periodically inspect the wood for signs of mold, pests, or any irregularities. Address any issues promptly to ensure the quality of the wood isn’t compromised.
Air drying, when done right, can yield exceptional results. The wood retains its natural color, strength, and character. While it requires patience, the end product is often superior to wood dried using faster methods. So, embrace the process, follow these best practices, and you’ll have beautifully dried wood ready for your next masterpiece!
Kiln Drying Methods for Crack-Free Wood
Kiln drying is like the fast track of wood drying methods. While the air drying method relies on the whims of nature and can take months to years, kiln drying accelerates the process, giving you ready-to-use wood in a fraction of the time. But what exactly is kiln drying, and how can we ensure crack-free results? Let’s dive in.
Kiln Drying and Its Advantages:
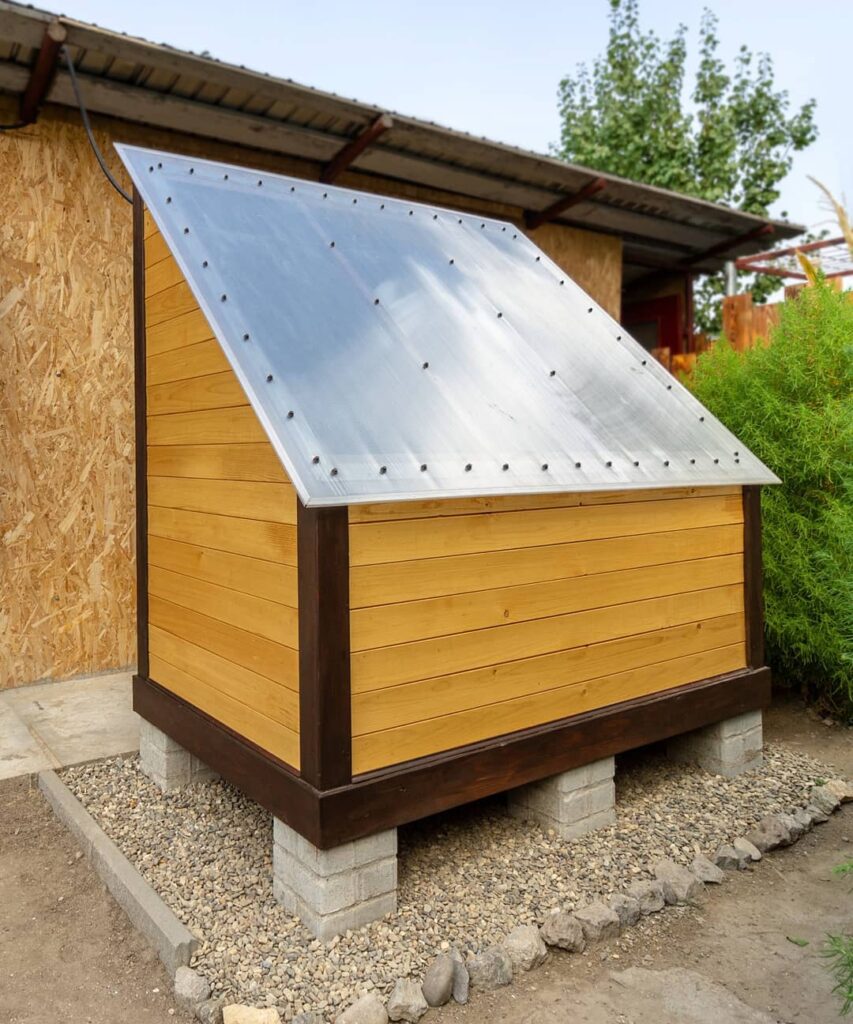
Kiln drying involves placing wood inside a specialized chamber, the kiln, where both the air flow and temperature and humidity levels are controlled. This controlled environment allows for rapid moisture removal from the wood, drastically reducing the drying time.
Advantages of Kiln Drying:
Steps to Achieve Crack-Free Results with Kiln Drying:
- Preparation: Just like with air drying, start with sealing the ends of the wood to prevent end checks. Ensure the wood is stacked properly, allowing for even heat distribution.
- Slow Start: Begin the drying process at a lower temperature. A rapid temperature increase can cause surface cracking.
- Monitor Moisture Levels: Use a moisture meter to regularly check the wood’s moisture content. Aim to reduce the moisture content to the desired level, typically between 6-8% for indoor use.
- Ventilation: Ensure the kiln is well-ventilated. Proper ventilation helps in moisture removal and prevents the buildup of humidity inside the kiln.
- Cool Down: Once the desired moisture level is achieved, allow the wood to cool down gradually inside the kiln before removing it. A sudden exposure to outside conditions can introduce stresses, leading to cracks.
- Post-Kiln Acclimatization: After removing the wood from the kiln, store it in a similar environment where it will be used. This allows the wood to acclimatize, further reducing the risk of post-drying defects.
Summary note: Kiln drying, when done right, offers a perfect balance of speed and quality. By understanding the process and following these steps, you can achieve beautifully dried, crack-free wood, ready to be transformed into your next woodworking creation!
Wood Drying Process: Monitoring & Controlling Humidity
Ah, humidity! It’s the silent player in the wood drying game, often overlooked but incredibly influential. Let’s delve into its role and understand how we can master its effects for optimal wood drying.
The Role of Humidity in the Drying Process:
Humidity refers to the amount of moisture present in the air. In the context of drying wood, it plays a pivotal role in determining how quickly and uniformly the wood dries.
Tools and Techniques for Effective Humidity Control:
- Moisture Meters: These handy devices measure the moisture content of the wood. By regularly checking, you can gauge how the drying process is progressing and adjust conditions accordingly.
- Hygrometers: These measure the humidity level of the surrounding air. It’s an essential tool to understand the drying environment.
- Dehumidifiers: In conditions of high humidity, using a dehumidifier can help reduce the moisture level in the air, facilitating a more consistent drying process.
- Humidifiers: Conversely, in extremely dry conditions, introducing a humidifier can prevent the wood from drying too quickly and cracking.
- Ventilation: Proper ventilation ensures a continuous flow of air, which aids in maintaining a balanced humidity level. It’s especially crucial in kiln drying, where controlling humidity is vital for optimal results.
- Shade and Tarps: If air drying outdoors, using shade or tarps can help in controlling direct sun exposure, which can influence humidity levels.
In essence, humidity is like the tempo in the symphony of wood drying. Too fast or too slow, and the melody goes awry.
| Product | Main Feature | Benefit for Wood Drying |
|---|---|---|
| Moisture Meters | Measures the moisture content of the wood | By regularly checking, you can gauge how the drying process is progressing and adjust conditions accordingly |
| Hygrometers | Measures the humidity level of the surrounding air | Essential tool to understand the drying environment |
| Dehumidifiers | Reduces the moisture level in the air | Facilitates a more consistent drying process in high humidity conditions |
| Humidifiers | Increases the moisture level in the air | Prevents the wood from drying too quickly and cracking in extremely dry conditions |
| Ventilation | Ensures a continuous flow of air | Aids in maintaining a balanced humidity level, especially crucial in kiln drying |
| Shade & Tarps | Controls direct sun exposure | Helps in controlling direct sun exposure, influencing humidity levels when air drying outdoors |
Note: With the right tools and techniques, you can conduct this symphony to perfection, ensuring your wood dries beautifully, ready for its final performance in your woodworking project!
Drying Specific Wood Shapes Without Cracking
How to dry wood slabs without cracking
Wood slabs, with their broad surfaces and often intricate grain patterns, are a favorite among woodworkers. However, their unique shape also presents challenges when it comes to drying. Here’s a step-by-step guide to ensure your wood slabs dry without any unsightly cracks:
- Selection is Key: Start with a healthy slab. Look for wood that’s free from visible defects, decay, or excessive knots.
- Seal the Ends: The end grains of wood slabs tend to lose moisture faster than the rest. Seal them using a commercial end grain sealer or a thick coat of latex paint to prevent end checks.
- Elevate and Stack: Elevate the slabs off the ground using stickers (thin wooden strips). If you’re drying multiple slabs, place stickers between each slab to ensure even air circulation.
- Choose the Right Location: Opt for a shaded, well-ventilated area. Direct sunlight can cause rapid drying, leading to cracks.
- Monitor Moisture Content: Regularly check the moisture content using a moisture meter. For most indoor applications, aim for a moisture content of around 6-8%.
- Rotate the Slabs: Every few weeks, rotate the slabs within the stack. This ensures even moisture distribution and reduces the chances of certain areas drying faster than others.
- Patience is Your Friend: Remember, drying wood slabs is a slow process. Depending on the thickness and species of the wood, it can take several months to years for the slab to dry completely.
- Post-Drying Acclimatization: Once the slab reaches the desired moisture content, store it in a similar environment where it will be used. This allows the wood to acclimatize and further reduces the risk of post-drying defects.
- Final Inspection: Before using the dried slab, inspect it for any signs of cracks, warps, or other defects. Address any issues promptly to ensure the quality of the wood remains intact.
Please note: In the artistry of drying wood slabs, patience is the brush, perfection the masterpiece. Follow this path, and watch every slab transform, resonating with nature’s rhythm, ready to be sculpted into timeless art or cherished furniture.
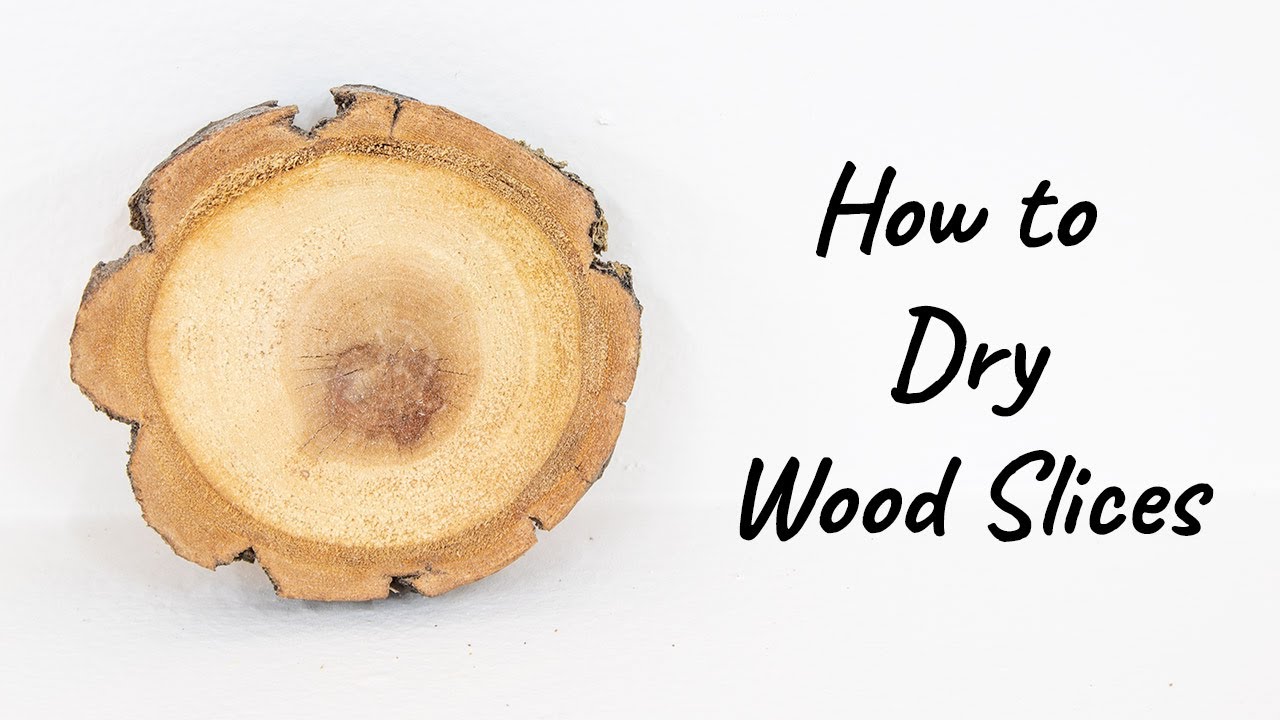
How to dry wood slices without cracking
Wood slices, often referred to as “wood cookies,” are popular in crafting, furniture making, and even as rustic wedding decor. Their cross-sectional view showcases the beautiful rings and patterns of the tree. However, due to their thin and flat shape, they can be particularly prone to cracking during the drying process. But fear not! With the right approach, you can dry these wood slices properly while preserving their natural beauty.
- Select Freshly Cut Slices: Begin with wood slices that are freshly cut and free from visible defects. The fresher the cut, the higher the moisture content, which is what we want to control.
- Seal the Surfaces: Apply a wood sealer or a coat of latex paint to both flat surfaces of the slice. This slows down the drying process, reducing the risk of cracks.
- Elevate for Airflow: Place the slices on a flat, elevated surface, ensuring that air can circulate around them. This can be achieved using mesh screens or wooden racks.
- Optimal Environment: Dry the slices in a cool, shaded area with good ventilation. Avoid direct sunlight or excessively dry environments, as rapid drying can lead to cracks.
- Monitor Moisture Content: Use a moisture meter to check the wood’s moisture content regularly. Aim for a final moisture content of around 6-8% for indoor use.
- Flip Regularly: Every couple of days, flip the wood slices to ensure even drying on both sides.
- Patience is Essential: Depending on the thickness and type of wood, drying can take several weeks to months. Remember, slow and steady wins the race when it comes to drying wood slices.
- Post-Drying Storage: Once dried, store the wood slices in an environment similar to where they’ll be used. This helps in acclimatizing the wood, further preventing potential cracks or warps.
- Final Touches: After drying, you might notice minor warping. If so, you can gently sand the surfaces to make them flat. Also, inspect for any minor cracks and fill them with wood filler if necessary.
Reminder: In the dance of drying wood slices, it’s all about mastering moisture and evenness. Embrace these steps, and each slice emerges, unmarred and eager for creation. From wall art to rustic coasters, let your wood slices take center stage.
How to dry wood cookies without cracking
Wood cookies, also known as cross-sectional wood slices, offer a unique perspective into the life of a tree, showcasing its age rings and intricate patterns. They’re a favorite for rustic decor, DIY projects, and even educational purposes. However, due to their shape and varying thickness, they can be a bit tricky to dry without cracking. But with the right approach, you can master the art of drying wood cookies flawlessly.
- Fresh is Best: Start with freshly cut wood cookies. The sooner you begin the drying process after cutting, the better the results.
- Seal the Surfaces: Just like with wood slices, it’s essential to seal both flat surfaces of the wood cookie. This can be done using a wood sealer or even a thick coat of latex paint. This step helps in slowing down the drying process, reducing the risk of cracks.
- Elevate for Proper Air Circulation: Use mesh screens, wooden racks, or even bricks to elevate the wood cookies. This ensures that air can flow around them, promoting even drying.
- Choose the Right Spot: A cool, shaded area with good ventilation is ideal. Direct sunlight or excessively dry environments can cause the wood to dry too quickly, leading to cracks.
- Keep an Eye on Moisture: Regularly check the moisture content of the wood cookies using a moisture meter. Aim to achieve a moisture content of around 6-8% for indoor applications.
- Flip Them Over: Every few days, turn the wood cookies to ensure they dry evenly on both sides.
- Slow and Steady: Drying wood cookies can take time, often several weeks to months, depending on their thickness and the type of wood. Patience is key!
- Acclimatize Post Drying: Once you’ve achieved the desired moisture content, store the wood cookies in an environment similar to where they’ll be used. This step helps them acclimatize and further reduces the risk of cracks.
- Inspect and Refine: After drying, inspect the wood cookies for any minor warps or cracks. If needed, you can sand the surfaces for a smoother finish. For any small cracks, consider using wood filler.
In the craft of drying wood cookies, patience meets artistry. Follow these steps, and each piece transforms, holding nature’s allure, primed for creation. From centerpieces to learning tools, let your wood cookies be a testament to craftsmanship’s magic.
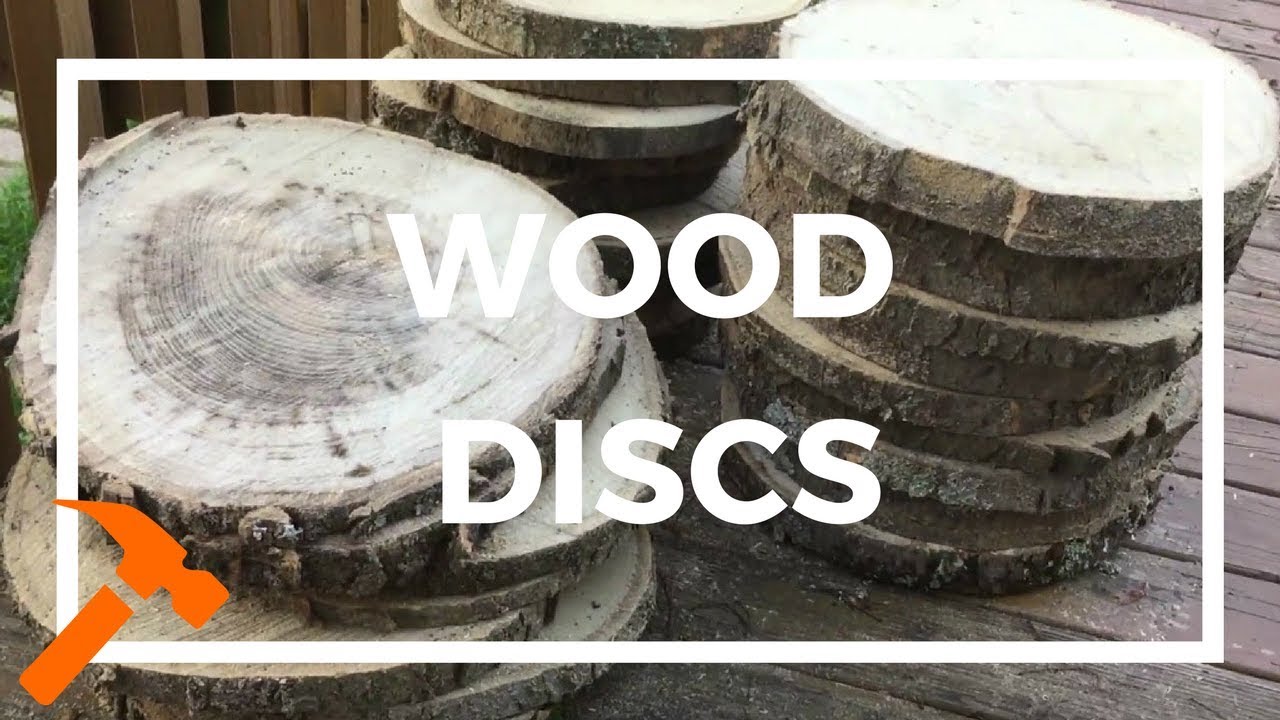
How to dry wood discs without cracking
Wood discs, often used for crafting, decor, and even as bases for small furniture pieces, have a charm that’s hard to resist. Their flat, circular shape provides a canvas that showcases the wood’s natural beauty, from its grain patterns to its unique imperfections. However, this same shape can make drying wood discs a challenge, as they’re prone to cracking if not dried correctly. But with a little care and the right techniques, you can dry wood discs perfectly every time.
- Start Fresh: As with other wood shapes, it’s best to begin the drying process with freshly cut wood discs. The fresher the cut, the more moisture it contains, which we aim to control.
- Seal to Protect: Before starting the drying process, apply a wood sealer or a thick coat of latex paint to the flat surfaces of the disc. This slows down the moisture loss, helping prevent cracks.
- Elevate for Airflow: Place the wood discs on an elevated surface, like mesh screens or wooden racks, ensuring that air can circulate freely around them.
- Find the Ideal Spot: Choose a cool, shaded area with good ventilation for drying. Avoid places with direct sunlight or excessive dryness, as rapid drying can lead to cracks.
- Monitor Moisture Levels: Using a moisture meter, regularly check the moisture content of the wood discs. Aim for a final moisture content of around 6-8% for indoor use.
- Flip Them Periodically: To ensure even drying, turn the wood discs every few days.
- Be Patient: Drying wood discs can take several weeks to months, depending on their size and the type of wood. Remember, the slower the drying process, the less likely the discs are to crack.
- Acclimatize After Drying: Once dried, store the wood discs in a location similar to where they’ll be used. This helps them adjust to the new environment, further reducing the risk of cracks.
- Inspect and Touch Up: After the drying process, inspect the wood discs for any minor imperfections. Sand the surfaces if needed for a smoother finish, and fill any small cracks with wood filler.
Note: Drying wood discs is a delicate balance of patience and precision. But with these steps, you’ll have wood discs that are not only dry but also free from cracks, ready for your next project. Whether you’re creating unique wall art, crafting coasters, or designing a rustic clock face, your wood discs will be the perfect starting point!
How to dry fresh cut wood without cracking
Freshly cut wood, often referred to as “green wood,” is saturated with moisture. While this moisture gives the wood flexibility, it can also be a double-edged sword. As the wood dries, it shrinks, and if not dried properly, this can lead to unsightly and structurally compromising cracks. But with careful attention and the right techniques, you can dry fresh cut wood without any cracks.
- Start Immediately: The drying process should begin as soon as the wood is cut. The longer you wait, the higher the chances of surface cracks developing.
- Seal the Ends: The ends of wood logs or boards tend to dry faster than the rest, leading to end checks or cracks. Seal the ends using a commercial end grain sealer or even a thick coat of latex paint.
- Stack and Sticker: Stack the wood in layers, separated by small wooden strips called “stickers.” This allows for even air circulation around each piece, promoting uniform drying.
- Choose the Right Location: A shaded, well-ventilated area is ideal for air drying. Direct sunlight can cause the wood to dry too quickly, leading to cracks.
- Weigh It Down: Place weights or heavy objects on the top layer of the stack to prevent warping as the wood dries.
- Monitor Moisture Levels: Invest in a good quality moisture meter. Regularly check the wood’s moisture content. For most indoor applications, aim for a moisture content of 6-8%.
- Rotate the Wood: Every few weeks, rotate the wood pieces within the stack. This ensures that all pieces dry evenly.
- Be Patient: Depending on the thickness and type of wood, drying can take anywhere from a few months to over a year. Slow drying is key to preventing cracks.
- Acclimatize the Wood: Once the wood reaches the desired moisture content, move it to a location similar to where it will be used. This helps the wood adjust to the ambient conditions, further reducing the risk of future cracks.
- Inspect and Plan: After drying, inspect the wood for any imperfections. Some minor cracks might still appear, but these can often be worked around during the woodworking process.
In the symphony of woodworking, drying fresh cut wood is the opening note. Follow these steps, and your wood will sing, crack-free and primed. From furniture to decks, begin with this foundation, and let every creation resonate with excellence.
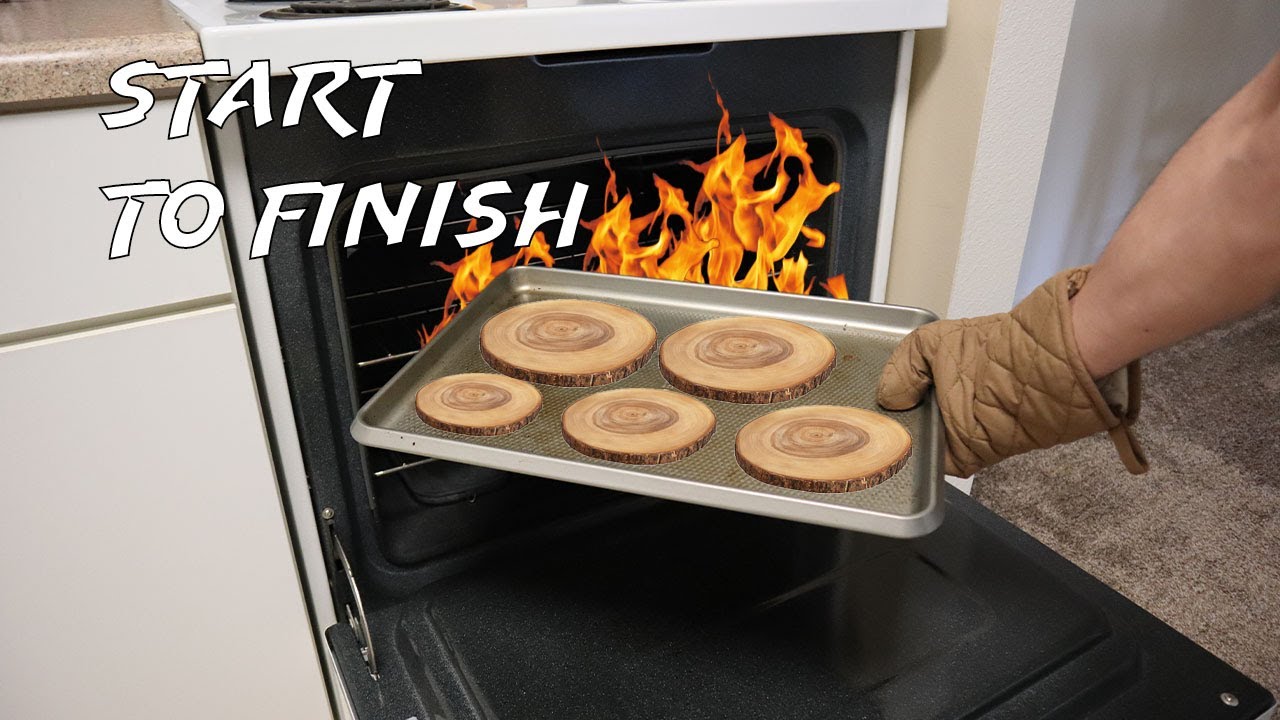
How to dry wood slices in the oven without cracking
Drying wood slices in the oven is a popular method, especially when you’re looking for a quicker solution than air drying. It’s particularly handy for smaller projects or when you don’t have the luxury of waiting for weeks or months. However, the challenge lies in ensuring the wood doesn’t crack due to the rapid drying process.
Here’s a step-by-step guide to help you achieve perfectly dried wood slices using your oven:
- Preparation is Key: Begin with clean wood slices, free from dirt or debris. If they’re freshly cut, let them sit for a day or two to release some of the initial moisture.
- Seal the Ends: To prevent end grain cracking, apply a wood sealer or a thick coat of latex paint to the edges of the wood slices.
- Set the Oven: Preheat your oven to its lowest possible setting, typically between 175°F to 200°F (80°C to 95°C). The goal is to dry the wood slowly, not cook it.
- Position the Wood Slices: Place the wood slices directly on the oven racks, ensuring there’s ample space between each slice for proper air circulation. Alternatively, you can use a wire rack inside a baking tray to elevate the slices.
- Keep the Oven Door Ajar: This is crucial. Keeping the oven door slightly open allows moisture to escape, preventing the buildup of steam inside.
- Monitor Regularly: Every 30 minutes, check the wood slices for any signs of warping or cracking. If you have a moisture meter, use it to monitor the moisture content.
- Flip the Slices: To ensure even drying, flip the wood slices every hour.
- Duration: Depending on the thickness and type of wood, drying can take anywhere from 2 to 6 hours. It’s essential to be patient and not rush the process.
- Cool Down: Once the drying process is complete, turn off the oven and let the wood slices cool down inside for an hour. This gradual cooling helps prevent sudden moisture intake from the ambient air, which can cause cracks.
- Final Touches: After removing the slices from the oven, let them sit in a dry, cool place for another 24 hours. This ensures any residual moisture evaporates. You can then sand the surfaces for a smoother finish if needed.
Drying wood in the oven melds the dance of heat with patience. Though swift, it demands vigilance to retain the wood’s inherent beauty. With the right steps, every slice emerges not just dried, but a canvas of nature’s artistry.
Advanced Techniques and Solutions
How to preserve wood slices with bark
Maintaining the bark on wood slices gives a rustic touch to projects like coasters, wall art, or table centerpieces. However, ensuring the bark stays in place and doesn’t peel away can be a challenge. A key factor is understanding how long wood glue takes to dry. Beyond this, there are other important steps to follow.
Here’s a step-by-step guide to help you preserve wood slices with bark effectively:
- Start with Fresh Cuts: Freshly cut wood slices have bark that’s more firmly attached. If you’re sourcing your wood, try to get slices that were recently cut.
- Clean the Slices: Using a soft brush, gently clean off any dirt or debris from the bark. Be gentle to avoid loosening the bark.
- Dry the Wood Properly: Before any preservation methods, ensure the wood slice is dry. You can air dry it or use the oven drying method we discussed earlier. Remember, rapid drying can cause the bark to separate, so slow and steady is the key.
- Apply Wood Glue: This is a trick many crafters swear by. Using a small brush, apply a thin layer of wood glue between the bark and the wood where any separation is beginning. Press the bark firmly against the wood and let it dry.
- Seal the Wood: Once the glue is dry, apply a clear wood sealer or polyurethane to the entire wood slice, including the bark. This not only preserves the bark but also gives the wood a polished look.
- Avoid Extreme Conditions: Extreme temperatures and humidity can cause the bark to peel. Store or display your wood slices in a place with stable environmental conditions.
- Regular Maintenance: Over time, you might notice the bark becoming loose in certain areas. A touch-up with some wood glue can help reattach it.
- Use for Appropriate Projects: While preserved bark can be quite sturdy, it’s still more fragile than the wood itself. Use bark-edged wood slices for projects that won’t see rough handling.
- Embrace Natural Changes: Even with the best preservation techniques, bark is a natural material and might change over time. Small imperfections or color changes can add to the rustic charm of your projects.
Preserving wood slices with bark requires a bit of extra care, but the results are well worth the effort. With these steps, you can enjoy the beauty of bark-edged wood slices in your crafts and home decor for years to come. Remember, woodworking is as much about the journey as the destination, and every piece you create carries a bit of nature’s story with it. Embrace it, and happy crafting!
How to Seal Fresh Cut Wood Slices
Sealing fresh cut wood slices is essential to protect them from external elements, prevent moisture loss too quickly, and enhance their natural beauty. Whether you’re crafting a centerpiece, making coasters, or creating wall art, sealing your wood slices ensures longevity and a polished finish.
Let’s dive into the step-by-step process:
- Clean the Wood Slices: Before sealing, ensure the wood slices are free from dirt, sawdust, or any other debris. A soft brush or a lint-free cloth works well for this.
- Let Them Dry: Freshly cut wood slices contain a lot of moisture. Before sealing, it’s crucial to let them dry out. You can air-dry them for several days or use the oven-drying method we discussed earlier.
- Choose the Right Sealer: There are various sealers available, such as polyurethane, shellac, or wood oil. Your choice depends on the desired finish (matte, semi-gloss, or glossy) and the intended use of the wood slice.
- Apply the Sealer: Using a brush or a cloth, apply a thin, even coat of the sealer to the wood slice. Ensure you cover the entire surface, including the sides and bark if present.
- Let It Dry: Allow the sealer to dry completely. The drying time can vary based on the type of sealer and environmental conditions. Typically, it can take anywhere from a few hours to a day.
- Sand Between Coats: For a smoother finish, lightly sand the wood slice with fine-grit sandpaper (220-grit or higher) between coats. This step is optional but can enhance the final appearance.
- Apply Additional Coats: Depending on the sealer and your desired finish, you might need 2-3 coats. Remember to let each coat dry thoroughly before applying the next.
- Curing Time: Even after the sealer feels dry to the touch, it might need additional time to cure fully. It’s best to wait a few days before using the wood slices for any projects.
- Storage: Store your sealed wood slices in a cool, dry place. Avoid exposing them to direct sunlight for extended periods, as it can cause the sealer to yellow or degrade.
By sealing your fresh-cut wood slices, you’re not just preserving their natural allure; you’re fortifying them against potential damage. Following this guide ensures your wood pieces are primed for whatever creative endeavor lies ahead. Each slice carries its unique narrative, and with meticulous care, its legacy can endure for years to come. Here’s to crafting with intention and passion!
How to make salt paste for drying wood
Using a salt paste to dry wood is an age-old technique that has been passed down through generations. The salt acts as a desiccant, drawing out moisture from the wood and aiding in the drying process. Here’s how you can prepare and use a salt paste for your woodworking projects:
- Gather Your Ingredients: Before you begin, ensure you have fine table salt or sea salt and water on hand. These simple ingredients are all you need to create an effective drying paste.
- Mixing the Paste: Start by pouring a cup of salt into a mixing bowl. Slowly add water to the salt while stirring continuously. Your goal is to achieve a thick, spreadable consistency. It’s essential to ensure the mixture isn’t too runny, as it needs to adhere to the wood’s surface.
- Application: Once your paste is ready, clean your wood piece to remove any dirt or debris. With a brush or spatula, generously apply the salt paste, ensuring you cover all surfaces of the whole wood surface.
- Drying Process: After applying the paste, place the wood in a dry, well-ventilated area. As the salt paste dries, it will draw out moisture from the wood, aiding in the drying process.
- Rinsing Off: When the salt paste has fully dried, forming a crusty layer on the wood, it’s time to rinse it off. Gently wash away the salt crust with water, being careful not to soak the wood. A quick rinse should suffice.
- Final Drying: After rinsing, pat the wood dry using a towel. Then, place it back in a dry area, allowing any remaining moisture to evaporate completely.
- Sealing (Optional): Once you’re confident that the wood is thoroughly dry, consider applying a sealer or finish. This additional step will further protect the wood, enhancing its durability and appearance.
By following this traditional method, you can effectively dry wood fast, especially for smaller projects or unique pieces. As with all woodworking techniques, patience and attention to detail are key. Enjoy the process and the satisfaction of working with wood that’s been prepared with care.
Additional Tips and Tricks to Prevent Cracking
Woodworking is as much an art as it is a science. While we’ve discussed various drying methods, there are additional measures you can take to ensure your wood remains in pristine condition.
Maintenance and Storage Recommendations:
Common Pitfalls and How to Avoid Them:
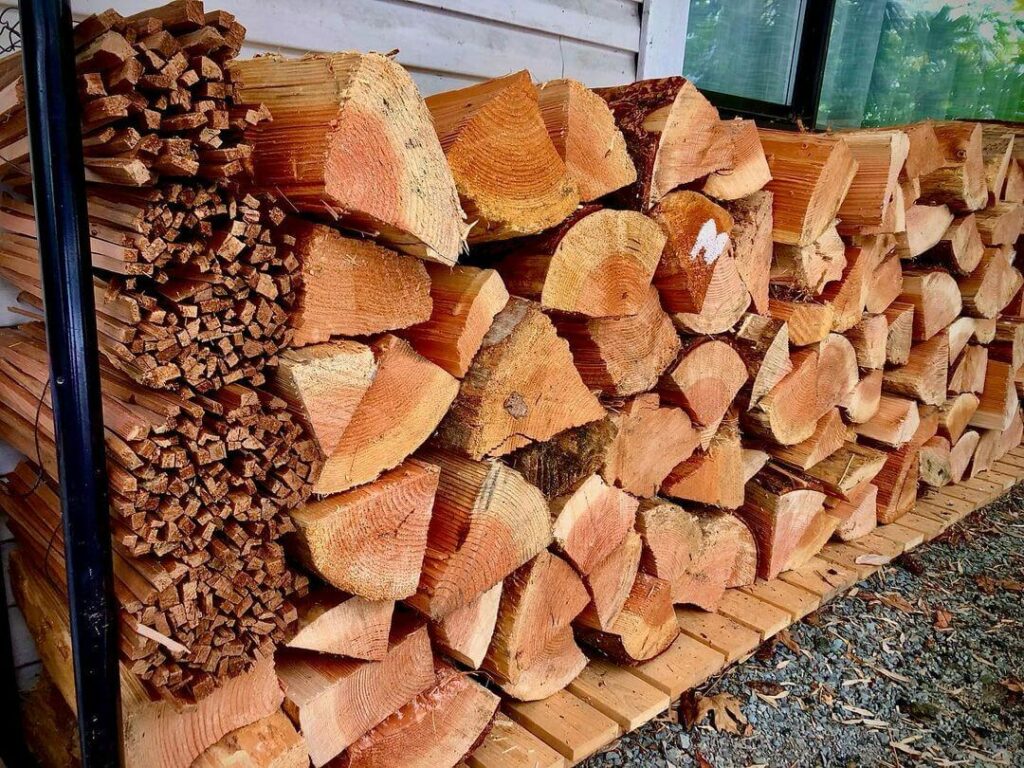
Conclusion: How Do You Keep Wood from Cracking When Drying
Given the rising costs of timber, with some being among the most expensive wood available, effective drying becomes even more crucial. Wastage is not an option, especially when every piece of wood carries both monetary and environmental costs.
Key Takeaways:
For those embarking on projects like building a backyard deck or even crafting a rustic DIY bed frame, the significance of using properly dried wood, specifically when it comes to wood for bed frames, dry lumber becomes paramount. Such endeavors demand durability and strength, and only wood that has been adequately dried can meet these requirements.

