The Best Tile Removal Tools for Remodeling
Have you ever grappled with the challenge of removing old, stubborn tiles? Grasping the correct methods and arming yourself with the right tools can turn a daunting tile removal task into an efficient DIY project, or even spark the beginnings of a potential business venture.
In a Nutshell:
The key to effective tile removal lies in selecting the right tools. For small-scale tasks, a sturdy pry bar like the Crescent Indexing Flat Pry Bar and a reliable hammer are essential. Tackling tough tiles set in mortar? Power up with the Makita Rotary Hammer Drill or the Mophorn Demolition Jackhammer. For extensive areas, consider the heavy-duty Makita Breaker Hammer. Essential safety gear, including gloves, goggles, and respirators, ensure a safe DIY experience. Choose your tools wisely based on the tile type, adhesive, and underlying surface for a successful remodeling project.
Before we get started, keep in mind that most tiles aren’t going to lift off easily, and some jobs will require some heavy-duty wrecking power. Selecting the appropriate ‘weapon’ for your specific ‘battle’ with old tiles is crucial. With the insights and tool recommendations provided, you’re now equipped to tackle those stubborn tiles like a true professional.
Comprehensive Guide to The Best Tools For Removing Tiles
Navigating through a tile removal task hinges on the selection of appropriate tools, each uniquely suited for different types of tiles and project sizes. This guide simplifies your choice, highlighting essential tools that vary in application scope and technique.
The Optimal Tile Removal Tool List
| # | Tool | Pros | Cons | Effectiveness Rating | Average Cost to Buy | Average Cost to Hire |
|---|---|---|---|---|---|---|
| 1 | Crescent Indexing Flat Pry Bar | 16-position indexing head, durable, versatile use | May be less effective on very tough tiles | 8/10 | $30 – $40 | Not commonly rented |
| 2 | Vaughan Rage Demolition Tool | Multi-functional, durable, comfortable grip | Not suitable for precision work | 7/10 | $20 – $30 | Not commonly rented |
| 3 | Makita 18V Rotary Hammer Drill | Cordless, ergonomic design, high performance | Expensive, requires additional batteries | 9/10 | $250 – $350 | $30 – $50 per day |
| 4 | S&R Tile Chisel | Effective on tough surfaces, durable, versatile | Not for delicate tile work, needs a hammer drill | 8/10 | $20 – $30 | Not commonly rented |
| 5 | Mophorn Demolition Jackhammer | High power, suitable for large projects, robust | Heavy, may cause fatigue, loud | 9/10 | $150 – $200 | $50 – $70 per day |
| 6 | Makita Breaker Hammer | Powerful, efficient, reduced vibration | Expensive, heavy, not for small-scale projects | 9/10 | $800 – $1000 | $60 – $80 per day |
| 7 | Gutster Demolition Tool | Versatile, efficient for large areas, durable | Requires physical effort, not for precision tasks | 8/10 | $100 – $150 | Not commonly rented |
| 8 | Bosch SDS-Plus Tile Chisel | High-quality material, effective for tough tiles, fits standard SDS-Plus hammers | Requires a compatible hammer, not for delicate tasks | 8/10 | $20 – $30 | Not commonly rented |
| 9 | Rigid Jobmax Multitool | Versatile, interchangeable heads, easy to use | Limited power, not for heavy-duty tasks | 7/10 | $100 – $150 | Not commonly rented |
| 10 | Dremel Multi-Max Blade | Fast cuts, quick blade changes, ergonomic | Not ideal for heavy-duty professional use | 7/10 | $100 – $120 | $20 – $30 per day |
Tile removal, often seen as daunting, can be surprisingly manageable with the right approach. In fact, using appropriate tools can increase efficiency by up to 50%, blending strength with precision to transform a challenging task into a rewarding DIY experience.
Floor And Wall Tile Removal
Typically wall tiles are applied using mastic, so with a bit of luck; they will dislodge easily. To check how your tiles are stuck, grab a chisel, slide it between two tiles, and wack it with a hammer.
Mastic set tiles usually break apart into large pieces. If the tile didn’t move or only chipped the edge, you will need heavy-duty equipment to lift them.
Removing floor tiles is no joke, and they can be incredibly stubborn to get off if they have been applied to a cement floor. It’s easy to go straight for the demolition-type tools, but the danger is that a softer undersurface can easily be damaged, which will only add complexity to the task at hand.
Regardless of the type of tiles you need to remove, you will require tools, so let’s get into it.
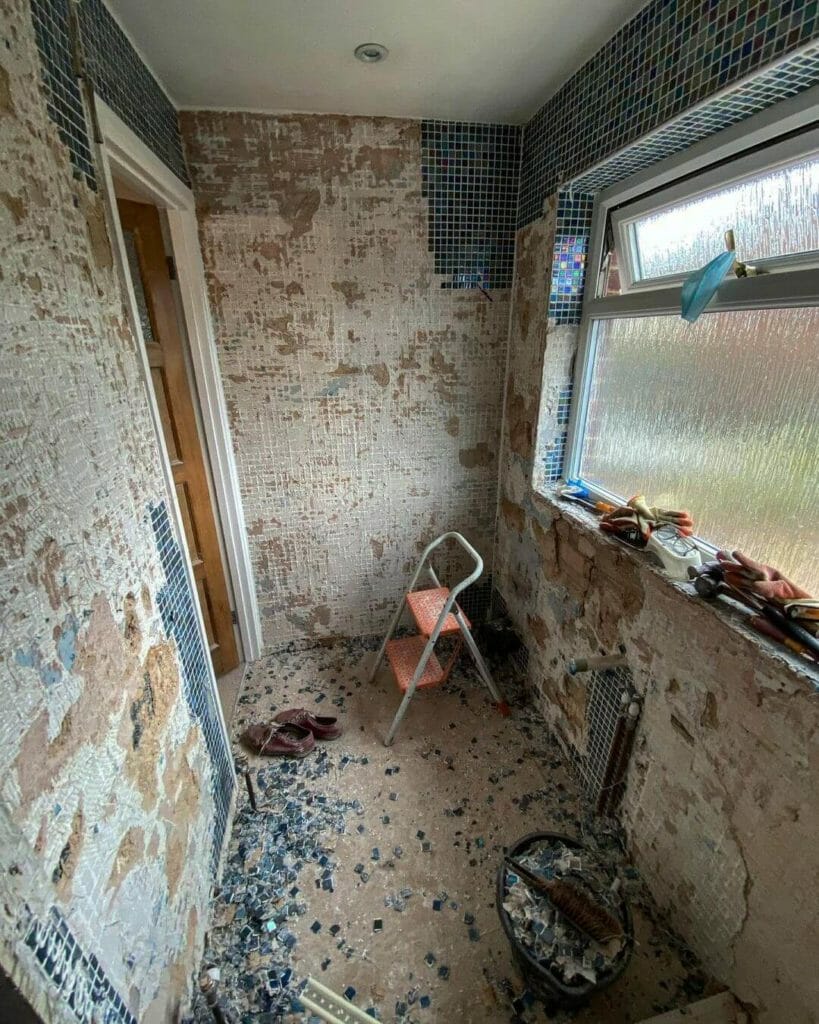
Pry Bar and Hammer
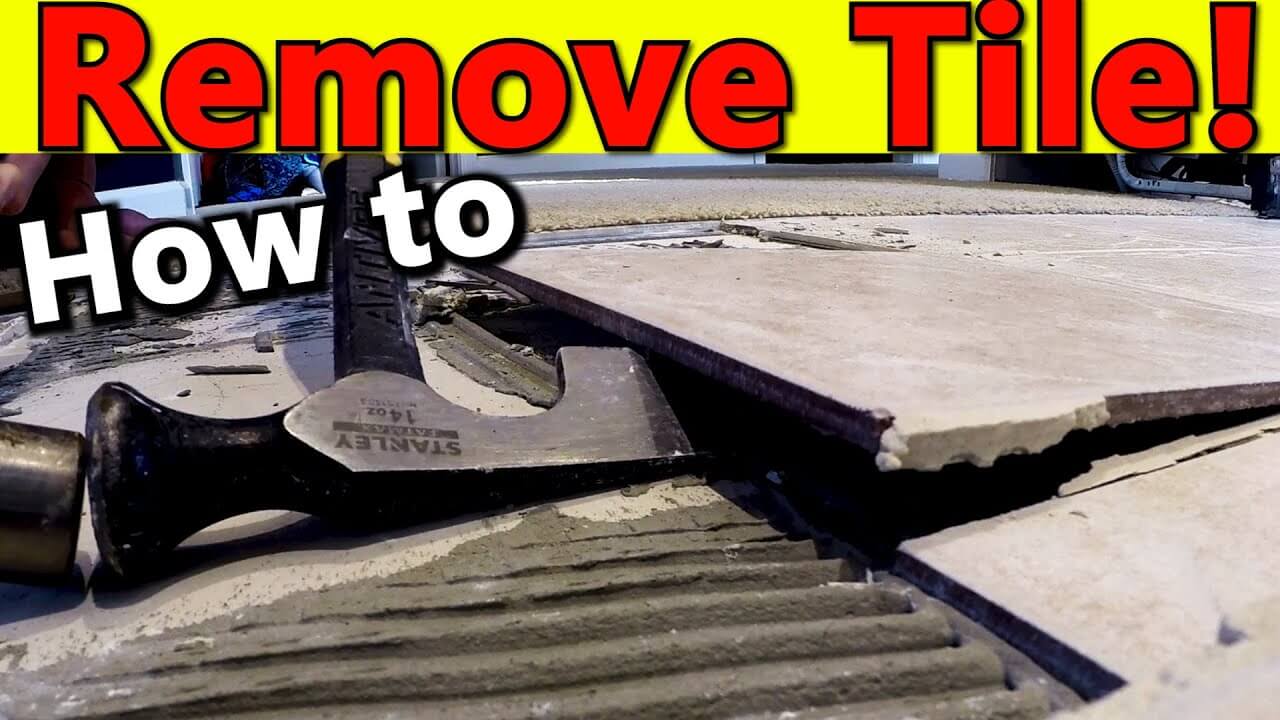
When removing old tiles, your first line of attack is to find a good spot to start and get in there with a solid pry bar and hammer combo.
You’ve probably already got a full-size hammer that will work, so let’s move straight on to the three things you need to look for in a sturdy pry bar:
Our first choice that meets all these criteria is the Crescent 18″ Indexing Flat Pry Bar. This quality pry bar is ideal for most small-scale tile-removing jobs.
Unlike a regular flat pry bar, this model has a head that locks firmly into 16 positions, so you can adjust it to work comfortably to attack the tiles at the correct angle. The raised striking surface makes it easier to hammer at the right point consistently.
Next up is the tool you probably want to own, even if you don’t have tiles to remove! The Vaughan Rage 15″ Multi-Function Demolition Tool looks like a gadget that should be strapped onto a superhero’s belt.
This inexpensive handheld chopper is ergonomically designed to lift and remove tiles using a chopping motion. For stubborn tiles, use a hammer to force the Rage’s flat wedge under tiles and then rip them out using the comfortable, impact-absorbing handle grip.
Thick Wall And Floor Tile Removal
The type of tiles you need to get off and the method used to apply them to a wall will shape your strategy. Tiles installed with adhesive backing will be less difficult to pry off than those set in a mortar bed.
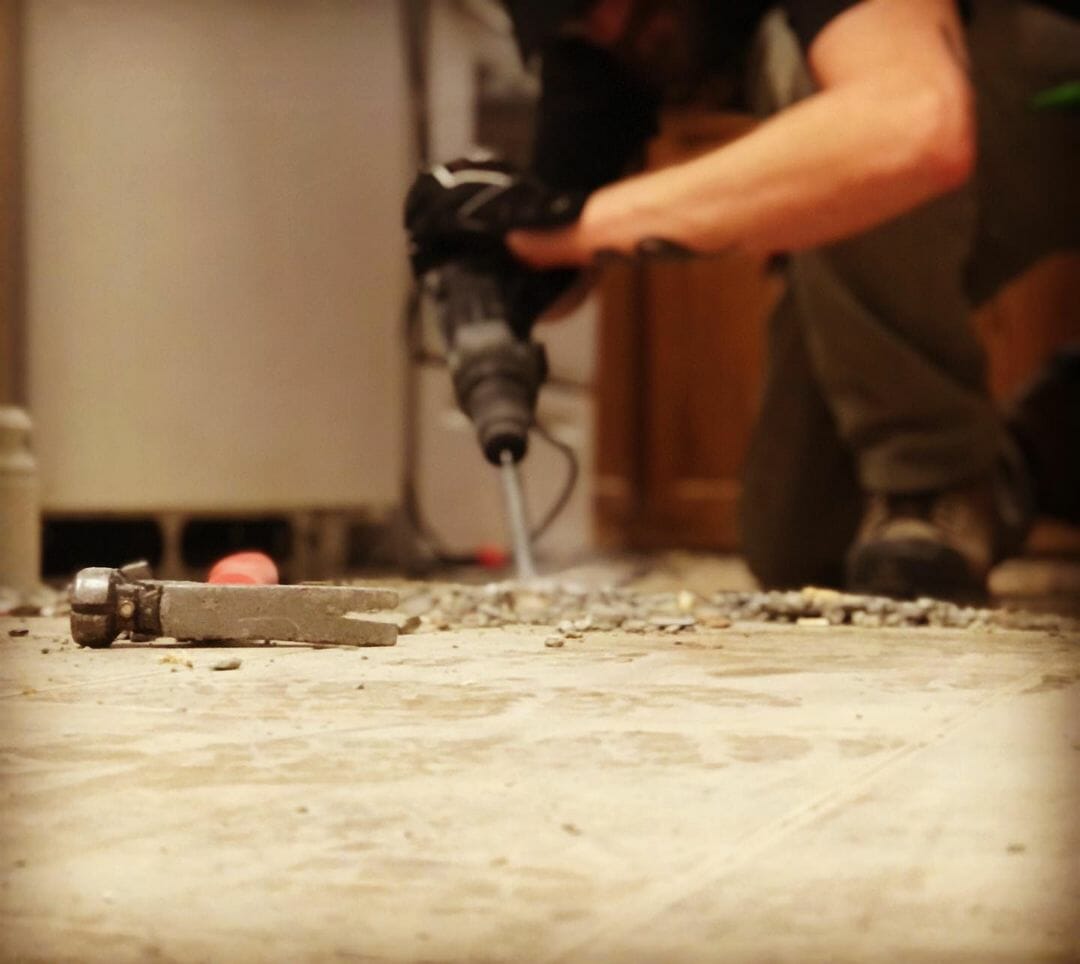
To tackle thick wall tiles that won’t budge, you need to up your game and bring in power equipment. A rotary hammer drill will speed up the job significantly.
When doing any tile removal, safety should be of paramount concern, but even more so when using power tools because bits of debris are blasted through the air, and sharp bits will fall.
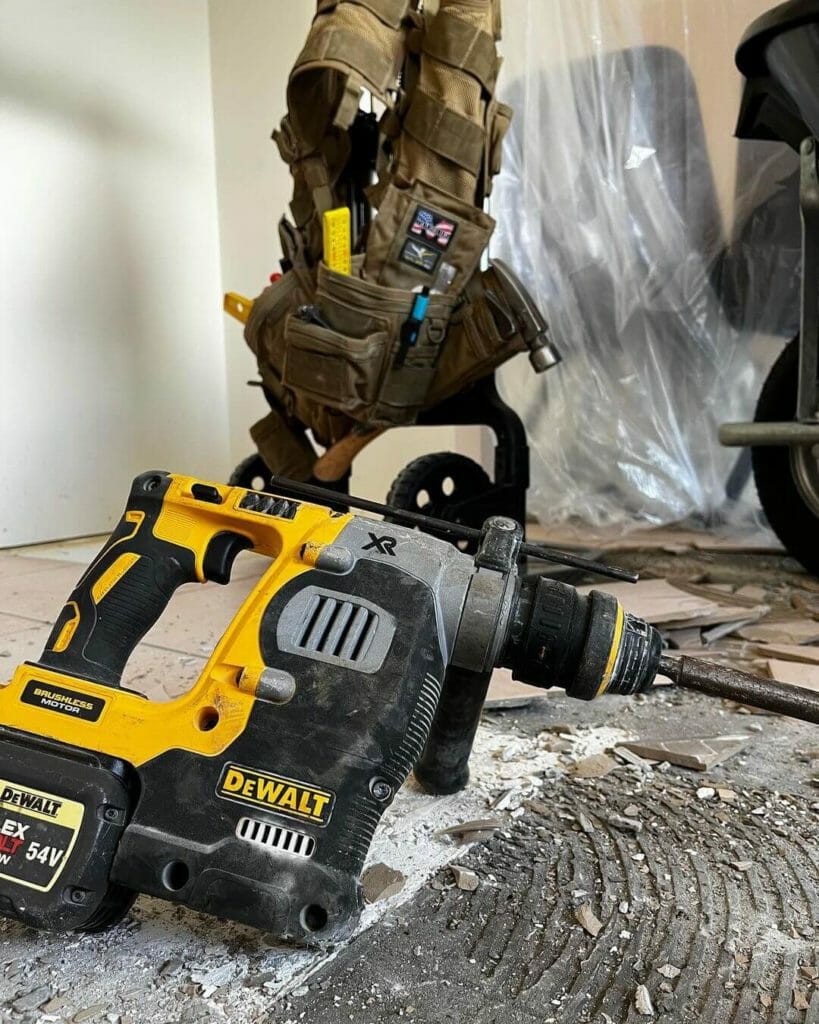
Rotary Hammer Drill
Our pick for when you need a little extra muscle to get stubborn tiles out is the Makita Cordless 18V Rotary Hammer Drill. This conveniently sized tool is easy and comfortable to maneuver across any work surface.
When fitted with a chisel, the hammer action will make short work of tiles and, at the same time, allow you to be gentle with the underlying surface. You can’t go wrong with an S&R Tile Chisel that will quickly get under tiles to power them off.
Rotary hammer-type tools are often uncomfortable to use for extended periods because of the weight and vibration factors. The Makita is one of the most comfortable rotary hammer drills. It is ergonomically designed, weighs only 7 pounds, and has a soft rubbery grip with a 2-finger speed trigger.
The cordless feature makes it convenient for working in areas where you may not have a power source, so it’s ideal for working on sheds or areas where you don’t want to run long cables.
Thick Floor Tile Removal
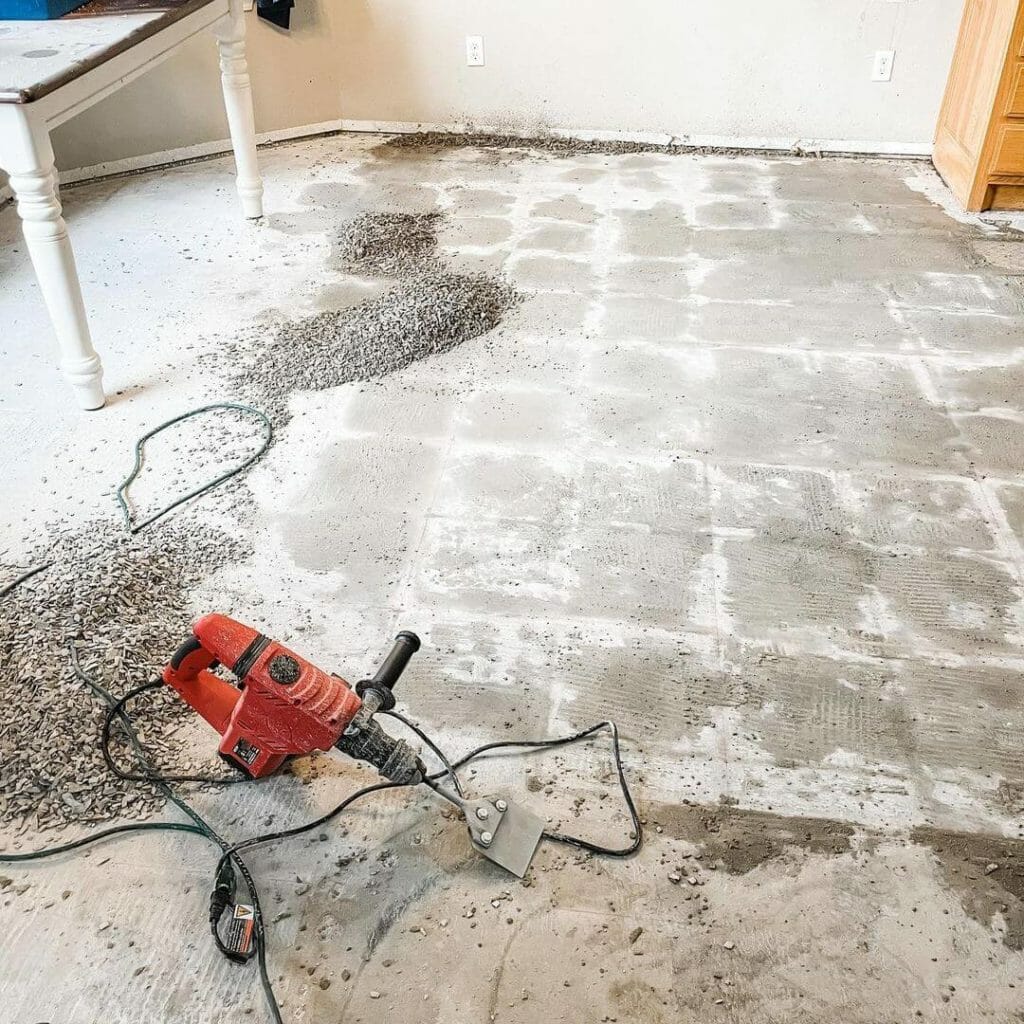
Removing thick floor tiles that have been applied with mortar is one of the most challenging surfaces to remove. Those tiles were put on to last forever and don’t lift off willingly. Establishing what lies beneath the mortar when working on a floor is important.
If the tiles you want to remove are on top of a solid concrete slab, go ahead and bring in the heavy power tools, but if they were laid on wood or cement board, going in with too much power will get the tiles off, but you may end up with a damaged subfloor.
Removing thick tiles off a floor can be backbreaking, so estimate the area of the task before you start. If it is a large space, you may be better off going straight for a heavy-duty tile-breaking machine.
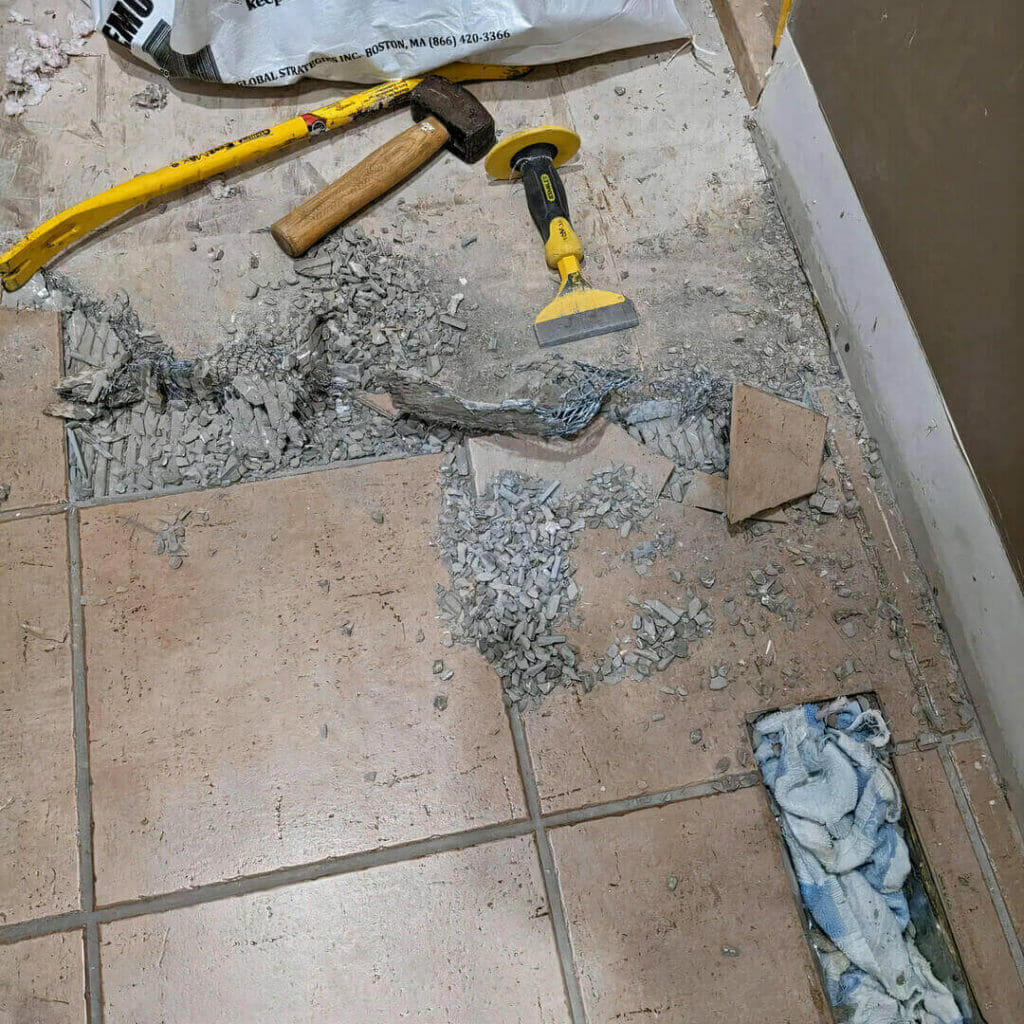
Jackhammer
A jackhammer fitted with a suitable chisel will make lifting thick floor tiles a lot quicker. Our pick for removing stuck-on thick floor tiles is the Mophorn 3600W Electric Demolition Jackhammer. It comes with a point chisel to get between the tiles and hammer out a few access points and a flat chisel to get under the tiles and power them out easily.
The Mophorn offers excellent value for money and is a versatile tool that will come in handy for more than just the once-off tile removal job.
The machine is comfortable to use, and the 3600-watt motor can deliver an impact rate of 1400 per minute. It can also be used for trenching or creating foundations for future projects, all-around a nifty addition to any workshop.
Large Surface Area Floor Tile Removal
It is best to go in decisively when you need to remove floor tiles from more than just a small space or are tackling thick tiles like cement walkways or areas around pools.
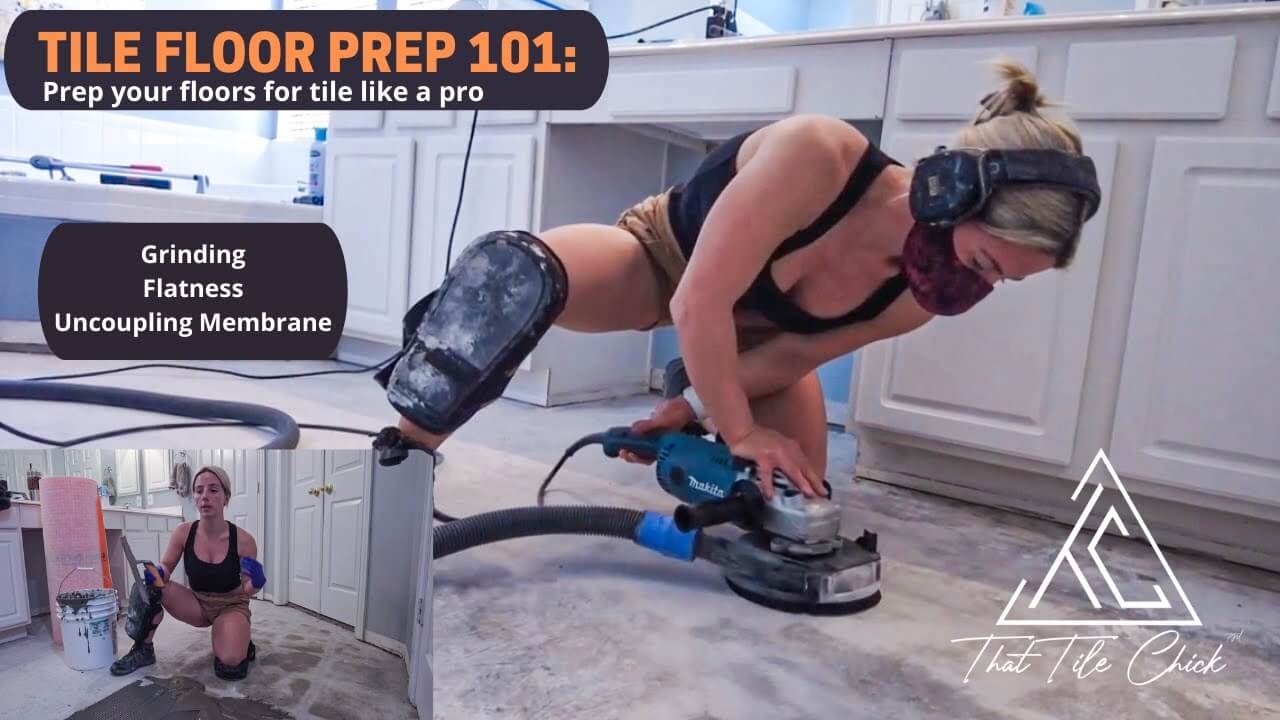
Getting the tiles out will be much more comfortable if you can stay as upright as possible and have a machine do the heavy chiseling and tile breaking.
Large surfaces need big tools to get the job done quickly. When purchasing a machine to remove a lot of tiles, keep in mind that it will be heavy, so ensure that it comes with a way of moving it around. The last thing you need is to lug a 100-pound machine across the worksite every time you need to use it.
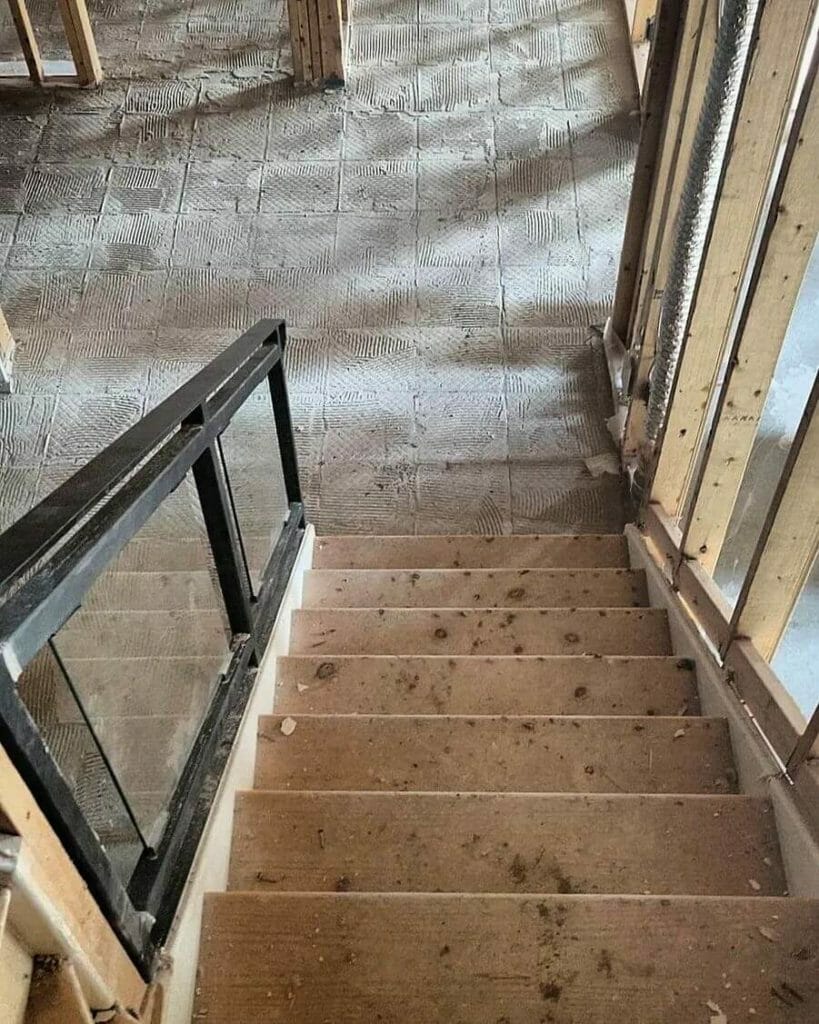
Tile Breaker Machine
When you need some brute strength to lift thick floor tiles, you can’t go wrong with a Makita HM1810 Breaker Hammer. This machine will quickly pulverize concrete and tile while being easy to operate and one of the lightest weight breaker hammers available. It does come with a handy trolley for easy transportation and a 16.4ft power cord.
Makita has a vibration reduction system called AVT which significantly reduces the bad vibes you often associate with operating these power tools. Insert the appropriate hammer accessory and let the hard-hitting breaker hammer get to work demolishing tiles. You will be done before you know it and wish you had more tiles to power off.
If you don’t have a tile-breaking machine handy, a demolition bar like the Gutster might be just the thing you need! It’s a great tool for working through a large area.
Once you have lifted a section of tiles using a hammer and chisel, you can remain standing and drive the solid fork section under the remaining tiles to lever them up.
Ideal Tile Removal Tools by Tile Type
Not all kinds of tiles are created equal, and the tools in your toolbox you choose to remove them with must match the material you are removing.
Keep in mind that your tools must be appropriate for the type of tile, the adhesive it was attached with, and most importantly, the underlying surface.
The tool you need to remove different types of tiles will also depend mainly on whether or not you are just removing a few damaged tiles to replace them.
You may like to lift some tiles intact to be reused, which will require a large tool with a broad flat base and a gentle hammer action.
Ceramic Tile
Ceramic tile is the most common type that you are likely to encounter. It is used in various applications, from bathrooms to entry halls. Like most tile removal projects, how easy it is to remove will depend on how it is stuck down.
If you are using a power tool, nothing much beats a Bosch SDS-Plus Tile Chisel. This thing will power under tiles and rip them up, and if you can get in at a good angle, there is an excellent chance that your tiles will come up in one piece. Well worth the cost.

Porcelain Tile
Porcelain tiles are popular because of their durability and excellent water resistance. This also makes them brittle and likely to smash into dangerously sharp shards.
As with any tile removal job, wear the correct protective clothing when removing porcelain tiles.
Glass Tile
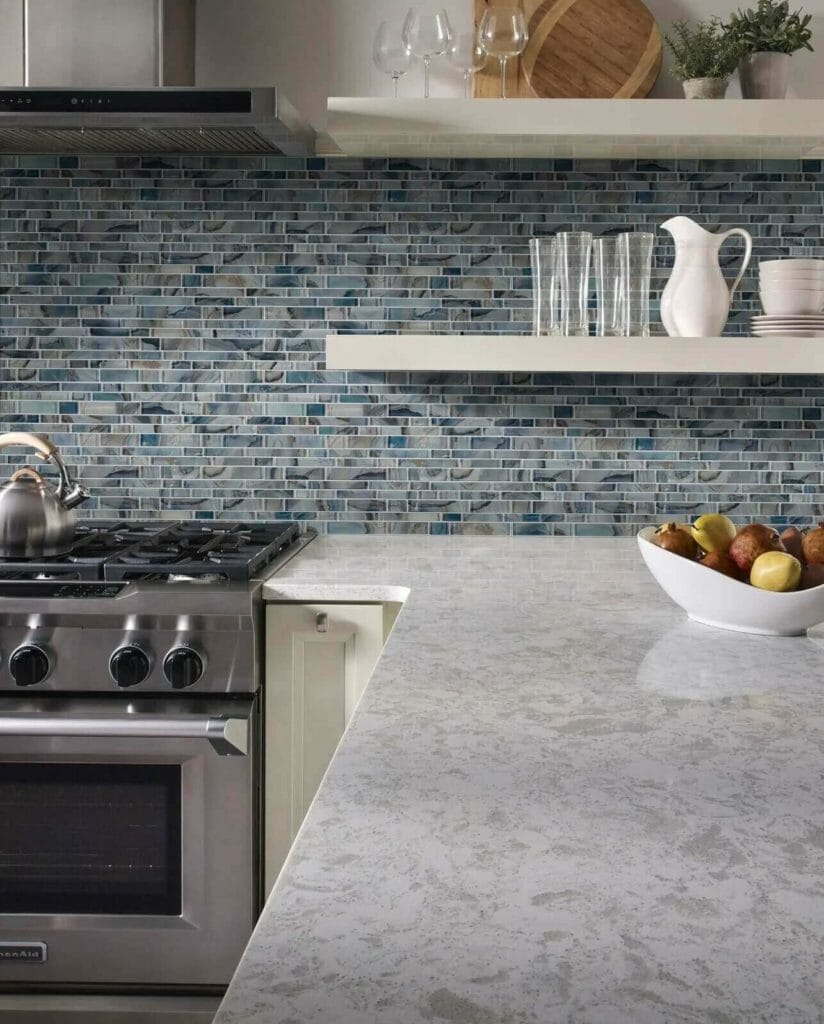
As you may have guessed, glass tile is super fragile to work with. If you aren’t careful, dangerous bits and pieces will be scattered everywhere. Glass tiles are usually made relatively thick, so it is often possible to remove them without breaking them, especially when mounted on drywall.
Fortunately, glass isn’t usually used on massive sections like flooring because, although it is durable, it is incredibly slippery.
For small areas of glass tiling where you need to remove individual tiles without breaking them, try an oscillating multi-tool with a flat chisel attachment like the Rigid Jobmax. Remove the grout around the tile, slide the flat head behind the tile and get to work slowly and patiently.
Marble Tile
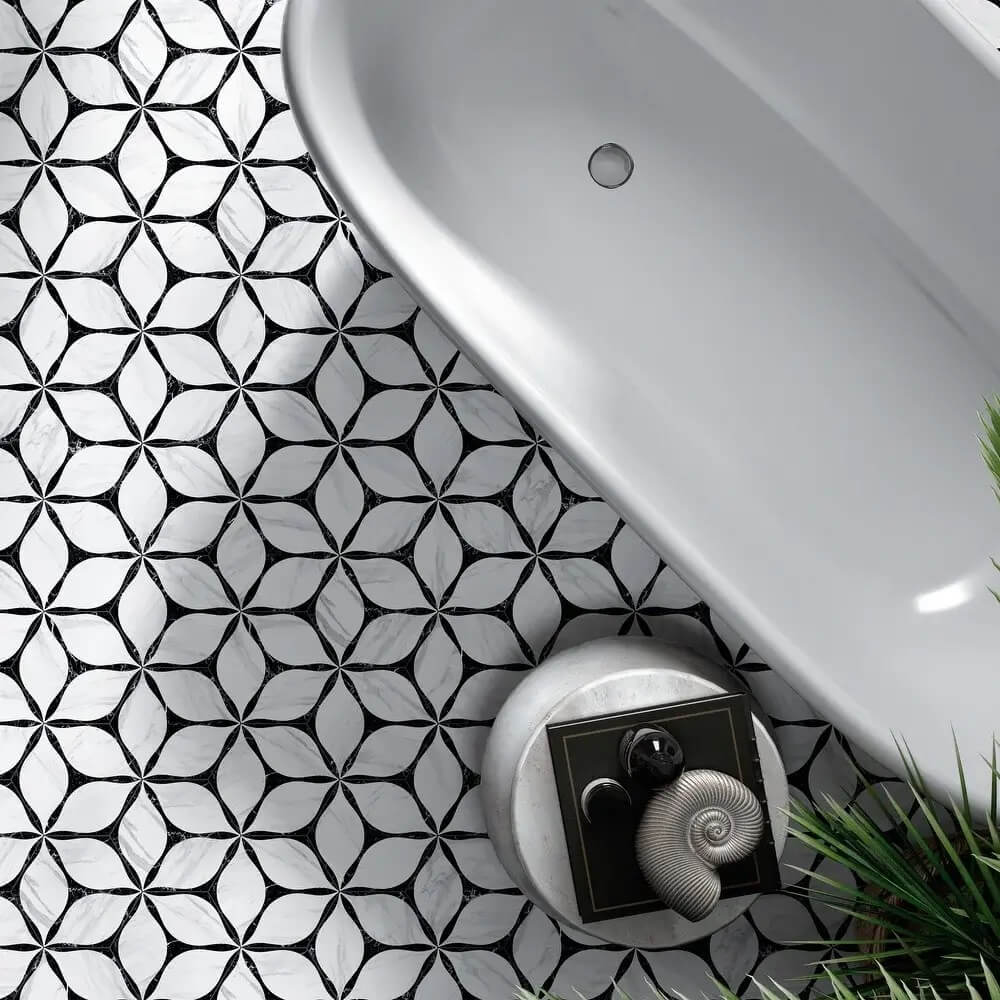
Marble tiling is one of the most expensive surfaces, but it is a porous natural material prone to chipping and staining if it is not well looked after.
Before ripping up an area of marble tiling, check first if you can resurface and re-polish the tile to restore it to its former glory. That will be a lot less work than removing the heavy stone entirely.

Granite Tile
Granite is a sturdy natural material, and tiles can often withstand being lifted without breaking. However, like all tile removal projects, if you want to save the tiles, you will need to work slowly and gently, especially for the first few, until you can easily pry beneath them.
One of the first steps to being able to unseat a granite tile is to release it from the surrounding grout.
Team up a Dremel with a Multi-Max Carbide Grout Blade, and old grout between the tiles will be a thing of the past. Then use a thin wide tool like a putty knife to slide under the first tile and jiggle it free.

Natural Stone Tile
Natural stone tiles like limestone and travertine offer a lovely earthy color but are soft and prone to damage if not regularly sealed.
Unless you remove an entire section, you will need to work extremely carefully to remove single tiles without damaging the adjacent tiles.
To remove a single damaged tile, work from the middle towards the outside to minimize the impact on surrounding tiles. They can easily crack, so chip away at the broken stone using a hammer and chisel until you reach the grout lines. Then carefully replace the tile.
Essential Equipment & Safety Gear
Hacking out old tiles is a big, noisy, dusty job. If you are armed with good tools and a fair amount of utter determination, you will save a ton of money doing the job yourself.
However, it can also be a dangerous job if you don’t have the proper safety gear. Some safety gear can be purchased in combos like the goggles, earplugs, and respirator kit from ANUNU, but chances are you’ve already got some of the items required, in which case you only need to get what you need.
Besides only protective clothing and demolition equipment, you will need an assortment of items to get your DIY project done and dusted.
Getting the tiles loose is only one aspect of the job. Getting the debris hauled away and leaving a workable surface in a usable condition is another. Let’s go through some of the essentials that you will need for most tile-removing projects.
Wheelbarrow
Tiles are heavy, and hauling them off in smashed bits can be backbreaking work. It is a good idea to dispose of tile batches as it is removed so that the floor doesn’t become slippery and is covered in sharp bits.
Having a wheelbarrow handy allows you to fill it with a sizeable amount to haul away each time it gets full.
Most people already have a wheelbarrow in the shed or garage, and there’s no need to get a special one for one tiling project. If you do want to invest in a wheelbarrow, select one that is sturdy and easy to tip with minimal lifting. It will make hauling bags of sharp tile debris outside a lot easier if you can wheel it.
Work Gloves
Working on any tiling project without a thick pair of safety gloves would be a recipe for disaster. Broken tile can be razor-sharp so protecting your hands and fingers is essential. Safety gloves used for tiling projects should have thick reinforced fingers or be made from leather.
Remember that you will need to be able to work quite precisely and grasp tools firmly when chiseling out tiles.
Safety gloves tend to be quite bulky, so it is worthwhile to spend some time finding a pair that fits well and doesn’t make your hands feel like entirely separate entities floating inside two huge sacks.
Safety Glasses
Removing tiles is always going to kick up a lot of dust. In addition, bits of tile or grout could come shooting up from the work surface. Complete eye protection is vital for everyone. Even if you already wear everyday prescription glasses, get a pair of safety goggles that will comfortably fit over them and protect every part of your eyes.
Features to look out for in safety glasses are comfort, ventilation, and dust protection. The last thing you need is constantly adjusting a flimsy strap while wearing thick leather gloves and sweating profusely.
We recommend goggles of the wrap-around variety, that are built tough and are also scratch-resistant. They will keep you comfortable and protected no matter how big the project is.
Ear Defenders
There is no quiet way to remove bathroom or kitchen tile. There is inevitably a struggle and a lot of bashing and crashing. If you use power tools, there will naturally be even more noise. So don’t forget to protect your hearing.
Safety earmuffs are available with various features, but you don’t need an expensive set for a short-term DIY project. You want to make the job more pleasant without causing permanent damage to your hearing.
A basic set of safety earmuffs will cost less than $15 and will be well worth it. They can be used for many noisy tasks, and you may even find yourself wearing them while mowing the lawn.
Respirator Mask
Hammering and chipping away at old tile kicks up a lot of dust which can be harmful if inhaled. And it’s not only the tile dust; old adhesives and chemicals can also become airborne.
Wearing a snuggly fitting respirator mask will keep you breathing easy and protect your lungs from harmful particles while demolishing old tiling.
3M has an inexpensive, half-face piece respirator mask that is perfect to wear during most home remodeling jobs. It offers an adjustable fit for comfort, is reusable, and you can replace the filters easily using a wide variety of 3M respiratory cartridges.
Best Tile Removal Tool FAQ.
If you are considering tackling a resurfacing project that requires removing bathroom shower tiles, you may feel a little overwhelmed conducting such a complex DIY task.
You are not alone, so let’s go through some frequently asked questions so you can see what your project may entail.
Is It Easy to Remove Tiles Yourself?
If you have the proper tools for the job and some determination, demolishing old tiling in preparation for a new surface can be exciting.
It is never easy to remove tiles, but it is certainly doable. It will save you a lot of cash to remove old tiling yourself, but be prepared for plenty of work, especially if the tiles are thick and set in mortar.
How Do Professionals Remove Tile?
The difference between professionals and regular home DIY projects is the size and price of their tools. Tiles can be removed using a hammer and chisel, but the same job will go a lot faster using a tile-breaking machine.
What tools are used will depend a lot on the size of the area. If it’s a small bathroom, even professionals may opt for hand tools. They would probably work faster because they have more practice!
What Is the Fastest Way to Remove Tiles?
The fastest way to remove tiles is using power tools – the bigger, the faster, the better. And if the job requires the biggest and toughest tile removal tool, you’ll likely need an electric floor scraper specifically for tile stripping.
However, before you launch into your living room or man cave remodeling job with a jackhammer, remember that you need to reuse the subsurface. So banging it full of holes, if it is wood, is probably not a good idea.
If your tiles are on a section of drywall like a backsplash, the fastest way to remove them is to cut out the entire section and replace the drywall.
How Much Does It Cost to Remove Old Tile and Install?
Removing old tiles doesn’t have to cost you anything if you are prepared to use a regular chisel and hammer and work patiently through the job. The tools you need depend on the complexity of the task and the surface area.
Tile removal is strenuous and time-consuming unless you are only doing a tiny area like a shower floor or basin backsplash. Some hardware stores rent out power tools specifically for tiling jobs, making the job far easier and more cost-effective for DIYers.
The cost of installing a new tile surface will depend on the type of tile you have selected. For example, marble tiles will cost significantly more than ceramic tiles! Choose the tile material according to its durability and how easy it will be to clean the tile.
The condition of the surface that you are re-tiling will affect the overall project cost.
The Bottom Line
Re-tiling a tired or dated surface can give your home a fresh look and feel. Removing old tiles can be difficult, but it will make the job much easier if you have the right tools.
Key Takeaways:
Before contemplating this daunting DIY task, imagine the fresh, new look of your ensuite bathroom or home basement bar as you tackle the tile removal process. Stay motivated with the vision of the stunning transformation ahead. Happy DIY tile removing folks.

