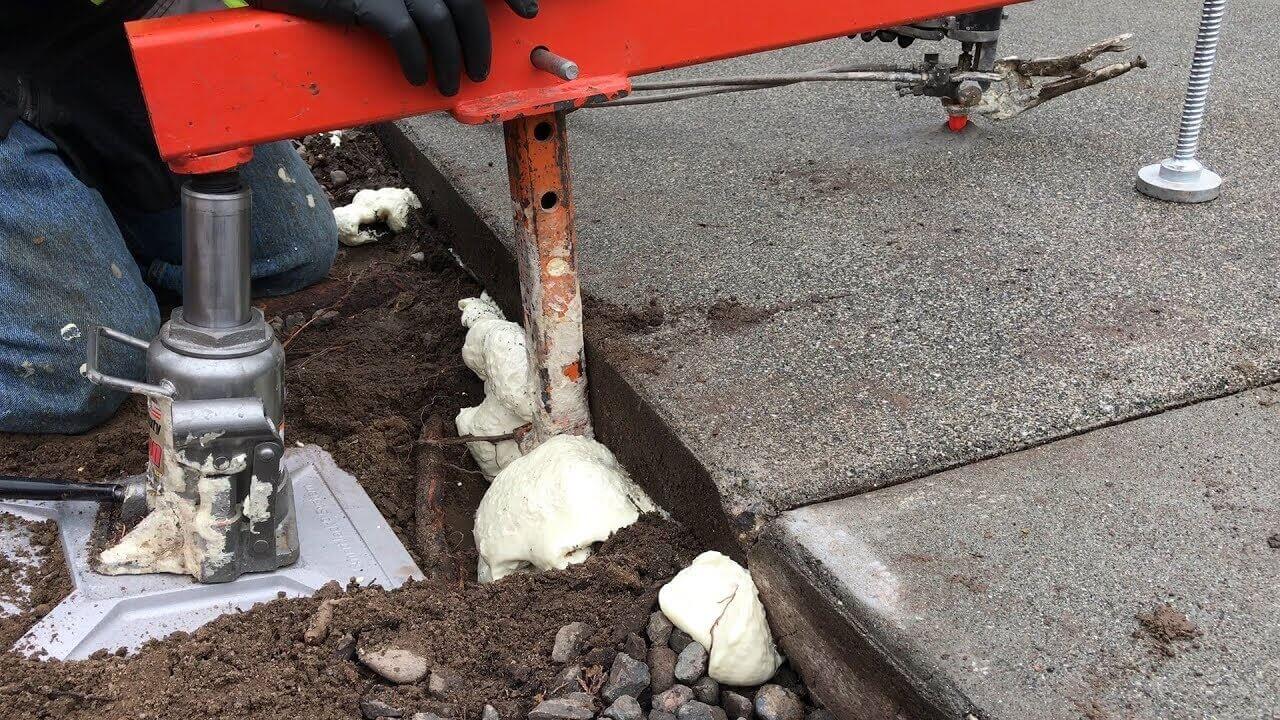
How to Raise Concrete Slab With Foam Using a Slab Jack
Tired of uneven sidewalks and driveways? Learn how to easily and efficiently raise a concrete slab using foam and a slab jack.
In a Nutshell:
Raising a concrete slab with foam involves identifying the sinking area, drilling into the concrete, and injecting expanding foam. This method is efficient, cost-effective, and can be completed quickly. First, locate the sunken area and drill holes into the concrete. Next, inject polyurethane foam into these holes, which expands and hardens, lifting the slab back to its original level. This process is not only faster than traditional methods but also causes minimal disruption and can be done in almost any weather condition, ensuring immediate use of the leveled area.
What Causes a Slab to Sink – and Methods to Prevent Sinking
Ideally, the contractor who built your home, garage, porch, or driveway will have taken the time to compress the soil below your concrete foundation.
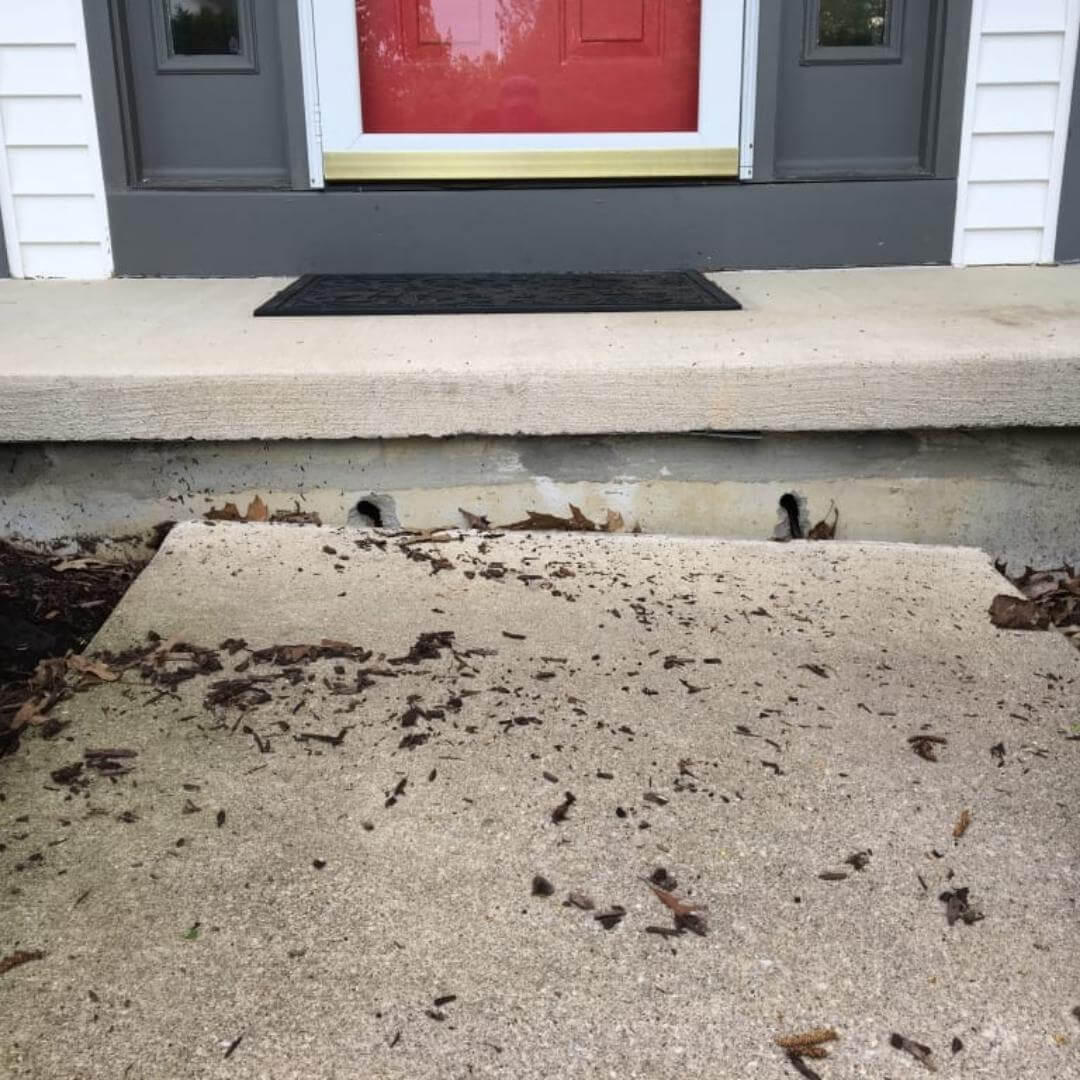
Unfortunately, some homeowners realize too late that their contractors overlooked this crucial step. The resulting insecure foundation can result in various ongoing problems such as uneven slabs, cement cracks, foundational issues, and depressions in your patio or driveway.
To prevent slab sinking, contractors should ensure that the fill earth content they are using to secure foundations includes granular particles, like a non-organic sand and gravel mix.
Then, the contractor can compact the soil with a hand-held tool for a sturdy base that can withstand the weight of a home, garage, or driveway.
Pro Tip to Prevent Concrete Slab Sinking
When it comes to construction and maintaining the integrity of concrete structures like your home, garage, or driveway, understanding the role of soil compaction is crucial. A common oversight in building projects is neglecting the proper compaction of the soil beneath these structures.
Over time, this can lead to significant issues, as the soil settles and shifts, causing the concrete above to sink and potentially crack. This article delves into the importance of soil compaction, offering a professional tip to prevent the sinking of concrete slabs and the subsequent problems it can cause to your property.
How Soil Compaction Prevents Concrete Sinking
| Key Point | Description | Impact on Concrete Slab |
|---|---|---|
| Soil Compression Overlooked | When builders skip compressing the soil, air and water remain trapped between soil particles. | Over time, the weight of the structure compacts the soil, causing sinking. |
| Pressure and Soil Shrinkage | The weight of buildings or concrete slabs squeezes air and water from the soil, leading to shrinkage. | Gradual sinking of the structure, leading to unevenness and potential hazards. |
| Foundation Shift and Damage | As the soil under a structure sinks, it can cause the foundation to shift. | Results in an uneven surface, creating dangerous conditions and possibly cracking the concrete. |
| Benefits of Soil Compaction | Proper compaction minimizes spaces between soil particles, removing water and air. | Provides a stable base that resists erosion, prevents settling, and supports the structure’s weight. |
| Signs of Improper Compaction | Indications include concrete slabs dipping to one side or visible unevenness. | Often due to voids from water, air, erosion, or soil shrinkage, requiring concrete leveling. |
| Preventative Measures | Ensuring soil compaction during the building process. | Avoids future problems and maintains structural integrity and aesthetics of your property. |
Note: Achieving 95% soil compaction is crucial for a stable foundation, effectively preventing concrete slab sinking and ensuring long-term structural integrity
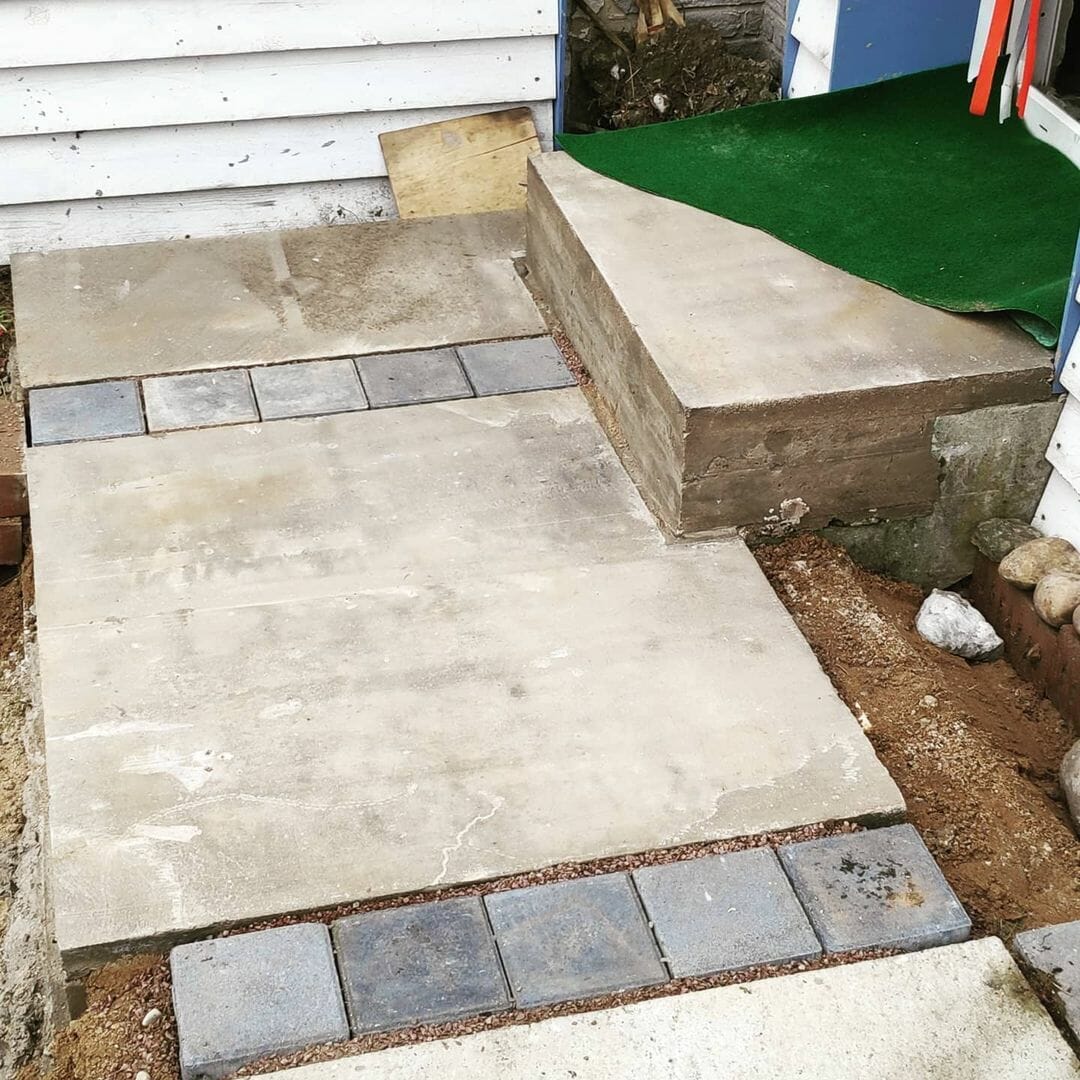
Is Slab Jacking Worth It? Benefits of Lifting Concrete Slabs
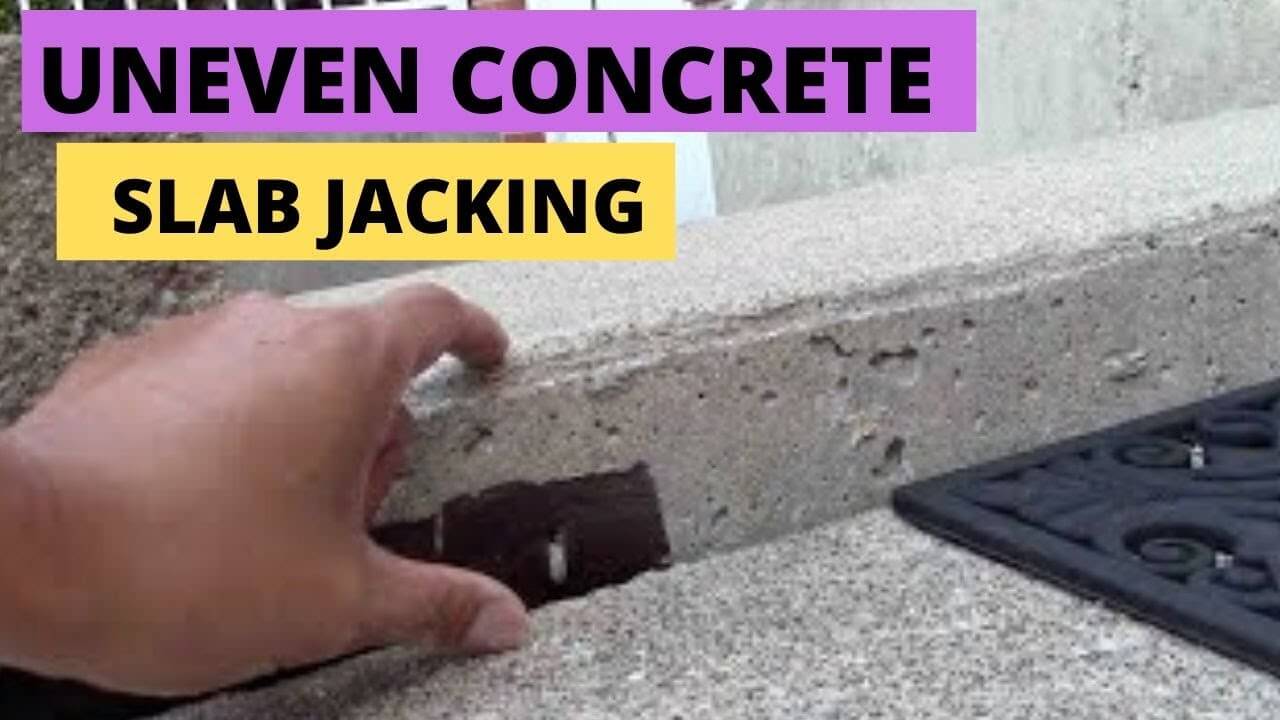
Slab-jacking – also known as “mud-jacking” or concrete leveling – may seem like quite the undertaking for the inexperienced repairman.
However, even a novice can take on a quick repair in their free time, in many cases, using only a few tools and a hardening filler material like polyurethane or grout.
While some professionals may prefer to replace sunken or damaged cement, a self-hardening polyurethane mixture offers several advantages to grout when it comes to repairing a sunken slab:
Additionally, slab-jacking won’t disturb your neighbors with loud noises, clouds of dust, or errant debris.
Your rock drill, shop vac, and pump can make quick work of a sunken slab, allowing you to get back to your weekend or evening with your friends and family before you know it.
Three Ways to Raise Concrete Slabs
Depending on your budget, available equipment, and repair demands, you have several leveling solutions from which to choose.
Select the option that best suits your needs and that works with the equipment you can easily access while solving the unsightly problem of uneven concrete.
1. DIY Concrete Leveling With a Pump
Concrete leveling with a pump can save your sunken concrete slab, especially when you can’t lift the slab with a concrete jack. The slabs may touch your home or garage, or the size of the slab may require a professional-grade jack to lift the section of your porch, driveway, or sidewalk.
Pros
You can quickly level your sidewalk using a pump. You will exert less effort and won’t even need a bucket for mixing the filling solution.
Cons
While not as expensive as hiring a professional, purchasing or renting a pump will cost more than hand-pouring and leveling by hand.
2. DIY Concrete Leveling Without a Pump
If you can lift your slab with a jack and access the void, you may choose to level your concrete without a pump.
That said, you should survey the area to ensure that you will be able to feasibly dig below the slab and safely place a jack to lift your slab. Typically, these cement pieces do not touch your home and are of a smaller size.
Pros
Leveling without a pump will cost significantly less than purchasing or renting a pump to apply the foam filler.
Cons
While saving you money, the required time, effort, and precision necessary to lift the concrete, mix the foam solution, and pour the foam under the slab will consume most of your day off. Additionally, manually pouring the foam demands strict timing and precision work to ensure even application.
3. Call a Professional
Some situations require expert help. If you have no experience with leveling a concrete slab, or if the job is too big, you may choose to call a professional.
When you hire an experienced contractor, you can relax, focus on other tasks, or enjoy time with your family rather than struggling with a concrete jack and pump.
Pros
All you need to do is call a contractor, set up an estimate, and book the repair appointment to restore your sunken cement. You can also have large slabs or delicate areas repaired without the hassle of doing it yourself.
Cons
Professional concrete leveling will cost significantly more than doing it yourself. However, you may prefer to enjoy the hours – and energy – that you can save by calling in a pro.
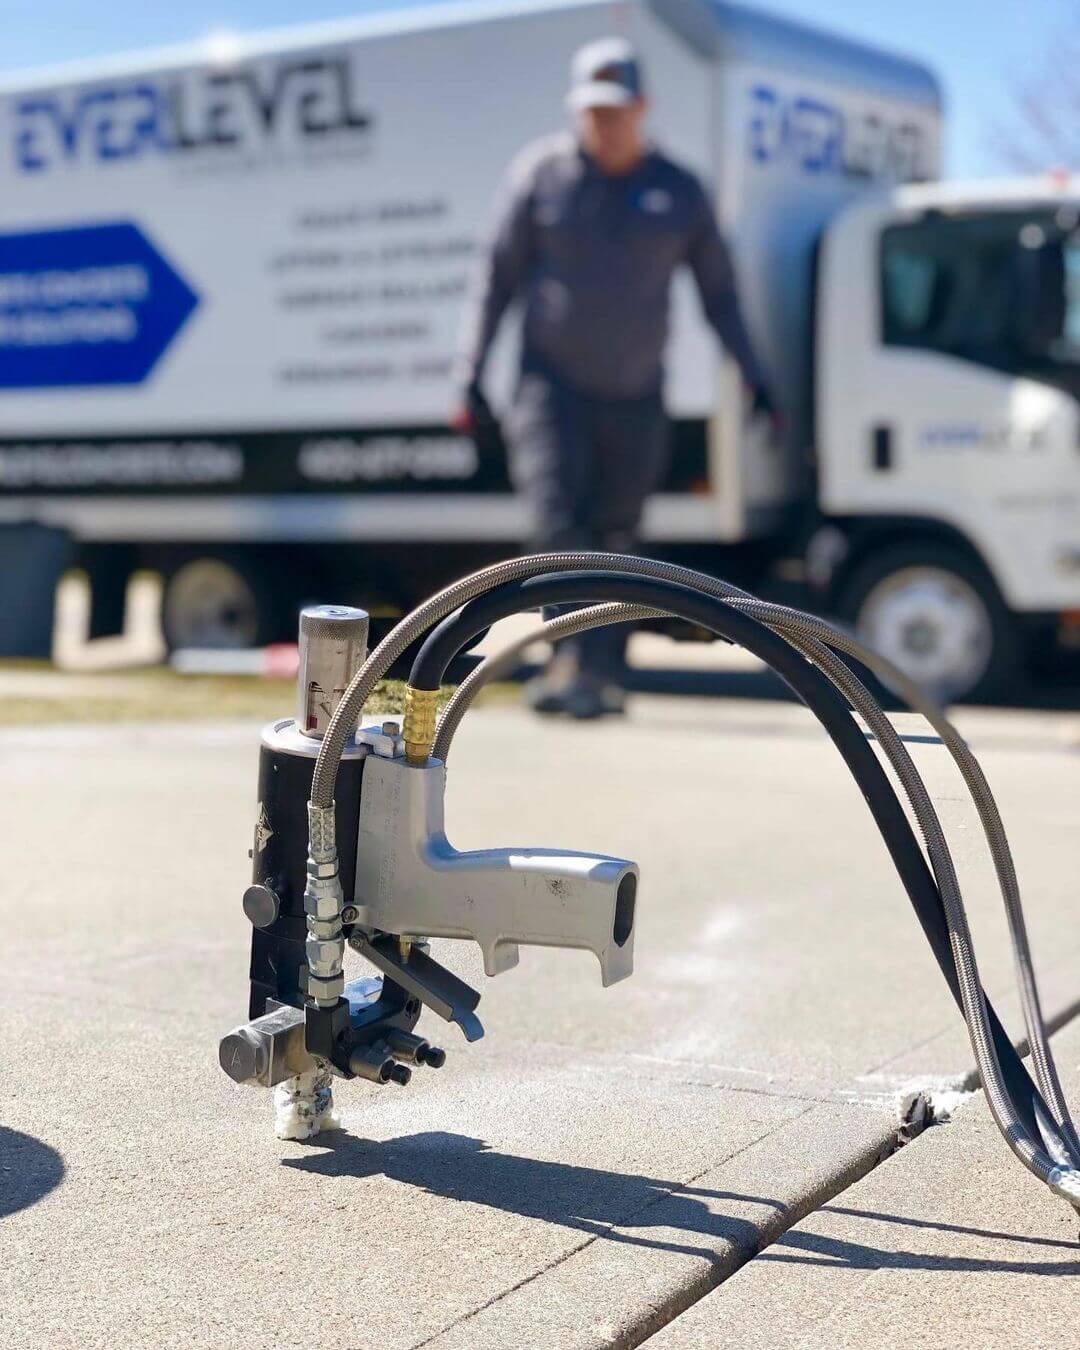
What You Will Need To Level an Uneven Concrete Slab Using a Slab Jack
Rock Drill and Masonry Bit
Your drill will need to be powerful enough to drive at least one hole into your concrete slab. With that in mind, source a cordless rock drill since a corded drill may not reach your sidewalk or driveway unless you have a very long extension cord.
You will also need a 1/2″ or 5/8″ masonry drill bit to drill through your slab. Masonry bits have an arrow-shaped head constructed from sturdy steel and can drill holes into solid materials like brick, concrete, or stone.
Both the 1/2″ and 5/8″ bit size will drill an opening large enough to inject the expanding foam. When you’ve finished the job, you can quickly patch the holes and smooth out the surface of your concrete.
Carpenter’s Level and Chalk
After you locate the dip in your concrete, you will use the level and chalk to mark the highest point before the descent begins. Then, you will make a mark every six inches across the uneven or depressed area.
These marks will determine where you should drill to inject the foam foundation below the surface of your concrete, while the level will also assist in pouring the correct amount of foam into each hole.
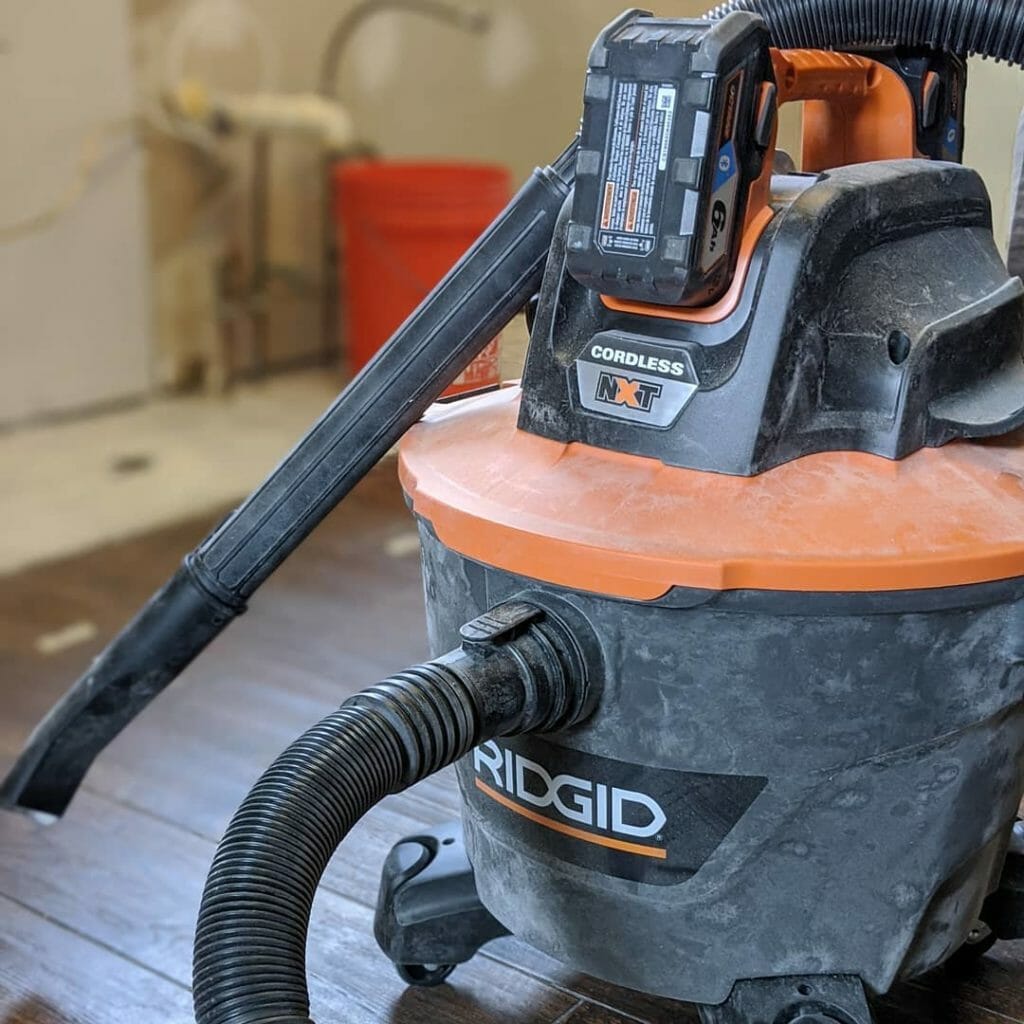
Shop Vacuum
A wet-dry shop vac will help reduce dust and debris due to drilling. The strong sucking power removes small pieces of leftover concrete from the drill holes, resulting in easier foam application.
Please keep in mind that an indoor vacuum cleaner cannot substitute for a shop vac during home improvement projects.
A Concrete Jack
A concrete jack will lift the sunken slab so you can access the foundation beneath it. You don’t need to go all-out here in terms of the dollar value.
Choosing a short, solid bottle jack will reduce the amount of digging you’ll need to do before getting started while also ensuring that your jack has the strength to raise your slab safely.
Pump and Hose
Using a pump and hose to fill the void below your slab can help ensure a level, accurate application.
Before purchasing or renting a pump and hose, double-check to make sure that your pump will work with the type of soluble foam mixture you choose.
If you’re unsure what kind of foam you will use, obtain a pump and hose that will spread both water-soluble and oil-soluble foam solutions.
Polyurethane Foam vs. Mudjacking
Many homeowners and professionals prefer using foam for lifting concrete instead of mud-jacking – which involves leveling slabs using grout – for several reasons.
Firstly, even the most novice repairman can efficiently work with foam, while grout is more challenging. Secondly, foam won’t settle after it hardens as grout does – ensuring that your slab will remain level for years to come.
Lastly, foam typically requires less mixing and cleanup than grout, making it a desirable option for homeowners with little experience repairing unlevel slabs and even less free time to improve their curb appeal.
Even so, some contractors and DIY warriors prefer to use grout when leveling slabs. Utilizing grout closely mirrors the foam injection process, so feel free to choose the product that suits your taste for a quick, simple job well done.
Concrete Mix
Use a rapid-setting concrete mixture containing a combination of limestone, fly ash, and sand to patch the drill holes when you’ve finished applying the foam.
You’ll also need at least a 5-gallon mixing bucket, although any bucket will do as long as you can measure and mix the right quantities.
How to Level a Concrete Slab Using a Jack
Before you begin your slab-leveling project, gather your tools and locate the area of the dip or depression in your concrete.
While you can perform a slab-leveling repair in almost any kind of weather, you may want to choose a dry day to ensure that the foam will harden quickly and moisture won’t cause the soil to sink deeper below the concrete.
Clean the driveway or sidewalk and remove any toys, automobiles, or debris. Sweep or blow the concrete to clear the remaining dust and dirt, then grab your level and a piece of chalk.
Mark the initial dip in your concrete using the tools. Then, make notches every six inches along the mark to indicate the location to drill the holes.
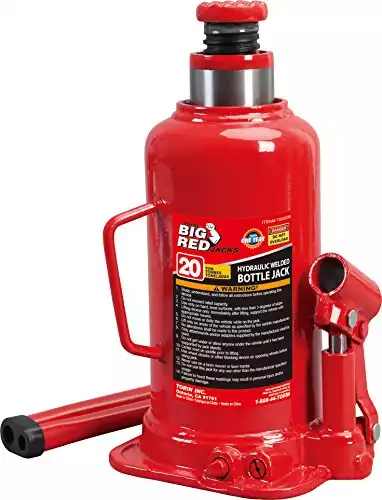 BIG RED T92003B RedTorin Hydraulic 20 Ton Welded Bottle Jack
- High-quality hydraulic bottle jack allows you to lift up to 40,000 lbs of dead weight from 9-1/2" to 17-3/4" lifting range.
- An extra-wide flat base adds stability and reduces "sinking" on softer surfaces which make this jack ideal for lifting concrete.
- Engineered using a drop forged alloyed steel construction for quality and durability; as the Inner/outer welded structure delivers leak-free performance.
- Built to exceed the highest of safety regulations as it meets ASME PASE standards and includes a limited 1-year manufacturer warranty.
Step 1: Drill holes in the slab
Using a 1/2″ or 5/8″ masonry bit and a low setting on your drill, slowly begin to drill into the concrete. Take care not to work too quickly, as the sudden impact can create cracks in the concrete and dull the bit due to overheating.
Drill until the bit passes through the cement, leaving a hole around the size of a dime. Repeat the same process for each additional mark.
When you’ve finished drilling, use your wet-dry vac to vacuum dust and debris from the holes, taking care to set some of the concrete dust aside to mix with your concrete patch later.
Step 2: Use a concrete jack to raise the slab
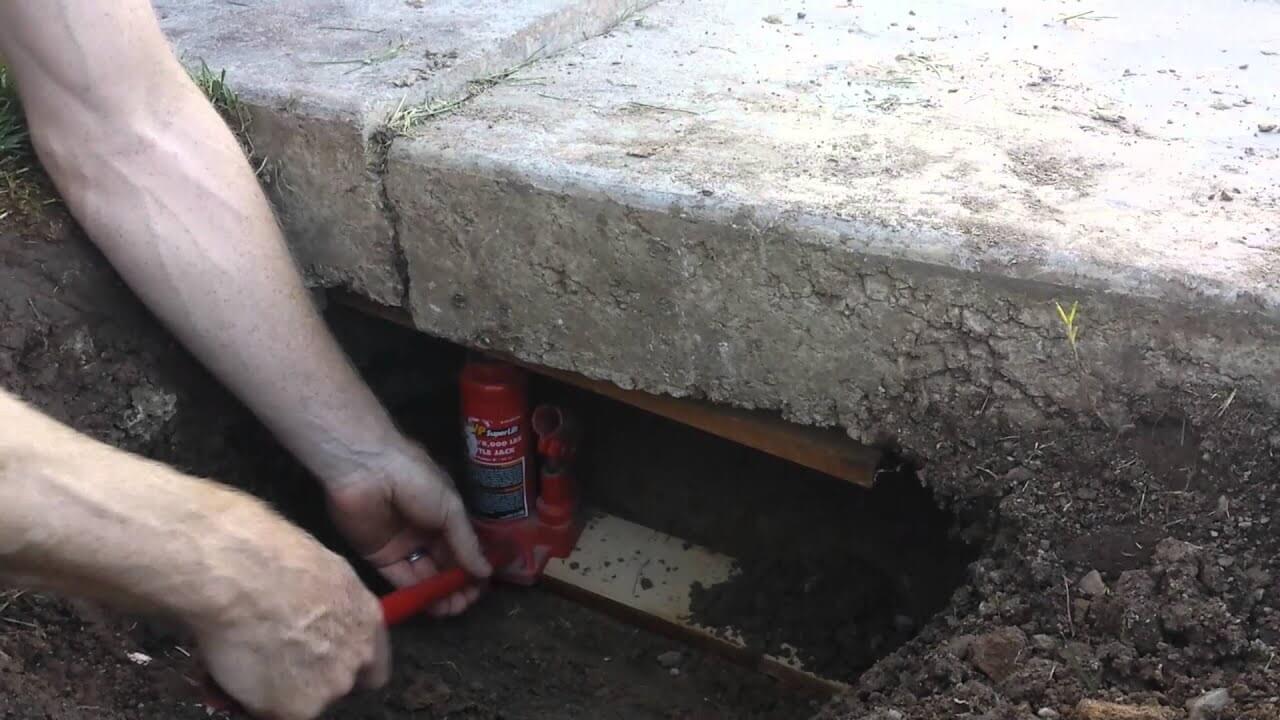
Place your concrete jack against the side of the hollow or crooked slab. Depending on the dip’s location, you may need to remove one to two feet of sod along the side of the slab to secure the jack correctly.
While the foam will expand and lift the concrete even without a jack’s help, you can ensure a perfectly level slab by lifting the concrete before injecting the foam.
Step 3: Fill holes with the foam mixture
Once you’ve mixed both parts of your foam solution, carefully pour the solution into the barrels of your pumping device. Place the hose into the hole at the highest point of the depression, then rest your level against the concrete slab.
Slowly begin to inject the foam into the hole. As the concrete slab begins to lift, keep an eye on the level to avoid using too much foam. Check to ensure that the mixture doesn’t overflow the holes or seep out of the side of the slab. If you detect leaking or seepage, slow your pace and allow the foam to set before continuing.
Move to the next hole, then repeat the process to fill each hole. When you’ve finished injecting the foam, your slab should rest evenly against a neighboring level slab.
If you did experience an overflow, allow the foam to harden. When the foam sets, you can break or sand off the excess before sealing the holes.
Step 4: Patch the holes with concrete
When you’ve filled all of the holes with foam, mix your quick-setting concrete with the concrete dust you gathered before vacuuming.
Combining the old dust with the new grout mixture will help camouflage the patches for a near-seamless finish.
Using a grout bag to spread a small amount of cement in each hole will reduce cleanup. Fill the holes to the rim, then use a steel towel to smooth out the cement’s surface. Patch one hole at a time to prevent the grout from hardening and leaving a lump in your slab.
If you don’t have access to a grout bag, you can use the trowel to scoop the cement into the holes and then even out the surface.
Step 5: Enjoy your newly-leveled cement slab
After you’ve finished raising and patching your concrete, you can use your driveway, sidewalk, or patio in about 30 minutes.
Take care to let the foam harden for a half-hour before walking, driving, or replacing furniture to ensure that your concrete stays leveled and smooth.
How to Manually Apply Leveling Foam
If you don’t have access to pumping equipment, don’t worry. You can still take on this home improvement project.
Homeowners can easily pour the foam by hand through drilled injection holes, although the manual application method requires more time, elbow grease, and precision when placing the foam.
Choose the technique that works best for your project, budget, and available tools. Both options will result in elevated slabs that will look great and last for decades.
Alongside the equipment mentioned above, the manual application option requires:
Step 1: Prep your concrete
Clear your driveway or sidewalk of any debris, organic material, cars, or furniture, then sweep or blow the area clean.
Gather your equipment, foam solution, and quick-setting concrete, placing all materials nearby.
Finally, locate the dip and mark the location of the uneven cement. Create a notch every six inches to guide the hole-drilling process.
Step 2: Drill and vacuum
Using your masonry bit, slowly penetrate the cement to avoid cracks or dulling the bit. Pierce a hole for each chalk mark.
When you finish drilling, vacuum the debris from the area. Remember to save a small amount of dust to mix with the patching material for an even concrete color.
Step 3: Fill the holes with foam
Pour a small amount of both parts of the foam into your quart bucket to test the speed at which the foam mixes and sets. Use your mixing attachment to blend the solution and time its rising rate.
While this step may seem unnecessary, you will need to move quickly when hand-pouring foam. Gauging the foam’s mixing and setting time will allow you to work methodically and reduce cleanup or wasted materials.
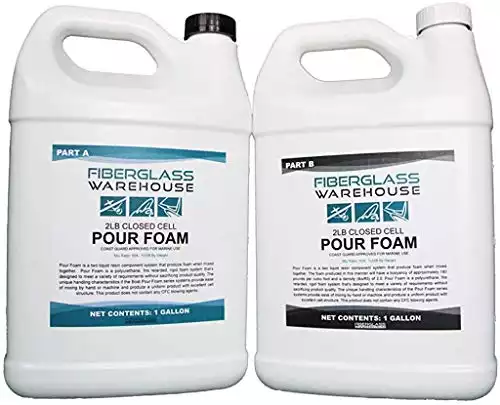
After determining how quickly the foam sets, mix one gallon of solution part A with one gallon of part B in a five-gallon bucket lined with plastic. Mix for roughly 15 seconds with your powered attachment or until the two parts have combined thoroughly.
Place a funnel in the first hole and begin to pour the foam mixture into the opening. Once you’ve filled the first hole, repeat the mixing and pouring process for each of the remaining holes.
Step 4: Clean and sand excess foam
The hand-pouring method often results in some overflow of foam. If foam spills onto your driveway, don’t worry. The foam will harden in about 30 minutes, enabling you to break the foam off your driveway.
You can also use sandpaper or an electric sander to remove any leftover residue on your sidewalk or driveway.
Step 5: Patch the concrete with a quick-setting concrete mixture
When you’ve filled all of the holes and removed the excess foam from your slab, grab the quick-setting cement mixture and mix it with your original concrete powder to ensure consistent color in your grout.
Use a grout bag to apply the cement, or transfer small amounts of the batch using a steel trowel. Fill and smooth the top of the first hole, then move to the rest of the holes, filling with grout and leveling to patch the injection sites.
Common Concrete Leveling Problems and Solutions
Both of the methods detailed above will result in a leveled slab. However, every project has its unique challenges and can reveal some common problems.
When working to raise an uneven slab, you should always inject foam – or grout, depending on your preferences – slowly. Pumping too quickly can cause cracks to form, enlarge existing fissures, or lift the slab too high.
Alternatively, if you notice foam or grout seeping out of the side of the slab, you may need to slow your pace as well. Allow the existing foam to set before resuming application.
If the foam spills out of the hole or won’t sink below the slab, drilling deeper into the soil below the slab may help. You can also try using your shop vac to suck out blockages caused by debris or blow air into the holes.
In Conclusion
Before getting started, ensure that you have a rock drill, masonry bit, the right type of hammer for concrete, and expanding foam or grout mixture to get the job done.
Key Takeaways:
Most importantly, work slowly, make sure that your tools are in good shape before and during the repair job, and use gloves and goggles to prevent personal injury while repairing sunken concrete.

