
The Shed-to-Office Conversion: What the Project Actually Involves
Converting an existing shed into a home office is one of the most cost-effective ways to add dedicated workspace without a room addition or a new structure. Done properly, it produces a year-round professional space. Done improperly — skipping insulation, using inadequate electrical, or not addressing moisture — it produces a space that's uncomfortable to use and deteriorates within a few years.
This guide walks you through every stage in the correct order, with cost estimates at each step.
Stage 1: Structure Assessment
Before any conversion work begins, assess the shed honestly.
Shed Assessment Checklist
Stage 2: Insulation
Insulation is the single most important upgrade in a shed conversion. An uninsulated shed is uncomfortable from October to April in most climates, and unusable in temperature extremes.
For a shed used as a year-round home office in a temperate climate.
Total insulation cost (DIY, 10×12 shed): $400–$900 depending on specification and existing framing condition.
Stage 3: Electrical
A shed used as a daily office needs a dedicated electrical circuit from the house. An extension cord run through the window is not safe, not code-compliant, and not adequate for a workday's worth of computer, monitor, and HVAC power.
What you need:
- A dedicated 20A circuit from the house breaker panel to the shed
- A sub-panel in the shed (strongly recommended if running multiple circuits)
- Minimum 4 outlets inside the shed (2 on the work wall, 2 general)
- A separate circuit for HVAC if installing a mini-split
How it gets there:
- Buried conduit (recommended): PVC conduit buried 18–24 inches below grade, from house panel to shed. Permanent, code-compliant, invisible after install.
- Overhead cable: SER or SE cable from house to shed on a support wire. Requires 10 ft clearance above ground at lowest point. Simpler but visible.
Cost: $500–$1,500 for a typical 60-ft run by a licensed electrician. DIY is possible in some jurisdictions with homeowner permits — check local code before attempting.
Electrical Run — Cost by Method (60 ft typical)
Stage 4: Internet Connectivity
For a daily work-from-home office, internet reliability is not optional.
Options in order of reliability:
- Ethernet over buried conduit — the best option. Run Cat6 alongside the electrical conduit (separate from the power cables, in the same trench). One-time cost, permanent solution. If you're digging for electrical, always run internet at the same time.
- MoCA adapter — if existing coax cable runs to the shed. MoCA 2.5 delivers gigabit speeds over coax. No new trenching needed.
- Point-to-point wireless bridge — two directional antennas (one on the house, one on the shed) linked line-of-sight. TP-Link CPE510 is a reliable $40–$60 per unit option. Requires clear sightline.
- WiFi extender — last resort. Adequate for light browsing, not reliable for daily video calls.
Stage 5: Flooring
Correct flooring for a converted shed office:
- Luxury vinyl plank (LVP) over foam underlayment: $2–$5/sq ft, DIY-friendly, warm underfoot, moisture-resistant. Best overall choice for a shed office.
- Engineered hardwood: more premium look, $4–$8/sq ft. Requires a consistently humidity-controlled environment.
- Laminate over foam: acceptable budget option ($1.50–$3/sq ft). Not suitable in high-humidity environments — laminate swells.
Avoid: carpet (humidity and allergens), bare concrete (cold and hard), regular hardwood (movement with shed humidity fluctuations).
Stage 6: Interior Finish
For a professional workspace, the interior finish matters. The minimum professional standard:
- Walls: drywall (1/2-inch) or 5/8-inch T1-11 plywood panelling. Paint in a neutral, non-distracting colour.
- Ceiling: drywall (preferred) or tongue-and-groove panelling. A dark ceiling (charcoal, navy) makes a shed feel intentional.
- Lighting: two LED ceiling fixtures on a dimmer + a task lamp at the desk. 4,000K colour temperature.
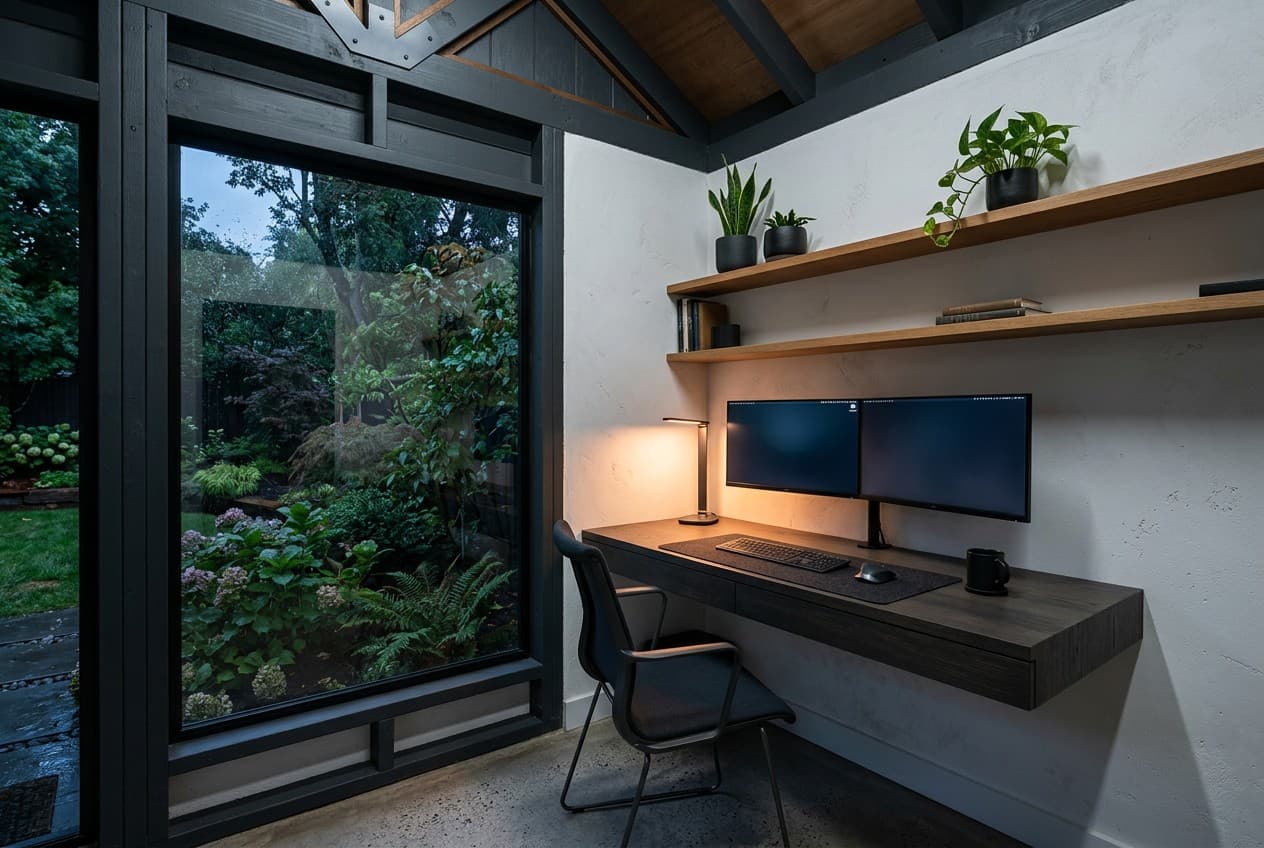
- Desk: placed near the window (natural light to the side, not behind the screen). 24–30 in depth, ergonomic chair at correct height.
Full Project Cost Summary
Shed-to-Office Conversion Total Cost
- Structure repair (if needed) — $0–$500
- Basic insulation (batts, DIY) — $300–$600
- Electrical (extension + GFCI circuit, minimal) — $200–$400
- WiFi extender or point-to-point bridge — $80–$150
- LVP flooring — $150–$300
- Paint + basic lighting — $100–$200
- Full insulation + vapour barrier — $400–$900
- Dedicated electrical circuit (pro) — $700–$1,400
- Mini-split HVAC — $1,500–$2,500 installed
- Ethernet run in conduit — $300–$600
- LVP flooring + drywall + paint — $600–$1,200
- Quality desk + chair + lighting — $600–$1,200
- Full sub-panel (60A) — $1,500–$2,500
- Full interior finish (drywall, cornice, quality flooring) — $2,000–$5,000
- Custom-built desk and storage — $1,000–$3,000
- Premium HVAC + smart thermostat — $2,500–$4,000
- External cladding and window upgrade — $1,500–$4,000
Related Guides
- Shed Office Ideas That Work for Remote Jobs — layout planning before you start the conversion
- How to Make a Shed Livable — detailed insulation and habitability guide
- Best Backyard Office Sheds — if a new structure makes more sense than converting
- Shed Office Hub: Complete Guide — the full planning resource
Use the AI Garage Designer to plan your shed office layout — desk placement, storage configuration, and zone planning for your specific shed dimensions.
If the end use you have in mind is more retreat than office — a crafting studio, reading room, or personal sanctuary — the she-shed ideas guide covers conversion approaches and interior design directions suited to that type of space.