
Most gaming desks from retailers are either too small for a serious setup or overpriced for what you actually get. A $400 gaming desk from a furniture chain is frequently a thin MDF slab with a cable port punched into it. Building your own means you get the exact dimensions for your monitor count, the surface material you want, and legs at the correct height for your chair.
The key planning decision is not the material — it is the configuration. How many monitors do you have, and do you need an L-shape return for a keyboard or secondary use? Those two questions determine the footprint and drive every other choice.
| Configuration | Space NeededRecommended | Monitor Capacity | Cost to Build | Best For |
|---|---|---|---|---|
| Single monitor straight | 48–60 in wide × 24–30 in deep | 1 monitor | $80–$200 | Focused gaming, small rooms, first builds |
| Dual monitor straight | 60–72 in wide × 30–36 in deep | 2 monitors | $120–$300 | Streaming, productivity + gaming combos |
| L-shape corner | 60 in × 48 in corner footprint | 2–3 monitors | $180–$400 | Sim rigs, content creators, larger rooms |
| Standing desk converter | Existing desk + converter unit | 1–2 monitors | $50–$150 | Adding height adjustability to existing build |
For single and dual-monitor setups in a garage or man cave

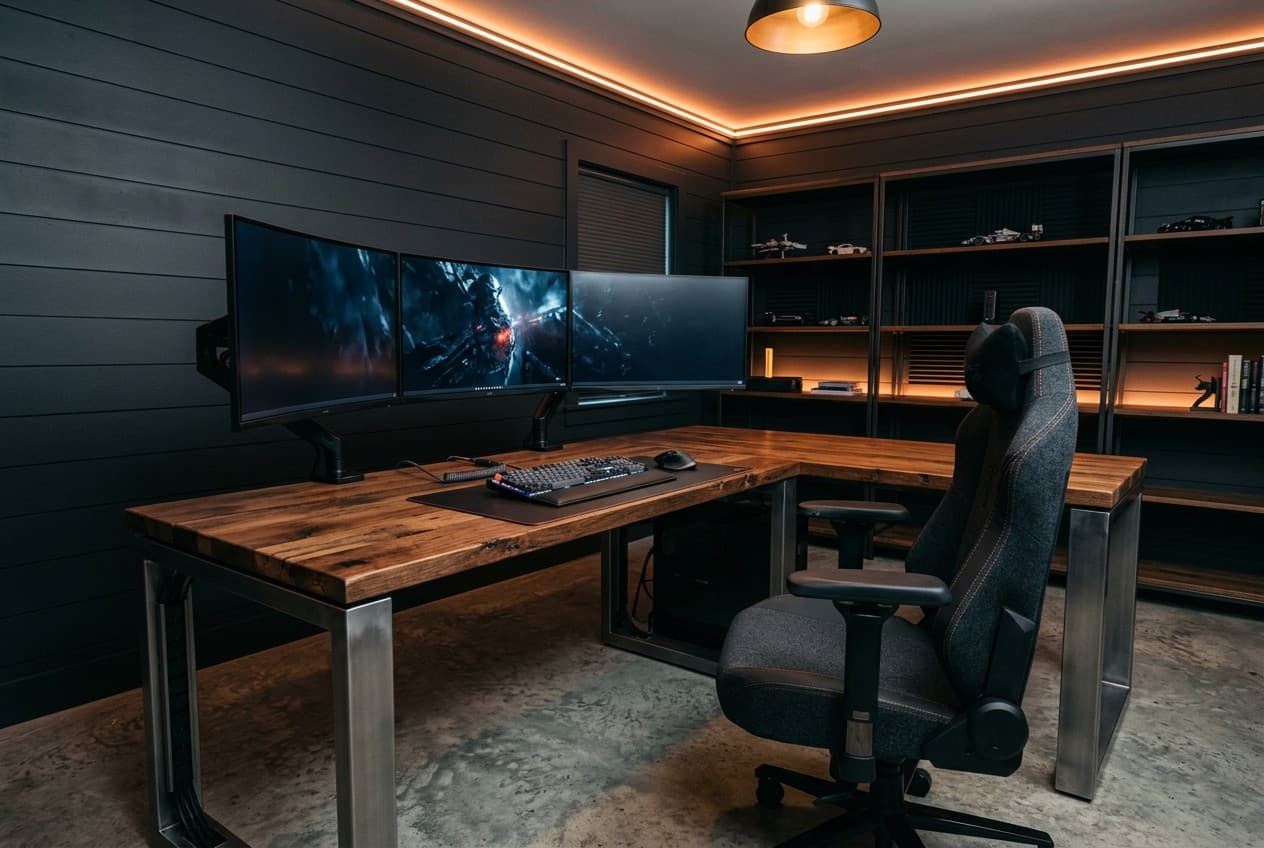
Build Materials: Why Butcher Block Works
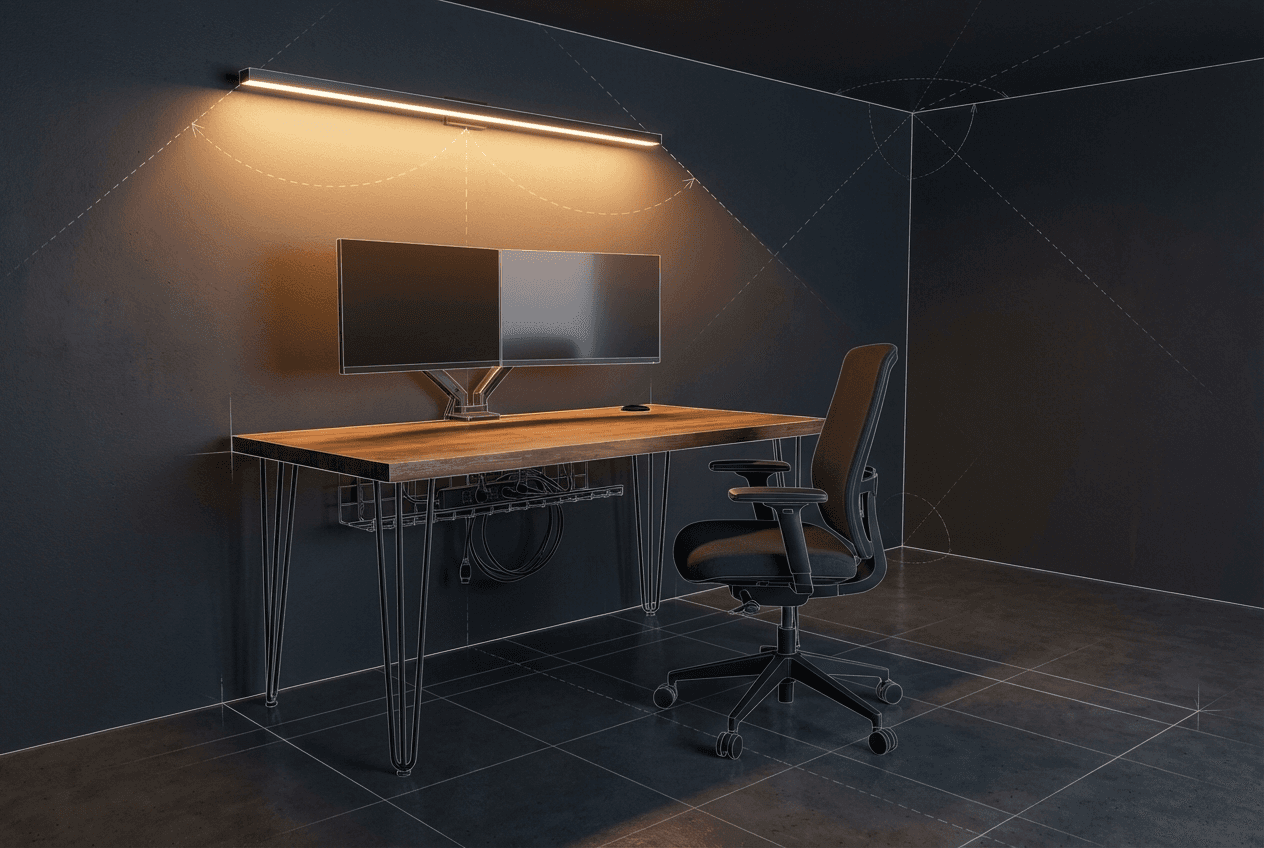
For a gaming desk, butcher block is consistently the best value desktop material. It is denser and more rigid than MDF, takes a monitor arm anchor without a backing plate, and looks considerably better than a painted particleboard surface. The IKEA GERTON is the benchmark: solid beech, 63×29.5 inches, and around $100 — it requires only a coat of oil or polyurethane before use.
Pair butcher block with steel hairpin legs or adjustable-height legs. Hairpin legs are welded steel and install in 20 minutes with a drill. Adjustable legs (Uplift, Flexispot, or generic) convert the desk to sit-stand and typically include a digital height controller. The leg choice changes the cost ceiling more than any other decision.
Build Materials for a DIY Butcher Block Desk
| Tool / Item | Use | Est. Cost | Priority |
|---|---|---|---|
| Butcher block top (IKEA GERTON or similar) | Desk surface | $100–$180 | Essential |
| Steel hairpin legs (set of 4) | Fixed-height desk frame | $40–$90 | Essential |
| Adjustable-height legs (alternative) | Sit-stand frame | $200–$400 | Recommended |
| Monitor arm (single or dual) | Monitor positioning, frees desk surface | $30–$120 | Recommended |
| Under-desk cable management tray | Conceals power strips and cable runs | $15–$40 | Recommended |
| Danish oil or polyurethane | Seals and protects butcher block | $15–$35 | Essential |
| Desk grommet (cable port) | Routes cables through top | $5–$15 | Recommended |
| Velcro cable ties | Bundling individual cables | $8–$15 | Recommended |
Why a Monitor Arm Is Better Than a Bigger Desk
A monitor arm is the single upgrade that changes how a gaming desk feels more than any surface dimension change. It lifts the monitor off the desk surface entirely, which immediately frees the space underneath for a keyboard tray, notebook, or just empty surface. Most arms are adjustable through a 180-degree range and can be repositioned in seconds — something a fixed VESA mount or monitor stand cannot do.
Ergonomically, an arm lets you dial in the exact monitor height (eyes should land at the top third of the screen) and distance (20–30 inches for a 27-inch panel) independently of your desk height. This matters more in a garage or shed setup where the ambient temperature affects how long you can sit comfortably, so you want the ergonomics correct when you do sit down. A single-monitor arm costs $30–$60 from Amazon basics through to $120 for Ergotron quality. A dual arm costs $60–$150. Either price is cheaper than buying a desk 12 inches deeper to get the same monitor distance.
Cable Management Tips
Cable chaos undermines an otherwise clean build. The three tools that solve most problems: velcro cable ties, an under-desk cable tray, and a cable spine or sleeve. Velcro ties bundle individual cables into a single run — use them at 12-inch intervals. An under-desk tray (typically a mesh or steel channel that bolts to the underside of the top) hides the power strip and consolidates all incoming cable runs before they drop to the floor. A cable spine or spiral wrap takes the single floor run from desk to wall outlet and keeps it from pooling on the floor.
Drill a grommet hole (typically 2.5-inch diameter) through the desktop at the rear corner before mounting legs. Route monitor cables, USB hub, and audio cables through this hole so the top surface stays clean. On a butcher block desk, use a 2.5-inch forstner bit in a drill press or with a guide — the end grain of butcher block tears out if you use a standard spade bit at high speed.
Frequently Asked Questions
What's the best DIY desk material?
Butcher block is the practical winner for most builds: it is solid wood (not hollow or particleboard), takes monitor arm anchors without reinforcement, sands and refinishes if damaged, and costs $100–$180 for a full desktop. MDF is cheaper and very flat, which makes it good for painted builds, but it does not hold screws as well in the edge grain and swells if it gets wet. Solid lumber (2×10 or 2×12 boards glued up) is the DIY alternative to butcher block if you want a custom width — the build process is the same as a bar top.
L-shape or straight desk for gaming?
A straight desk works for most single and dual-monitor setups. An L-shape is worth the extra build complexity if you have three or more monitors, run a sim rig (wheel, pedals, and shifter need their own surface), or use a second workspace simultaneously — for example, a main gaming rig and a separate laptop or drawing tablet. The L-shape corner section also works as a dedicated headset and controller charging zone. In a small room, measure the corner footprint carefully: a full L-shape typically needs at least 9×9 feet of clearance to avoid the desk dominating the room.
What to Do Next
Before you start cutting, map out the desk placement in your room. The garage designer lets you visualise monitor positions, chair clearance, and cable routing relative to your walls and power outlets.
See the full man cave guide for flooring, lighting, and audio setup recommendations.
If you're planning the broader gaming room around this desk — including monitor placement, co-op seating zones, and acoustic treatment — the gaming room ideas guide covers all three in the context of garage and shed builds. Once the desk is sorted, the man cave furniture guide is a useful next step for choosing seating, storage, and the remaining pieces that complete the space.