
A basement bar is the highest ROI upgrade you can make to a man cave. It transforms an unfinished space into a destination — a place people actually want to spend time in. Unlike a TV setup or a game table, a bar anchors the room and gives every visit a clear purpose. The decisions that matter most upfront are three: how much wall space you're working with, whether you'll run a sink and drain, and how many bar stools you want to seat. Everything else — finishes, lighting, fridge selection — follows from those structural choices.
The layouts below are built around real basement footprints. A 600 sq ft basement gives you enough room to separate your bar zone from your seating zone without either one feeling cramped. Smaller basements work fine with a back-wall bar. Larger spaces open up the L-shape configuration, which is the highest-capacity layout and the most pub-like feel you can achieve in a home setting.
Corner Bar Configuration
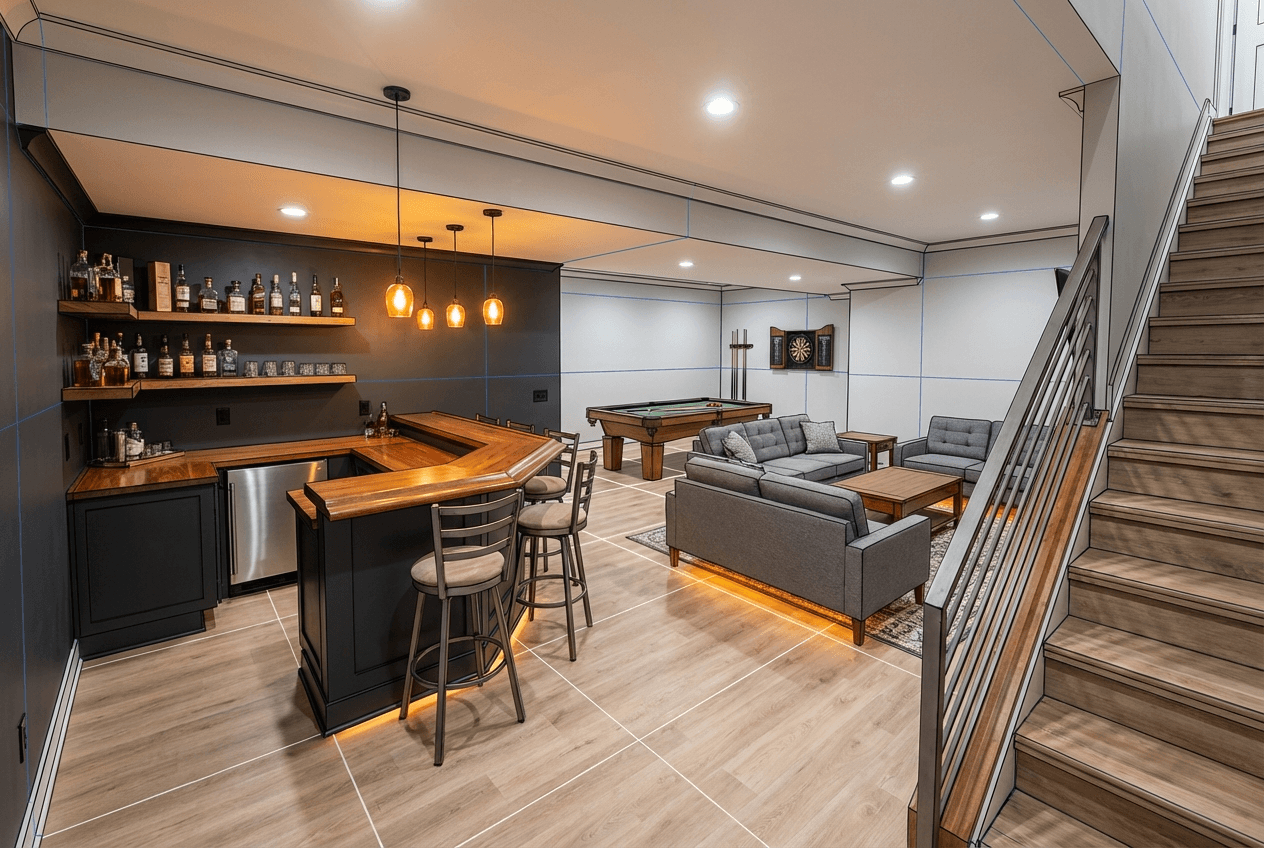
A corner bar tucks your build into one corner of the basement, freeing up the majority of the floor for seating, games, and circulation. This is the most common layout for first-time basement bars — it minimises the build footprint while still creating a genuine bar experience.
Corner Bar Configuration — Basement Layout
Total: 600 sq ft basementBack-Wall Bar Configuration
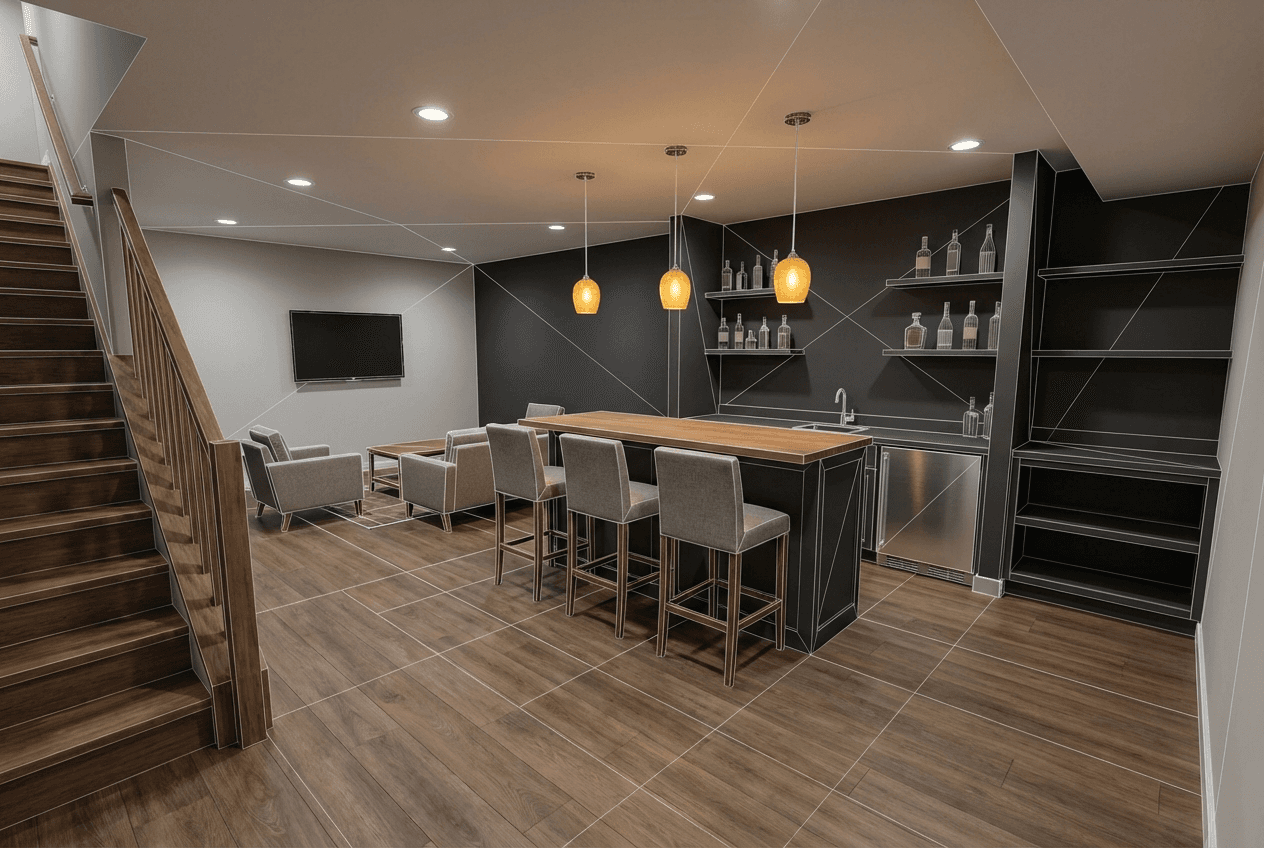
A back-wall bar runs along a single wall — usually the wall opposite the stairs. It's the simplest layout to build and the easiest to plumb if you're adding a sink, because you only need to run supply and drain lines to one location. Seating faces the bar, which creates a natural focal point and keeps conversation centred.
Back-Wall Bar — Single Wall Configuration
Total: 600 sq ft basementL-Shape Bar Configuration
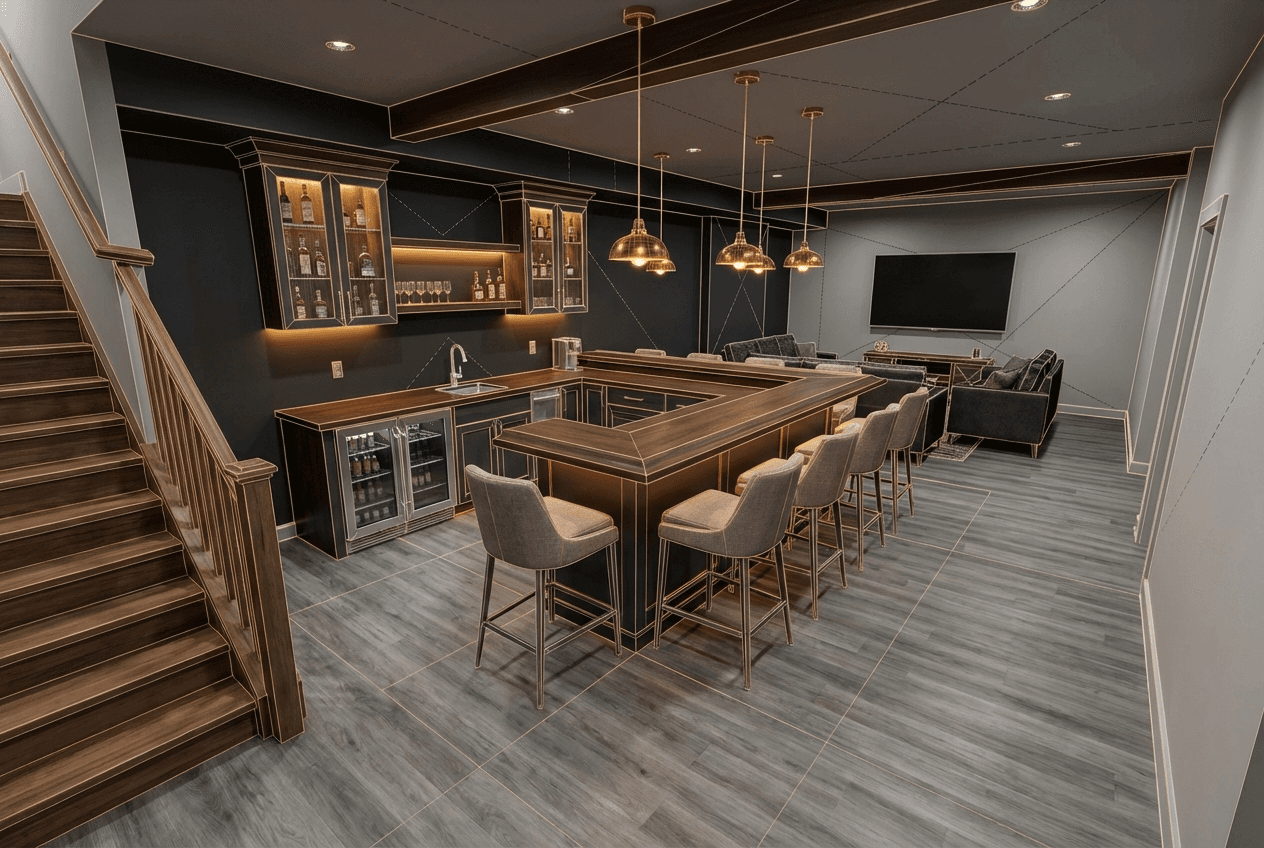
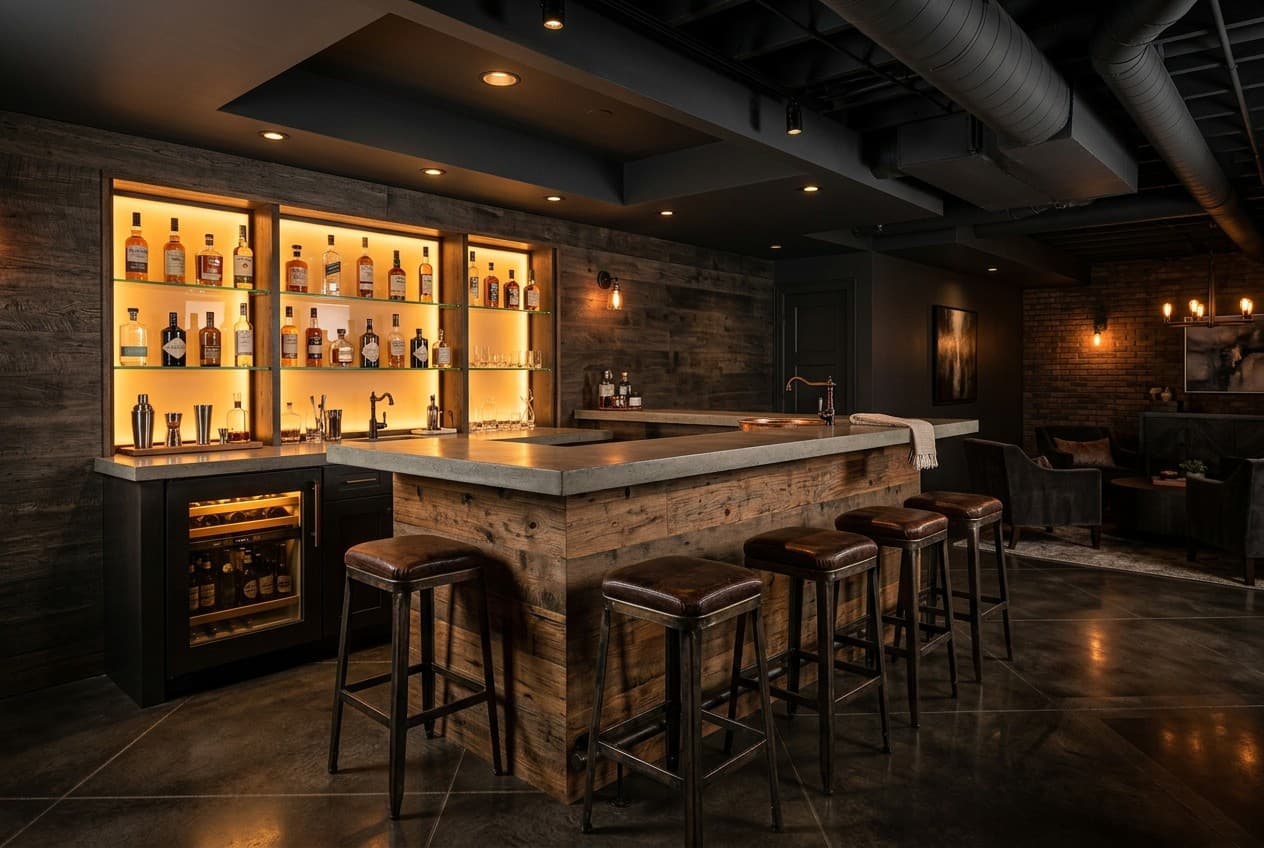
The L-shape bar wraps around a corner and is the highest-seating-capacity layout available in a home basement. You can seat six to ten people along the bar itself, and the wrap-around shape creates multiple conversation clusters at once. This is the layout that most closely replicates a proper pub feel. It requires more build time and material cost, but the result justifies it.
L-Shape Bar — Maximum Seating Configuration
Total: 600 sq ft basementBudget Tiers
The cost of a basement bar scales primarily with cabinetry and plumbing. A dry bar (no sink, no drain) at the budget tier can be done for under $1,500 and still looks great. A mid-range built-in with a sink rough-in is the sweet spot for most homeowners. Premium builds with custom millwork and full plumbing are pub-quality but require a contractor for the plumbing and electrical work.
Bar Build Budget Tiers
- Pre-built bar cart or IKEA unit
- Mini fridge ($150–$300)
- DIY plywood bar top with poly finish
- Trade-off: no built-in cabinetry, limited storage
- Built-in bar frame with plywood cabinet boxes
- Butcher block or laminate countertop
- Under-counter bar fridge + sink rough-in
- What this unlocks: permanent, integrated look
- Custom cabinetry with glass-front uppers
- Granite or quartz countertop
- Full plumbing (sink with drain), bar taps
- What this achieves: pub-quality home bar
L-Shape Layout Reference

The Plumbing Decision: Sink or No Sink
Adding a sink to your basement bar is a genuine upgrade — it lets you rinse glasses, fill an ice bucket, and dispose of drink waste without running upstairs. If you're building a mid-range or premium bar and you have a nearby drain stack to tap into, the added cost of a sink rough-in (typically $500–$1,200 for a plumber to run supply and drain lines) is almost always worth it. A single-basin bar sink is compact enough to fit any bar run without consuming meaningful counter space.
That said, a dry bar — no sink, no plumbing — is still an excellent bar. A bar fridge, a countertop ice maker, and a small waste bin cover most of what a sink handles, at zero plumbing cost. If your basement drain stack is on the far side of the space or the concrete slab would need to be cut for a drain run, skip the sink. A well-equipped dry bar at the mid-range budget tier will outperform a budget wet bar every time.
What to Do Next
The layout you choose — corner, back-wall, or L-shape — should be driven by your actual floor plan, not by what looks good in a photo. Measure your basement, mark out where your stairs land, and identify which walls are plumbing-accessible before you commit to a configuration.
Design your bar layout in the Garage Designer to map your basement dimensions against each layout configuration and see how the zones fit your actual space.
For more man cave build guides, see the man cave hub.
If you want to compare bar finishes and seating arrangements across different build types, the man cave bar ideas guide covers material choices, back bar configurations, and kegerator placement in detail. If a detached backyard build is on the table as an alternative to your basement, the shed bar ideas guide covers layout configurations and insulation requirements for turning a shed into a year-round bar space.