
Plan the Zones Before You Buy Anything
A shed without a shelving plan becomes a pile within six months. Tools get stacked on top of garden supplies, seasonal items block frequently used gear, and the whole space stops working. The fix is not buying more shelving — it is assigning every wall a zone before anything goes in.
The core principle: different storage types belong on different walls based on access frequency and weight. Heavy items go low and near the door. Hand tools go on the wall where you work. Seasonal gear goes overhead or in a corner. Once the zones are set, the shelving choice becomes straightforward.
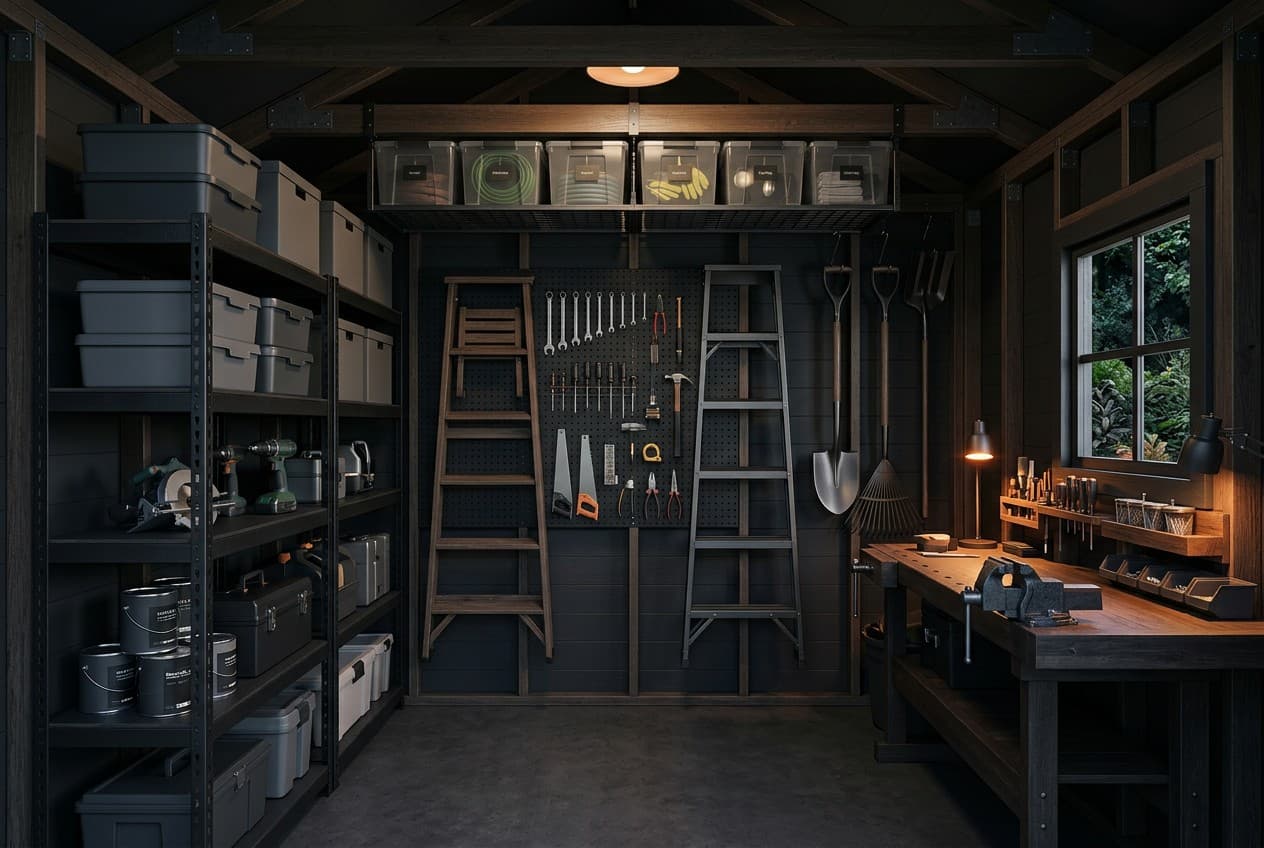
Tool / Workshop Shed (12×16 ft)
The heaviest-duty shelving setup. Built for power tools, compressors, parts bins, and a workbench. Deep shelves (24–27 in) on the longest walls, with a taller bottom shelf (36–48 in) for heavy floor equipment. Load capacity: 800–1,500 lbs per shelf using 2×4 frame construction.
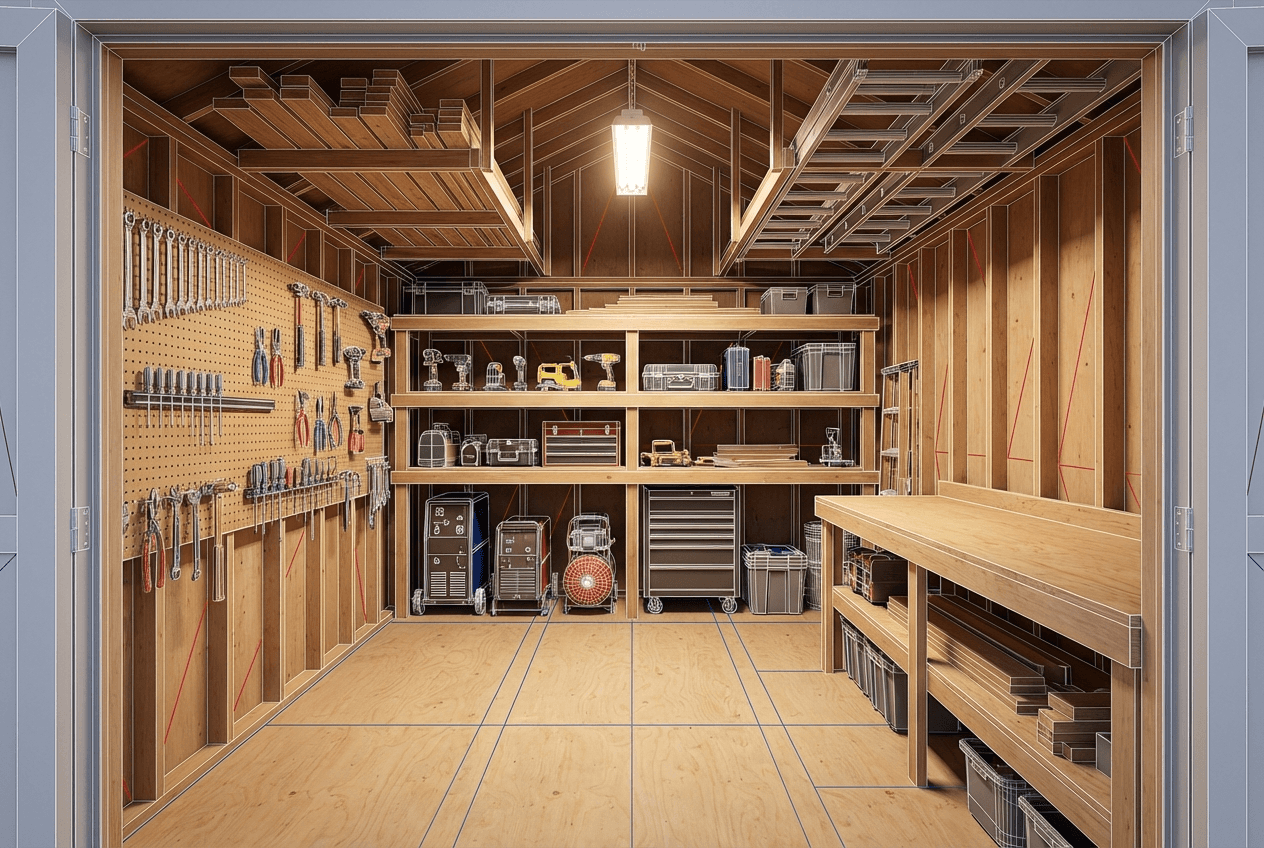
Tool / Workshop Shed — Heavy-Duty Layout
Total: 12×16 ft shed (192 sq ft)Garden / Potting Shed (10×10 ft)
A lighter-duty setup built for vertical storage — maximising height while keeping the floor open for pots, wheelbarrows, and bags of soil. Narrow shelves (10–15 in deep) on end walls, with wall hooks for long-handled tools like rakes and shovels.
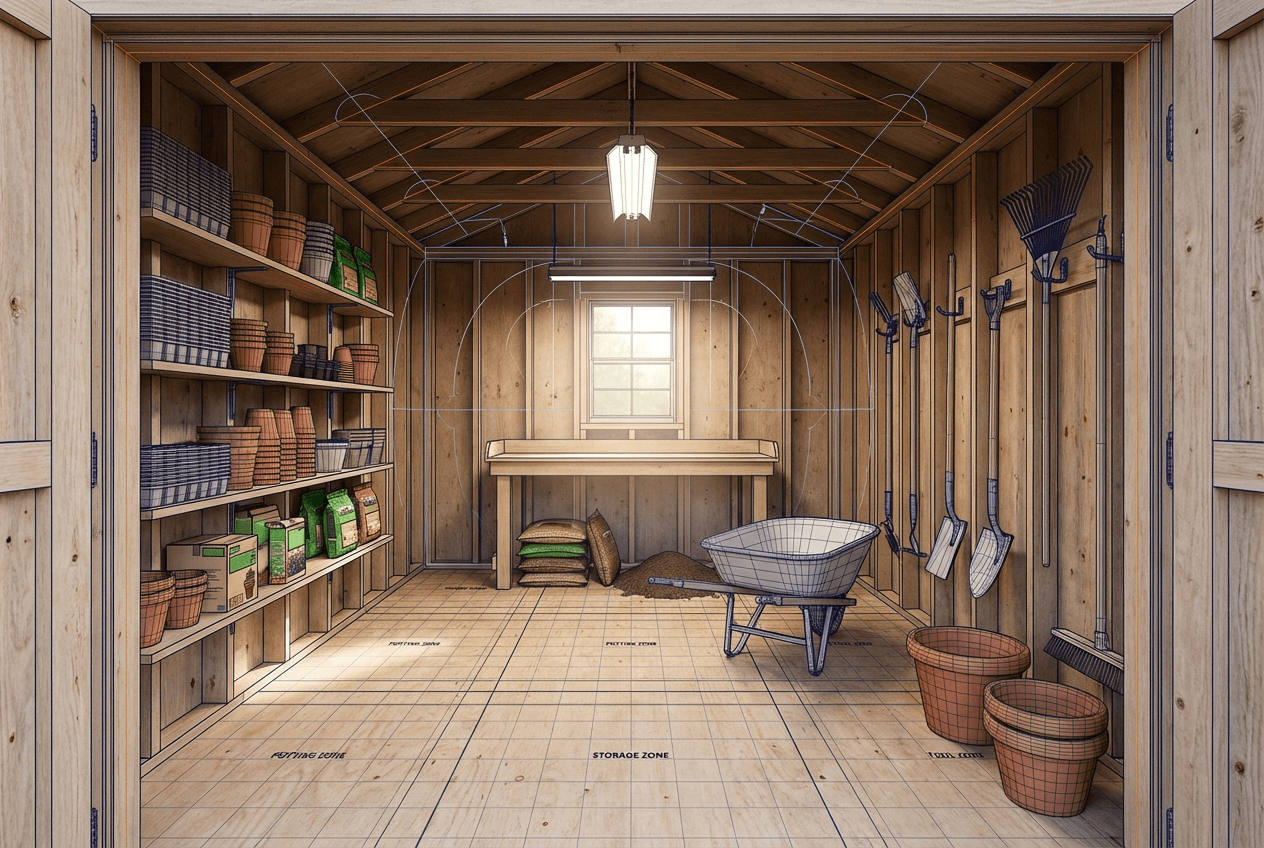
Garden / Potting Shed — Vertical Layout
Total: 10×10 ft shed (100 sq ft)General Storage Shed (8×12 ft)
A wide-and-shallow approach for household overflow — seasonal decorations, sports gear, camping equipment, and rarely-used items. Adjustable shelving spanning side walls, with bottom shelves high enough for trash cans and tall items.

General Storage Shed — Horizontal Layout
Total: 8×12 ft shed (96 sq ft)Shelving System Options
The six shelving system types below cover the full range of shed storage. Priority labels indicate where to start your budget — essential systems get the wall space first, optional systems add capacity once the core is in place.
Shed Shelving Systems — Options and Priority
| Tool / Item | Use | Est. Cost | Priority |
|---|---|---|---|
| Wire shelving (chrome or epoxy) | General storage, breathable for tools and equipment | $30–$80 per unit | Essential |
| Timber shelf (2×10 boards) | Heavy-duty storage, DIY-built, cheap and strong | $20–$50 per shelf | Essential |
| Industrial steel shelving | Maximum load capacity, 400–800 lb per shelf | $80–$200 per unit | Recommended |
| Peg board + hooks | Tool hanging wall — hand tools, cords, clamps | $20–$60 per 4×8 panel | Recommended |
| Overhead loft rack | Seasonal items, lumber storage, rarely accessed gear | $80–$200 | Optional |
| Magnetic tool strip | Metal hand tools, chisels, screwdrivers | $15–$40 | Optional |
Budget Tiers
Shed shelving does not need to be expensive. A budget timber shelf build covers 80% of what most sheds require. The mid-range tier is where the space genuinely becomes organised from wall to wall. Premium is for those who want workshop-quality results.
Shed Shelving Budget Tiers
- DIY timber shelves (2×10 + 2×4 brackets)
- 1–2 wire shelving units (chrome)
- Peg board for hand tools
- Trade-off: no overhead storage, limited capacity
- Industrial steel shelving (back wall)
- Peg board + hooks system
- Overhead loft rack for seasonal storage
- What this unlocks: full wall-to-wall organised storage
- Custom built-in cabinetry + workbench
- Slatwall system for flexible tool hanging
- Labelled bin systems with drawer units
- What this achieves: workshop-quality organisation
Installation: What Actually Matters
Anchor shelving to wall studs — not drywall anchors alone. A drywall anchor holds 30–50 lb. A lag bolt into a stud holds 300–600 lb. For timber shelves, use 3-inch lag screws driven into studs on 16-inch centres. For wire or steel shelving units, bolt the back frame to the wall at stud locations wherever possible. A freestanding rack that tips under load is both a safety risk and a waste of space.
Weight capacity matters more than price. A $40 wire rack rated for 150 lb per shelf is the wrong tool for storing paint cans, concrete bags, or a parts collection. Buy to the load, not to the price tag. Industrial steel shelving (400–800 lb per shelf) costs more upfront and pays for itself in durability and safety. And label everything before loading — not after. Stick labels on the shelf edge or bin front before anything goes in. It takes five minutes at setup and saves hours of searching six months later.
Frequently Asked Questions
How deep should shed shelves be?
For general shed storage — tools, bins, paint, equipment — 12–16 inches of shelf depth is the right range. Deeper than 16 inches and items get pushed to the back and forgotten. For storage totes (18-gallon size), 18–20 inches of depth fits without overhang. Workbench shelving underneath a bench can go 22–24 inches to match the bench depth. If you are building DIY timber shelves, 2×10 lumber (actual width: 9.25 inches) is the standard — two boards edge-joined gives you an 18-inch shelf for totes.
What is the strongest DIY shelf material?
2×10 construction lumber (SPF or Douglas Fir) running between 2×4 ledger brackets lag-bolted to wall studs. A shelf spanning 4 feet using 2×10 lumber holds 300–400 lb without significant deflection. For spans beyond 4 feet, add a mid-span support or use 3/4-inch plywood (two layers laminated) instead. Plywood deflects less than solid boards over long spans and is cheaper per square foot. Avoid OSB for shed shelving — it swells with moisture and does not recover.
Can I use IKEA shelves in a shed?
IKEA shelving (KALLAX, IVAR, BILLY) is designed for finished, climate-controlled interiors. In an uninsulated or unheated shed, particleboard shelving swells, warps, and delaminates within one or two seasons. The adhesive holding edge banding also fails with humidity cycling. For a heated or well-insulated shed office, IVAR solid pine shelving is a reasonable choice — it is real timber and handles humidity better than particleboard alternatives. For a working tool shed, skip IKEA entirely and use wire shelving, industrial steel racks, or DIY timber construction.
What to Do Next
Map your shed walls before buying a single shelf. Identify your primary storage wall (usually the back wall), assign hand tools to a side wall with peg board, and decide whether an overhead rack makes sense for your seasonal items.
Design your shed storage — use the AI shed designer to plan zone layouts, shelving placement, and overhead storage for your exact shed dimensions.
For the broader shed planning context, see the Shed Office Hub — shed builds, insulation, conversion guides, and storage planning resources.
If your shed is primarily for tools rather than general storage, tool shed ideas has dedicated zone plans and storage system recommendations for workshop and storage-only setups. And if the goal is a working shed office, shed office ideas shows how to combine functional storage with a productive workspace at each budget tier.