How to Test a Cordless Drill Battery Charger
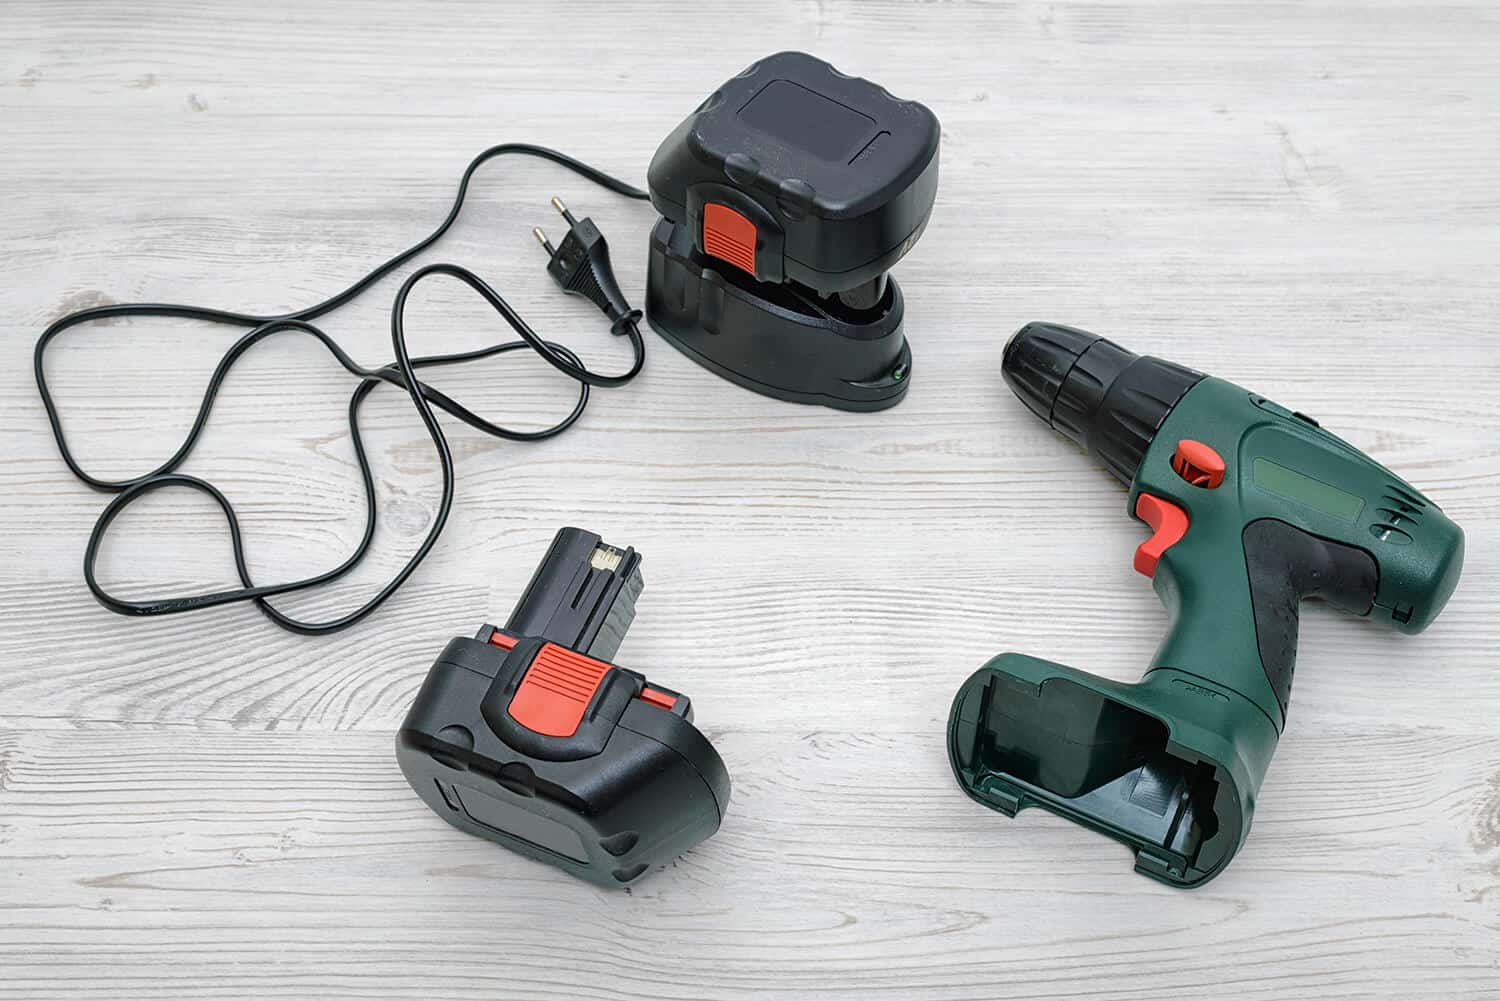
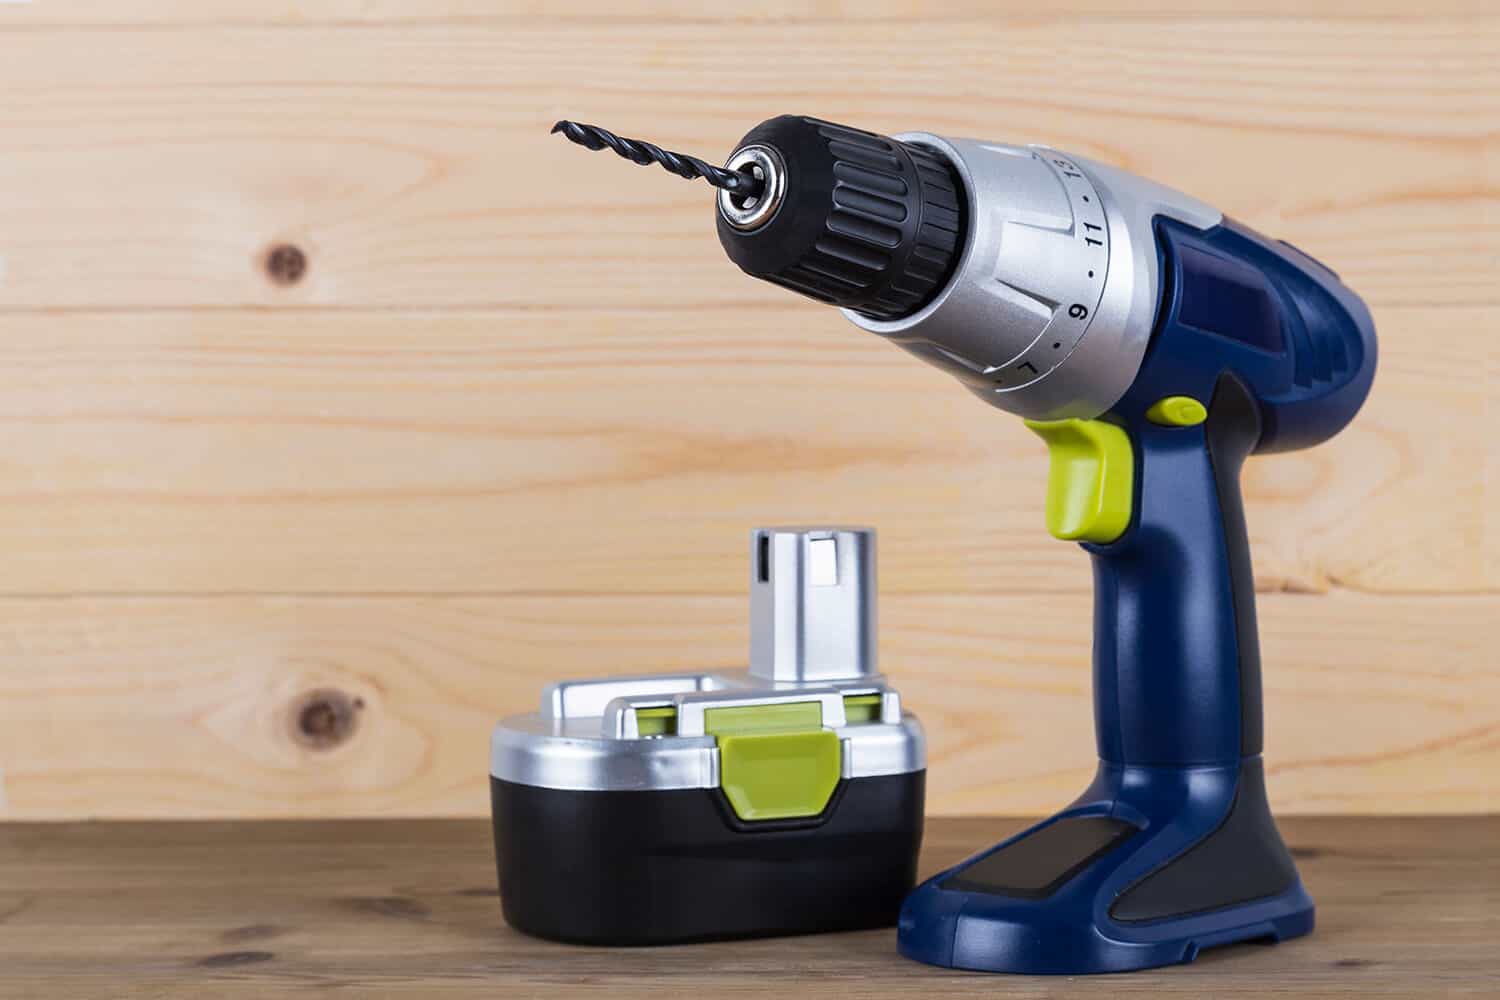
Experiencing issues with your cordless drill often points to charger problems. Knowing how to test the charger can be a game-changer, ensuring your tool is always ready for action.
In a Nutshell:
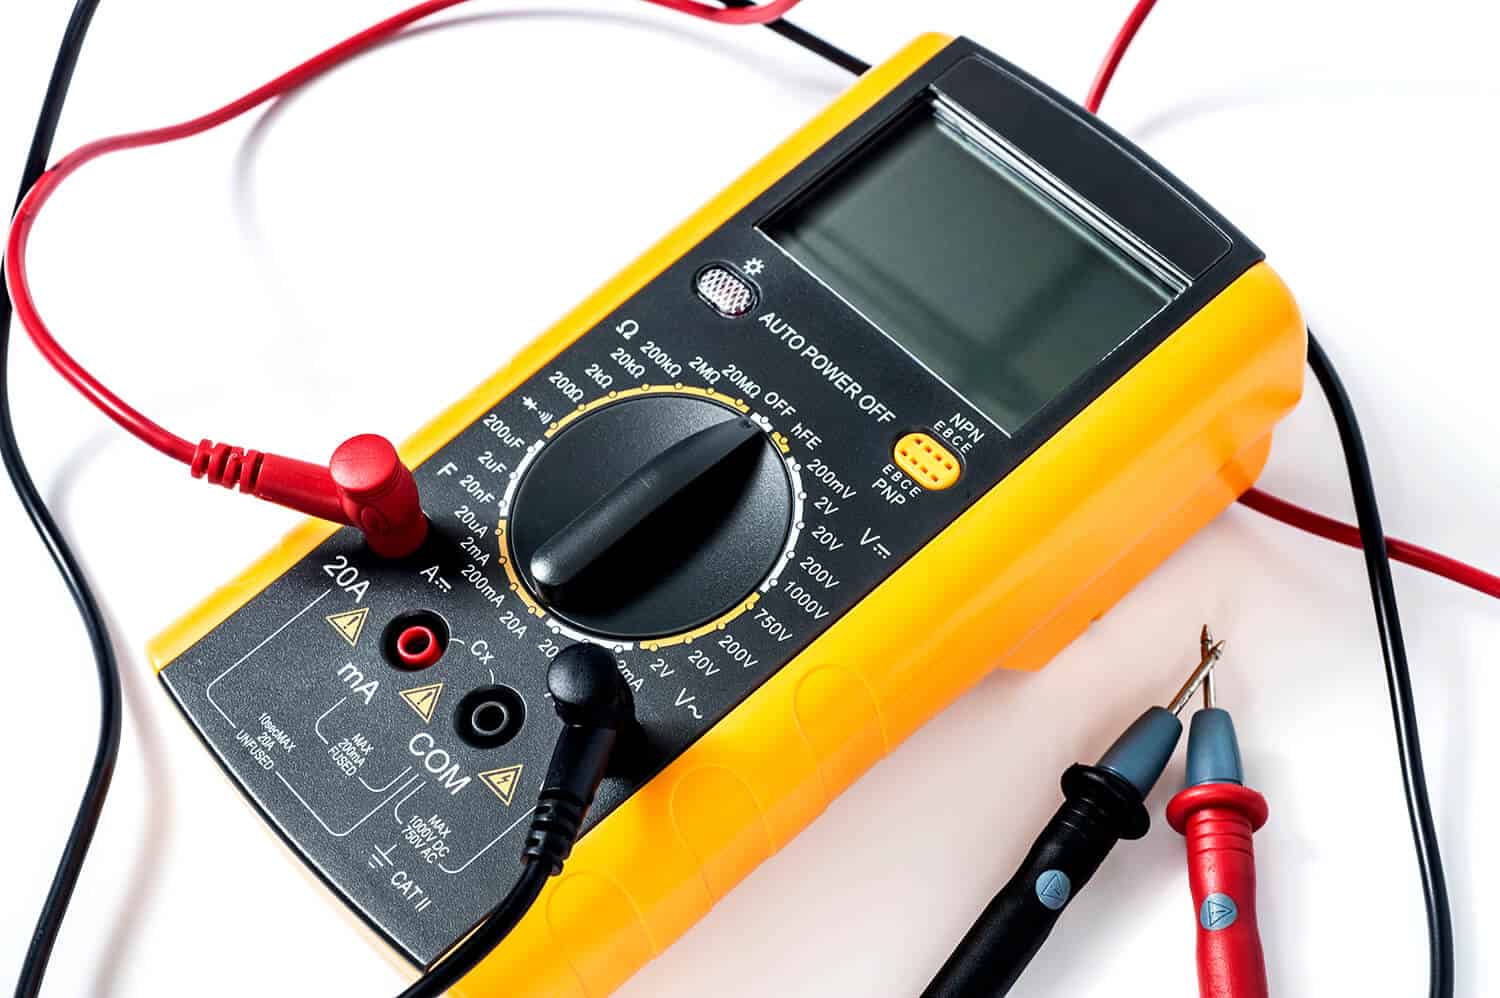
To test if your battery charger is functioning correctly, start by inspecting the charger’s indicator lights. A properly working charger typically shows a light when it’s connected to power and charging the battery. If these lights aren’t on or are blinking unusually, it could signal a malfunction. Additionally, measure the output voltage using a multimeter. The reading should align with the charger’s specified output voltage. Deviations from this could indicate an issue with the charger.
Wondering how to perform this crucial test? Stay with us as we walk you through detailed, easy-to-follow steps to accurately test your cordless drill battery charger.
how to test a battery charger with a multimeter
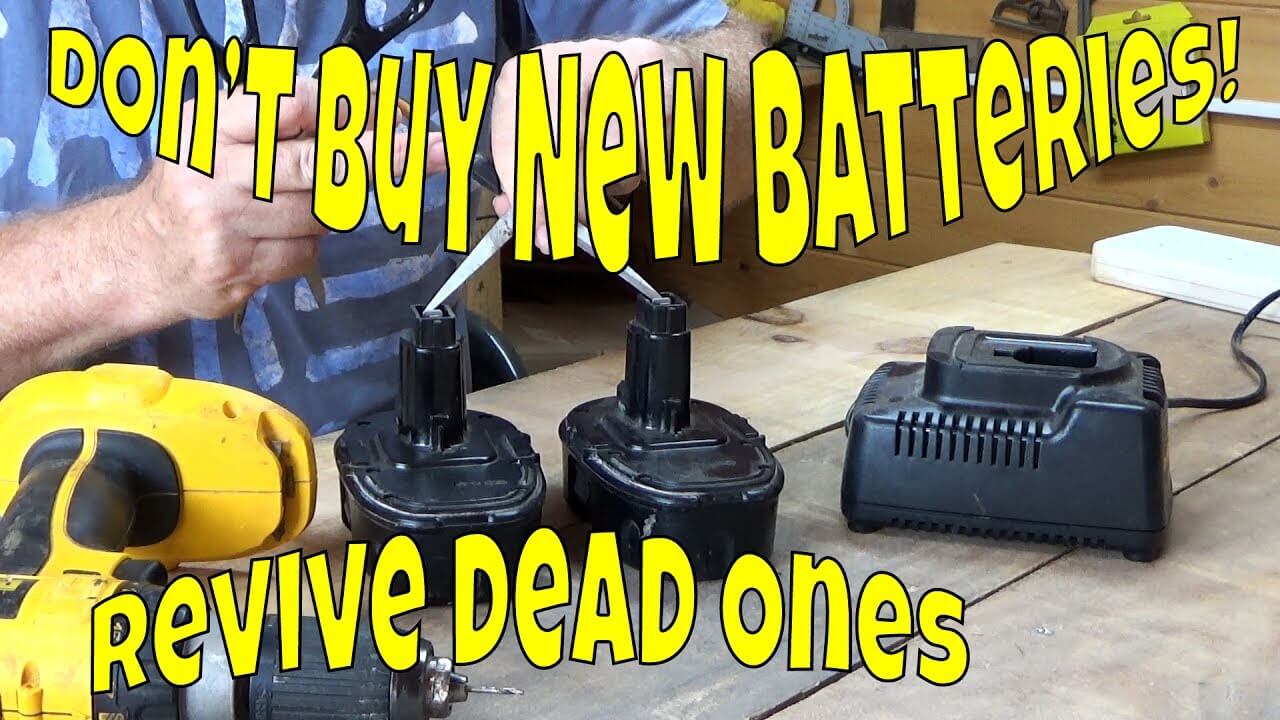
If your battery charger checks out fine and the problem lies with a dead cordless drill battery, there’s a method to potentially revive it using some basic tools. Here’s how you can give a new lease of life to your dead battery:
Materials Needed:
- A fully charged, functional cordless drill battery (often included in drill kits).
- A metal conductor (such as a pair of scissors or a bridge wire).
Step-by-Step Guide:
- Position the Batteries: Place the dead battery and the fully charged battery side by side on a flat surface.
- Prepare the Conductor: Obtain a metal conductor that will be used to connect the batteries. Ensure it’s safe to handle.
- Connect the Batteries: Carefully use the conductor to connect the negative terminal of the dead battery to the negative terminal of the charged battery. Then, do the same with the positive terminals using another conductor.
- Transfer the Charge: Hold the connections steady for several minutes. This process transfers some charge from the live battery to the dead one, potentially reviving it.
- Attempt Recharging: After a few minutes, disconnect the conductors and place the previously dead battery into the charger. It should now accept a charge. Once fully charged, it may return to normal operation.
Important Safety Note:
- Always ensure that the positive terminals are connected to positive, and negative to negative. Crossing these connections can be dangerous.
- Be cautious during this process as it involves direct handling of electrical components.
Note: While this method can be effective, it’s not guaranteed and should be performed with caution. If the battery doesn’t revive or shows signs of damage, it might be safer to replace it.
How Long to Charge Drill Battery: Optimal Charging Time for Drill Batteries
Charging your drill battery for the right amount of time is crucial to maintain its longevity and efficiency. Overcharging can be as harmful as undercharging. Here’s a guide to finding that perfect charging duration, including a personal anecdote to illustrate the importance of this balance.
Key Considerations for Charging Drill Batteries:
- Check Manufacturer’s Recommendations: Always start by consulting the user manual for specific charging time recommendations. Each battery type and brand may have different requirements.
- Battery Type Matters: NiCd (Nickel-Cadmium) and NiMH (Nickel-Metal Hydride) batteries typically require longer charging times compared to Li-Ion (Lithium-Ion) batteries.
- Avoid Overcharging: Modern chargers often have an auto-shutoff feature to prevent overcharging. If your charger lacks this feature, be vigilant about the charging duration.
- Monitor the First Charge: The first charge of a new battery often takes longer. Make sure to give it enough time to fully charge.
A Personal Experience with Overcharging:
I remember working on a DIY project where I needed my drill throughout the day. I had a habit of leaving the battery on the charger overnight for convenience. Once, I noticed that my usually reliable drill started losing power faster. Concerned, I did some research and realized I had been overcharging my battery, which degraded its capacity.
Now, I always set a timer to match the recommended charging time, ensuring my batteries last longer and perform better. For example, if the manual suggests a 3-hour charge, I set a timer for just that duration. This simple change made a noticeable difference in my battery’s lifespan and performance.
Power Tool Battery Guide: Brand Variations and Charging Essentials
Power tool batteries vary significantly across different brands, even within the same type. This variation is due to several factors unique to each manufacturer:
The following table provides a general overview of charging times and life expectancies for common battery types, with the caveat that specific brand models may vary.
Here’s a general overview in a table:
| Battery Type | Recommended Charging Time | Average Life Expectancy (Charge Cycles) |
|---|---|---|
| NiCd (Nickel-Cadmium) | 1 – 2 hours | 500 – 1,000 cycles |
| NiMH (Nickel-Metal Hydride) | 2 – 4 hours | 300 – 500 cycles |
| Li-Ion (Lithium-Ion) | 30 min – 1 hour | 1,000 – 1,500 cycles |
| Li-Po (Lithium Polymer) | 1 – 2 hours | 300 – 500 cycles |
| Lead Acid | 8 – 12 hours | 200 – 300 cycles |
Key Notes:
- Charging Time: This is an approximate time for a full charge from a completely discharged state. Fast chargers available for some models can reduce these times.
- Life Expectancy: Measured in charge cycles, with one cycle being a full discharge followed by a full charge. Actual life expectancy can vary based on usage patterns and maintenance.
- Maintenance: Proper maintenance and storage can significantly affect the life expectancy of the batteries. Avoid extreme temperatures and always follow the manufacturer’s guidelines for storage.
Remember, these are average estimates and can vary. Always consult your tool’s manual for the most accurate and safe charging practices for your specific battery type.
Can Battery Chargers Fail?
Battery chargers for cordless drills generally exhibit robust performance over extended periods. Typically, higher-end drills come with more durable chargers, ensuring prolonged efficiency.
However, even the most reliable chargers can encounter issues. Chargers are relatively low-risk for failures due to their lack of moving parts, yet this doesn’t render them immune to malfunction. Common problems may arise from internal factors like a loose wire or a circuit board malfunction.
When faced with a potential charger failure, responses vary. Some individuals might tackle the issue themselves, seeking a DIY fix. Others prefer identifying the problem solely to replace the charger. Regardless of the approach, the initial step is always to confirm whether the charger is indeed malfunctioning.

Diagnosing Charging Issues: Battery or Charger?
When your drill doesn’t charge properly, it’s natural to suspect the charger first. A partially charged drill can be frustrating, limiting its usability and efficiency. But is the charger always to blame?
Consider the Following Before Assigning Blame:
- Battery Health: Often, the issue lies with the battery itself. Batteries can degrade over time, affecting their ability to hold a charge.
- Comprehensive Checks: Before replacing the charger, perform a thorough check. The charger might be functioning correctly while the issue could be with the battery or even the power source.
- Avoid Premature Disposal: Don’t rush to discard your charger. If it’s not charging correctly, the problem could be elsewhere. Investigate thoroughly to pinpoint the exact issue.
Key Takeaway:
Charging issues require a careful approach to identify whether the problem lies with the battery, charger, or another component. Quick assumptions can lead to unnecessary replacements and expenses.

Charger Doesn’t Work: Troubleshooting Charger Issues with a Second Battery
When your charger seems unresponsive, and voltage tests are inconclusive or not an option, switching to an alternative battery can be an effective diagnostic method.
Steps to Identify the Issue:
- Test with a Spare Battery: Use a second battery, if available, to test the charger. This helps isolate the problem.
- Observation and Analysis:
- If the second battery charges: The issue likely lies with the original battery.
- If neither battery charges: The charger may be the problem.
- Try a Different Charger: If accessible, use another charger. Successful charging with an alternate charger confirms issues with the original one.
- Conclusion from Tests: These steps eliminate guesswork, allowing you to pinpoint whether the battery or charger needs attention.
Key Insights:
By methodically testing with another battery and potentially another charger, you gain clarity on the root of the charging problem, guiding your next steps towards a solution.
In Conclusion
Now that you’ve learned exactly how to test a cordless drill battery charger, you can get to it and figure out whether you’ll be able to salvage your existing cordless drill charger or begrudgingly purchase a new one for your beloved cordless drill or impact driver.
Key Takeaways:
One thing that must be considered when conducting any electrical testing is to work safely and never touch an electrical circuit without testing any terminal wiring with a multimeter or voltage meter. When it comes to working with electrical even at low voltage, if you’re not sure, test, and then test again.


