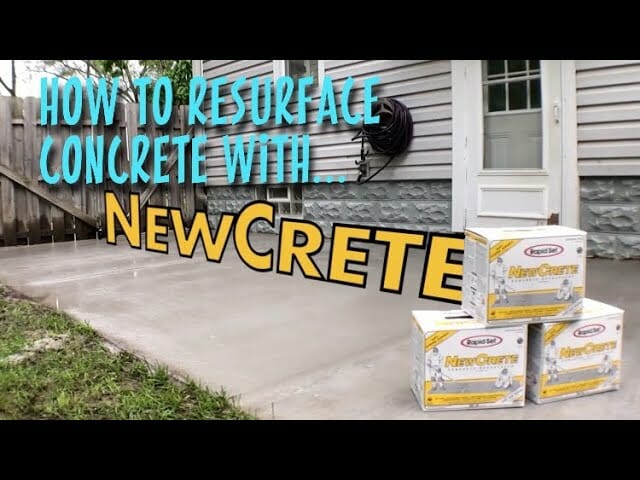
How to Use an Angle Grinder to Smooth Concrete
Whether you’re planning on tearing up your basement floor to build an elaborate new man cave or you need to smooth out some uneven patches of concrete on your garage floor, you need somewhere to hammer hard liquor in peace.
So what’s the ideal power tool you likely already own that you can use to complete such a task successfully? An angle grinder, of course.
Using an angle grinder to create a smooth polished-looking finish on concrete flooring can be achieved with a decent degree of tenacity and a few supplementary accessories.
Honestly, this job will be a cakewalk for you.
Can I Use an Angle Grinder on Concrete?
Let’s start by saying that an angle grinder isn’t the only tool you can use to smooth out or cut concrete with, but it is the most practical and cost-effective option for DIYers.
If your sole occupation doesn’t revolve around you lugging bags of cement around a building site on a daily basis, you might be unaware of what tools of the trade are required?!
Now while that trusty angle grinder of yours can be utilized to cut through dense compound materials like metal or concrete, it can only do so if you’re using the right wheel.
Two different wheels are typically used to cut and smooth out the concrete.
For cutting concrete, you should use a diamond blade that can be used for wet and dry cutting of concrete. A diamond blade is an exceedingly versatile asset to have at your disposal as it can slice and dice everything from stone to granite, brickwork, and even tile.
How do You Smooth Concrete With an Angle Grinder?
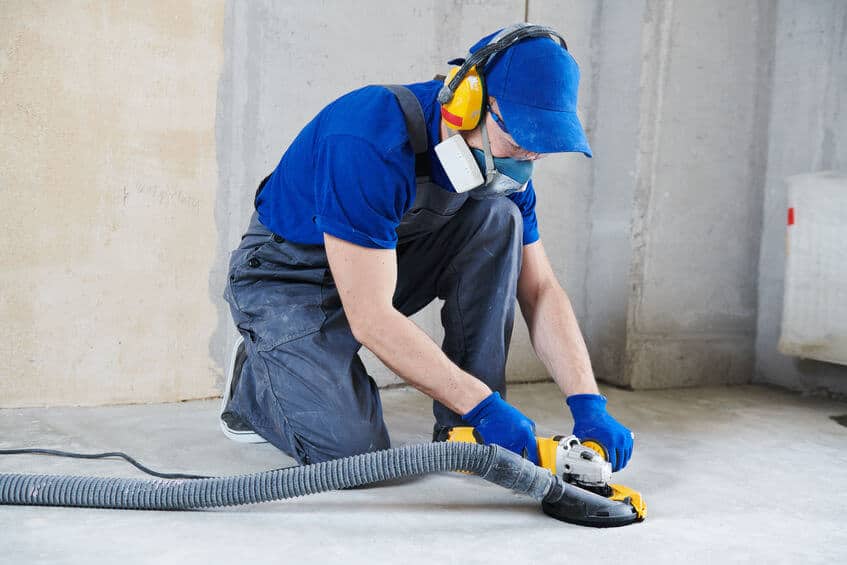
A wet-angle grinder would be the most preferable way to smooth a rough concrete surface. This tool helps streamline the entire process and also drastically reduces the potentially harmful effects of airborne particles like silica dust.
If you’re unaware of the hazardous impact silica dust could have on your health if sufficient safety precautions are not administered, you might be rather shocked. It’s estimated that in Australia alone, over 230 per year develop lung cancer due to silica dust exposure.
While there are risks associated with grinding and cutting concrete, these risks can be effectively eliminated if you take safety seriously and wear the recommended PPE gear.
How to Prevent Silica Dust Exposure When Grinding?
In the construction industry, you conduct what is known as a JSA or JHA before you commence any job. This is a risk assessment that helps you analyze the task before you actually start.
Ultimately, this procedure is undertaken to merely act as a (safety) refresher for operators in the industry they are already qualified for, but it’s also deemed a legal document.
Now, while you don’t have to roll out the same kind of draconian safeguards for your one-man (or woman) DIY operation, it gives you an idea of the kinds of preventive measures implemented to protect workers in recent times.
Alright, on that note, before you even consider firing the angle grinder to pound the pavement, you should assess what inventory you already have and what’s missing for you to complete this job constructively and more to the point safely.
What Kind of Grinding Wheel Do You Use on Concrete?
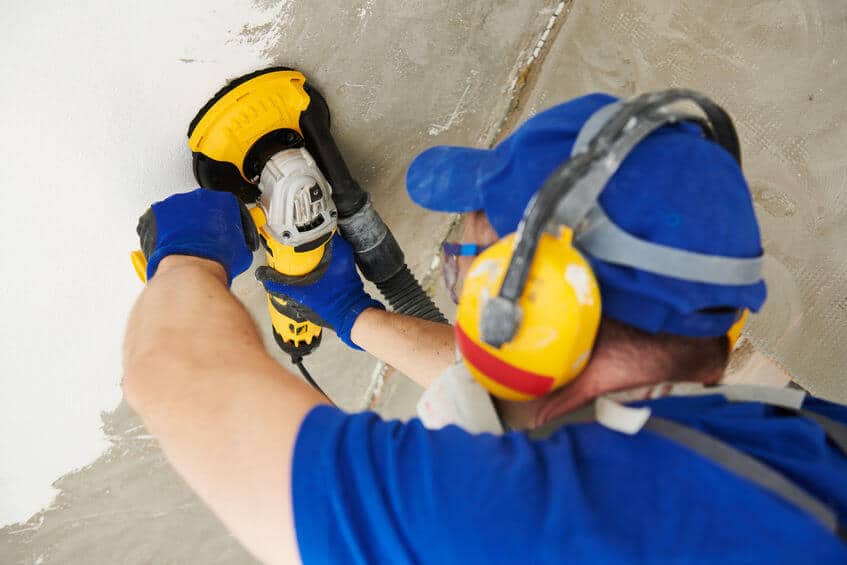
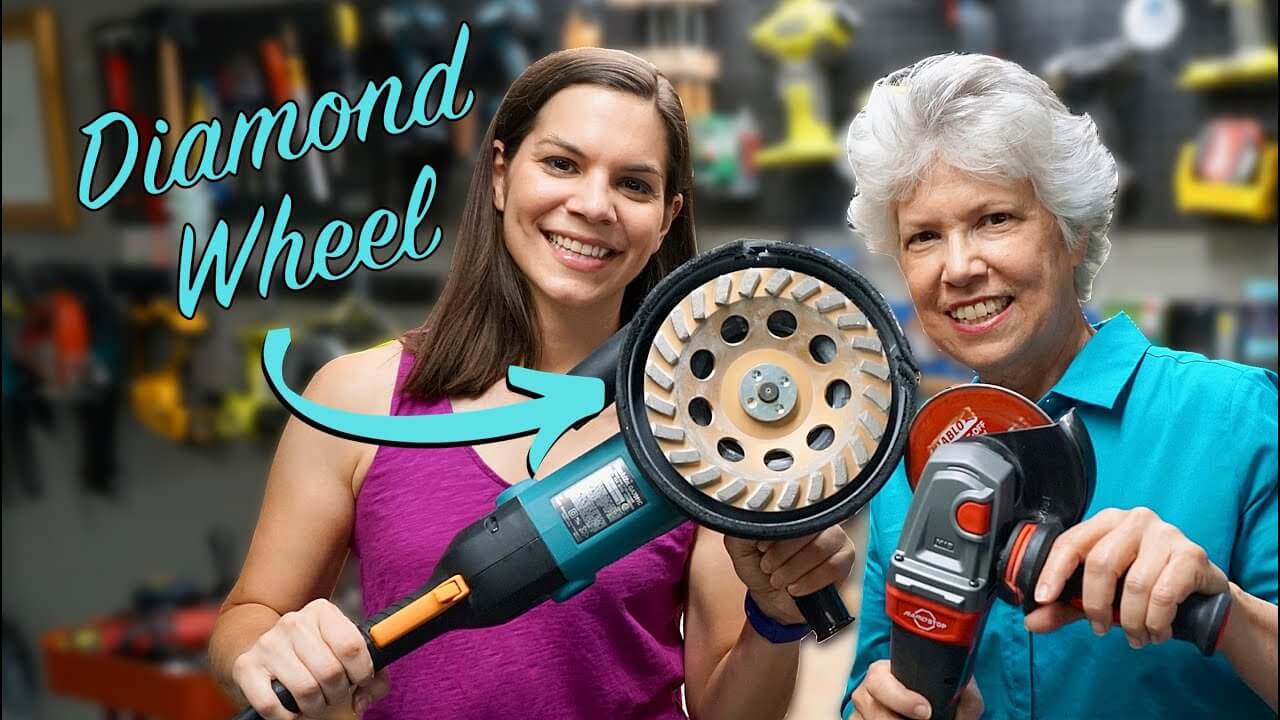
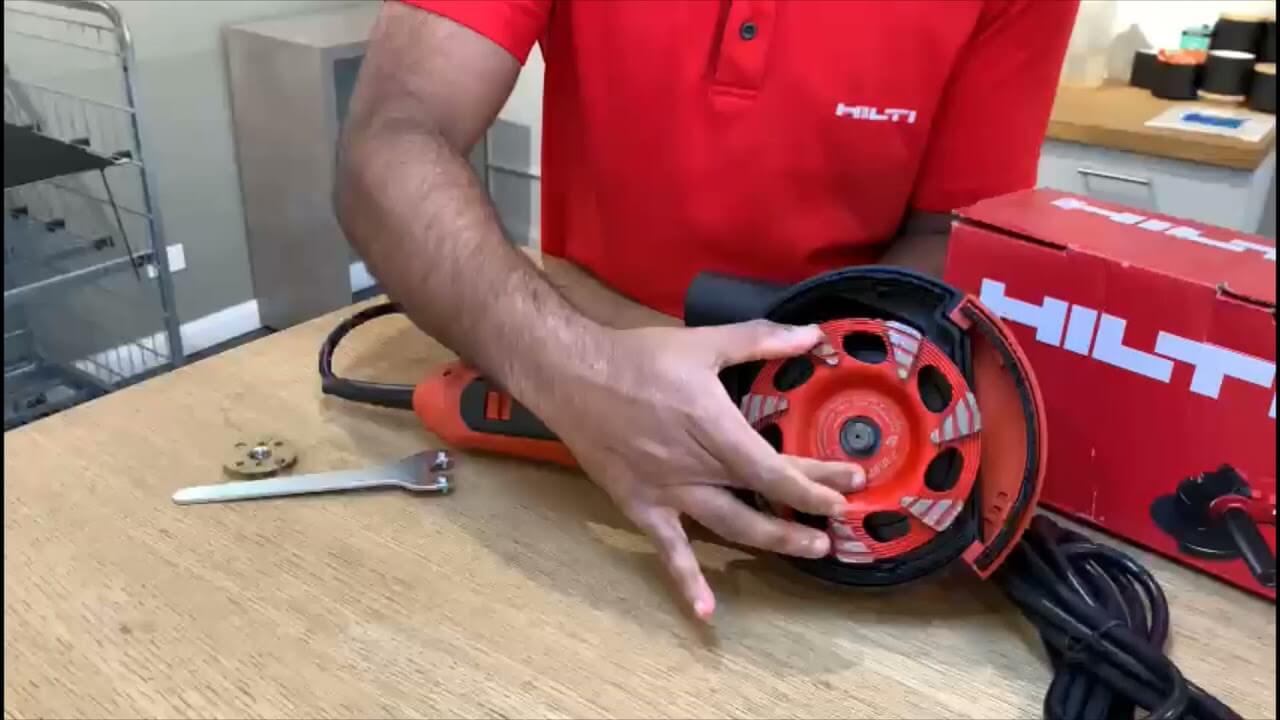
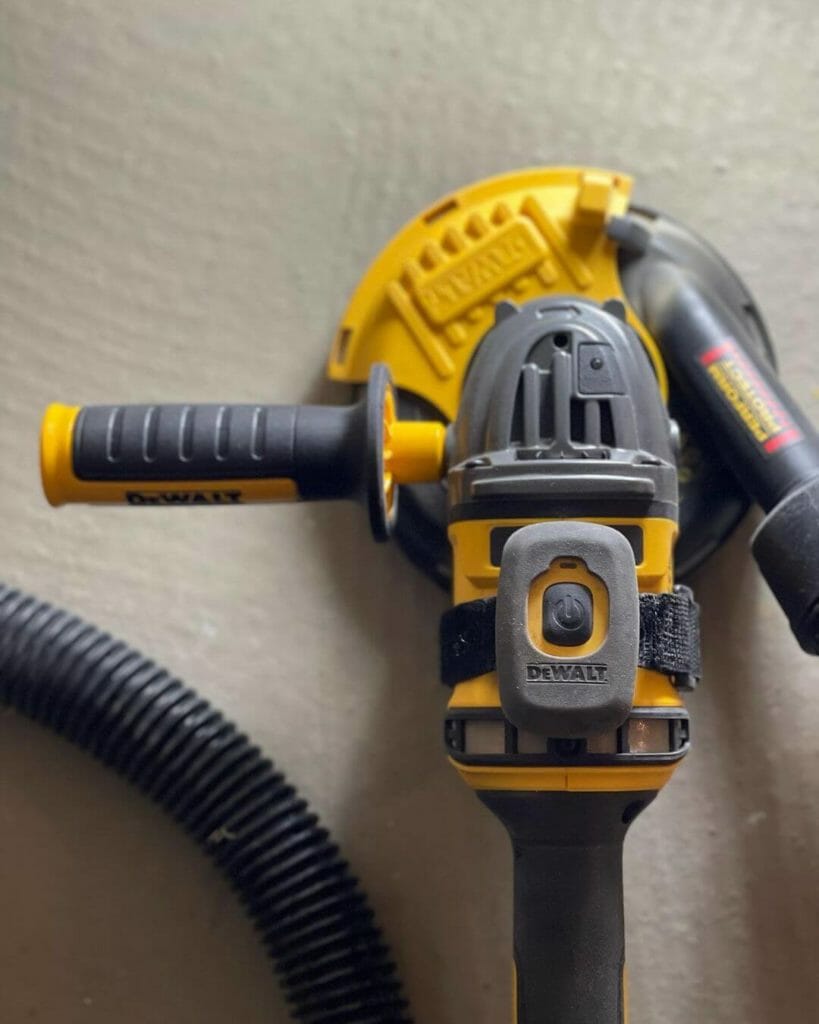
When attempting to exploit your angle grinder to manipulate such a robust surface as concrete, you need first to fit a diamond cup wheel.
This grinding wheel vigorously removes deteriorated paintwork, degrading wallpaper material, glues, epoxy resins, and other surface coatings you like (metaphorically) banished to the shadowland.
So yeah, it’s safe to say that when it comes to assaulting unsightly concrete, you’d like to smooth out or even butcher with the right blade; an angle grinder is perfect.
On that note, here are a few essential and even non-essential but highly beneficial items you will require to smooth concrete effectively.
What You’ll Need
- Full-face respiratory protective mask for protecting your lungs from airborne particles; including concrete and silica dust
- A decent set of knee pads to protect your knees while kneeling on the concrete floor, ideally get a set that is deemed to be professional grade
- High-quality hearing protection (at least NRR of 24 dB) as cutting and grinder concrete can generate up to 104.8 dBA
- Standard anti-fog safety glasses (low profile glasses are the better option if you’re wearing a mask) and wrap-around might be the better option
- A portable heavy-duty Wet/dry vacuum with a power cord that is of an adequate length to move around freely with about 8-gallon plus capacity
- A surface grinding dust shroud that will fit the size of your angle grinder, preferably with a quick-release switch
- Thinset removal bit which will come in super handy if you’re moving ceramic floor tile from any concrete surface
- Some diamond polishing pads work for both wet/dry are great for polishing stone slab surfaces
- A pressure washer with a decent amount of oomph, although I recommend you consider hiring one for the day
- And, if you already don’t have one, an angle grinder with a variable speed drive setting and at least 10,000 RPM plus.
Getting started
Okay, so let’s assume you’ve got every mandatory piece of equipment to smooth out this problematic concrete surface in question productively.
The process I’ll explain here will presume that you are removing everything from deteriorated paint and epoxy, to even old degraded Thinset or remaining residue after you’ve removed some vinyl tile.
How Smooth Concrete With A Grinder: Step-By-Step
Here’s a step-by-step process for conducting this job in the most efficient manner:
Step 1
Prep the floor area by cleaning it appropriately. You can vacuum and mop the floor, or if it’s a complete and utter debacle, you may need to utilize a pressure washer to clean the surface appropriately.
Step 2
Once the surface area is sufficiently clean, you should run an extension lead/power strip with surge protection for your wet/dry vacuum and angle grinder if it’s not a cordless grinder.
Step 3
The next step involves connecting your dust shroud to the angle grinder. The dust shroud should be securely fitted to the grinder by tightening the clamp fitting on the suction hood, which will lock the shroud in place.
Step 4
Next, you’ll need to connect the vacuum nozzle to the vacuum adapter on the dust shroud and then likewise to the wet/dry vacuum inlet.
Step 5
Now, with the power still disconnected to your angle grinder, you can fit whichever wheel you plan on smoothing your surface with to your grinder (I recommend you start with a diamond polishing pad).
Step 6
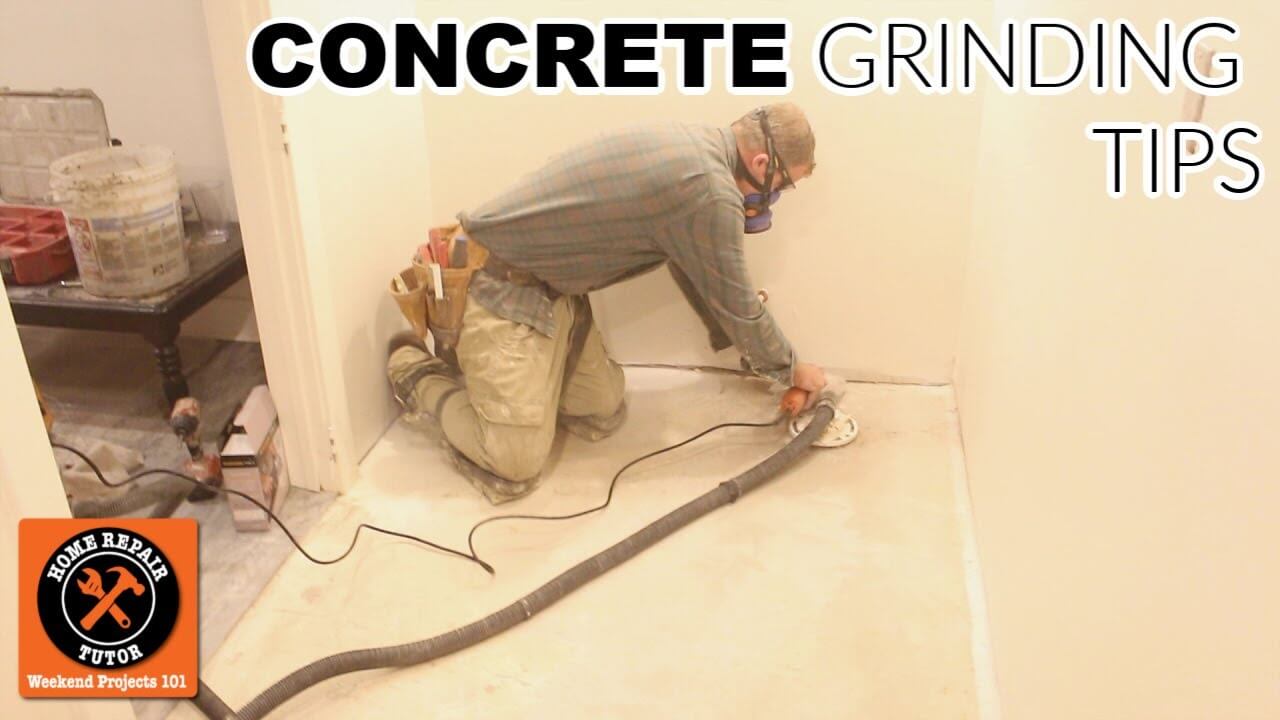
With everything connected and in place, you should now make use of your safety gear by fitting your mask, gloves, earplugs, and knee pads.
Step 7
Okay, so you can now release the hounds and begin smoothing the surface area by working the angle grinder around the perimeter of the room if you want to work from the outside in circular motions.
Step 8
Once you’ve smoothed out the perimeter edges of the floor space, you can now work your way inwards, manipulating the angle grinder in circular motions, which will deliver a greater degree of consistency.
Step 9
Now that you’ve smoothed the larger part of the surface area, you’ll notice that you’ll be left with an untouched section of concrete around the perimeter zone. This is, unfortunately, caused by the dust-shroud plastic lip, which obstructs the grinding wheel from smoothing the surface closest to the wall.
Step 10
To rectify this, you can remove the dust shroud from your angle grinder and go over these leftover sections focusing on any areas of concern. But remember, if you’re going to be using your angle grinder without a dust shroud, keep your mask on and position your vacuum near the grinder.
You’ll probably have to continually keep emptying the waste materials that the wet/dry vac collects throughout this entire operation, as the average vacuum only has around a 6-gallon capacity.
This sort of inconvenience can be avoided by utilizing a wet-angle grinder/polisher.
However, if this is a one-time job, I’d recommend you either stick with the method mentioned and suck it up (literally) or hire a wet-angle grinder.
Buying a tool like a wet angle grinder that you’ll probably use just once isn’t very fiscally friendly.
Well, that’s pretty much it. You can now get to cleaning and degreasing the slab, and once you’ve finished playing Mrs. Doubtfire, you can apply any coats you desire.
How do You Smooth a Rough Concrete Patio?
As you’re likely already aware, concrete is an extremely durable substance that provides a level of longevity that hardwood or even tile tends to lack. For this reason, concrete is a brilliant choice for floor and wall surface finishes.
You can also finish concrete so that it showcases a fantastic wet look with either a low gloss or high gloss acrylic concrete sealer.
But, over time, and with enough wear and tear, your concrete will begin to look like Nick Nolte after a 4-day bender with Charlie Sheen as his wingman.
If you’re now facing this predicament with your patio, thankfully, you can redeem your now FUBAR patio surface and turn back the hands of time to restore your patio to its once-former glory.
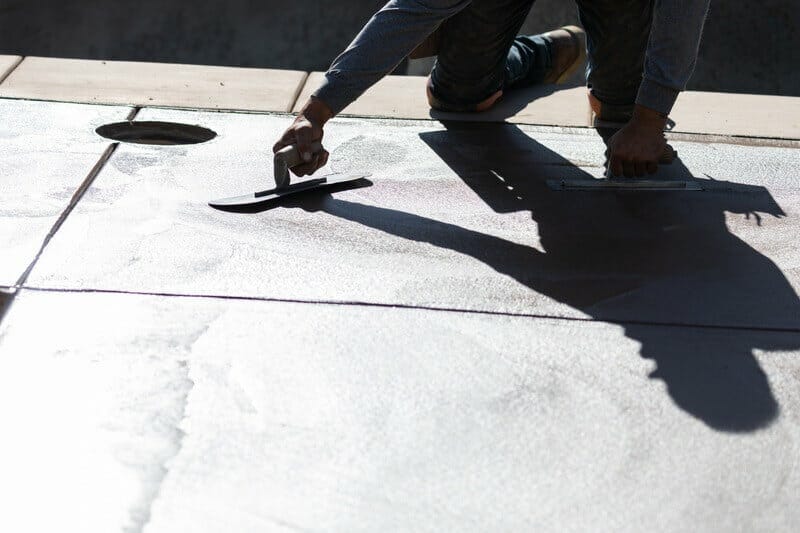
How do you achieve this, you ask? The better alternative when it comes to transforming your tired old concrete patio is to resurface it. You can attain an outstanding finished surface for your aged patio by using some basic materials and household tools.
Now, for this job to go smoothly (get it), you’ll need a few things. Some of these items you might have to buy, others you’ll hopefully already have, and a few you’ll be able to hire.
Here’s Everything You’ll Need
So, presuming you have all that is necessary, you can start the process by following the detailed steps outlined below.
How to Smooth Concrete Patio: Step-By-Step
Step 1
The first and most simple step in the process is to remove any loose material or concrete flaking from the surface area, which can be done using an angle grinder with a diamond cup wheel.
Step 2
Now you’ll want to get rid of any dust and dirt, ideally from the concrete slab, with a leaf blower (best to wear a mask when you’re doing this) or sweep the area adequately with a broom.
Step 3
Next, you’re going to have to wash and scrub your concrete patio surface using a pressure washer, or if you don’t have access to a pressure washer, you can always scrub and mop the surface clean.
Step 4
Now you’ll want to break out some concrete degreaser to remove any contaminants from the concrete. It’s best to apply the degreaser and then vigorously scrub the surface of the concrete with a broom.
Step 5
After you’ve spread enough of the degreaser on the surface area of the concrete and scrubbed it thoroughly, you should go over the entire area again with a pressure washer.
Step 6
Next on the list is repairing any cracks and or gaps in the concrete using a multi-purpose repair material like “Cement All,” which repairs fractures & hardens damaged concrete to structural strength.
Step 7
Once you’ve patched up the troubling cracks and gaps, you’ll need to apply masking tape to any expansion joints, walls, or any other surface you don’t want to be exposed to the multi-purpose cement mix.
Step 8
Before applying any resurfacing material, you’ll want to apply a bonding adhesive using a paint roller to help establish a solid bond between the resurfacing material and the concrete.
Step 9
Further, apply bonding adhesive using a paintbrush to any hard-to-reach areas of the concrete that you could not coat correctly with the paint roller.
Step 10
Now you’ll want to mix some resurfacer compound (or sand) in a bucket with the required amount of water (around 7 to 1 ratio) and mix them together using a paddle mixer until you get a cake-like consistency.
Step 11
Sparingly spray the concrete surface you’re going to be resurfacing with water so that you’ll be applying the mixed resurfacer compound to damp concrete.
Step 12
Now use a squeegee to pull and push the resurfacer product evenly across the entire surface area of the concrete until you get a nice uniform thin layer.
Step 13
While the resurfacer product is still wet, you want to drag a mason broom over the entire section of concrete you just coated to remove any irregularities or marks left behind while using your squeegee.
Step 14
If you’re resurfacing a sizeable patio area, you may need to dampen the untreated concrete area as you go to ensure that the resurfacer product is administered smoothly.
Step 15
Lastly, once the newly resurfaced concrete is completely dry, you will need to apply a clear coat sealer to repel any contaminants like; oil or salt. This final step will not only give your freshly resurfaced concrete a new lease on life but also bring out the best in your concrete patio aesthetically.
Well, that’s about the gist of it. Just repeat the procedure as advised until you’ve covered the concrete surface area appropriately.
Note, this kind of job does have a bit of prep involved with it, but once you get going and get into the swing of things, you should likely be able to complete this in a day or two.
In Conclusion
So hopefully, you’ve gained some valuable new insight on the correct method on how to use your angle grinder to smooth concrete surfaces. With the right tools and personal protective equipment, you’ll be able to smooth and finish any unsightly-looking concrete surface with a bit of practice and perseverance.
For you to achieve absolute DIY grandeur in the concrete resurfacing department, you’ll have to test your patience until you possess adequate skills.
Keep in mind that if this is your first time attempting a resurfacing or smoothing job around the home, that concreting is an actual trade that individuals have spent years mastering their craft in.
So, work safely and efficiently, and don’t be afraid to ask for help from a beer buddy that you could probably compensate with more beer for services rendered.

