How to Cut Angles With A Table Saw
Table saws are every woodworker’s best friend and are generally the go-to saw in every workshop.
They can rip wood all day long; however, cutting angles with absolute precision really isn’t their strong point when comparing say a table saw vs a miter saw.
There are two ways you can get your big, brutish table saw to produce precise angled cuts without rebuilding the wheel.
The first involves changing the angle of the blade. The second method requires a change in the angle of the wood.
Changing the Angle of the Blade on a Table Saw
Most table saws will allow you to adjust the angle at which the blade sits. You can usually get a decent range of movement on the blade. The typical table saw will allow you to tilt to 45°, although there are others that may let you go further.
With a tilted blade, you can create bevel cuts. Bevel cuts are often used for door frames, picture frames, and similar. Most table saws allow you to adjust the angle using a crank or pivot system.
On the crank system, you turn a handle, and the blade will adjust. Usually, there will be an indicator scale on or near the crank to tell you the blade’s angle.
Now, these indicator scales are just that. They are an indication of the angle but not a precise measurement. Sometimes these scales are spot on, but it’s difficult to trust them if you haven’t checked.
A pivot system has the same issue. The scale is just not always accurate. To adjust a table saw blade using a pivot system, you need to find the adjustment handle.
Usually, you need to pull the handle to unlock the system. Once unlocked, you can slide the handle along a scale and lock it in position at the desired angle.

Measuring the Angle
There are a few ways you can measure the angle of your blade. Some are easier than others and some are more accurate than others.
- Digital Angle Gauge – A digital angle gauge is a digital device that can accurately measure your blade’s angle. Sometimes these boxes are accurate up to 2 decimal places. To measure the angle of your blade, you simply place the gauge on the blade. It will measure the tilt and display the angle. Each gauge will have its own features and operating instructions. If you can, choose a gauge that has a built-in bevel angle feature.
- Digital Protractor – Another highly accurate way of measuring the angle is to use a digital protractor. These look a bit like two rulers joined together with a hinge. An LCD screen sits on or near the join. To work the protractor, place one arm against the top of the table and then open the other arm until it’s flush with the blade. The screen will then display the angle. Again, this can, in some cases, be accurate up to a few decimal places.
- Standard Protractor – If you don’t want to go digital, a good old-fashioned protractor will do. You’ll need a decent-sized protractor. Not one of those tiny ones you’ve nabbed from your kid’s geometry kit. Place the protractor’s flat end on the table, ensuring that it’s straight and sits flush. You’ll want to place it either directly in front of the blade or directly behind the blade.
Now you can adjust the blade according to the protractor. Make sure that when you look down the blade, you are dead center on the blade.
All of these methods can be used to check or set the angle of your blade. Here are some quick tips to remember when it comes to bevel cuts and table saws:
- Before adjusting your blade’s angle, it’s a good idea to raise the blade to its full height. This is just a lot easier for you to see the angles and measure the angles.
- Remember to lower the blade to the appropriate height before you cut and to be mindful of when cutting with an angled blade is the pressure you exert on the blade.
- Where possible, move your rip fence so that the blade tilts away from it. This reduces the pressure on the tilted blade when cutting.
- If you can’t switch your rip fence, just be extra careful when guiding the wood through the blade.
- Don’t twist or move the wood out of line, and always use a push stick or push box, not your hand.
Changing the Angle of the Wood
The other way to make an angle cut on a table saw is to make an angled miter cut. To do this you need to change the angle at which the wood meets with the blade.
The easiest way to achieve this is with a miter gauge.

Miter Gauge
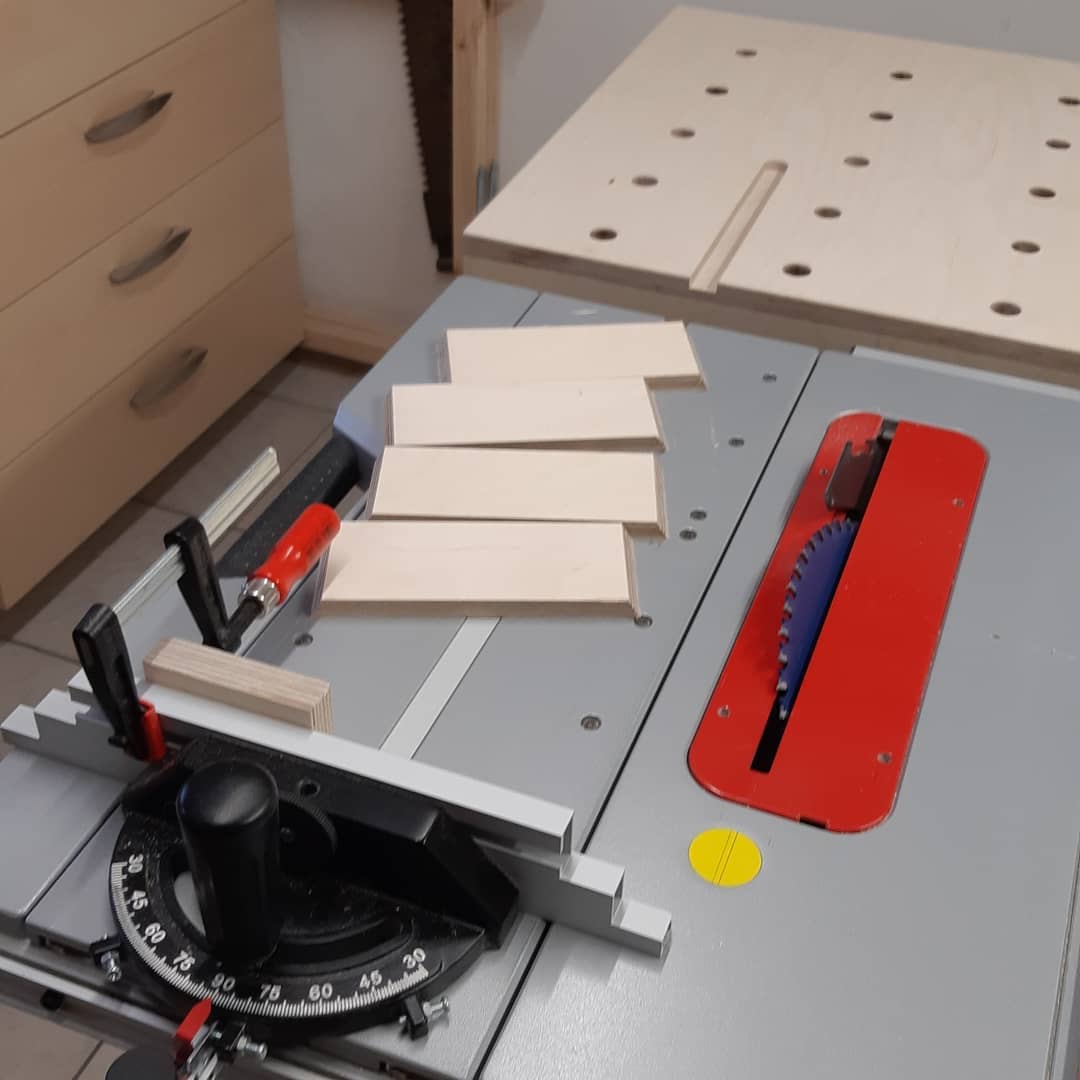
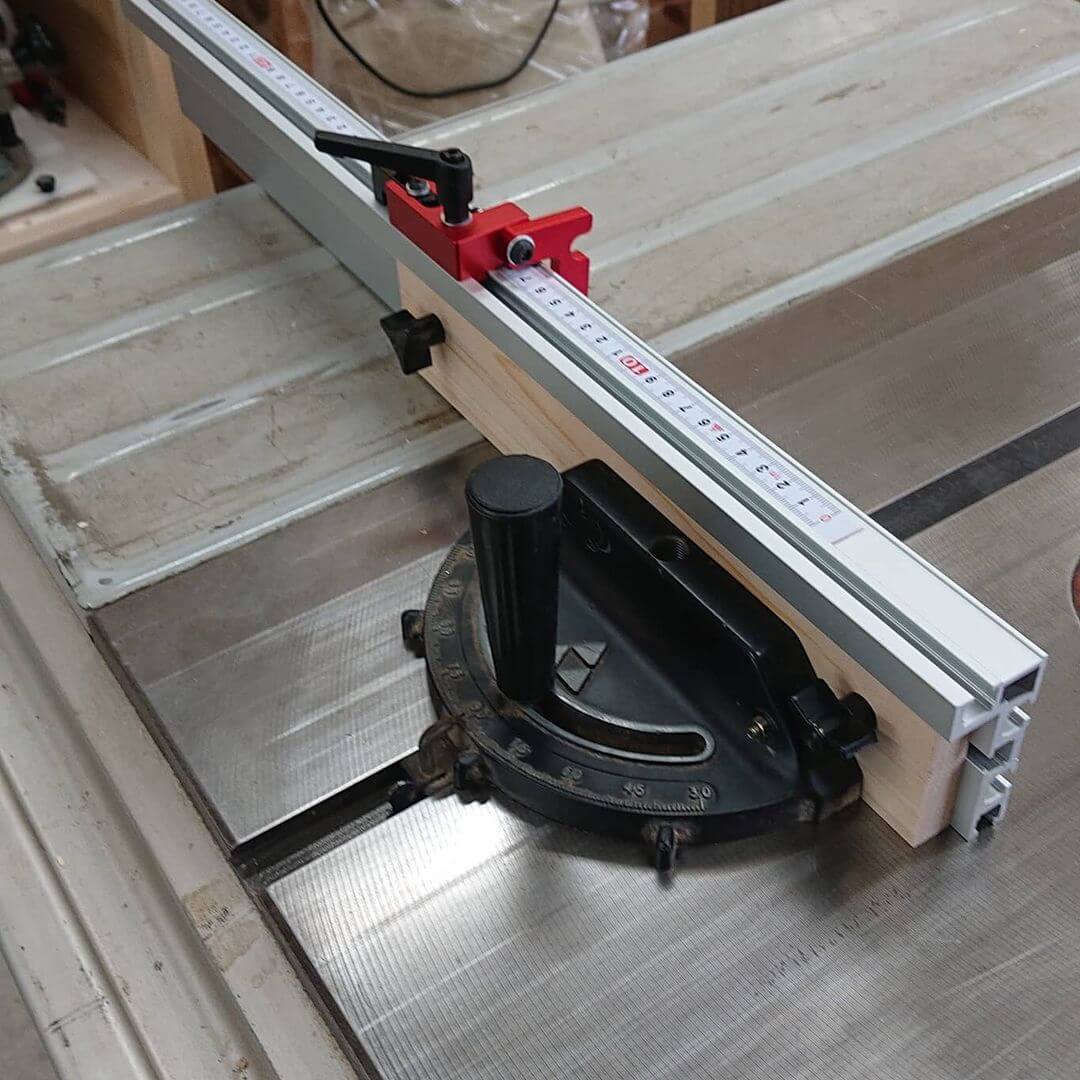
In the most basic form, a miter gauge is a protractor attached to a metal foot. The foot slips into the miter slot and can be slid up and down.
The protractor has a moveable handle that changes the angle of a ledge.
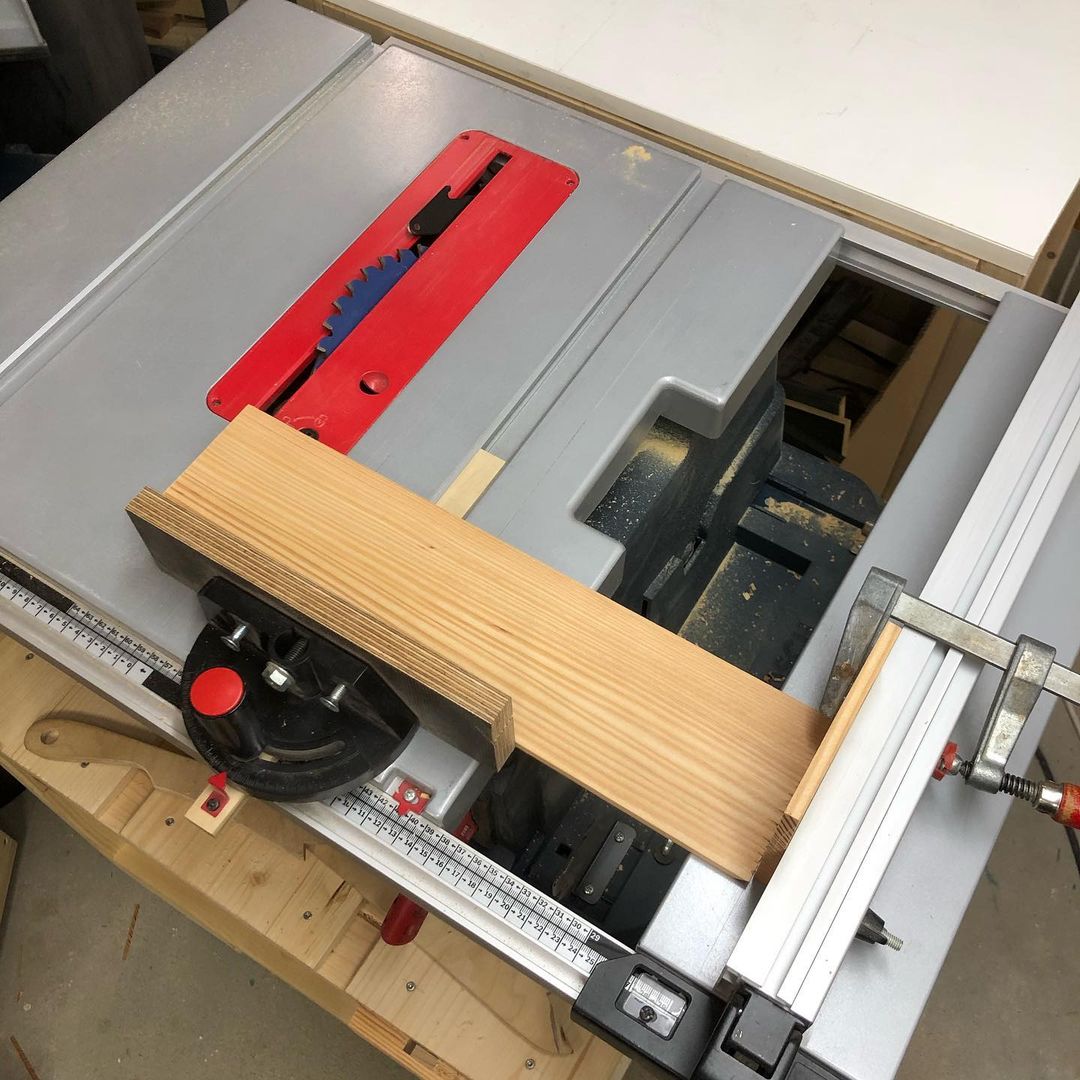
You set the angle, place a bit of wood against the ledge, and then you can guide the wood through the blade by pushing the gauge along with the miter slot. It’s as simple as that, really.
Most miter gauges allow you to set the ledge on either side of 90° up to about 45° or 50.° This means you can pretty much make any angled cut you want.
When setting the angle, most miter saws have a screw lock handle. You unscrew the handle to allow it to slide along the protractor and then screw it shut to lock it in place.
It’s vitally important that you lock the gauge in place. Otherwise, when you start to push the gauge along with the miter slot, it may shift. This will not only mess up your cut, but it could snap the blade.
Once your wood is resting flush against the miter gauge, you’ll want to clamp it in place. This isn’t always possible, depending on the configuration of the gauge.
If you can’t clamp the wood, you’ll need to hold it firmly against the gauge to get a straight and accurate cut.
In Summary: What to Know When Learning How to Cut Angles on a Table Saw
You need to know what angles you need to cut when working with your table saw. Remember, six corners at 60 degrees will equal 360 degrees.
When it comes down to deciding how to use your table saw to cut an angle, it is really up to you.
If you’re not willing to make use of a circular saw to make a taper cut free-hand, you can always make an accurate angle or taper cut using a table saw and a jig.
You just need to learn the different cutting angles and get in some practice, and it will prove to be relatively easy in no time.
- Miter Gauge: this is good for smaller pieces of wood. For example, a miter gauge is good for a 45-degree angle when making a picture frame.
- Miter Gauge at 90-Degrees with a Beveled Blade Angle: this is best for cutting angles on the wood’s sides. The edges of a box are a good example here.
- Miter Gauge with Beveled Angle: this is best suited when making a compound miter cut like you would when making crown molding.
- Fence with Beveled Blade Angle: this is for longer wood pieces with 45-degree joints, like a long rectangular box.
- Fence with Taper Jig: for a trapezoid effect, cut the angle along the board’s face for a super clean-looking finish.
- Fence with Beveled Angle and Taper Jig: this allows you to cut two angles at a time using your table saw. One angle is along the edge, and the other is along the face. A square planter box is a good example.

How to Cut Angles With A Table Saw FAQ.
As of now, you’ve likely figured out that while table saws can no doubt make the majority of angle cuts, they still have some limitations when it comes to cutting wood at angles.
Completing a clean-looking finished angle cut with a table saw vs a circular saw might require a bit more preparation.
But, if a table saw is all you’re working with, you can still make that much-needed angled cut for any woodworking project.
Can You Make Angle Cuts With a Table Saw?
You are probably already aware that a table saw’s rip capacity makes it the ideal tool for making long cuts parallel to the wood’s grain. Although a table saw’s blade can be set for angles up to 45-degrees to achieve an angle cut, that’s not really where they excel.
But, when cutting an angle, the hardest part is going to be determining the proper angle. Once you get past this, then actually cutting the angle is the easy part. Despite your measurements, there is no true angle that is over 45-degrees.
This is why the table saw and miter saw only adjust to that angle. When you need to cut an angle greater than 45-degrees, you need to adjust how the wood is being held in the table saw.
Start by subtracting 45 from the angle measurement you need. You then need to adjust the angle of the saw. Many table saws can be adjusted using the knob or a release typically found on the front of the power tool.
Place your wood piece vertically, and then put a piece of scrap wood adjacent to the wood positioned by the blade. Raise the blade height so you can cut through the wood at a greater angle than 45-degrees.
How Do You Calculate Angles When Cutting Wood?
To calculate angles when cutting wood, you need to use a formula that divides 360 by the number of sides.
This is how you can calculate the corner angle. For a miter angle, divide it by two. If you have a five-sided project and each of those five sides is equal, you will then divide 360 by five and get 72 degrees.
What Is the Tool to Measure Angles?
A protractor or similar tool can be used to measure angles. A protractor simply has a semicircular disk with graduated degrees from 0 to 180. Protractors have been in use as far back as the 13th Century.
How Do You Measure Angled Cuts on a Table Saw?
Before and after cutting, measurements prove to be important. A clear digital protractor or digital bevel gauge are two ways you can measure your angled cuts with more accuracy. The digital display is also incredibly easy to read.
How Do You Measure Bevel Cuts on a Table Saw?
When measuring bevel cuts, you will find that most table saws have markings showing the degrees. These markings help ensure you are in the right ballpark.
Table Saw Safety Tips
Knowing how to use a table saw can be a gamechanger as a woodworker, but knowing how to use a table saw safely is another thing entirely.
When cutting angles with a table saw, make sure to always wear your safety glasses. Having the right dust collection system in place is also good and can keep your workspace clean and safe.
When not in use, move the fence far away from the blade. Never let your fingers get too close to the blade, either. Instead, use a push stick when necessary.
One final tip when it comes to table saw safety, is to always make sure your table saw is properly maintained. Conducting some basic service checks on your table saw annually will keep you upright and increase the longevity of your saw.
I’d recommend removing any sawdust from the saw housing, lubricating the gears, and pivot points, and sharpening your table saw blade when need be. These would be good places to start.
In Conclusion
Deciding whether to change the table saw blade angle or the wood is up to you. You’ll know whether your project calls for a miter cut or a bevel cut.
Just in case you’re not sure, a bevel cut is any degree except 90 along with the wood’s thickness. A miter cut is a cut over or under 90° along the wood’s width or length.
Both are easy enough to cut once you know how to set the angles. A miter cut is probably the easiest of the two simply because the miter gauge does all the measuring for you.
A bevel cut requires you to check your saw blade’s angle, which can be tricky without digital tools. A digital angle gauge is definitely worth getting. It will stop you from messing about with squares and protractors. They are fairly inexpensive and easy to use, which is great for beginner woodworkers.


