How to Cut Downspout Gutter to Length
Ready to master the art of cutting downspout gutters but don’t know where to begin? This step-by-step guide demystifies the process allowing you to cut and install gutters with the precision and confidence of an experienced handyman.
In a Nutshell:
Cutting a downspout gutter to length involves a few simple steps. First, measure the required length from the bottom of the main gutter to the ground and mark it on the downspout. Use a reciprocating saw with a metal cutting blade to make precise cuts. Begin by cutting one side at a time, rotating the downspout as needed. After cutting, use a crimping tool on the downspout ends to ensure they fit snugly into the elbow. Finally, attach the downspout to the elbow and secure it with self-tapping screws. Remember to prioritize safety by wearing heavy-duty gloves and safety goggles during the process.
What Tool Do You Use to Cut Gutters?
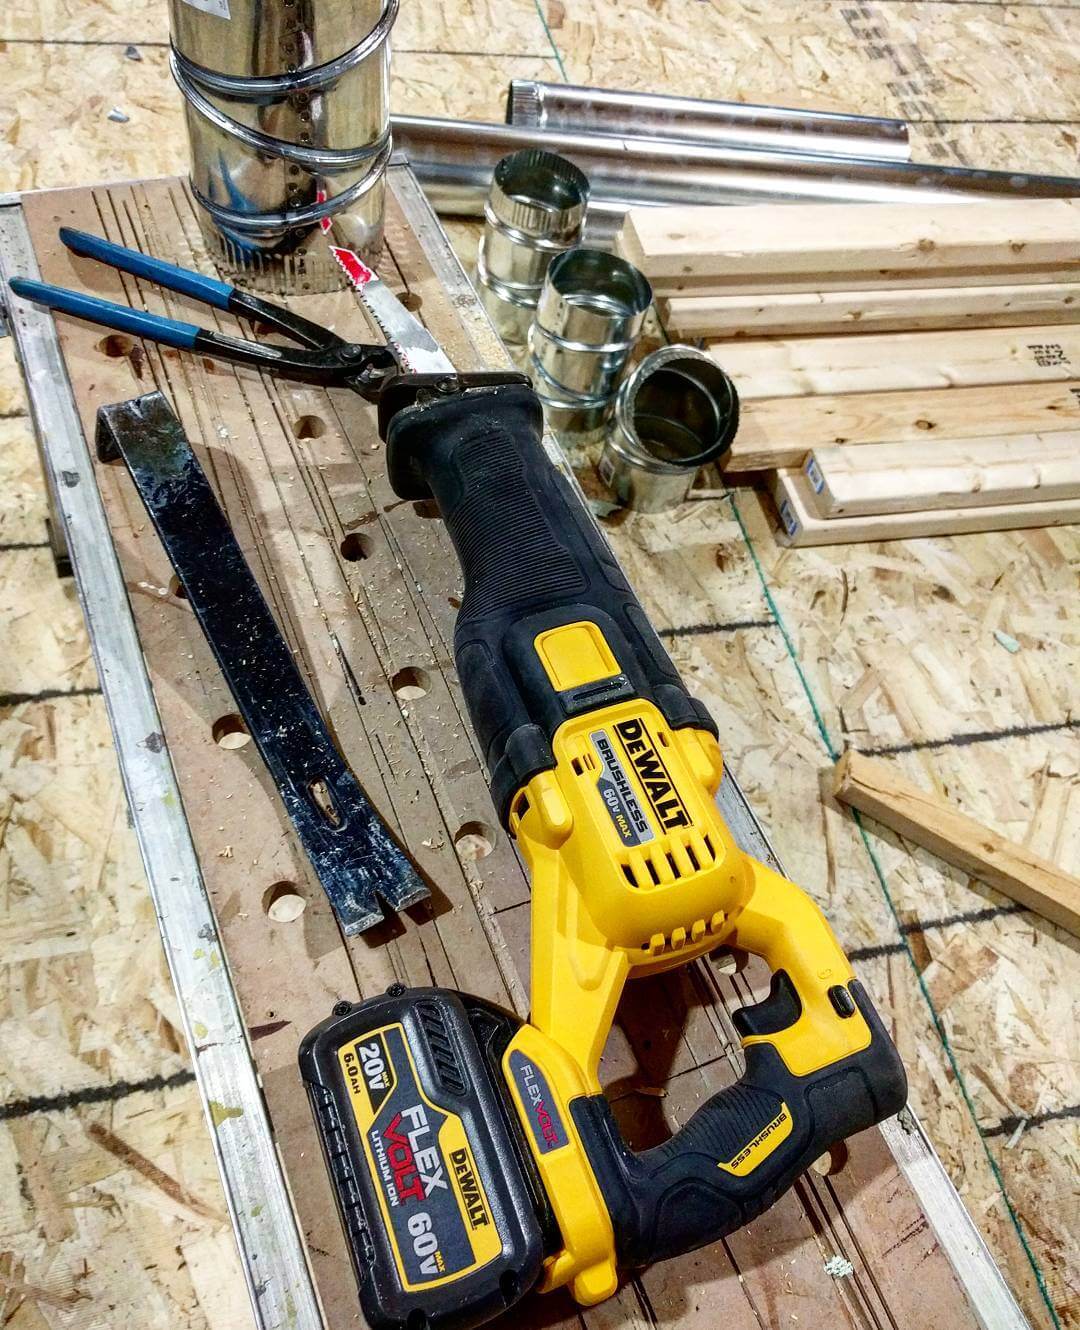
There are several methods for cutting gutters, but the best way is using a reciprocating saw. That said, you’ll likely need a budget set of tin snips for some of them tricky angles.
This saw blade is designed for cutting metal and will finish the job in no time. With the rest of your materials, the reciprocating saw will help you to install the new downspout and remove the old one from your gutter system to form a better connection to your roof.
Before you start cutting, remember to wear gloves and use eye and ear protection to keep yourself safe.
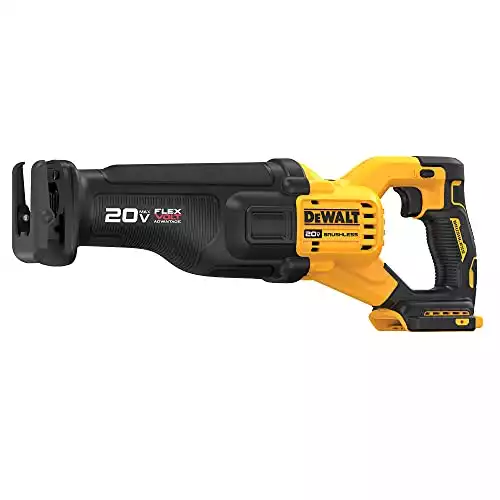
 DeWalt DCS386B FlexVolt Cordless Reciprocating Saw
- A powerful and versatile saw that can tackle a variety of projects featuring a robust brushless motor for increased efficiency and runtime.
- Equip with a variable speed trigger for greater control so you can slice your way around corners with added precision.
- Fitted with a pivoting shoe for improved maneuverability, and an LED light to help illuminate dark work areas.
- Compatible with both of DeWalt's full-bodied 20V Max band 60V Max FlexVolt batteries for increased runtime.
What You’ll Need:
Luckily, cutting the gutter downspout from your roof doesn’t require a professional’s arsenal of tools, and they can be easily found.
Once you have all the tools for cutting below, you’ll be ready to get the job done. What you’ll need is:
How to Cut Downspout With a Reciprocating Saw in 4 Steps:
After you have obtained all the necessary tools and materials from your home or local hardware store, it’s time to begin the project.
Aluminum downspouts can be cut in just four simple steps using a reciprocating saw. All the cutting will be easy once you start. Below, we’ll show you how.

Step 1: Measuring Gutter Downspout
- Find the Right Length: Measure the distance from the bottom of the gutter to where the downspout will end on the ground. Use a tape measure for accuracy.
- Marking for Cut: Mark this length on the downspout using a carpenter’s pencil. The mark should be clear and visible.
- Using an Old Downspout as a Template (Optional): If you’re replacing an old downspout, you can use it as a guide. Lay it alongside the new one and mark the length to match.
Step 2: Attach a Metal Cutting Blade
- Safety First: Ensure you’re wearing safety goggles, long sleeves, and cut-resistant gloves with knuckle protection.
- Attach the Blade: Open the blade clamp on the saw, insert a metal cutting blade, and secure it. Ensure the blade is firmly in place before proceeding.
Step 3: Cutting the Downspout Gutter
- Position the Downspout: Secure the downspout so it doesn’t move during cutting. You can use a vise or ask someone to hold it steady.
- Initial Cut: Start cutting at the marked line, keeping the saw steady. Apply gentle pressure and let the saw do the work.
- Rotate and Repeat: After completing one cut, rotate the downspout and align the saw for the next cut. Continue until all sides are cut through.
Step 4: Crimping the Aluminum Downspout
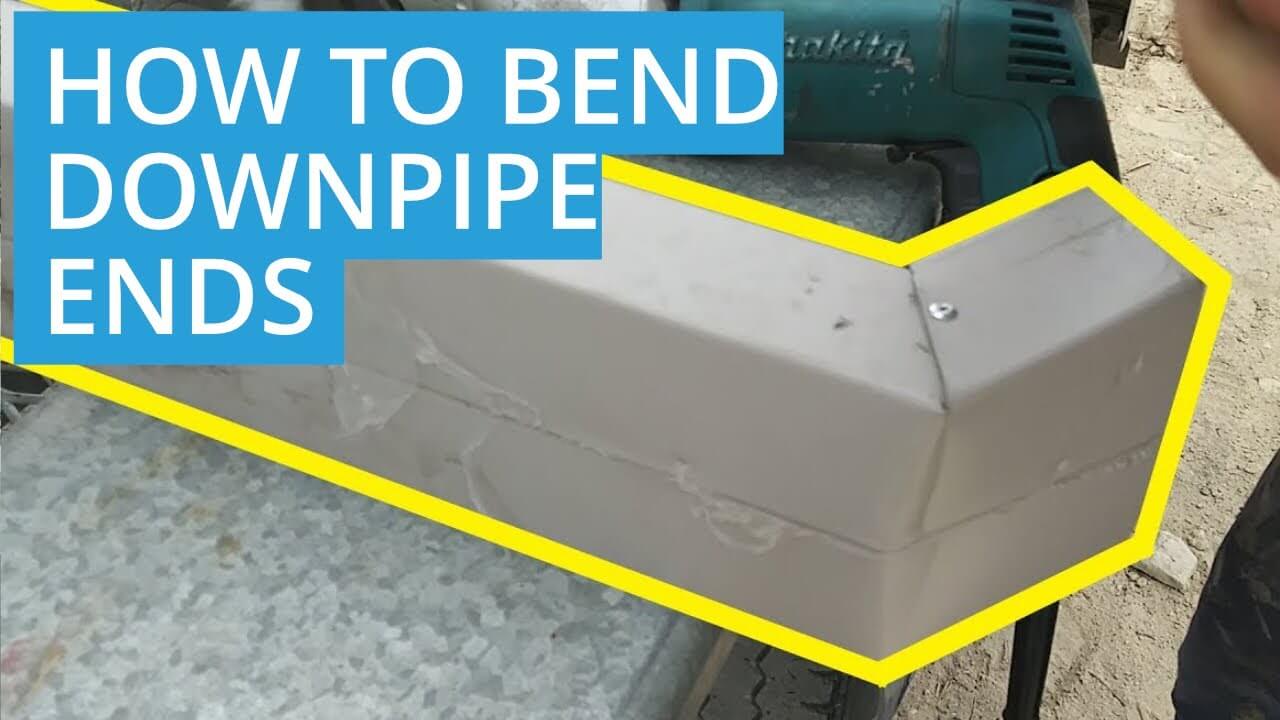
- Crimping for Fit: Use a crimping tool at the cut end of the downspout. Crimp all four corners. This step ensures the downspout will fit snugly into the elbow or adjoining piece.
- Precision Matters: Using the designated crimping tool ensures precise shaping of the downspout’s end. This precision is crucial for a seamless fit into the gutter system.
- Avoid Damage: Improper tools might deform the metal, leading to poor fit and potential leaks.
Step 5: Attaching the Downspout (with sheet metal screws)
- Connecting to the Elbow: Insert the crimped end of the downspout into the gutter’s elbow. It should fit tightly.
- Securing with Screws: Use a screwdriver or drill to place sheet metal screws through the elbow and downspout to secure them together.
- Attaching to the House: Use downspout straps to attach the downspout to your house. Position a strap every six to eight feet for stability.
Note: Once the straps are attached to your house, wrap the straps around the downspout, then drive more screws through the straps and into the downspout once more to get the perfect drain.
Pro-Tip for Cutting Aluminum Gutters:
If you are cutting gutters that are attached to your home, place a board or piece of plywood between the section of the gutter and your home where the cut will be made.
This will protect your home from any damage when cutting quickly.
3 Methods to Avoid When Cutting a Downspout
Gutter work can turn into a messy job if the wrong tool is used or, more importantly, used incorrectly. If you are installing a new gutter, I’d recommend playing around with them with some offcuts before taking to that section of the downspout.
1 | Tin Snips
A simple pair of tin snips or aviation snips are less powerful than other options fit for the job, but they will move slower and therefore yield more precise cuts. You have to guide the tin snips by hand, so you have more control over the movements. Tin snips are not ideal because they can puncture the gutter or create a jagged and messy tool for cutting metal downpipes.
If you choose to use this tool, you want to measure the mark for the fixing holes at one corner and puncture a hole, which is unnecessary when using other methods. You will have to cut alongside the outside line and leave space for the lap joint intact. Once you make the hole, you need to later enlarge that hole or make more.
2 | Circular Saw
A circular saw is a heavy-duty type of saw, which makes it nearly impossible to use in this situation. You could install the blade backward to use it, but it’s not worth the effort. The saw will most likely crush the gutter or cut too much off, rendering the part useless.
3 | Hand Saw and Utility Knife
Do not use a hand saw, box cutter, or any other tool that is not designed to cut through metal when trimming gutters. This will slowly create a mess and damage the blade. Choose a tool equipped with a metal cutting blade handy in your home or at a nearby hardware store.
The 5 Best Tools to Cut a Downspout
The reciprocating saw is the most versatile for cutting through the gutter because it is powerful, but it is not the most precise.
Below are a few power tools we recommend if you are cutting a vinyl or aluminum gutter, ranked from the best to worst for the project.
1 | Miter Saw
The miter saw or chop saw makes clean, precise cuts in aluminum downspouts. If you’re installing a new downspout, equip the power miter with a carbide blade. Repeat the process. Start by making a mark before making the perfect cut. The miter saw is great for repairing or installing the downspout and gutter system.
2 | Dremel
A Dremel equipped with a cutoff blade will also get the job done. Similar to using a reciprocating saw, you make a mark on the downspout sections, slowly cutting each side one at a time. The Dremel makes a precise cut, making the gutter material easier to crimp and install.
3 | Jigsaw
If you fit a jigsaw with a metal cutting blade, you will repeat the same procedure as using a reciprocating saw. The jigsaw is less powerful than the reciprocating saw, but is more precise because you will have to guide the saw slowly by hand.
4 | Reciprocating Saw
The reciprocating saw is considered the best tool for cutting downspout and gutter material during demolition. The reciprocating saw may not be as precise as some of the other tools, but it will get the project done quickly.
5 | Hacksaw
The hacksaw creates a relatively precise cut, but it is slow to work with and will require more manual effort. For smaller projects, the hacksaw can cut through the gutter quickly but isn’t nearly as efficient as other options.
The Bottom Line
If you had never heard of cutting downspout until today, you’re not alone. Even some of the most experienced home DIYers have never had to cut downspouts before and you’re going to need more than just a few hand tools like a screwdriver.
Key Takeaways:
Fortunately, this task is straightforward once you find the right guide or popular articles to help you navigate the steps and acquire the necessary tools organized for the job.


