How to Remove a Stuck Drill Bit
Ever found yourself struggling with a drill bit that just won’t budge? Did you know that over 75% of DIY drill mishaps involve stuck bits? Discover effective methods to free your tool and continue your project smoothly.
In a Nutshell:
To remove a stuck drill bit, you can use methods like lubrication, reverse rotation, applying heat, hammering, and cutting. Among these, lubrication is often the most effective and straightforward. Simply apply a generous amount of lubricant, like WD-40, to the drill bit. Let it soak for a few minutes, then gently try turning the bit counterclockwise using pliers or a wrench. This method is less damaging to your tools and often provides quick results. Regularly maintaining your drill and choosing the right bit are key to avoiding such issues.
Understanding these techniques is vital for any DIYer or pro, ensuring your projects proceed without delays or damage. Let’s uncover all your options in detail and unlock the secrets to hassle-free drilling!
How to Get a Stuck Drill Bit Out
To remove a stuck drill bit, you can try several methods: lubrication, reverse rotation, heat, hammering, or cutting. To prevent this issue, it’s crucial to use the right drill bit, apply proper drilling techniques, and regularly maintain and inspect your drill and bits.
Effective drilling involves marking your spot, securing the material, starting slowly, applying steady pressure, and using coolant. Following these steps will help ensure a safe and successful drilling experience.
Option 1: Lubrication
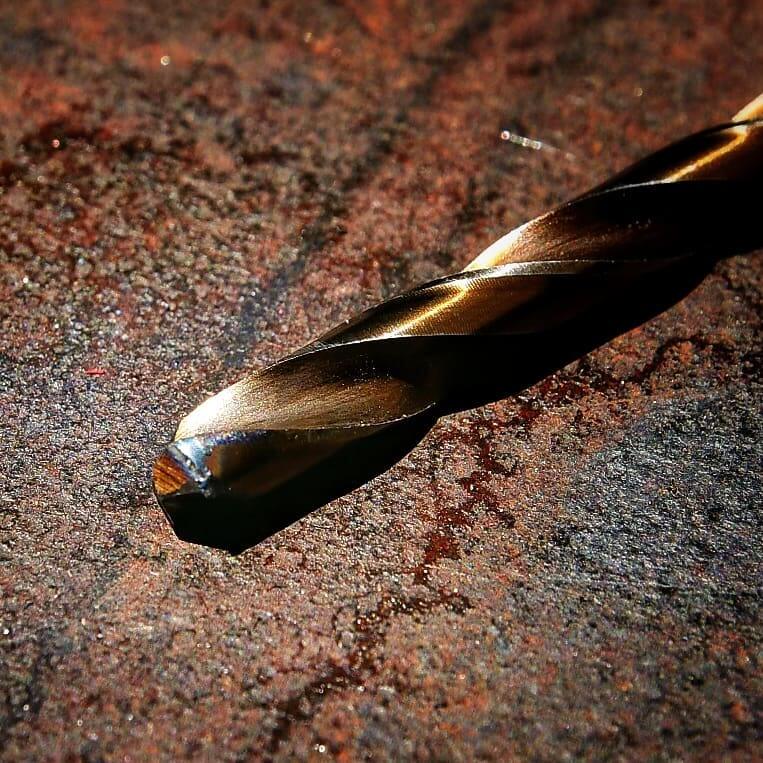
Lubrication is one of the most effective methods for removing a stuck drill bit. It reduces friction between the drill bit and the material, making removal easier.
Lubrication Methods for Stuck Drill Bits: Pros and Cons
| Lubricant Type | Pros | Cons |
|---|---|---|
| Oil | – Widely available (mineral, vegetable, olive, motor oil) | – Can be messy and runny |
| – Effective in reducing friction | – Not as long-lasting as other lubricants | |
| Grease | – Durable and stays in place | – Can attract dirt and debris |
| – Good for high-friction applications | – Harder to clean up | |
| Wax | – Reduces friction effectively | – Requires application before each use |
| – Less messy compared to oil and grease | – Not as effective in extreme temperatures or loads |
To lubricate a stuck drill bit, follow these step-by-step instructions and you’ll be unstuck in a jiffy:
1 | Apply the lubricant
Apply a liberal amount of lubricant to the stuck drill bit, making sure to cover as much of the bit as possible.
2 | Let it thoroughly soak
Allow the lubricant to soak into the material for a few minutes. This will give it time to penetrate and reduce friction.
3 | Try to remove the drill bit
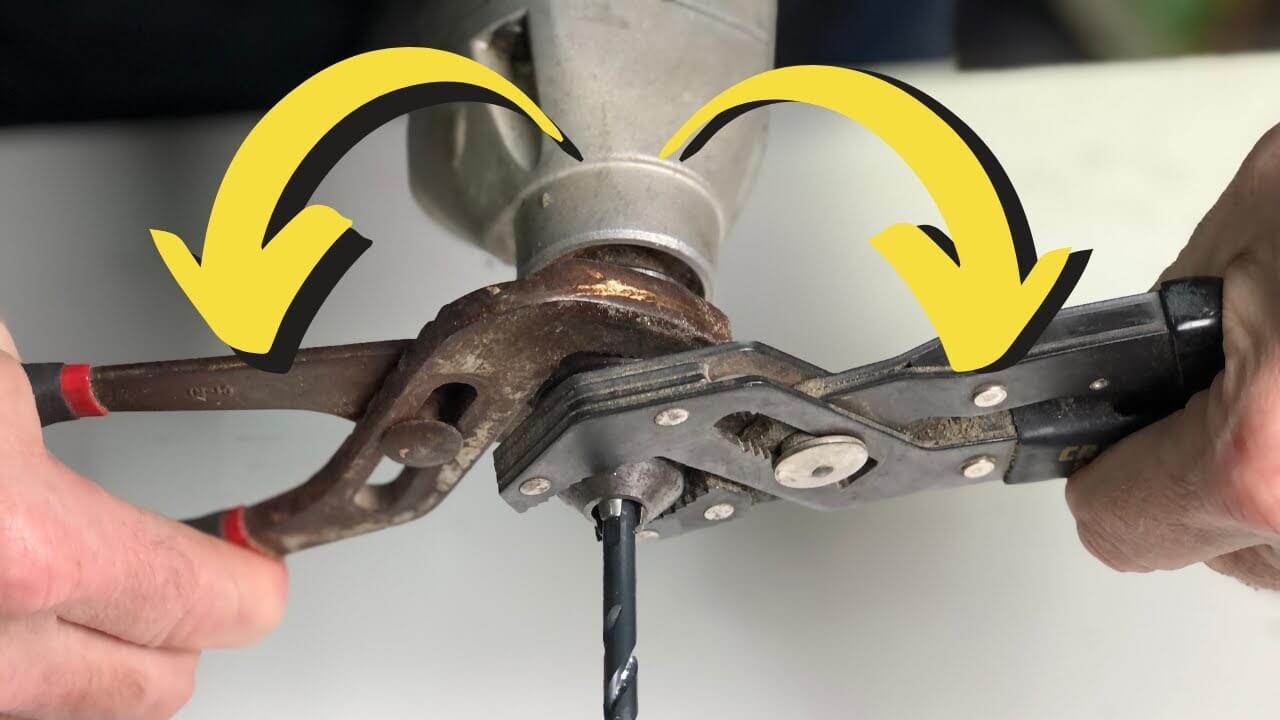
Attempt to remove the drill bit by gently turning it counterclockwise. If it doesn’t budge, try using pliers or a wrench to turn it.
4 | Repeat as necessary
If the drill bit still won’t come out, repeat the lubrication process and try again, and let it soak for a longer period of time.
Note that while lubrication is an effective method for removing a stuck drill bit, it may not work in all cases. If the drill bit remains stuck, moving on to another method or seeking professional help is best.
Option 2: Reverse Rotation
Reverse rotation is another effective method for removing a stuck drill bit. This method works by using the drill in reverse to loosen the stuck drill bit. It’s important to note that not all drills have a reverse function, so be sure to check your drill’s manual before attempting this method.
Here are the step-by-step instructions for using reverse rotation to remove a stuck drill bit:
1 | Set the drill to reverse
Set your drill to reverse mode, if it has one. This will cause the chuck to rotate in the opposite direction of the drill bit.
2 | Secure the material
Clamp or otherwise secure the material in place so it doesn’t move around while you’re trying to remove the stuck drill bit.
3 | Apply pressure
Hold the drill firmly against the stuck drill bit and apply steady pressure as you turn the drill on. The reverse rotation should help loosen the drill bit.
4 | Turn the drill off
Once the drill bit has started to loosen, turn off the drill and try to remove the bit by hand. If it still won’t budge, try using pliers or a wrench to turn it.
5 | Repeat as necessary
If the drill bit still won’t come out and you’re now a boiling point, repeat the reverse rotation process and try again.
I can’t stress enough the significance of exercising prudence while employing the reverse spin technique to liberate a stubbornly lodged drill bit. Equip yourself with protective eyewear and sturdy gloves to shield those precious peepers and dexterous digits. Should the drill bit persist in its defiance after numerous endeavors, it’s prudent to explore alternative strategies or solicit the assistance of a skilled expert.
Method 3: Heat
Heat is another effective method for removing a stuck drill bit. This method works by expanding the metal of the drill bit and the material, making it easier to remove.
Heat Methods for Stuck Drill Bits: Pros and Cons
| Heating Method | Pros | Cons |
|---|---|---|
| Heat Gun | – Provides targeted heat without affecting surroundings | – May not be as effective for very tight or deep-seated bits |
| – Less risk of damaging the material | – Requires careful handling to avoid burns | |
| Torch | – Offers intense heat for stubborn cases | – High risk of fire hazard if used improperly |
| – Effective for quickly heating metal | – Can easily damage surrounding material | |
| Boiling Water | – Safe and easy to use | – Not as effective on metal; better for softer materials |
| – Evenly heats surrounding material | – Risk of burns and may be messy |
Here are the step-by-step instructions for using heat (not a hairdryer, bro) to remove a stuck drill bit:
1 | Apply heat
Use a heat gun, torch, or boiling water to apply heat to the stuck drill bit. Be sure to wear heat-resistant gloves and work in a well-ventilated area.
2 | Heat the area for 60 secs
Apply heat to the area around the stuck drill bit for 30-60 seconds. This will help expand the metal and make it easier to remove.
3 | Try to remove the drill bit
Attempt to remove the drill bit by gently turning it counter-clockwise. If it doesn’t budge, try using pliers or a wrench to turn it.
4 | Repeat as necessary
If the drill bit still won’t come out, repeat the heating process focusing more so on the chuck, and try again.
When you’re trying to remove a stuck drill bit, utilizing heat can be effective, but it’s essential to take necessary precautions to avoid any mishaps. Always wear suitable protective gear and work in a properly ventilated area. However, if after multiple attempts, the drill bit still won’t budge, it’s advisable to switch to a different method or get assistance from a professional.
Method 4: Hammering
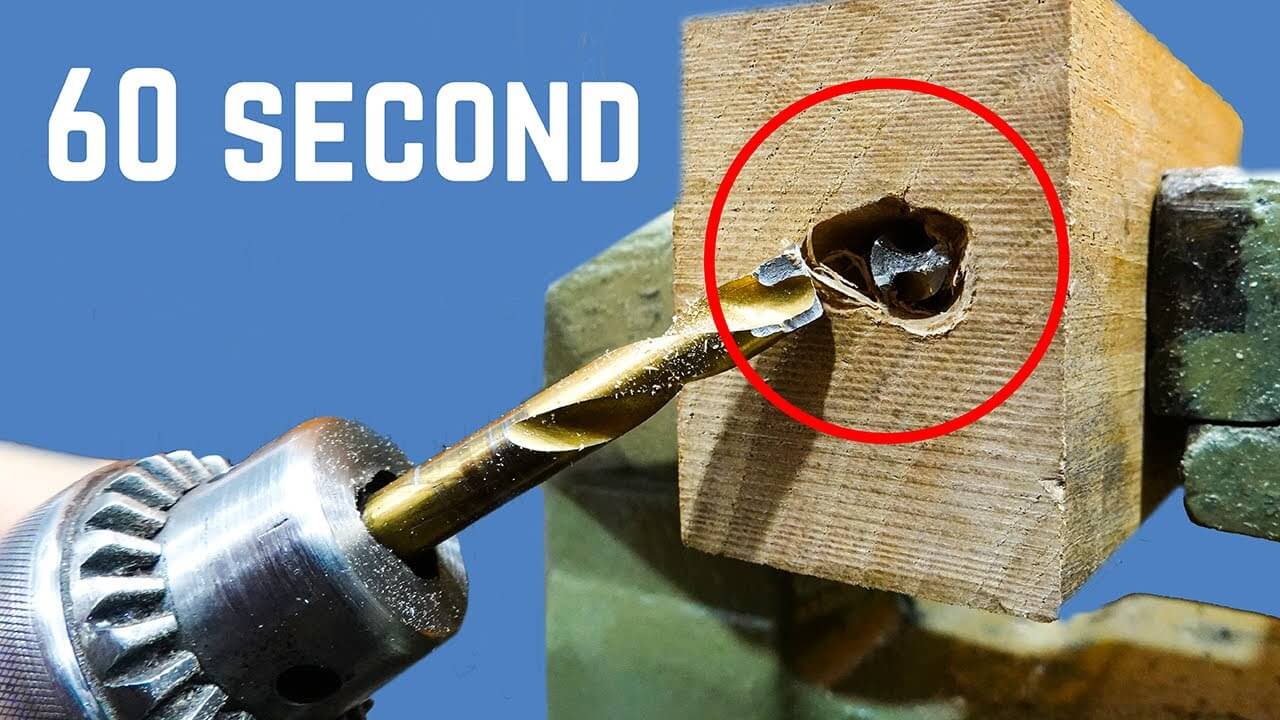
Hammering is another effective method for removing a stuck drill bit. This method works by using impact to loosen the stuck drill bit. It’s important to note that this method should only be used if the material surrounding the stuck drill bit is strong enough to withstand the impact.
Follow these step-by-step instructions for using a hammer to remove a stubborn drill bit:
1 | Apply force to the drill bit
Apply a small amount of force to the drill bit by tapping it lightly with a hammer. This will help loosen the drill bit.
2 | Increase the force
Increase the force of the hammer strikes gradually until the drill bit begins to loosen, and switch it up and use a mallet if need be.
3 | Turn the drill bit
Once the drill bit has started to loosen, try turning it counter-clockwise by hand. If it still won’t budge, try using pliers or a wrench to turn it.
4 | Repeat as necessary
If the drill bit still won’t come out, repeat the hammering process, apply some WP-40 and try again.
It’s important to use caution when using a ball-peen type hammer to remove a stuck drill bit. Be sure to wear safety goggles and work gloves to protect your eyes and hands. If the drill bit still won’t come out after several attempts, it’s best to move on to another method or seek professional help.
Method 5: Cutting
Cutting is another effective method for removing a stuck drill bit, especially if it has broken off inside the material. This method works by cutting away the material surrounding the stuck drill bit, making it easier to remove.
Cutting Methods for Stuck Drill Bits: Pros and Cons
| Removal Method | Pros | Cons |
|---|---|---|
| Rotary Tool | – Precise cutting ability | – Requires skill to avoid damaging the drill bit |
| – Versatile for different materials | – Time-consuming for thicker materials | |
| Saw | – Effective for accessible areas | – Risk of damaging surrounding material |
| – Fine blade allows for precise cuts | – Physical effort required, may not be suitable for tight spaces | |
| Drill Bit Extractor | – Designed specifically for removing drill bits | – May not work on severely stuck or broken bits |
| – Cheap and handy to have | – Requires careful usage to prevent further damage |
Follow these detailed guidelines for utilizing cutting instruments to extract a jammed drill bit:
1 | Select the cutting tool
Choose the appropriate cutting tool (hand or power saw) for the drill bit material and the size of the stuck drill bit.
2 | Cut away the material
Use the cutting tool to carefully cut away the material surrounding the stuck drill bit. Be sure to work slowly and carefully to avoid damaging the material.
3 | Remove the stuck drill bit
Once enough material has been removed, try to remove the drill bit by gently turning it counter-clockwise. If it doesn’t budge, try using pliers or a wrench to turn it.
4 | Repeat as necessary
If the drill bit still won’t come out, apply a decent degree of heat with a turbo torch and repeat the cutting process and try again.
It’s paramount to use a high degree of caution when using cutting tools to remove a stuck drill bit. Be sure to wear appropriate safety gear and work in a well-ventilated area. If the drill bit is broken off inside the material and cannot be removed with cutting tools, it’s best to seek professional help.
Hot Tips: Preventing a Stuck Drill Bit
To prevent a drill bit from getting stuck in the first place, it’s important to choose the right drill bit for the job, use proper drilling techniques, and maintain and inspect your drill and bits regularly. Here are some more detailed tips regarding prevention.
Proper Drill Bit Selection
Selecting the right drill bit can help prevent it from getting stuck. Factors to consider when selecting a drill bit include the material being drilled, the size of the hole, and the type of drill being used. Here are some tips for selecting the right drill bit:
- Material: Different materials require different types of drill bits. For example, wood bits are designed for drilling wood, while masonry bits are designed for drilling concrete and brick
- Hole size: Choose a drill bit that is the appropriate size for the hole you need to drill. Using a drill bit that is too small or too large can cause the bit to get stuck
- Type of drill: Different types of drills require different types of bits. For example, a hammer drill requires a masonry bit, while a regular drill can use wood, metal, or masonry bits
Choosing the correct screw or drill bit for your task is crucial to avoid any mishaps during drilling and to guarantee a victorious drilling operation.
Proper Drilling Technique
Using the right drilling technique can help prevent a drill bit from getting stuck. Here are step-by-step instructions for proper drilling technique:
1 | Mark the spot
Use a marker or punch to mark the spot where you want to drill. This helps ensure that the hole is in the right location and prevents the drill bit from wandering off course. Take the time to double-check the placement of the mark before drilling.
2 | Secure the material
Clamp or otherwise secure the material in place so it doesn’t move around while you’re drilling. When drilling, make sure the drill bit is perpendicular to the material being drilled. Drilling at an angle can cause the bit to bind and become stuck.
3 | Start slowly
Start the drill on a low speed and gradually increase the speed as you drill. Applying too much pressure to the drill can cause the bit to overheat and become stuck.
4 | Apply steady pressure
Apply steady pressure to the drill as you drill. Don’t force the drill bit through the material, as this can cause it to get stuck.
5 | Use coolant
If you’re drilling metal or other hard materials, use a coolant or lubricant to reduce friction and prevent the drill bit from getting stuck.
Adhering to these procedures and employing proper drilling methods will help you avoid drill bit jams, thereby preserving both your drill bits and valuable time.
Maintenance and Inspection
Regular maintenance and inspection of drill bits and drills can help prevent a drill bit from getting stuck.
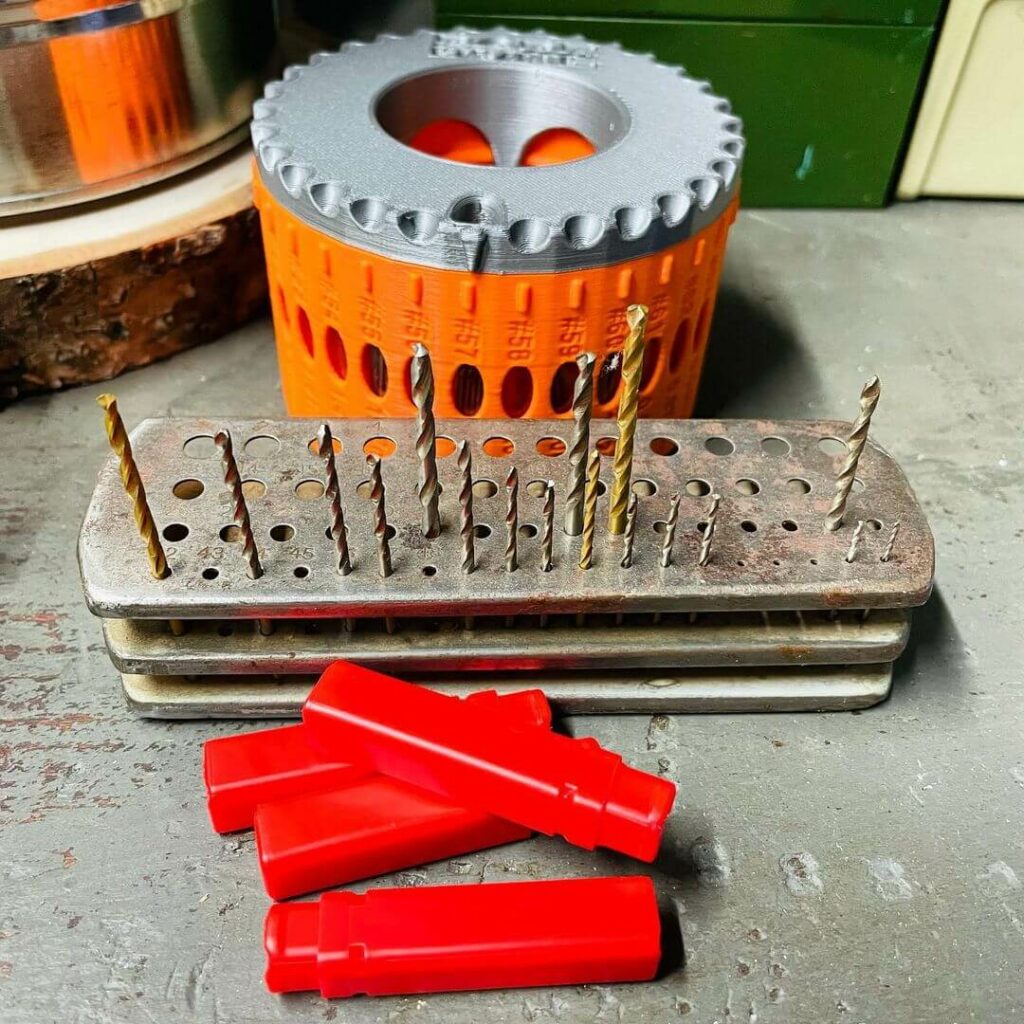
Tips for maintaining and inspecting drill bits include keeping them clean and sharp, storing them properly, and checking for any signs of wear or damage. It’s also important to regularly inspect your drill and replace any worn or damaged parts.
By taking care of your equipment and regularly inspecting it, you can prevent a drill bit from getting stuck and ensure a safe and successful drilling experience.
How to Remove a Stuck Drill Bit FAQ.
What to Do if the Drill Bit Breaks Off?
If the drill bit breaks off inside the material, it’s important to take the necessary steps to remove it safely.
Here are some tips:
- Stop drilling immediately: If you feel the bit starting to bind or break, stop drilling right away to prevent further damage.
- Assess the situation: Determine how much of the bit is still in the material and what type of material it is.
- Use an extractor: If a portion of the bit is still visible and not complete embedded, use a drill bit extractor to remove it.
- Use cutting tools: If the bit is broken off below the surface, you may need to use cutting tools such as a rotary tool or saw to remove the material surrounding the bit.
- Seek professional help: If you’re not comfortable removing the broken bit yourself, or if the bit is stuck in a hard-to-reach location, it’s best to seek professional help to avoid further damage or injury.
Remember to always wear appropriate safety gear and work in a well-ventilated area when attempting to remove a broken drill bit.
Can WD-40 be Used as a Lubricant to Remove a Stuck Drill Bit?
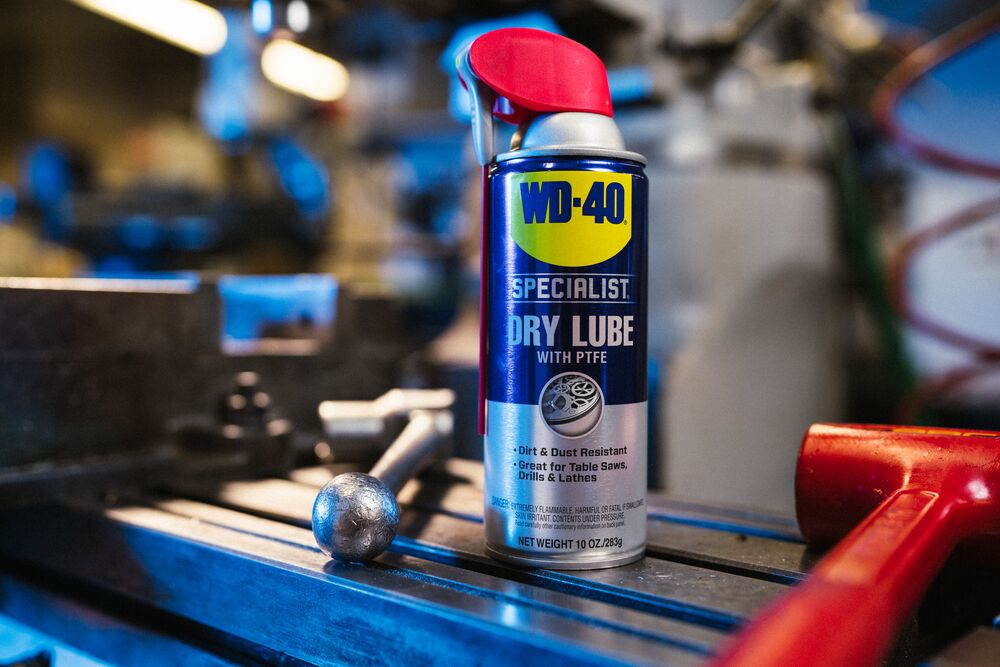
Yes, WD-40 can be used as a lubricant to help remove a stuck drill bit. WD-40 is a multi-purpose lubricant that can help reduce friction between the drill bit and the material, making it easier to remove.
To use WD-40 as a lubricant to remove a stuck drill bit, simply spray a liberal amount of WD-40 onto the stuck drill bit, making sure to cover as much of the bit as possible.
Allow the lubricant to soak into the material for a few minutes, and then attempt to remove the drill bit by gently turning it counter-clockwise. If it still won’t budge, try using pliers or a wrench to turn it.
If the drill bit still won’t come out, repeat the lubrication process and try to loosen the chuck again. It’s important to note that while WD-40 can be an effective lubricant, it may not work in all cases. If the drill bit remains stuck, it’s best to move on to another method or seek professional help.
Can Pliers be Used to Remove a Stuck Drill Bit?
Yes, pliers can be used to help remove a stuck drill bit. If the drill bit is only partially stuck or is loose but won’t come out by hand, pliers can be used to provide additional leverage and help turn the bit counter-clockwise.
To use pliers to remove a stuck drill bit, first make sure that the pliers are large enough to grip the drill bit securely. Grip the bit firmly with the pliers, making sure not to damage the surrounding material.
Once you have a good grip on the bit, apply steady pressure as you turn the bit counter-clockwise. Be careful not to use too much force or apply pressure at an angle, as this can cause the bit to break or become further stuck. If the bit still won’t budge, try using another method such as lubrication or reverse rotation.
If the bit is broken off inside the material, pliers may not be effective and it’s best to seek professional help.
How to Avoid a Stuck Drill Bit
Preventing a stuck drill bit is always preferable to trying to remove one.
Here are some tips on how to avoid a stuck drill bit:
- Choose the right drill bit: Select the appropriate drill bit for the material being drilled and the size of the hole.
- Use proper drilling techniques: Start slowly, apply steady pressure, and use coolant or lubricant when necessary.
- Maintain and inspect your drill and bits: Keep your equipment clean and sharp, store it properly, and check for any signs of wear or damage.
- Stop drilling if you feel resistance: If you feel the bit starting to bind or break, stop drilling right away to prevent further damage.
- Seek professional help when necessary: If you’re not comfortable or experienced with a particular drilling task, or if a drill bit becomes stuck and you’re unable to remove it, seek professional help to avoid further damage or injury.
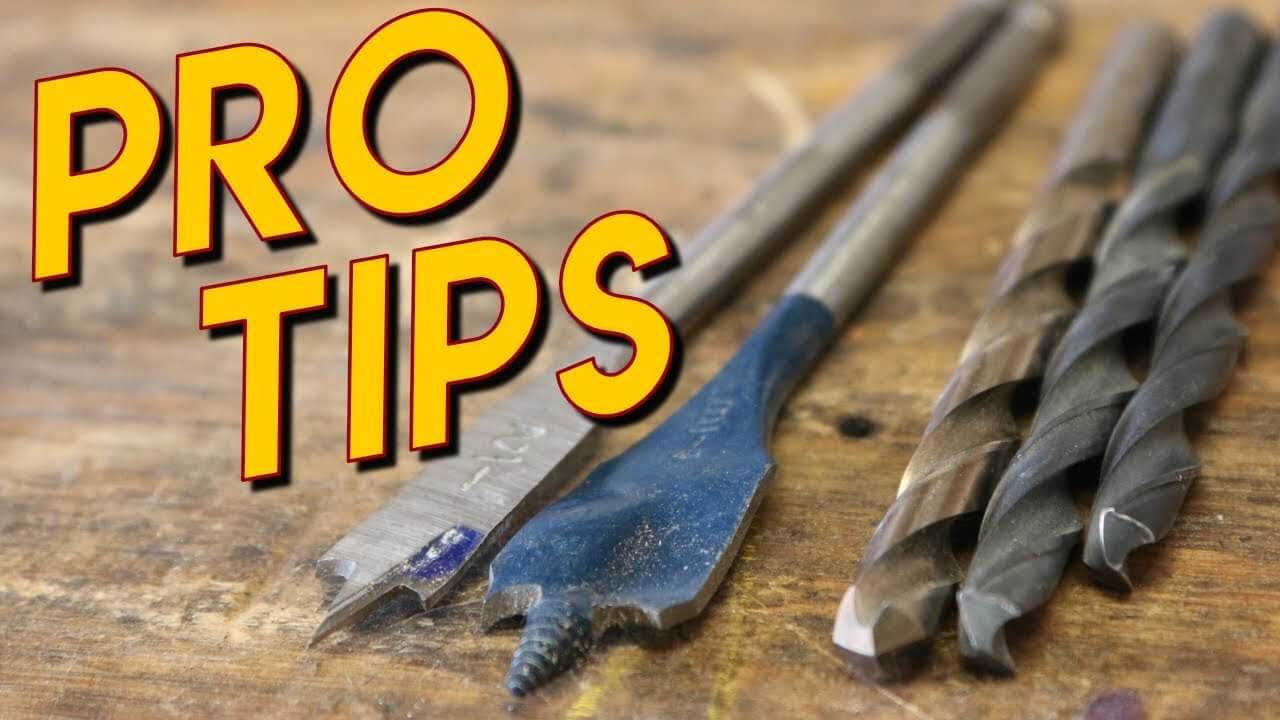
For some more basic drilling tips, you can check out the video below for the lowdown on DIY drilling “pro tips”.
In Conclusion
Dealing with a stuck drill bit can be challenging, but with the right approach, it’s a manageable task. Utilize methods like lubrication, reverse rotation, heat, hammering, or cutting to successfully free the bit.
Key Takeaways:
Remember it’s important to wear safety gear and work in a ventilated area during this process. To avoid such predicaments, a few key practices can be essential.

